Your New Favorite Snack is Here, and You Don’t Even Need an Oven!
Hey there, friend! Let’s be real for a second. Some days, you just need a little taste of pure, uncomplicated joy. You’re craving something sweet, a little nostalgic, and maybe even a tiny bit healthy, but the thought of turning on the oven, measuring a million ingredients, and cleaning a mountain of bowls feels… well, exhausting.
Sound familiar? Trust me, I’ve been there more times than I can count. That’s exactly why I’m so ridiculously excited to share this recipe with you today. We’re taking that iconic duo from your childhood lunchbox—peanut butter and jelly—and transforming it into the most incredible, no-fuss, no-bake bar you’ve ever tasted.
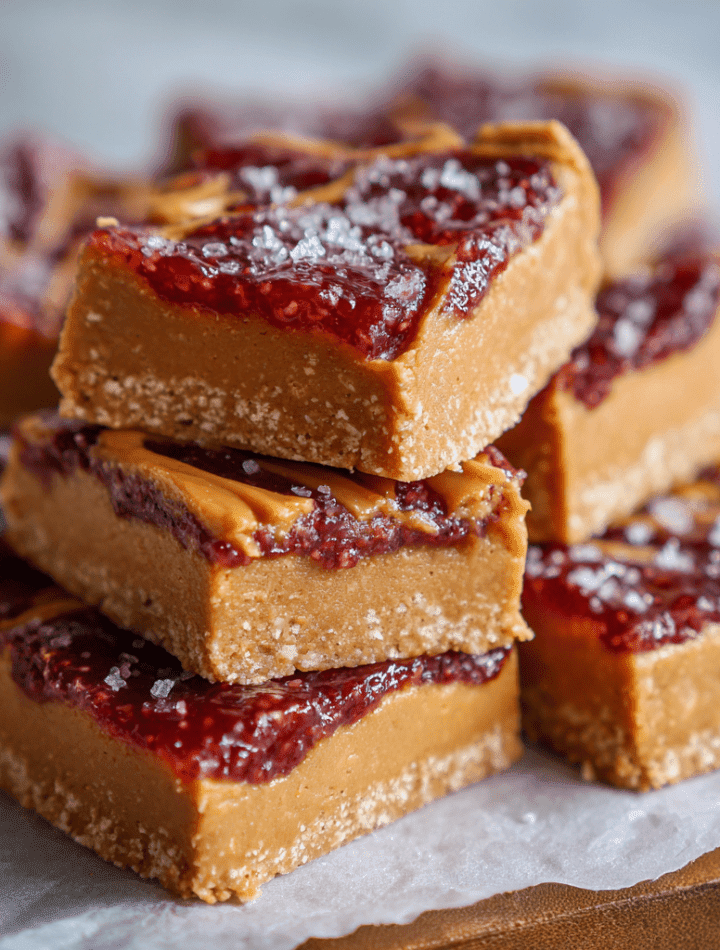
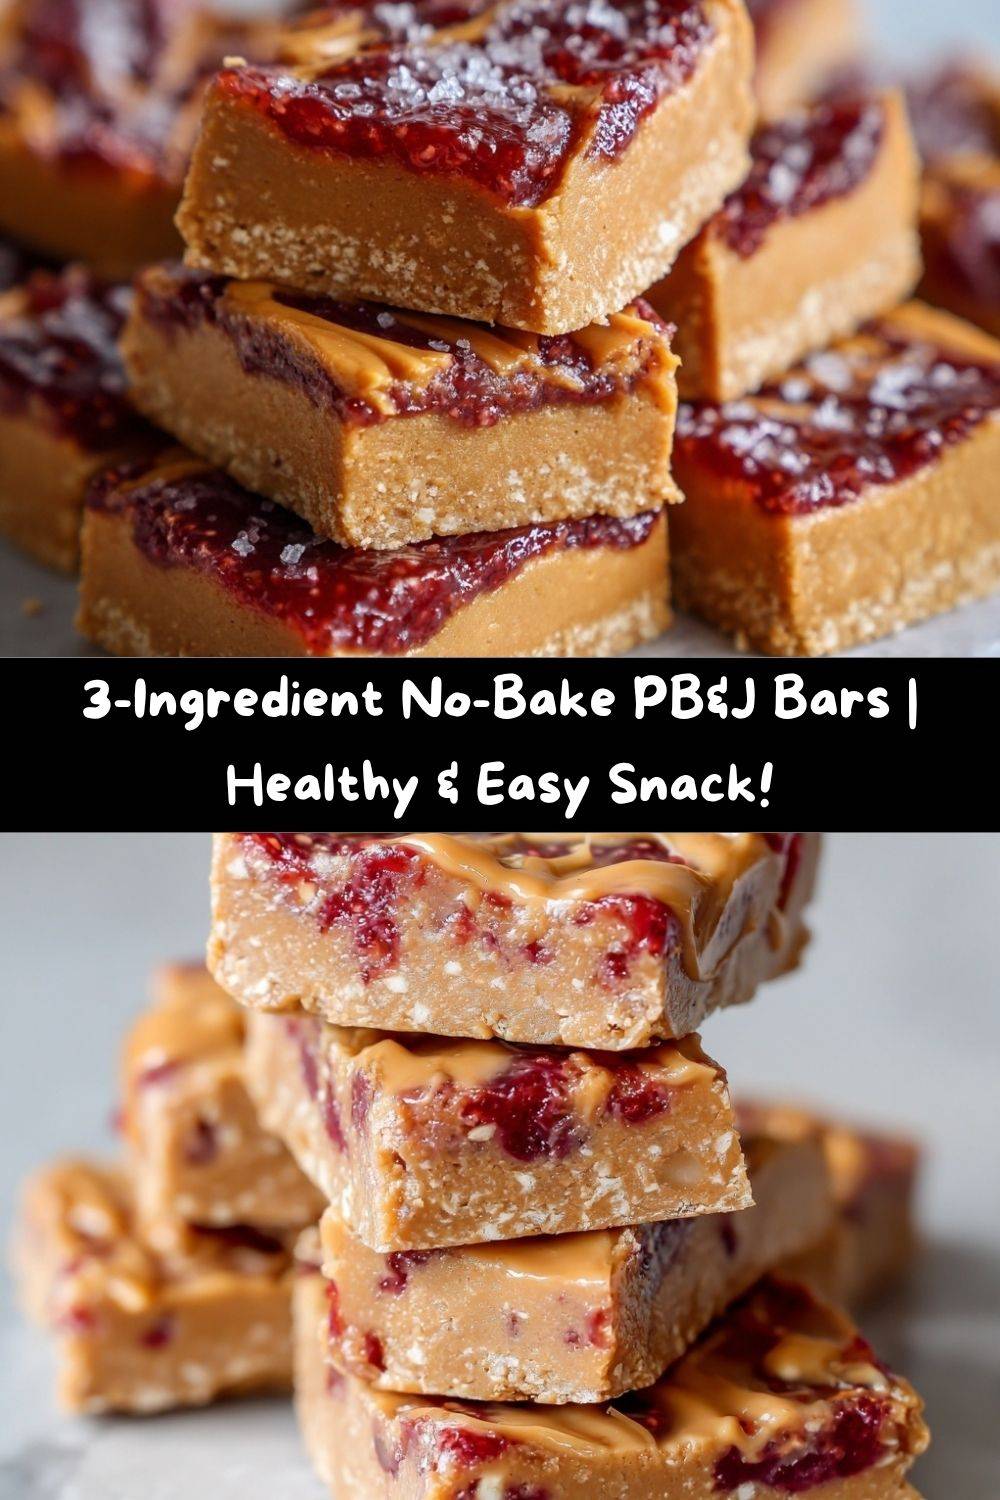
These 3-Ingredient No-Bake Peanut Butter & Jelly Bars are my go-to superhero snack. They’re creamy, they’re fruity, and they come together in about 10 minutes flat. Seriously, the hardest part is waiting for them to chill in the fridge! They’re packed with protein and healthy fats to keep you energized, making them the perfect grab-and-go breakfast, a satisfying afternoon pick-me-up, or even a wholesome dessert that feels like a treat.
So, tie on your favorite apron (the messy one is always the best), and let’s make something delicious that will make your inner child (and your very-adult hunger) do a happy dance.
A Sticky-Sweet Trip Down Memory Lane
This recipe always sends me right back to my grandma’s kitchen table. I’d sit there, swinging my little legs, watching her make my school lunches. She had this ritual: a thick swipe of creamy peanut butter on one slice of bread, a glorious, glistening spoonful of homemade strawberry jam on the other. Then, the grand finale—she’d press them together and slice that sandwich diagonally, because everyone knows triangles taste better.
One summer afternoon, I decided I was a “big kid” and could make my own. Let’s just say my enthusiasm outweighed my technique. I created a PB&J masterpiece with a jam-to-bread ratio of about 5:1. I took one bite, and a river of sticky, sweet strawberry jam cascaded down my arm and onto my favorite t-shirt. It was a glorious, delicious mess. My grandma just laughed, wiped my face with a damp cloth, and said, “Emily, the best food is usually the messiest.” She was so right.
These no-bake bars are my grown-up, slightly less messy homage to that memory. They capture every bit of that sweet, sticky, soul-warming goodness, but in a neat little package you can hold in one hand. It’s all the comfort, zero of the drips.
Gathering Your Simple, Wholesome Ingredients
See? I told you it was simple! The beauty of this recipe lies in the quality of these three core ingredients. Let’s break them down so you feel like a total pro.
- 2 cups Natural Peanut Butter: I’m a stickler for the natural, “just nuts and maybe salt” kind. The oil separation is totally normal! Just give it a really good stir. This is our protein powerhouse and gives that classic, nutty flavor we all adore.
Chef’s Insight: If you’re not a peanut person, feel free to swap in almond butter or cashew butter. Almond butter will give a slightly sweeter, milder flavor, while cashew butter is incredibly creamy and neutral.
- 1 cup Coconut Butter: Now, don’t confuse this with coconut oil! Coconut butter is pure, dried coconut flesh ground into a spread. It’s naturally sweet, packed with fiber, and it’s what firms up beautifully in the fridge to give our bars their perfect structure.
Chef’s Insight: Coconut butter can be a little firm straight from the jar. I like to place the jar in a bowl of warm water for 10 minutes to make it easier to scoop and mix.
- ½ cup Fruit-Sweetened Jam or Chia Jam: This is where you can really make these bars your own! I love using a fruit-sweetened strawberry or raspberry jam to keep the refined sugar low. Chia jam is a fantastic option too, as it adds a nice little nutrient boost and a delightful texture.
Chef’s Insight: Use your favorite flavor! Apricot, blueberry, even a mixed berry jam would be absolutely divine here. This is your chance to get creative.
Optional, But Highly Recommended Add-Ins:
- 4 tbsp Water: This is our magic trick for creating a smooth, spreadable texture without making the bars greasy. Add it gradually!
- 2 pinches Sea Salt: A little salt makes the sweet flavors pop. It’s the secret weapon in any dessert!
- 2 tbsp Maple Syrup: If you have a serious sweet tooth, a touch of maple syrup rounds everything out beautifully. I usually taste the base mixture before adding it.
Let’s Make Some Magic: Your Foolproof Steps
Ready? This is where the fun begins. I’ll walk you through every step, sharing all my favorite kitchen hacks along the way.
- Prep the Pan: First things first, let’s set ourselves up for success! Grab an 8×8-inch square baking pan. Take a sheet of parchment paper and line the pan, leaving a little overhang on two opposite sides. Why do this? This creates little “handles” that will let you lift the entire slab of bars out of the pan later for super clean, easy slicing. No struggling to dig out the first bar! If you don’t have parchment, a light coating of coconut oil will work in a pinch.
- Make the Base Mixture: In a medium-sized mixing bowl, plop in your peanut butter and that softened coconut butter. Now, grab a spatula and stir, stir, stir! It might seem thick at first, but keep going. Once they’re combined, start adding the water, one tablespoon at a time, stirring well after each addition. Watch as the mixture transforms from a thick paste into a smooth, luscious, and slightly spreadable “dough.” This is the time to taste it! Add a pinch or two of sea salt and the maple syrup if you’re using it. Mix one more time to incorporate.
- Layer It Up: Here comes the satisfying part! We’re going to create those beautiful layers. Take about half of your peanut butter mixture and dollop it into the bottom of your prepared pan. Now, use your spatula or the back of a spoon to press and smooth it into a perfectly even layer. A little chef’s hack? Lightly wet your spatula or fingers with water—this will prevent the mixture from sticking as you press it down. Next, swoosh on your jam! Spread it gently over the first layer, trying to get it as even as possible and reaching all the way to the edges.
- Top It Off: Time for the grand finale! Take the remaining peanut butter mixture and distribute it in dollops over the jam layer. Now, gently press and smooth it across the top. Don’t press too hard, or you’ll mix the jam into the top layer. We want those beautiful, distinct stripes. If it’s sticking, use that wet spatula trick again for a flawless finish.
- Chill Out: Your work is done! Carefully place the pan in the refrigerator. Now, we play the waiting game. Let the bars chill for at least 2 hours, or until they are completely firm to the touch. I know it’s tempting, but don’t rush this step! This firm-up time is crucial for getting bars you can actually hold.
- Slice and Store: Once they’re fully set, use the parchment paper handles to lift the entire block out of the pan onto a cutting board. Using a sharp knife, slice it into 10 even bars (or 12 smaller ones if you prefer!). Wipe the knife clean between cuts for the prettiest edges.
How to Serve & Savor Your Creation
Okay, the bars are set, sliced, and ready for their close-up! How you serve them can make a simple snack feel like a special occasion.
For a quick, on-the-go energy boost, just wrap one in a little parchment paper and toss it in your lunch bag or purse. They’re perfect for a pre-workout bite or a 3 PM slump savior.
If you’re serving them as a dessert, let’s make it pretty! Place a bar on a small plate and maybe add a few fresh berries on the side and a tiny dusting of shredded coconut. A dollop of whipped coconut cream takes it to a whole new level of decadence.
My favorite way? With a hot cup of coffee in the morning. It feels like such a treat, but it’s secretly fueling me for the day ahead. Store any leftovers (if you have any!) in an airtight container in the fridge for up to a week.
Get Creative! Fun Flavor Twists & Swaps
Once you’ve mastered the classic, the kitchen playground opens up! Here are a few of my favorite ways to mix things up.
- The Chocolate Lover: Stir ¼ cup of cacao powder into the peanut butter base mixture for a rich, chocolatey twist. You can also sprinkle some mini dark chocolate chips between the layers.
- The Tropical Escape: Use cashew butter as your base and swirl in a mango or pineapple jam. Top the finished bars with a sprinkle of toasted coconut flakes for a true vacation vibe.
- The Superfood Boost: Add 2 tablespoons of ground flaxseed or chia seeds to the base mixture for an extra hit of fiber and omega-3s. No one will even know they’re there!
- The Nut-Free Neccessity: For a school-safe or allergy-friendly version, swap the peanut butter for sunflower seed butter. It has a similar texture and a wonderfully unique, slightly tangy flavor.
- The Crunchy Texture Fan: Fold in ¼ cup of crushed, gluten-free pretzels or roasted peanuts into the top and bottom layers for a fantastic sweet-and-salty crunch.
From My Kitchen to Yours: A Few Parting Thoughts
This recipe has been a living, evolving little thing in my kitchen. The first time I made it, I was so impatient that I tried to slice it after only 30 minutes in the fridge. Let’s just say I ended up with delicious, scoopable PB&J mush—which, to be fair, was fantastic over ice cream! So, learn from my mistake and let them chill fully.
I also love making a double batch and stashing half in the freezer. They keep beautifully for up to 2 months, and having a healthy, homemade snack just a thaw away is a total game-changer on busy weeks. It’s a little act of kindness for your future self.
Your Questions, Answered!
I’ve gotten so many lovely messages about these bars over the years. Here are the most common questions and how to fix any little hiccups.
Q: My mixture is too crumbly and dry! What did I do wrong?
A: No worries, this is an easy fix! It usually means your nut butter or coconut butter was just a little too thick. Simply add more water, one teaspoon at a time, and mix until it comes together into a pliable, play-dough-like consistency.
Q: Can I use coconut oil instead of coconut butter?
A: I don’t recommend it for this specific recipe. Coconut butter provides body and substance from the coconut fiber, which helps the bars hold their shape. Coconut oil will just make them greasy and they won’t set as firmly.
Q: My bars are too soft, even after chilling. Help!
A: This can happen if your kitchen is particularly warm or if your nut butter was very runny. Just pop them in the freezer for 30-45 minutes! They’ll firm up perfectly and have a lovely, cool, almost ice-cream-like texture.
Q: How can I make these bars lower in sugar?
A> You have a couple of great options! First, opt for a sugar-free jam or simply mash up some fresh berries. Second, you can omit the optional maple syrup entirely. The natural sweetness from the jam and coconut butter is often plenty!
A Note on Nourishment
While I’m a chef, not a nutritionist, I love creating food that makes you feel good from the inside out. These bars are a fantastic source of sustained energy. The healthy fats from the peanut butter and coconut butter, combined with the protein, help keep blood sugar stable and keep you feeling full and satisfied much longer than a sugary snack would.
They’re a wonderful option for a pre- or post-workout snack, a busy morning breakfast, or when you need a mindful treat that won’t lead to an energy crash later. It’s all about balance and enjoying food that loves you back!
Approximate Nutrition Per Bar (based on 10 bars, without optional maple syrup):
Calories: 225 | Protein: 7g | Carbs: 13g | Fat: 18g | Fiber: 2g | Sugar: 6g
You Did It! Now, Go Enjoy the Fruits of Your (Minimal) Labor
See? I told you it was easy. In the time it takes to watch a couple of your favorite TV show episodes, you’ve created a batch of wholesome, delicious, and seriously impressive snacks.
This is what Tasty Chow is all about—recipes that fit into your real, beautiful, sometimes chaotic life. Food that brings a smile to your face without stressing you out. I hope these bars become a staple in your kitchen, just like they are in mine.
With love and a full jar of peanut butter,
Emily