Your New Go-To Fall Dessert is Here (And It’s Seriously Easy!)
Hey there, my fellow food lovers! Chef Emily here, coming at you from my happily cluttered kitchen, where the scent of cinnamon and nutmeg is basically a permanent accessory this time of year. Is there anything more quintessentially autumn than the cozy, spiced embrace of a pumpkin pie? I think not. But let’s be real, between planning Friendsgiving menus, juggling family schedules, and just trying to keep up with life, sometimes baking a pie from scratch feels like a marathon we just don’t have the energy for.
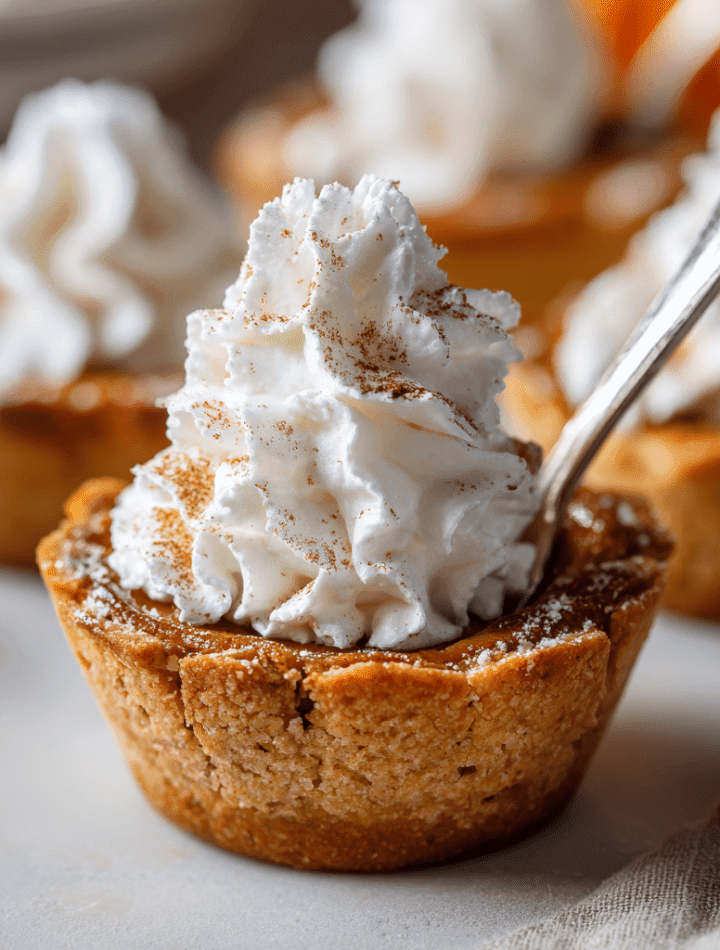
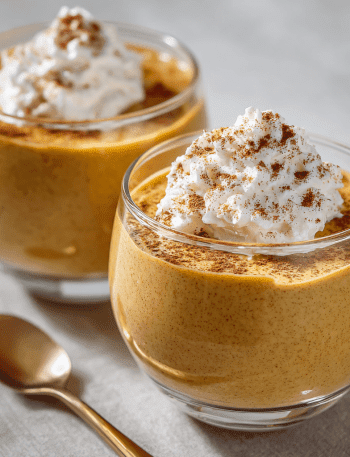
That’s exactly why I’m utterly obsessed with these Mini Pumpkin Pie Cups with Fresh Vanilla Whip. We’re taking that iconic, giant, and wonderfully budget-friendly Costco pumpkin pie (you know the one!) and giving it a fun, fancy, and totally adorable makeover. This isn’t just a recipe; it’s a brilliant hack for anyone who wants to serve up something incredibly delicious without spending hours in the kitchen. These individual cups are the perfect solution for parties, potlucks, or just treating yourself. They’re effortless, elegant, and an absolute guaranteed crowd-pleaser. So, let’s ditch the stress and whip up some joy, one mini cup at a time!
The Lazy Genius Behind the Recipe: A Jet-Lagged Revelation
This recipe was born from a beautiful combination of necessity and a serious craving. Picture this: I had just returned from an amazing, food-filled trip to Italy (more on those recipes later!), and I was battling the kind of jet lag that makes you want to nap standing up. My friends, knowing my love for all things fall, had invited me to a last-minute Friendsgiving. The request? “Bring your famous pumpkin pie!”
My heart sank. The thought of measuring, rolling out dough, and babysitting a pie in the oven felt Herculean. But then, I saw it sitting on my counter—a leftover slice of a store-bought pie. A lightbulb moment, fueled by espresso and a desperate need for simplicity, went off. What if I deconstructed it? What if I made it cute, individual, and even *more* fun to eat? Ten minutes later, the first prototype of these Mini Pumpkin Pie Cups was born. They were a smash hit at the party, and my friends had no idea they were enjoying a stroke of jet-lagged genius. It just goes to show that the best recipes often come from a place of happy accidents and a desire to keep things simple and full of love.
Gathering Your Happy Ingredients
Here’s the beautiful part: the ingredient list is short, sweet, and simple. This is all about assembly and adding a little homemade love where it counts.
- 1 Costco Pumpkin Pie (or any large store-bought pumpkin pie): This is our superstar shortcut! The Costco pie is famous for its silky, spiced filling and great value. Don’t stress if you don’t have a Costco membership—any high-quality grocery store pumpkin pie will work perfectly. The goal is a delicious base we don’t have to bake ourselves!
- 2 cups heavy cream (or heavy whipping cream): Please, for the love of all that is fluffy and good, make sure your cream is cold. I always chill my mixing bowl and whisk attachment in the freezer for 10 minutes beforehand. This is the secret chef hack for whipped cream that holds its shape beautifully.
- 2 tbsp powdered sugar: I prefer powdered sugar over granulated here because it dissolves instantly and won’t give your whip a gritty texture. It also contains a touch of cornstarch, which helps stabilize the cream slightly.
- 2 tsp vanilla extract: This is where you can really make it special. Use a high-quality pure vanilla extract for the best flavor. For a real treat, you could even scrape the seeds from a fresh vanilla bean pod!
- Ground cinnamon, for garnish: A light dusting on top adds a beautiful finish and a little extra aromatic spice.
- 10-12 mini party cups or small dessert glasses: Presentation is key! Using clear cups lets everyone see the beautiful layers. You can find these online or at any party supply store.
Let’s Build These Adorable Cups! (Step-by-Step)
Ready for the easiest dessert assembly of your life? Let’s do this!
- Deconstruct the Pie: First, take your whole pumpkin pie and gently scrape off the top crust and the side crust using a spoon. Don’t discard it! Place all those buttery, crumbly pieces into a small bowl and set them aside. We’ll use them for a gorgeous, textured garnish later.
- Scoop the Filling: Now, take an ice cream scoop or a large spoon and scoop out the beautiful, spiced pumpkin filling. You’ll be amazed at how much there is! Evenly divide the filling among your 10-12 mini cups. Gently press it down to create a smooth, even layer. Pro Chef Tip: If you want an ultra-smooth texture, you can push the filling through a fine-mesh sieve first, but I kind of love the rustic, homestyle feel straight from the pie.
- Make the Fresh Vanilla Whip: This is the only “real” cooking we’re doing, and it’s so satisfying. Pour your cold heavy cream into your chilled mixing bowl. Add the powdered sugar and vanilla extract. Start whipping on medium speed, gradually increasing to high. Watch as it transforms from liquid to soft, billowy clouds. Stop when you have firm peaks—that means when you lift the whisk out, the peak of cream holds its shape but the tip might curl over just slightly. Be careful not to over-whip, or you’ll start making butter! (We’ve all been there, no judgment!).
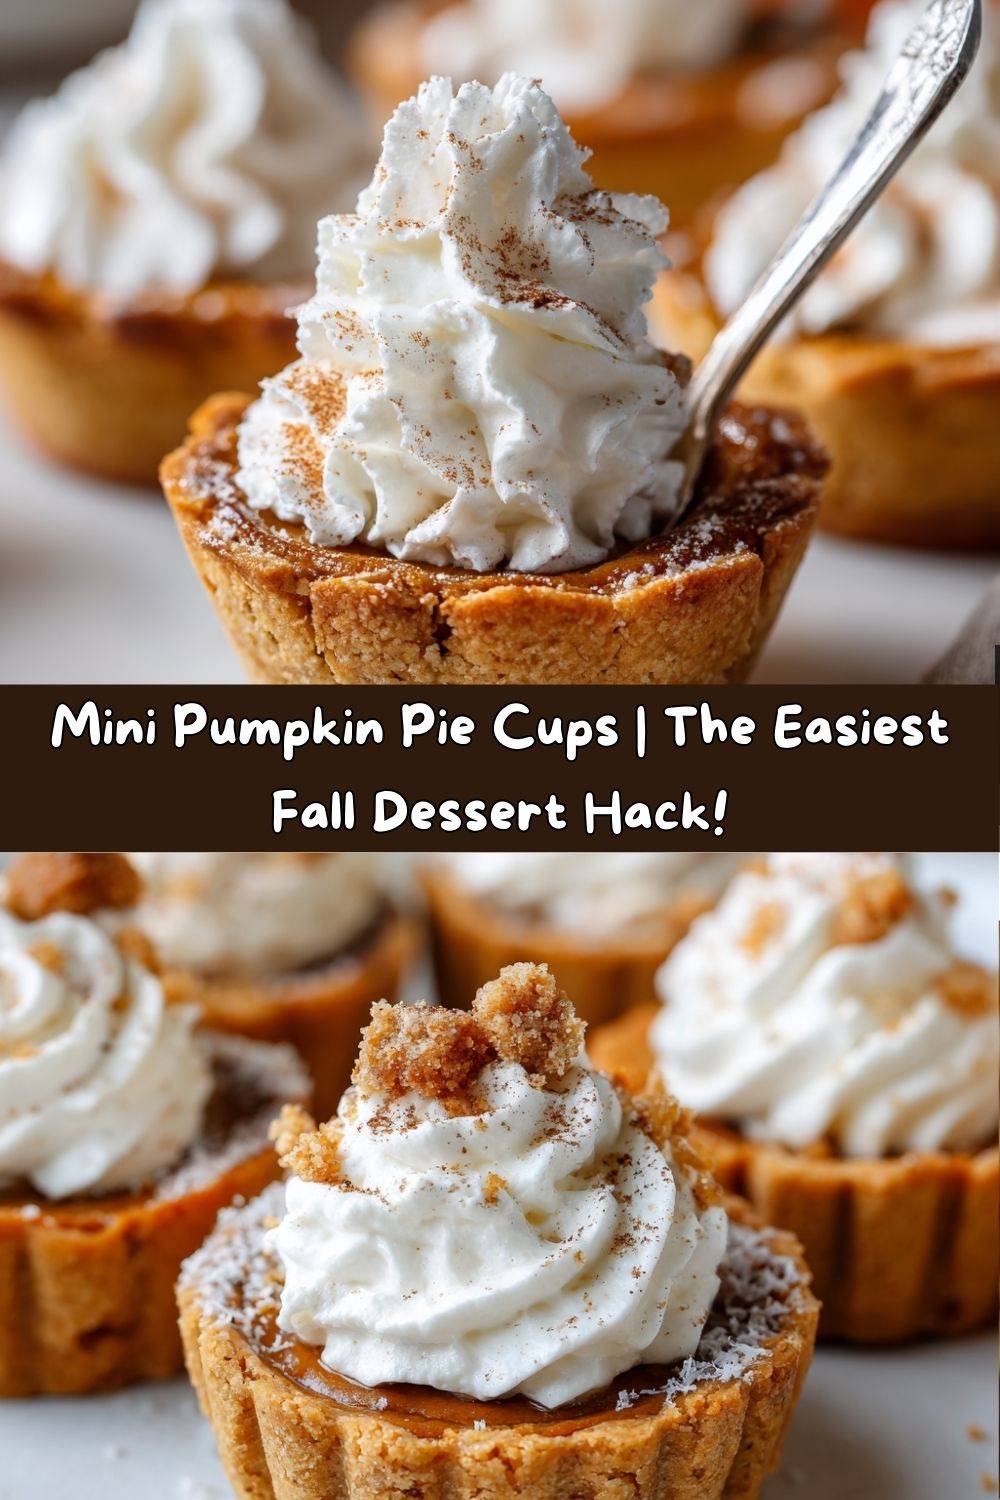
- Top and Garnish: Using a spoon or a piping bag fitted with a star tip for extra fancy points, add a generous dollop of your fresh whipped cream to each cup. Now, for the finishing touches: lightly dust the tops with ground cinnamon and sprinkle a pinch of the reserved crumbled pie crust over each one. This adds a wonderful crunch and reminds everyone of the classic pie experience.
- Serve Immediately or Chill: You can serve these right away for a soft, creamy treat, or pop them in the fridge for an hour to let them set up a bit more. They are perfect either way!
How to Serve Your Mini Masterpieces
Presentation is half the fun with these little guys! I love lining them up on a rustic wooden board or a fancy platter for a party. They look absolutely stunning and instantly elevate your dessert table. For an extra-special touch, place a mini spoon or a cute shortbread cookie in each one. If you’re serving these at a cozy gathering, just hand them out to your guests—they are the ultimate grab-and-go dessert. They pair wonderfully with a hot cup of coffee, a mug of spiced chai tea, or even a glass of dessert wine. The best part? There’s no slicing or serving required; everyone gets their own perfect little cup of autumn joy.
Get Creative! Fun Flavor Twists
Once you’ve mastered the basic recipe, the flavor world is your oyster! Here are a few of my favorite ways to mix it up:
- Maple Pecan Dream: Swap the vanilla in the whip for 1 teaspoon of maple extract. Top each cup with a drizzle of real maple syrup and a few toasted pecans for that classic flavor combination.
- Gingersnap Crunch: Replace the pie crust garnish with crushed gingersnap cookies. The spicy, snappy flavor of the gingerbread is a match made in heaven with the pumpkin.
- Chocolate Drizzle Delight: For the chocolate lovers, melt some dark chocolate and drizzle it over the whipped cream topping. A little sea salt flake on top would be absolutely incredible here.
- Boozy Chai Spice: Add a splash of bourbon or spiced rum to the whipped cream along with the vanilla. Fold in a pinch of chai spice mix for a warm, adult-only kick.
- Dairy-Free/Vegan Version: Use a vegan store-bought pumpkin pie (many exist now!). For the whip, grab a can of full-fat coconut milk that has been chilled overnight. Scoop out the solid coconut cream, whip it with powdered sugar and vanilla, and you’ve got a fantastic vegan alternative.
Chef Emily’s Notebook Scribbles
I can’t tell you how many times this recipe has saved my bacon. It’s evolved from that first jet-lagged experiment into my signature “I need something impressive, stat!” move. One time, I even used leftover sweet potato pie after Thanksgiving, and it was a glorious success. The beauty of this concept is its flexibility. It’s a reminder that cooking doesn’t have to be complicated to be incredible. Sometimes, the best recipes are about smart shortcuts and a dollop of homemade love. And if you accidentally overwhip your cream into a slightly buttery texture? Just roll with it—call it a “vanilla buttercream” and nobody will know the difference! It’s all about having fun in the kitchen.
Your Questions, Answered!
Q: Can I make these ahead of time?
A: Absolutely! You can assemble the cups with the pumpkin filling and keep them covered in the fridge for up to 24 hours. I recommend whipping the cream and adding it within an hour or two of serving for the best texture. You can also keep the whipped cream in a separate container in the fridge and dollop it on right before your guests arrive.
Q: My whipped cream is runny and won’t hold peaks. What did I do wrong?
A: The number one culprit is usually cream that isn’t cold enough, or a bowl that’s too warm. Everything needs to be chilled! Also, ensure you’re using heavy cream or heavy whipping cream, which has a high fat content (around 36% or more). Low-fat alternatives won’t whip properly.
Q: I can’t find a Costco pie. What’s the next best option?
A: No problem at all! Any bakery-style pumpkin pie from your local grocery store will work great. Just give it a taste test first to make sure you love the spice level. You could even use a few of the smaller, pre-sliced pies if that’s what’s available.
Q: Is there a way to make this with a homemade pie?
A: Of course! If you’re a pie-making rockstar, by all means, use your favorite homemade pumpkin pie. This recipe is the perfect way to use up any leftovers, but making a pie specifically for this purpose is a fantastic idea.
Mini Pumpkin Pie Cups with Fresh Vanilla Whip
- Total Time: 10 minutes
- Yield: 10 - 12 1x
Description
Jet lagged or not, these pumpkin pie cups are a total win—especially when the base is that giant, budget-friendly Costco pumpkin pie. Perfect for Friendsgiving or any cozy fall get-together, these cups are ridiculously easy, totally adorable, and a guaranteed crowd-pleaser.
Ingredients
1 Costco Pumpkin Pie (or any store-bought large pumpkin pie)
For the Whipped Cream:
2 cups heavy cream
2 tbsp powdered sugar
2 tsp vanilla extract
Ground cinnamon, for garnish
Mini party cups or dessert glasses
Instructions
Scrape off the crust from the pumpkin pie and set aside in a small bowl.
Scoop out the filling using an ice cream scoop and place into mini party cups.
Whip the cream: In a mixing bowl, combine heavy cream, powdered sugar, and vanilla. Beat until fluffy and holds soft peaks.
Top each cup with a dollop of homemade whipped cream.
Sprinkle with cinnamon and add a pinch of crumbled crust on top for texture.
Optional: Add a mini spoon and you’re party-ready.
- Prep Time: 10 minutes
Nutrition
- Calories: 210 / Serving
- Sugar: 12g / Serving
- Fat: 14g / Serving
- Carbohydrates: 18g / Serving
- Fiber: 1g / Serving
- Protein: 3g / Serving
Nutritional Information*
*Please note: This is an estimated nutritional breakdown based on the specific ingredients listed and using a standard Costco pumpkin pie. Values can vary depending on the brands you use.
Per Serving (1 cup): Approximately 210 Calories | 3g Protein | 14g Fat | 18g Carbohydrates | 1g Fiber | 12g Sugar
This is a dessert, so it’s meant to be enjoyed in moderation as part of a balanced diet. The good news is that by controlling the portion size with these mini cups, you’re naturally practicing portion control. The pumpkin itself provides a dose of Vitamin A, and hey, a little joy is good for the soul, too!
Final Thoughts from My Kitchen to Yours
Well, my friends, I hope this recipe brings as much ease and delight to your kitchen as it has to mine. It’s proof that you don’t need to be a professional pastry chef to create something special and memorable for the people you love. It’s about the gesture, the shared experience, and the pure joy of a delicious bite.
So the next time you’re short on time but big on love, remember these Mini Pumpkin Pie Cups. They’re more than just a dessert; they’re a little edible hug. Now I’d love to hear from you! Did you try a fun variation? Tag me on social @TastyChow with your creations. Happy cooking, and from my messy apron to yours, let’s keep making something delicious together!
