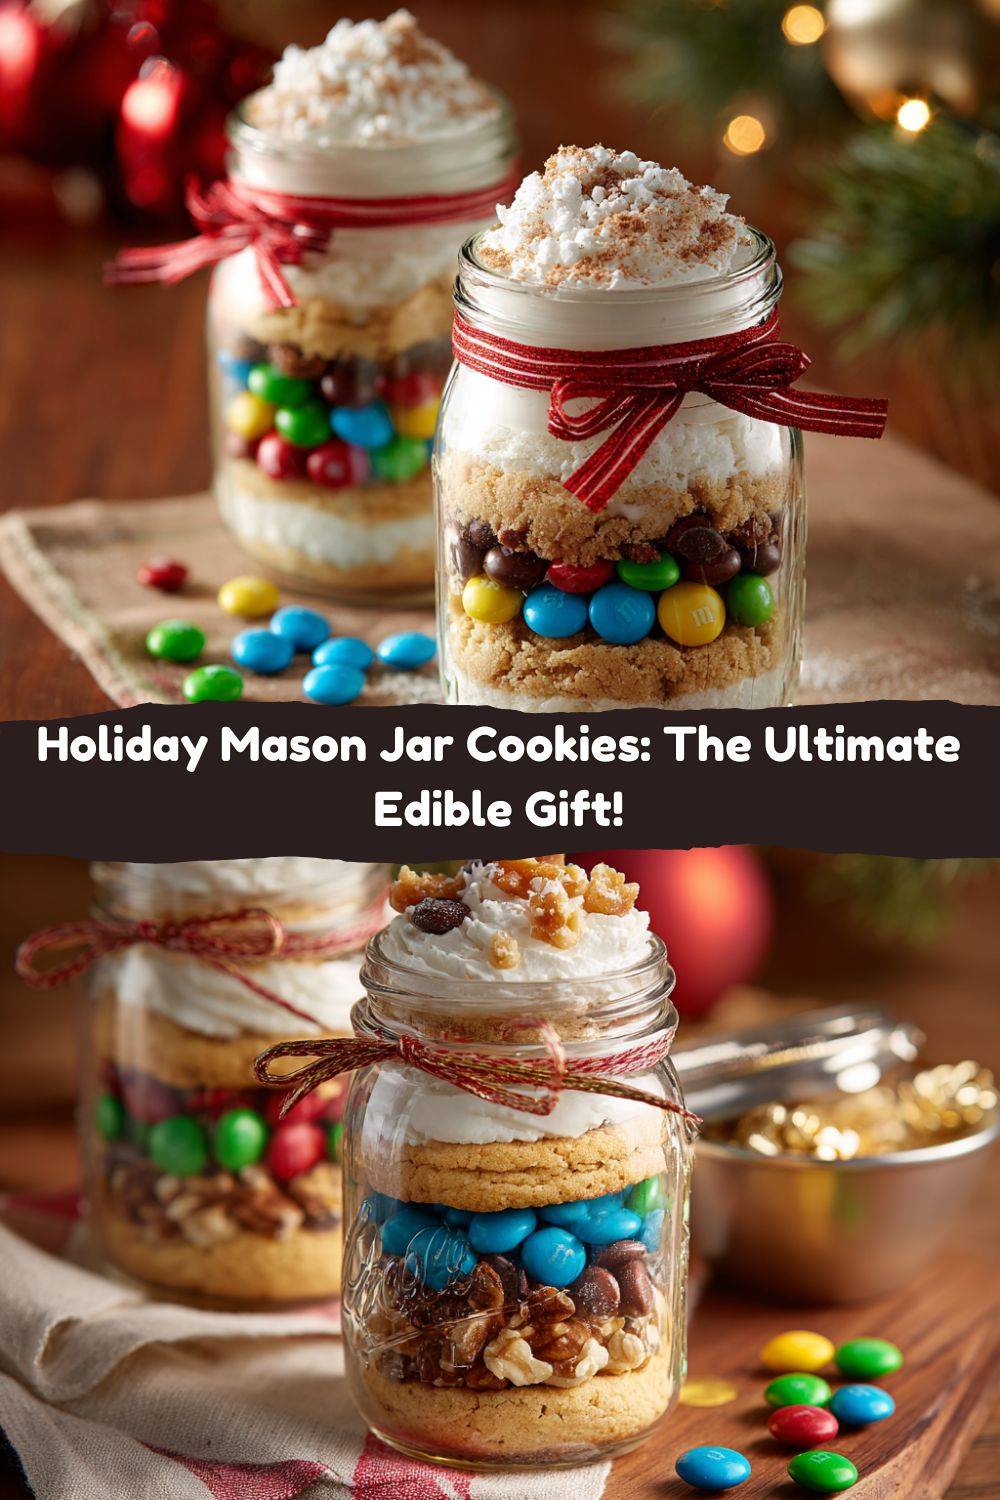
Holiday Mason Jar Cookies: The Sweetest, Easiest Gift from Your Kitchen!
Hey there, my fellow food lovers! Chef Emily here, coming to you from my kitchen that currently smells like a glorious mix of vanilla, sugar, and pure holiday joy. Is there anything better than the buzz of the festive season? The twinkling lights, the cozy sweaters, and of course, the incredible, heartwarming food. But let’s be real—it can also get a little hectic, right? Between shopping, decorating, and trying to remember where you stored the good wrapping paper, finding the time and energy to make heartfelt, homemade gifts can feel like a tall order.
Well, my friends, I have the absolute perfect solution that is equal parts adorable, delicious, and incredibly easy. I’m talking about my legendary Holiday Mason Jar Cookies! Imagine layers of beautiful, festive ingredients stacked neatly in a jar, just waiting to be transformed into the most wonderfully chewy, buttery, M&M-studded cookies. This isn’t just a recipe; it’s a little jar of holiday magic, a DIY gift that screams “I made this with love for you!” without requiring you to spend a whole day in the kitchen. It’s the gift of future cookies, and honestly, is there any better present? So, grab your favorite apron (the messy one with the stories, of course), and let’s create something truly special together.
A Spoonful of Nostalgia: Where This Recipe Began
This recipe takes me right back to my grandma’s kitchen, a place that always felt like the heart of our home, especially in December. She wasn’t a fancy chef, but she was a master of making people feel loved through food. One particularly snowy Christmas Eve, I remember her pulling out a simple glass jar filled with what looked like striped sand art. With a mischievous grin, she handed it to our new neighbors who had just moved in and didn’t know a soul. “Just add butter and an egg,” she told them. “It’ll make your new house smell like a home.”
I’ll never forget the look on their faces—a mix of surprise and genuine delight. It wasn’t an expensive gift, but it was a gesture that said, “Welcome, we’re glad you’re here.” That jar was more than cookie mix; it was a connection. That’s the spirit I try to bake into every single one of these mason jar gifts. It’s about sharing a little bit of that warm, fuzzy, holiday feeling, one layered jar at a time. It’s a tradition I’ve cherished and built upon, and now, I’m so excited to share my ultimate double-batch version with you!
Gathering Your Cookie Jar Magic: Ingredients & Insights
Here’s everything you’ll need to create two beautiful, giftable jars of cookie joy. The beauty of this recipe is in its simplicity and its flexibility. I’ve included my best chef tips and substitutions so you can make it your own!
- 2¼ cups all-purpose flour (per jar): This is the foundation of our cookie structure. For a slightly more tender cookie, you can swap in 1 cup of cake flour with 1¼ cups of all-purpose. Chef’s Tip: Fluff your flour with a spoon before scooping it into your measuring cup and level it off. This prevents accidentally packing in too much and making the cookies dry!
- 1 tsp baking soda (per jar): Our leavening agent! This is what gives the cookies their perfect lift and chewy texture. Make sure yours is fresh for the best results.
- 1 tsp salt (per jar): Do not skip this! Salt is the flavor superhero that makes all the sweetness pop and the chocolate taste richer. I use fine sea salt.
- 1 cup brown sugar, packed (per jar): This is the secret to a moist, chewy cookie with those lovely caramel notes. Pack it firmly into your measuring cup. For a deeper flavor, use dark brown sugar!
- ½ cup granulated sugar (per jar): The white sugar helps create that slight crispness on the edges while keeping the center soft. It’s the perfect partner for the brown sugar.
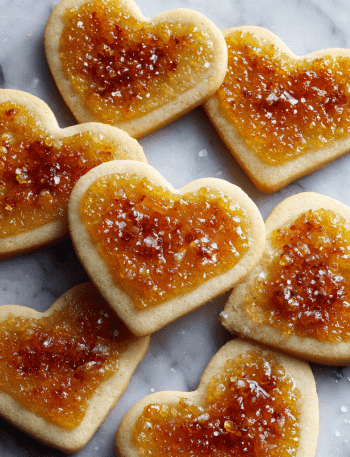
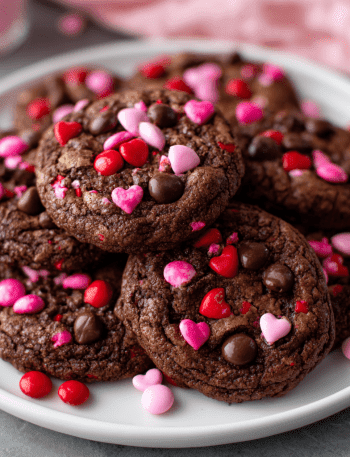
- 1 cup holiday M&Ms (per jar): The festive star of the show! Their colorful shells make the jars look so merry. Feel free to use regular M&Ms any time of year.
Optional Twists (Get Creative!):
- ½ cup chopped walnuts or pecans: Adds a wonderful crunch and toasty flavor. Perfect for the traditionalists on your list.
- ½ cup mini chocolate chips: Because you can never have too much chocolate. The minis distribute throughout the dough beautifully.
- ½ tsp cinnamon or pumpkin spice: A warm, cozy twist that makes the whole kitchen smell incredible while baking.
- ⅓ cup crushed candy canes: For a cool, minty, and super festive burst of flavor and color! Add this on top of the M&Ms layer.
Building Your Edible Masterpiece: Step-by-Step Instructions
Alright, let’s get layering! This part is so satisfying—it’s like creating delicious, edible art. Put on some holiday tunes, and let’s have some fun.
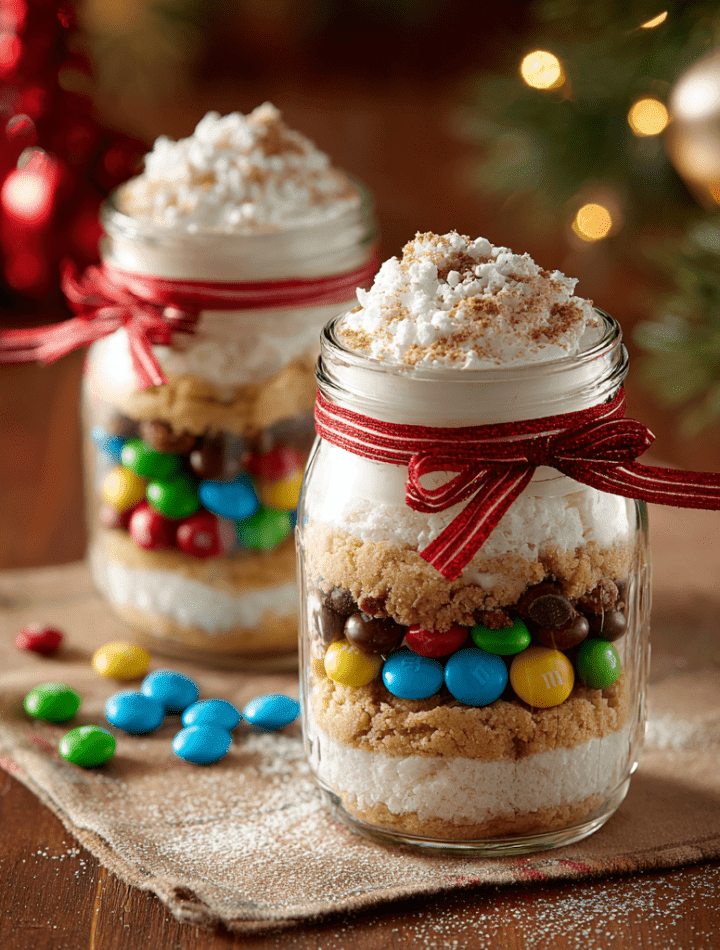
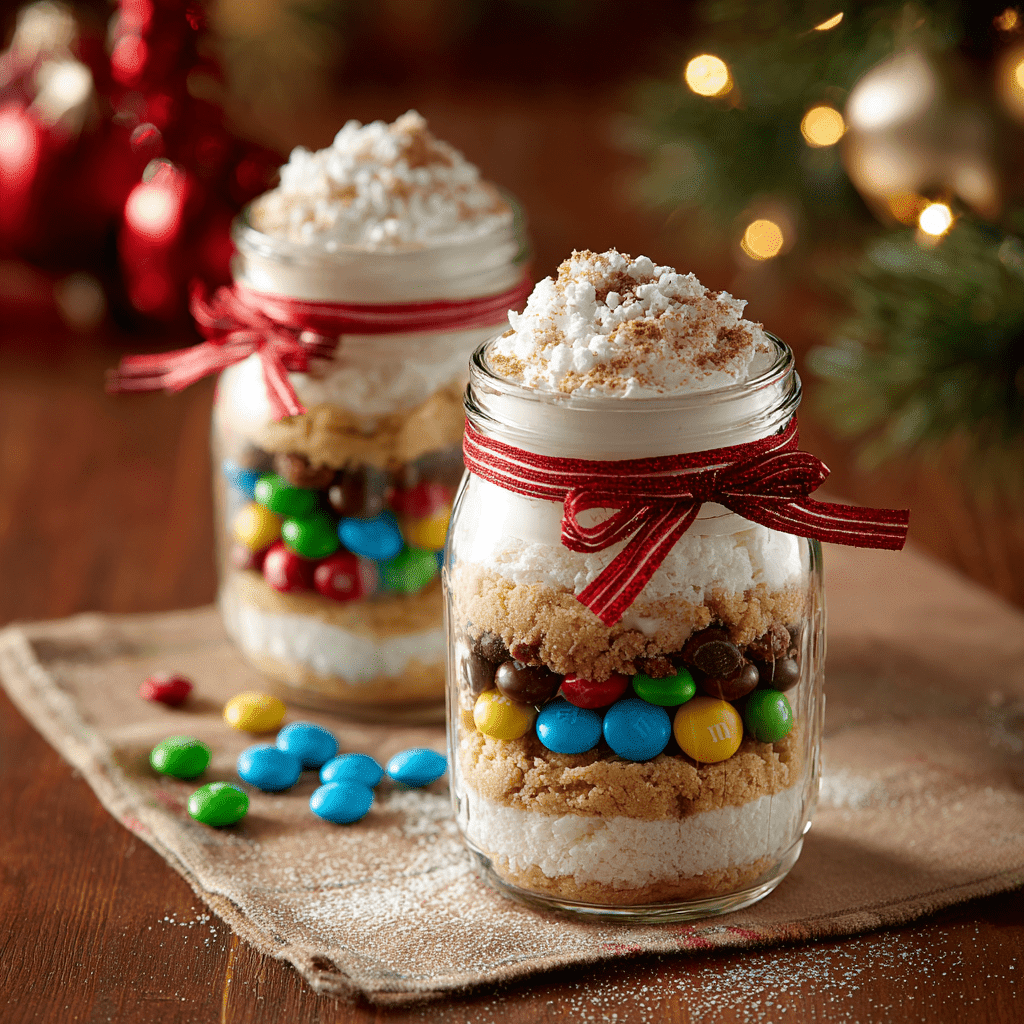
- Prep Your Station: Get out two clean and completely dry quart-sized mason jars. Having everything measured out and within reach makes the process smooth and enjoyable. I use small bowls for each ingredient.
- The Foundation Layer: In a small bowl, whisk together the flour, baking soda, and salt for one jar. This ensures the leavening is evenly distributed so every cookie bakes up perfectly. Gently spoon about one-third of this flour mixture into the bottom of the jar. Tap the jar lightly on the counter to settle it. Chef’s Hack: Use the bottom of a small glass or a tamper to gently press the layer down flat. This is key for getting those beautiful, defined stripes!
- Sweetness Overload: Next, pack the brown sugar into a measuring cup and carefully pour it into the jar for your next layer. Again, press it down firmly and evenly. Wipe any sugar from the sides of the jar with a dry paper towel for a clean look. Repeat with the granulated sugar, pressing it down as well.
- The Fun Part: Now, add your festive M&Ms and any other optional mix-ins like nuts or extra chocolate chips. This is the layer everyone will see first, so make it colorful and inviting! Gently press these down too.
- Seal the Deal: Now, add the remaining flour mixture to the jar, filling it almost to the very top. Press it down firmly one last time. You want the ingredients to be compact so they don’t shift during transport, but don’t press so hard that it becomes a solid brick! The lid should screw on easily.
- Repeat & Celebrate: Do a happy dance because you’ve finished one jar! Now, simply repeat the entire process for your second jar.
Decorating Your Gifts:
This is where the magic really happens! Take a large, clear plastic ornament (the kind you can find at any craft store) and carefully pull it apart into two halves. Place one half, dome-side up, on top of the filled jar. This creates a beautiful, clear, protective lid that shows off all your beautiful layers! Use a hot glue gun to secure the plastic dome to the metal mason jar ring. Once it’s cooled, screw the ring and dome onto the jar.
Cut a circle of festive holiday fabric to place under the lid before screwing it on for a cute, rustic touch. Tie a ribbon around the ring and attach a gift tag with the baking instructions (provided below). And voilà! You’ve just created a gift that is guaranteed to delight.
How to Serve Up These Sweet Gifts
When you’re giving these away, the presentation is half the fun! I love to pair each jar with a few extra little goodies to complete the gift.
- The Full Cookie Kit: Place the finished mason jar in a basket or a cute gift bag alongside a roll of parchment paper, a cute cookie spatula, and a brand-new oven mitt.
- Ready-to-Bake: For a super personal touch, offer to bake the cookies for the recipient! Deliver them on a festive plate wrapped in cellophane, still warm from the oven. Trust me, it’s a move they won’t forget.
- The Simple & Sweet: Sometimes, the jar alone, with its beautiful layers and handwritten note, is more than enough. It’s a simple, heartfelt gesture that truly speaks volumes.
Baking Instructions for Your Gift Tag:
“Preheat oven to 350°F (175°C). In a large bowl, beat ¾ cup softened butter, 1 large egg, and 1 tsp vanilla extract. Add entire jar of cookie mix and stir until combined. Scoop onto baking sheet and bake 9–11 mins. Let cool for 5 mins on the sheet. Enjoy!”
Make It Your Own: Delicious Recipe Variations
The fun doesn’t stop with holiday M&Ms! This jar concept is a blank canvas. Here are a few of my favorite twists to suit any taste or dietary need.
- Triple Chocolate Bliss: Swap the M&Ms for 1 cup of dark chocolate chunks, ½ cup of milk chocolate chips, and ½ cup of white chocolate chips. Chocolate overload in the best way possible.
- Festive Funfetti: Replace the M&Ms with 1 cup of holiday sprinkles and add ½ tsp of almond extract to the wet ingredients (note this on the tag). It’s a birthday party in a jar!
- Gluten-Free Gift: Use a 1:1 gluten-free all-purpose flour blend (like Bob’s Red Mill) instead of regular flour. Ensure your mix-ins are certified gluten-free.
- <strong”Cranberry White Chocolate Delight:” A more sophisticated flavor profile! Use 1 cup of dried cranberries and 1 cup of white chocolate chips instead of the M&Ms. The sweet and tart combo is incredible.
- Everything But the Kitchen Sink: Go wild! Use a mix of pretzel pieces, peanut butter chips, butterscotch chips, and toffee bits. There are no wrong answers here.
Chef Emily’s Notes: From My Kitchen to Yours
Over the years, this recipe has seen it all! I once, in a pre-coffee haze, accidentally layered the sugars first and the flour on top. The jar looked… interestingly gray. It was a great lesson in the importance of order for both aesthetics and function! I’ve also learned that a small piece of parchment paper placed on top of the final flour layer before sealing helps keep everything extra secure. This recipe is meant to be forgiving and fun. Don’t stress if your layers aren’t perfectly straight—it’s the love and the delicious cookies that count the most. The first time I made these with my niece, we got more flour on ourselves than in the jars, and we laughed until we cried. Those are the kitchen moments I cherish most.
FAQs & Troubleshooting: Your Questions, Answered!
Q: How long will the cookie mix stay good in the jar?
A: If stored in a cool, dry place, your layered cookie mix will be perfect for up to 3 months. The key is making sure all ingredients are fresh when you layer them and that the jar is sealed tightly to keep out moisture.
Q: My layers got mixed together in the jar! Did I ruin it?
A: Not at all! The cookies might not have the cool layered look anymore, but the recipe is 100% still intact. Just instruct your giftee to dump the entire contents of the jar into their bowl with the wet ingredients and mix as usual. The cookies will taste exactly the same—delicious!
Q: Can I use a different type of sugar?
A: You can experiment, but I highly recommend sticking with the brown and white sugar combo for the classic chewy-yet-crisp texture. Using all brown sugar will make a softer, denser, and more moist cookie, while all white sugar will make a crisper, lighter-colored cookie.
Q: Why do you press the layers down so firmly?
A: Pressing is the secret to those picture-perfect, distinct layers that make the gift so special. It prevents the ingredients from shifting during transport and ensures you can fit the entire recipe into one jar. Just don’t compact it into an impossible-to-break-apart brick!
Nutritional Information (A Quick Note!)
While we’re all about indulgence and joy here at Tasty Chow, I know some folks like to have a general idea. Please remember, this is an estimate for the dry mix in one jar before adding butter and egg. The final nutritional value will vary based on the specific brands of ingredients you use and the size of your cookies.
This entire jar of dry mix contains approximately 3,200-3,400 calories. If you make 20 cookies from one jar, each cookie would roughly contain about 160-170 calories. They are a treat, meant to be savored and shared with joy during the most wonderful time of the year!
Final Thoughts: Share the Sweetness
And there you have it, my friends! My all-time favorite edible holiday gift. These Holiday Mason Jar Cookies are more than just a recipe; they’re a experience. They’re about slowing down, creating something beautiful with your own hands, and sharing that warmth with others. It’s a gift that says, “I thought of you,” in the most delicious way possible.
I hope this recipe brings as much joy to your kitchen as it has to mine. Whether you’re making them for teachers, neighbors, friends, or just to have a fun baking project with your family, I’d love to see your creations! Tag me on social @tastychow so I can see your beautiful layered jars.
From my messy, flour-dusted kitchen to yours, have a wonderful, delicious, and heart-filled holiday season. Now, let’s get layering!
With love and a full jar,
Emily