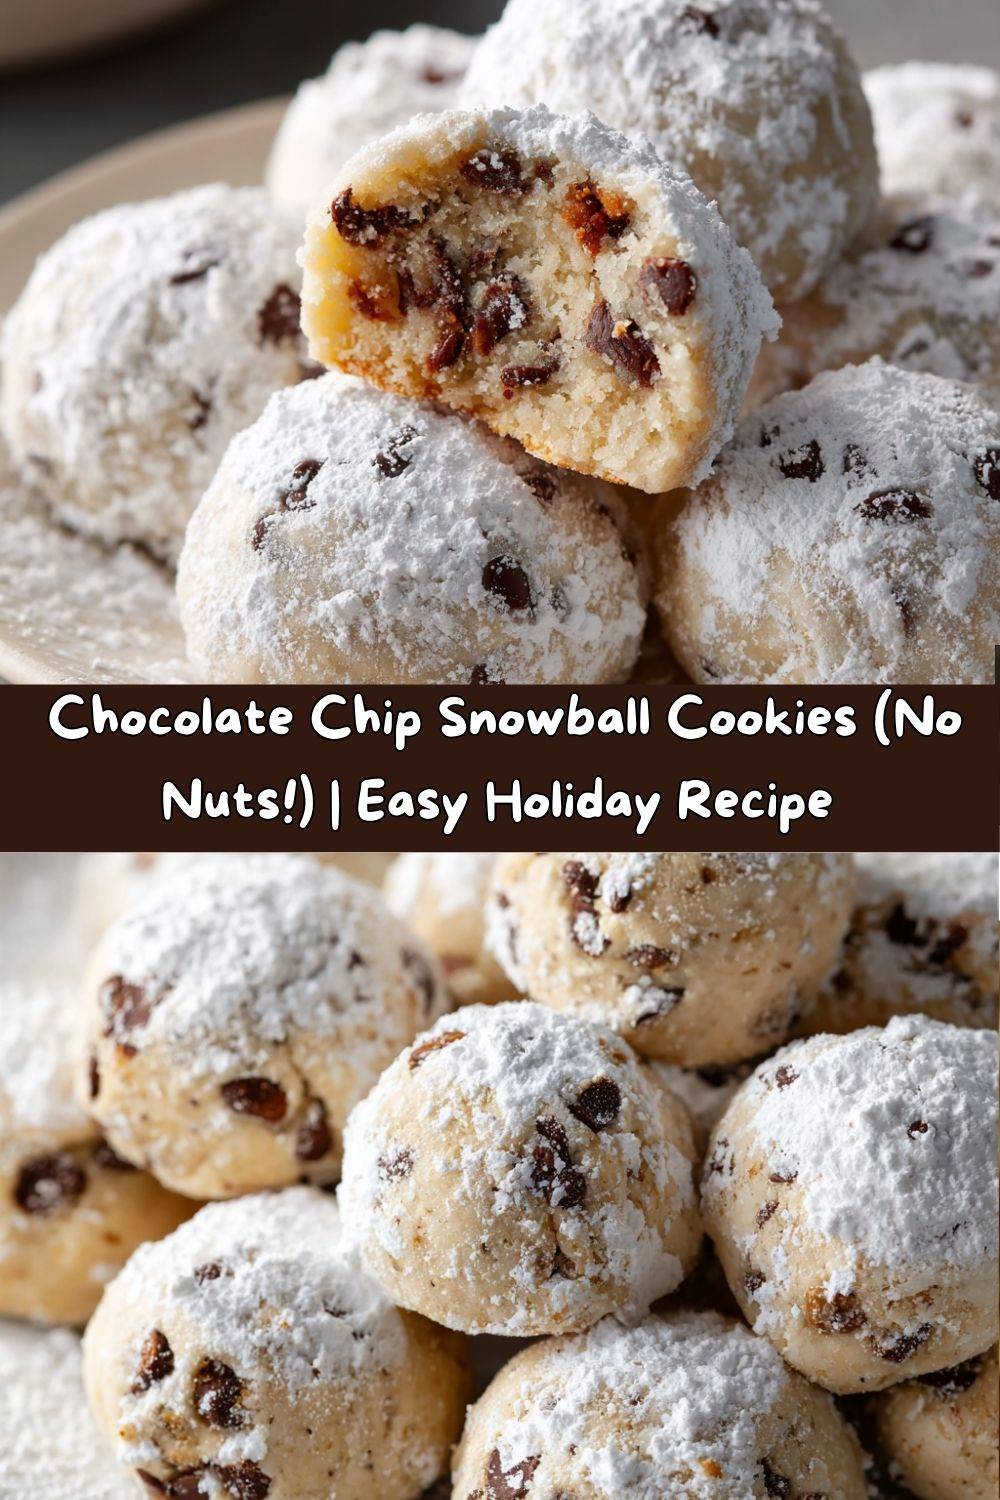
Chocolate Chip Snowball Cookies: Your New Holiday Obsession
Hey there, my fellow food lover! Chef Emily here, waving at you from my flour-dusted kitchen. Is there anything better than the smell of cookies baking in the oven? That warm, buttery scent just wraps around you like a cozy blanket, promising something sweet and wonderful is moments away. And during the holiday season, that feeling is magnified by about a million. It’s pure, unadulterated magic.
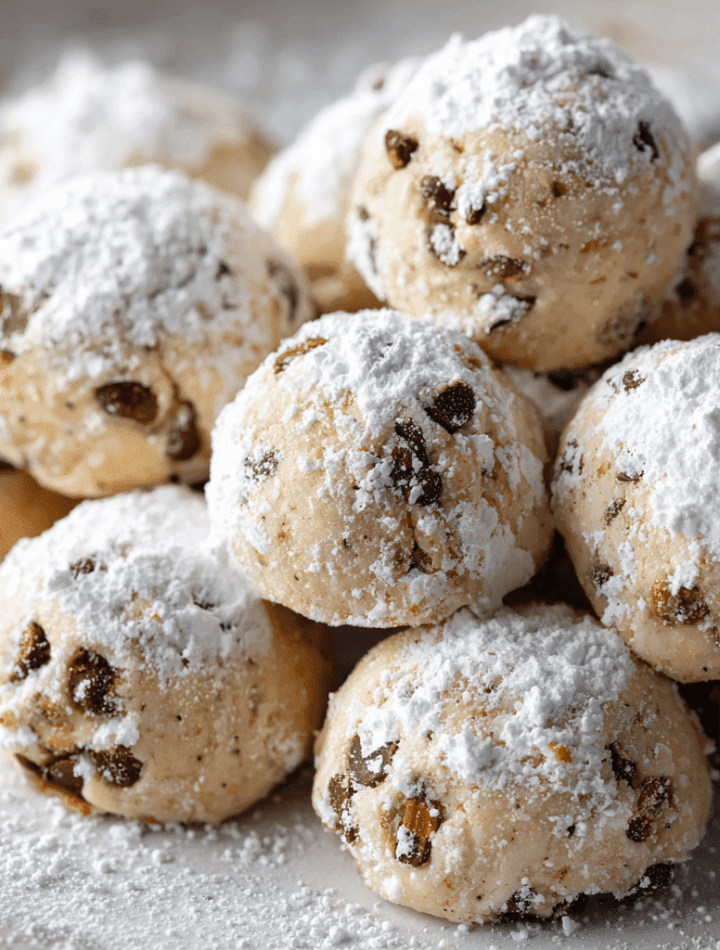
Today, I am beyond excited to share a recipe that has quickly become a star in my holiday cookie lineup: Chocolate Chip Snowball Cookies. Now, I know what you’re thinking. “Emily, aren’t those usually made with nuts?” Well, yes, the classic version is a total icon. But we’re giving it a glorious, chocolatey makeover that is going to blow your fuzzy socks off. Imagine the same melt-in-your-mouth, tender, buttery texture of a traditional snowball cookie, but now it’s studded with pockets of melty, semi-sweet chocolate chips. It’s a game-changer, my friend. They’re like little edible snowballs that decided to get fancy and filled themselves with joy. They’re incredibly easy to make, require no fancy equipment, and are absolutely foolproof. So, preheat that oven, grab your favorite mixing bowl, and let’s make a mess and some memories together!
A Snowy Day & A Grandmother’s Wisdom
This recipe always takes me back to my grandma’s kitchen on a blustery December afternoon. The world outside was a swirling mess of white, but inside, it was all golden light and the scent of toasted pecans and butter. Grandma was a queen of the classic snowball cookie—or Russian Teacake, as she sometimes called it. I’d sit at the worn wooden table, my legs swinging, watching her work her magic with a simple wooden spoon. No stand mixer, no fuss. Just strong, loving hands.
One year, my cousin—who was, and still is, wildly allergic to nuts—was coming for Christmas. My grandma, without missing a beat, declared, “Well, we’ll just have to make a special batch just for him.” She pondered for a moment, looked at the jar of chocolate chips on the shelf, and got that brilliant twinkle in her eye. She simply omitted the nuts and folded in a whole heap of chocolate chips instead. The result? Pure, unadulterated bliss. They were an instant hit, and my nut-free cousin felt so seen and loved. It was a powerful lesson for little me: that the best recipes aren’t just about following rules, but about adapting with love to bring everyone together around the table. That’s the spirit I bring to every recipe I create.
Gathering Your Cookie Crew: The Ingredients
Part of the beauty of this recipe is its simplicity. You likely have most of these ingredients in your pantry right now! Here’s what you’ll need and my little chef insights on each one.
- 1 cup (2 sticks) unsalted butter, softened – This is the heart and soul of the cookie, providing that incredible rich, melt-in-your-mouth texture. Chef’s Tip: “Softened” means cool to the touch but will leave a slight indent when you press it. Don’t let it get oily or melty! I usually take mine out of the fridge about an hour before baking.
- ½ cup powdered sugar (plus a whole lot more for coating) – We use powdered sugar in the dough because its fine texture keeps the cookies tender and delicate. And the snowy coating is non-negotiable for that classic look!
- 2 teaspoons vanilla extract – This is our flavor booster! It enhances the buttery notes and the chocolate. For a real treat, try using vanilla bean paste—you’ll see those beautiful little specks in the dough.
- 2¼ cups all-purpose flour – The foundation of our cookie. I like to fluff my flour up in the container, spoon it into the measuring cup, and level it off with a knife. This prevents accidentally using too much and making the dough dry.
- ¼ teaspoon salt – Never, ever skip the salt! It’s not there to make things salty; it’s there to make things taste more like themselves. It balances the sweetness and intensifies the chocolate flavor.
- 1 cup mini chocolate chips – The star of the show! I highly recommend mini chips. Their smaller size distributes more evenly throughout the dough, ensuring every single bite has a little chocolatey surprise. Regular-sized chips can make the balls harder to form.
Let’s Get Baking: The Step-by-Step Fun
Ready to create some magic? Follow these steps, and you’ll have perfect cookies in no time. I’ve sprinkled in all my best tips and hacks I’ve learned over the years!
- Preheat and Prep: Preheat your oven to 350°F (175°C). Line your baking sheets with parchment paper. This is my number one secret for perfect cookies—no sticking, easy cleanup, and it helps them bake evenly. Chef’s Hack: If you don’t have parchment, you can use a silicone baking mat or even just give the pan a very light spritz of cooking spray.
- Creaming is Key: In a large bowl, cream together the softened butter and ½ cup of powdered sugar until the mixture is light, fluffy, and pale in color. This should take about 2-3 minutes with a hand mixer or stand mixer fitted with a paddle attachment. Why do this? Creaming incorporates air into the dough, which gives the cookies that lovely tender texture. Don’t rush this step!
- Vanilla Vibes: Mix in the 2 teaspoons of vanilla extract until it’s fully incorporated. Scrape down the sides of the bowl with a spatula to make sure everything is well mixed.
- Bring in the Dry Team: Gradually add in the flour and salt. I usually add it in two or three additions, mixing on low speed until just combined. Warning: Don’t overmix at this stage! Overmixing develops gluten, which can make the cookies tough. We want them delicate and crumbly.
- The Main Event: Now, for the best part! Use a spatula or wooden spoon to fold in the entire cup of mini chocolate chips. Make sure they’re evenly distributed throughout the dough.
- Scoop and Roll: This dough is soft, which is perfect! Use a small cookie scoop (about 1 tablespoon size) or a spoon to portion out the dough. Then, roll each portion between your palms into a smooth, 1-inch ball. Place them on your prepared baking sheets, spacing them about 1-2 inches apart. They don’t spread much, so you can fit a fair amount on one sheet.
- Bake to Perfection: Bake for 10-12 minutes. You’re looking for the bottoms to be just lightly golden. The tops will remain pale and should not brown. Chef’s Secret: They might look a little underdone when you take them out, but that’s perfect! They continue to cook on the hot baking sheet as they cool. Overbaking is the enemy of a tender snowball cookie.
- The Double Snow Roll: This is the signature move! Let the cookies cool on the baking sheet for exactly 5 minutes. They need to be firm enough to handle but still warm. Place a generous amount of powdered sugar in a shallow bowl. Gently roll each warm cookie in the sugar until it’s completely coated. Place them on a wire rack to cool completely. Once they’re fully cool, give them a second roll in the powdered sugar. This double coating ensures a thick, snowy, beautiful finish that won’t just soak into the cookie.
How to Serve These Little Clouds of Joy
Okay, the hardest part is over (waiting for them to cool is agony, I know!). Now, how do we serve these beauties? They are wonderfully versatile.
Pile them high on a vintage cake stand or a simple rustic wooden board for a gorgeous holiday dessert table display. They look absolutely stunning next to darker cookies like gingerbread or chocolate crinkles.
I love serving them with a hot cup of coffee, a mug of rich hot chocolate, or a glass of cold milk for the ultimate nostalgic experience. They also make for a fantastic edible gift! Package a dozen in a cute cellophane bag tied with a ribbon, or stack them in a festive tin. It’s a gift made with love that everyone truly appreciates.
Get Creative: Fun Recipe Variations
Once you’ve mastered the basic recipe, the world is your oyster! Here are a few of my favorite twists to keep things interesting:
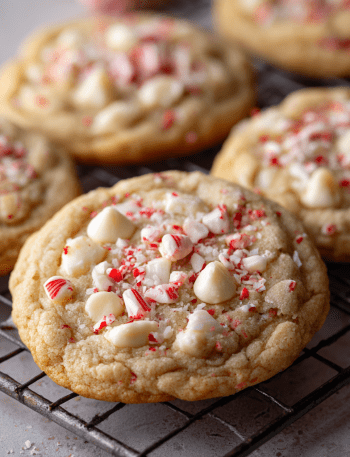
- Peppermint Twist: Add ½ teaspoon of peppermint extract along with the vanilla. Fold in ½ cup of crushed peppermint candies or candy canes along with the chocolate chips for a refreshing, festive cookie.
- S’mores Snowball: Replace the chocolate chips with a mix of mini chocolate chips and crushed graham cracker pieces. You could even try rolling the finished cookies in a mixture of powdered sugar and graham cracker crumbs.
- Mocha Magic: Dissolve 1 tablespoon of instant espresso powder into the vanilla extract before adding it to the creamed butter. The coffee flavor enhances the chocolate beautifully without being overpowering.
- Nutty for Those Who Can: For a hybrid cookie, feel free to add ½ cup of very finely chopped toasted pecans or walnuts to the dough along with the flour. You’ll get the classic flavor with a chocolatey bonus.
- Gluten-Free & Great: You can easily make these gluten-free! Use a 1:1 gluten-free all-purpose flour blend (I’ve had great success with Bob’s Red Mill and Cup4Cup). The texture might be slightly more sandy, but they are still utterly delicious.
Chef Emily’s Notebook Scribbles
This recipe has evolved so much since that first batch in my grandma’s kitchen. I’ve made it in tiny apartment ovens, for huge holiday parties, and as a last-minute “I need cookies NOW” lifesaver more times than I can count. The dough is also a dream to make ahead—you can portion it into balls and freeze them on a baking sheet before transferring to a freezer bag. Then, just bake from frozen, adding a minute or two to the baking time. Fresh, warm cookies anytime! A funny story: one year, my dog managed to sneak one off the cooling rack. He then walked around the house with a perfectly white, powdered sugar nose for hours, looking very guilty but very pleased with himself. We still laugh about it. Some recipes are about more than just food; they’re about the memories you make while making them.
Your Questions, Answered!
Q: My dough is really crumbly and won’t roll into balls. What happened?
A: This usually means there’s a bit too much flour or the butter wasn’t quite soft enough. Don’t worry! Try working the dough with your hands for a minute—the heat from your palms will help the butter soften and bring it together. If it’s truly dry, you can add a teaspoon of milk or water at a time until it becomes workable.
Q: Why do I have to roll them twice in powdered sugar?
A: The first roll on the warm cookies creates a base layer that sort of melts into the surface. The second roll, once they’re cool, creates that final, thick, snowy, picture-perfect coating that doesn’t get absorbed. It makes all the difference!
Q: Can I use salted butter?
A: You can! Just omit the added ¼ teaspoon of salt in the recipe. The flavor will be very similar.
Q: My powdered sugar coating is melting/disappearing. Help!
A> This usually happens if the cookies are stored in an airtight container before they are completely, 100% cool. Any residual heat will create steam, which dissolves the sugar. Always, always let them cool on a wire rack first! If it happens, just give them another light roll in powdered sugar before serving.
Chocolate Chip Snowball Cookies
- Total Time: 30 minutes
- Yield: 36 Cookies 1x
Description
These Chocolate Chip Snowball Cookies are a delicious twist on the classic pecan snowballs—rich, buttery, and studded with melty chocolate chips, then rolled in snowy powdered sugar. They melt in your mouth with every bite and bring a touch of nostalgia with a chocolatey upgrade. No nuts, no fuss, just pure holiday joy.
Ingredients
1 cup unsalted butter, softened
½ cup powdered sugar (plus more for coating)
2 teaspoons vanilla extract
2¼ cups all-purpose flour
¼ teaspoon salt
1 cup mini chocolate chips
Instructions
Preheat oven to 350°F (175°C). Line baking sheets with parchment paper.
In a large bowl, cream butter and powdered sugar until light and fluffy.
Mix in vanilla extract.
Add flour and salt gradually, mixing until a soft dough forms.
Fold in mini chocolate chips.
Scoop into 1-inch balls and place on baking sheets, spaced about 1 inch apart.
Bake for 10–12 minutes, or until bottoms are lightly golden (tops will remain pale).
Let cool for 5 minutes, then roll warm cookies in powdered sugar. Cool completely and roll again for a snowy finish.
- Prep Time: 15 minutes
- Cook Time: 10–12 minutes
Nutrition
- Calories: 120 / Cookie
- Sugar: 6g / Cookie
- Fat: 7g / Cookie
- Carbohydrates: 14g / Cookie
- Protein: 1g / Cookie
Nutritional Information*
Alright, my friends, let’s talk real talk. These are a treat, and we enjoy every single bite! Here’s a rough nutritional breakdown per cookie (based on a yield of 36 cookies).
- Calories: 120 kcal
- Fat: 7g
- Carbohydrates: 14g
- Sugar: 6g
- Protein: 1g
*Please note: This is an estimate provided by an online nutritional calculator. It will vary based on specific ingredients and portion sizes. For precise dietary needs, it’s always best to calculate using your exact brands.
Final Thoughts from My Kitchen to Yours
Well, there you have it! My absolute love letter to the Chocolate Chip Snowball Cookie. I hope this recipe brings as much warmth, joy, and deliciousness to your kitchen as it has to mine. It’s more than just a list of ingredients and steps; it’s an invitation to create, to share, and to savor the sweet moments, especially during the busy holiday season.
So, I’d love to hear from you! Did you make these? Did you add your own twist? Tag me on social @TastyChow with your cookie photos—seeing your kitchen creations truly makes my day. Now, go forth and bake something beautiful!
With love and a full cookie jar,
Emily