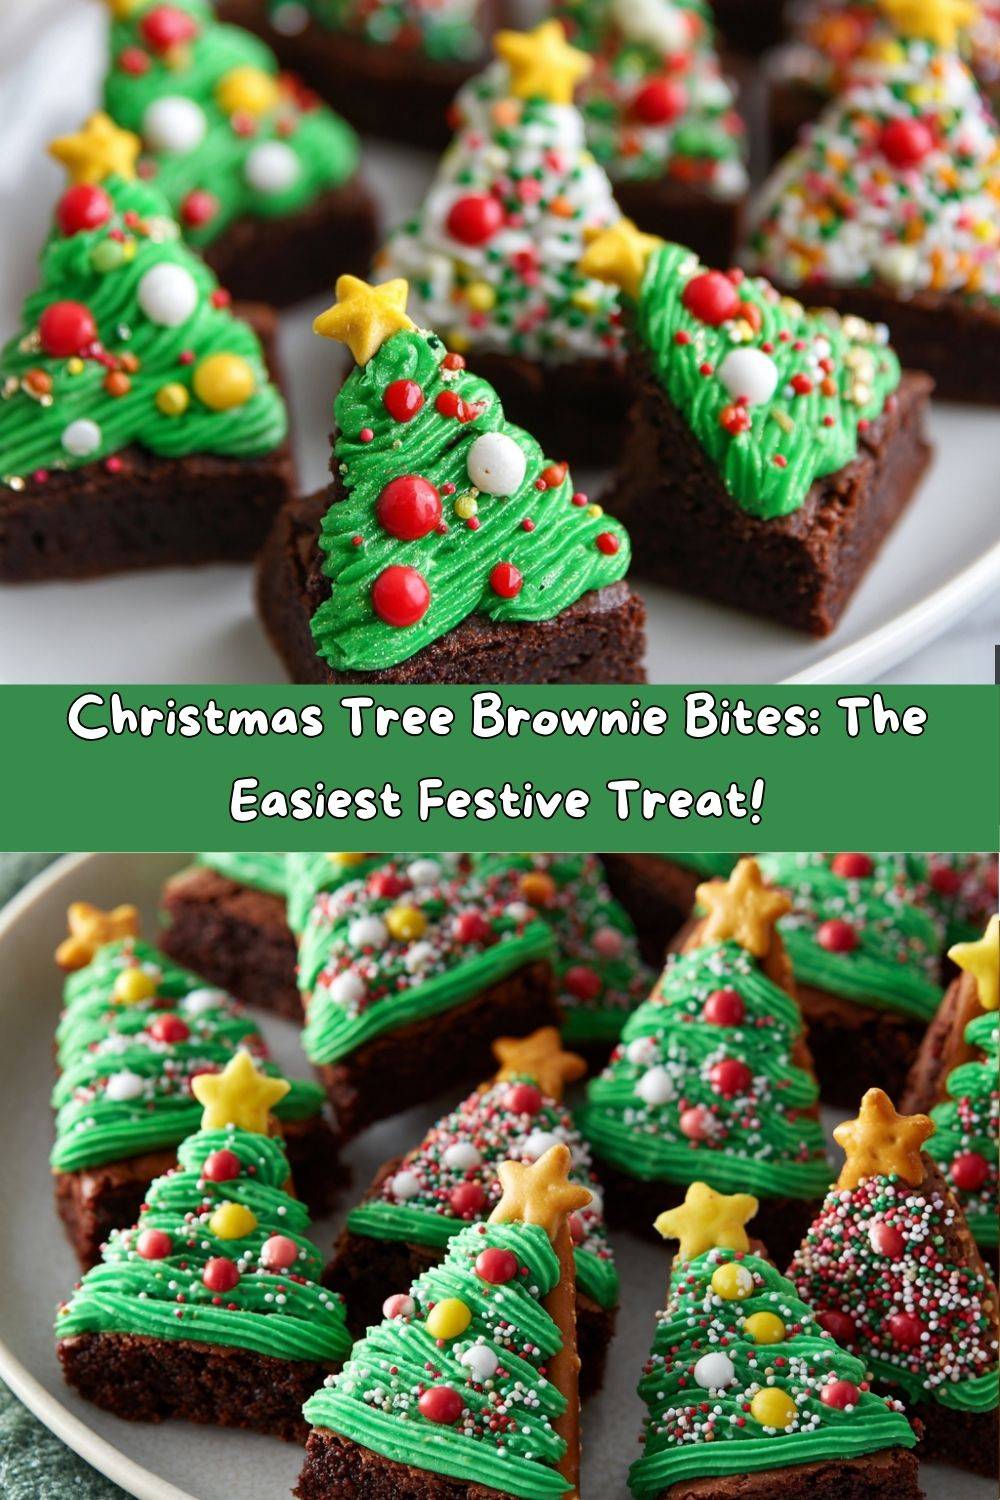
Christmas Tree Brownie Bites: Your New Favorite Holiday Tradition!
Hey there, my festive friend! Can you smell it? That magical blend of melted chocolate, warm vanilla, and pure, unadulterated holiday joy wafting from the oven. It’s that time of year again, and if you’re anything like me, you’re on a mission to create a dessert table that’s not just delicious, but downright enchanting. You want something that makes the kids’ eyes light up, something that earns a happy sigh from your guests, and something that’s actually fun for you to make amidst the holiday hustle.
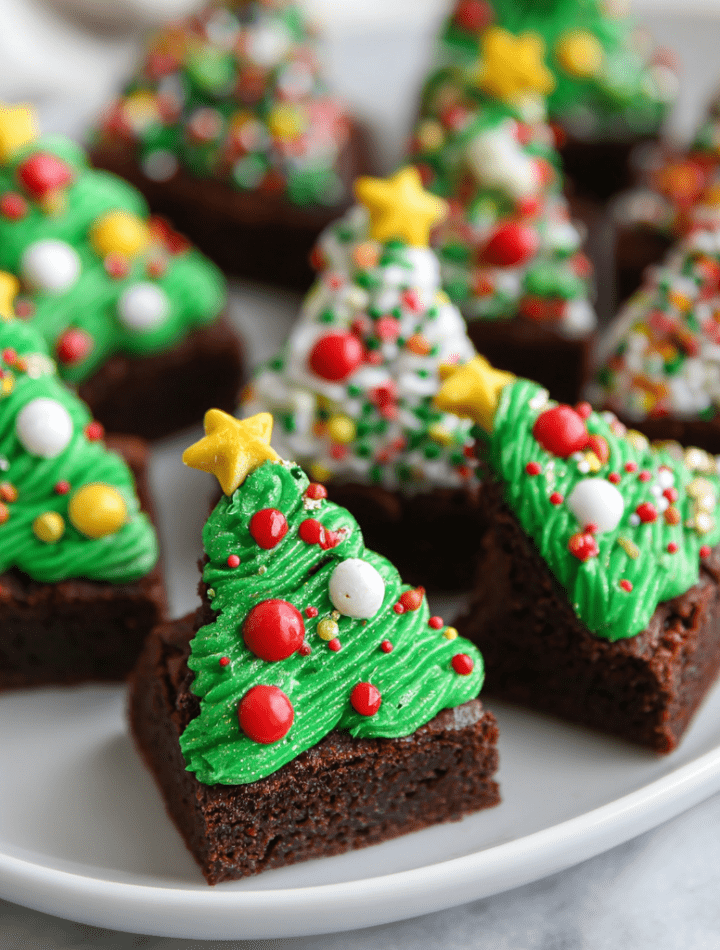
Well, pull up a stool and grab a mug of cocoa, because I’m about to share the recipe that checks every single box: my utterly irresistible Christmas Tree Brownie Bites. Imagine this: rich, fudgy brownies, cut into cute little triangles and transformed into a forest of festive evergreens. Each one gets a zig-zag of vibrant green frosting, a blizzard of colorful sprinkles, and a cheerful candy star topper. They’re bite-sized, they’re beautiful, and I promise, they are an absolute joy to create.
Whether you’re hosting the big family feast, heading to a cookie exchange, or just want to sprinkle a little extra magic onto a quiet December evening, these brownie bites are your secret weapon. They combine the homemade comfort of from-scratch baking with the playful creativity of decorating, and the best part? They are so simple that you can absolutely get the whole family involved. So, tie on your favorite messy apron (the one with the candy cane stains, you know the one!), and let’s make some holiday magic together. These aren’t just desserts; they’re edible happiness.
A Kitchen Full of Trees: My Grandma’s Sweet Legacy
This recipe always takes me right back to my grandma’s warm, cinnamon-scented kitchen. She was the queen of making ordinary moments feel extraordinary. One particularly snowy December afternoon, when I was about seven, she decided we weren’t just making brownies; we were building a forest. She pulled out her trusty, slightly battered square pan and baked the most decadent fudge brownies I’d ever tasted. After they cooled, she didn’t cut them into boring old squares. Oh no.
With a twinkle in her eye, she showed me how to slice them into triangles. “Look, Emily,” she whispered, “they’re little mountains!” Then came a bowl of green-tinted buttercream and a jar of multi-colored sprinkles. We spent the next hour turning those chocolatey mountains into a whimsical woodland. My trees were a bit lopsided and generously sprinkled, but Grandma declared them the most beautiful trees she’d ever seen. That day, she taught me a lesson that’s at the heart of Tasty Chow: food is so much more than fuel. It’s a canvas for creativity, a catalyst for connection, and a way to weave love and laughter into the fabric of our holidays. Every time I pipe that green frosting, I feel a little bit of her magic right there with me in the kitchen.
Gathering Your Forest-Making Supplies
Here’s everything you’ll need to create your own edible Christmas tree farm. Don’t stress about perfection—this is about fun and flavor! I’ve included my favorite chef insights and substitutions so you can make this recipe work with what you have.
- 1 batch of brownies (9×13-inch pan), baked and completely cooled: This is your foundation! You can use my favorite homemade fudgy brownie recipe for ultimate richness, or a reliable boxed mix for sheer convenience. Chef’s Insight: I highly recommend letting the brownies cool completely, even chilling them in the fridge for 30 minutes. This makes them much easier to cut into clean triangles without crumbling!
- About 1 cup of green frosting: You can use store-bought vanilla or cream cheese frosting tinted with green gel food coloring (gel color gives a more vibrant hue without thinning the frosting), or whip up a simple homemade buttercream. Substitution Tip: For a different flavor, try mint frosting! It pairs wonderfully with chocolate. For a dairy-free option, many grocery stores carry vegan frostings that work perfectly.
- Holiday sprinkles: The more the merrier! I love using a mix of red and green nonpareils, jimmies, or even sanding sugar for a sparkly snow effect. This is where your personality shines. Chef’s Insight: Pour your sprinkles into a shallow bowl for easy dipping and to contain the inevitable sprinkle-spill.
- Candy stars or yellow M&M’s for toppers: The crowning glory! Candy stars are ideal, but if you can’t find them, yellow M&M’s (placed yellow-side-up) or even star-shaped sprinkles make adorable alternatives.
- Mini candy cane halves or pretzel sticks (optional, for trunks): This extra step adds a delightful structural and flavor element. A mini candy cane gives a hint of peppermint, while a pretzel stick offers a nice salty contrast. Substitution Tip: If you don’t have either, your trees will still be gorgeous without the trunk!
Let’s Build Some Brownie Trees! A Step-by-Step Guide
Ready to create? Follow these steps, and you’ll have a plateful of festive joy in no time. I’ve packed each step with my best tips to ensure your success.
- Bake and Cool Your Brownies. Prepare your chosen brownie batter and bake it in a 9×13-inch pan according to the recipe or box directions. The most crucial step here is patience! Let the brownies cool completely in the pan on a wire rack. Chef’s Hack: To speed this up, once they’re cool to the touch, you can pop the entire pan into the refrigerator for about 30 minutes. Cold brownies are infinitely easier to cut neatly.
- The Great Tree Cut-Out. This is easier than it looks, I promise! First, use a sharp knife to slice the entire pan of brownies into 3 even horizontal rows. Now, for each row, make diagonal cuts to create a series of triangles. Think of it as cutting a zig-zag pattern down the row. You should get about 5 triangles per row, giving you 15 perfect little Christmas trees! Chef’s Tip: Wipe your knife clean between cuts for the sharpest edges.
- Add the Trunk (Optional but Adorable!). If you’re using candy canes or pretzel sticks, now’s the time! Gently press a half of a mini candy cane or a pretzel stick into the wide, flat base of each brownie triangle. Don’t force it, or the brownie might crack. Just a gentle push to anchor it.
- Pipe on the Green “Foliage.” Spoon your green frosting into a piping bag fitted with a star or round tip. If you don’t have a piping bag, no worries! A simple zip-top bag with a tiny corner snipped off works just as well. Starting at the top point of the triangle, pipe a zig-zag line of frosting back and forth all the way down to the base, creating the look of a garland-covered tree. Chef’s Hack: If your frosting is too thick to pipe easily, let it sit at room temperature for a bit or add a tiny teaspoon of milk to thin it out.
- Deck the Trees with Sprinkles! While the frosting is still wet, hold your brownie tree over your bowl of sprinkles and gently press them onto the frosting, or use your fingers to sprinkle them on. Cover as much or as little as you like—there’s no wrong way to decorate a Christmas tree!
- The Grand Finale: The Star Topper. Carefully place a candy star or a yellow M&M on the very top point of each tree. Gently press it into the frosting so it stays put. And voilà! You’ve just created a masterpiece.
- Let Them Set. Allow the frosting to set for about 15-20 minutes before serving or packaging them up. This helps everything stay picture-perfect.
How to Serve Your Festive Forest
Presentation is part of the fun! Here are a few of my favorite ways to serve these cuties:
On a Tiered Stand: Arrange them on a cake stand for a stunning centerpiece on your dessert table. It gives them height and makes them look extra special.
As a Giftable Treat: Place them in clear cellophane bags, tie them with a festive ribbon, and attach a gift tag. They make incredible homemade gifts for teachers, neighbors, or friends.
On a “Winter Wonderland” Platter: Create a scene! Use a large platter and sprinkle it with a layer of powdered sugar or coconut flakes to look like snow. Artfully arrange your brownie trees on top, and you have an instant winter landscape.
With a Side of Cheer: Serve them alongside a glass of cold milk for the kids, a hot cup of coffee for the adults, or even a glass of peppermint schnapps-spiked hot chocolate for a real grown-up treat!
5 Fun Ways to Shake Up Your Christmas Trees
Want to get creative? Here are some delicious twists on the classic recipe:
- Peppermint Patty Forest: Add a layer of thin peppermint patties or Andes mints on top of the warm brownies right out of the oven. Let them melt, then spread them into an even minty layer before cooling and cutting.
- Nutty Wonderland: Fold 1/2 cup of chopped pecans or walnuts into your brownie batter before baking for a delightful crunch. You can even press a single pecan half onto the base as a “tree stump.”
- Gluten-Free & Dairy-Free Friendly: Use your favorite gluten-free brownie mix and ensure your sprinkles are gluten-free. Opt for a dairy-free frosting (many are available pre-made) and use a vegan candy star or an Enjoy Life chocolate piece as a topper.
- Chocolate Orange Twist: Add the zest of one orange to your brownie batter and use an orange-flavored frosting tinted green. The chocolate-orange combo is a classic holiday flavor!
- “Snow-Capped” Trees: For a simpler, elegant look, skip the green frosting and drizzle the trees with a simple white glaze or melted white chocolate. Then, dust the very edges with powdered sugar for a snowy effect.
Chef Emily’s Notes from a Flour-Dusted Kitchen
This recipe has evolved so much since that first day with my grandma. One year, in a pre-holiday frenzy, I discovered that using a plastic knife to cut the brownies creates miraculously clean cuts with no sticking—a game-changer! Another time, my nephew decided the trees needed “ornaments” and meticulously placed single sprinkles with tweezers. It took forever, but his pride was worth every second. That’s the beauty of this recipe: it’s a template for joy. Don’t get hung up on making every zig-zag identical. The charm is in their individuality! Over the years, I’ve learned that the best kitchen memories are often the slightly messy, imperfect, and laughter-filled ones. So, embrace the sprinkle spillage and enjoy the process.
Your Christmas Tree Brownie Questions, Answered!
Q: My brownies are crumbling when I cut them! What did I do wrong?
A: This usually means they were still a bit warm or need to be colder. Next time, make sure they are 100% cooled and try chilling them in the pan in the fridge for 30-60 minutes. A very sharp knife, wiped clean between cuts, also helps immensely.
Q: Can I make these ahead of time?
A: Absolutely! You can bake and cut the brownie triangles up to 2 days in advance. Store them in an airtight container at room temperature. I recommend decorating them the day you plan to serve them so the frosting is fresh and the sprinkles stay crisp.
Q: My frosting is too runny/thick. How can I fix it?
A: For runny frosting, chill it in the fridge for 15-20 minutes to firm up. If it’s too thick to pipe, it can tear the brownies. Let it warm up at room temperature for a bit or add a tiny amount of milk or cream (a teaspoon at a time) until it reaches a pipeable consistency.
Q: I can’t find candy stars. Any other topper ideas?
A: Of course! Get creative: a yellow Mike & Ike, a dab of yellow frosting piped into a star shape, a gold dragée, or even a small piece of a yellow fruit roll-up cut into a star. The sky’s the limit!
Nutritional Information (Approximate)
Okay, let’s be real—these are a treat, and they’re meant to be enjoyed as part of the holiday festivities! This estimated nutritional info is based on using a standard boxed brownie mix and vanilla frosting. Remember, values can vary based on the specific ingredients and brands you use.
Yield: About 15 brownie trees
Prep Time: 20 minutes (after baking)
Bake Time: 25–30 minutes
Total Time: ~50 minutes
Estimated Nutrition per Tree:
Calories: ~210 kcal
Total Fat: ~9 g
Saturated Fat: ~4 g
Carbohydrates: ~32 g
Sugar: ~22 g
Protein: ~2 g
Sodium: ~100 mg
Fiber: ~1 g
Final Sweet Thoughts
And there you have it, my friend! Your guide to creating the most delightful, festive, and downright fun Christmas Tree Brownie Bites. I hope this recipe brings as much laughter and light into your kitchen as it has into mine over the years. Remember, the goal isn’t perfection; it’s connection. It’s the joy of licking the frosting spoon, the giggle when a sprinkle goes astray, and the proud moment you present your edible forest to the people you love.
So from my messy, joyful kitchen to yours, I wish you the happiest of holidays filled with delicious food and even better company. If you make these (and I really hope you do!), please tag me on social @tastychow—I would absolutely love to see your beautiful creations! Now, go forth and spread some cheer, one bite-sized brownie tree at a time.
With love and a full heart,
Emily