Mitten Melt Cookies: The Coziest, Most Delicious Holiday Treat You’ll Ever Bake
Hey there, my fellow food lover! Chef Emily here, waving a flour-dusted hand from my kitchen. Is there anything better than the smell of cookies baking on a crisp winter day? I think not. It’s the scent of pure, unadulterated joy—a little buttery, a little sweet, and 100% guaranteed to make your house feel like a holiday hug.
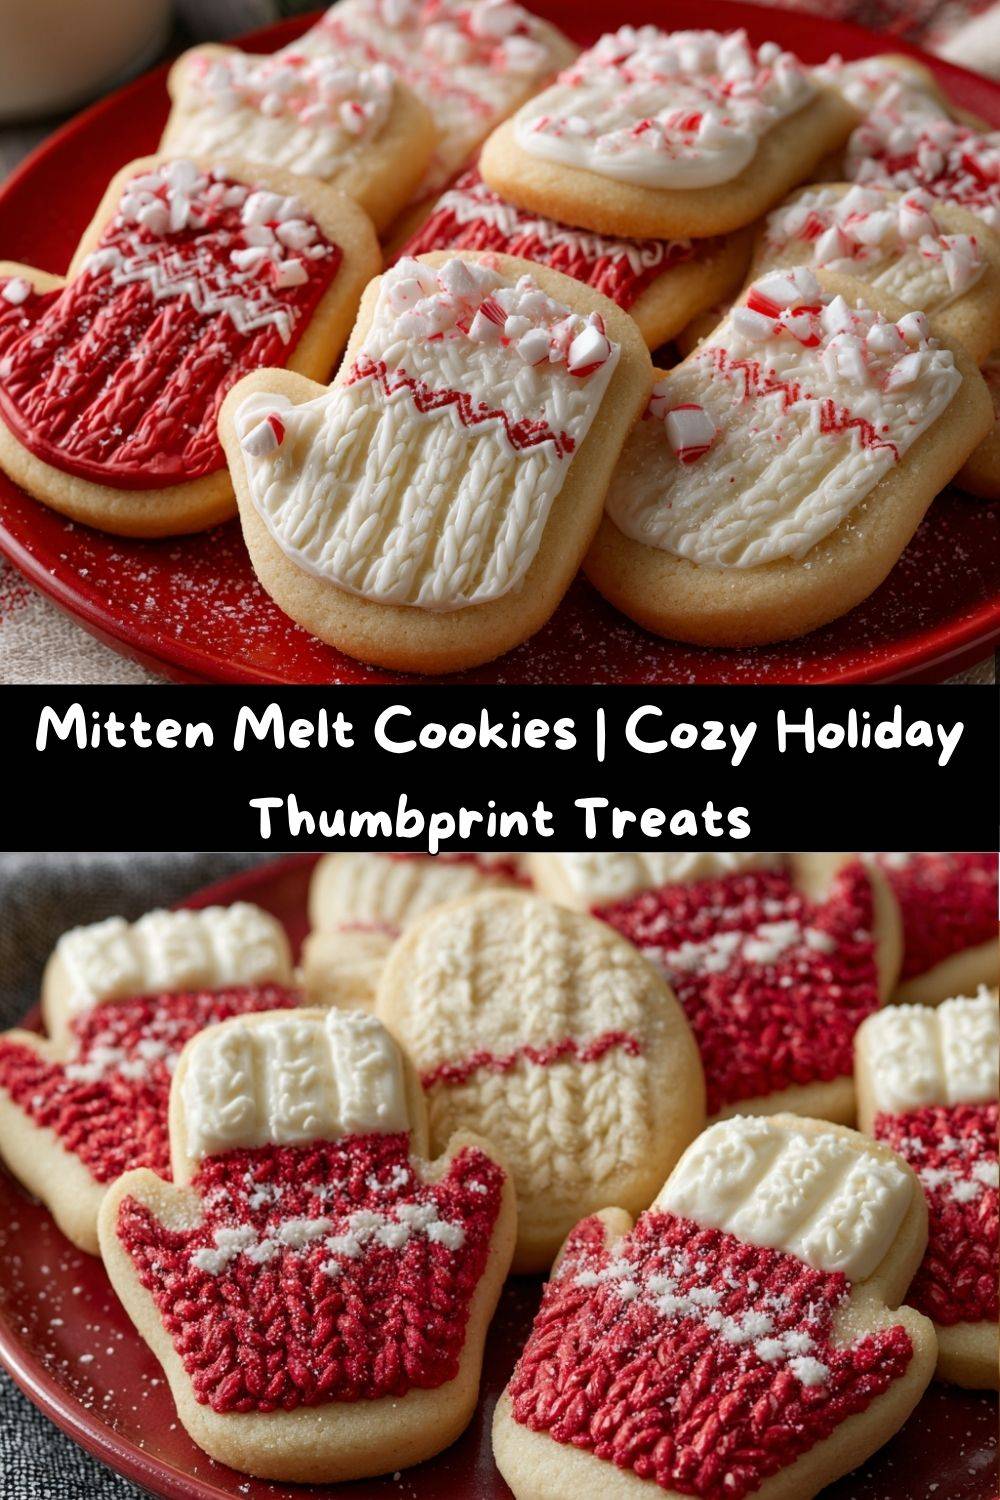
But today, we’re not just making any cookie. We’re creating magic. We’re whipping up a batch of what I like to call “edible winter accessories.” That’s right, we’re baking up a storm of the most adorable, melt-in-your-mouth Mitten Melt Cookies!
Imagine this: a tender, buttery vanilla cookie, shaped like a cozy winter mitten. In the palm of that cute little mitten sits a pool of creamy, dreamy peppermint white chocolate ganache. When these cookies are slightly warm, that ganache softens into a fudge-like consistency that truly *melts* on your tongue. We’re talking next-level deliciousness here, folks. And to top it all off? A little drizzle of icing that looks just like the knit lines on your favorite woolly mittens. They’re almost too cute to eat… I said *almost*.
Whether you’re a baking newbie or a seasoned pro, these cookies are totally doable and an absolute blast to make. They’re perfect for cookie swaps, holiday parties, or just a fun, festive afternoon in the kitchen. So, tie on your favorite apron (the messy one is always the best!), and let’s make something delicious that will warm hearts and bellies alike.
The Story Behind the Mitten: A Cozy Kitchen Memory
This recipe takes me right back to my grandma’s kitchen, where the winter wind would whistle outside the windowpanes, but inside, it was always toasty warm. My grandma had a drawer full of mittens for us kids, each pair connected by a string that ran through the sleeves of our coats. They were always a little damp from snowball fights, and they’d be draped over the heat register to dry, filling the air with that peculiar wet-wool scent.
One particularly snowy day, I was helping her bake her famous thumbprint cookies. As I pressed my little thumb into the dough, I looked over at the line of mittens drying on the register and had a thought. “Grandma,” I said, “what if our cookies looked like mittens?” Her eyes lit up. We didn’t have a mitten cutter, so we freehanded them, giggling as we shaped lopsided cookies that were full of love. They were a hit, and that little moment of kitchen creativity has stayed with me forever.
This recipe is my grown-up, refined (and slightly less lopsided!) homage to that day. It captures that feeling of cozy warmth and playful joy. Every time I bake them, I can almost hear my grandma’s laugh and feel the warmth of that kitchen. Food is memory, my friend, and these cookies are packed with it.
Gathering Your Cozy Cookie Ingredients
Okay, let’s get down to the yummy details! The beauty of this recipe is in its simplicity. We’re using classic, pantry-staple ingredients to create something extraordinary. Here’s everything you’ll need. Don’t forget to read my little chef’s notes next to each one—they’re packed with tips and tricks!
For the Buttery Cookie Dough:
- 1 cup (2 sticks) unsalted butter, softened: This is the foundation of our melt-in-your-mouth texture. Using unsalted butter lets us control the salt level. Chef’s Tip: Your butter is perfectly softened when you can press a finger into it easily and leave an indentation, but it’s not greasy or melted. This is KEY for a fluffy cookie!
- 1/2 cup powdered sugar: Powdered sugar gives the cookie a finer, more delicate crumb compared to granulated sugar. It’s the secret to that sandy, shortbread-like texture.
- 1 tsp vanilla extract: Pure vanilla extract adds a warm, sweet depth. It’s the classic flavor that makes the peppermint pop!
- 1/4 tsp almond extract (optional but amazing!): This is my secret weapon! It doesn’t make the cookies taste like almond; instead, it enhances the buttery, vanilla flavor and adds a wonderful complexity. Highly recommend!
- 2 cups all-purpose flour: The structure of our cookie. For a lighter cookie, fluff your flour with a spoon before scooping it into your measuring cup, then level it off. Don’t pack it down!
- 1/4 tsp salt: Never skip the salt! It balances the sweetness and intensifies all the other flavors.
For the Peppermint Ganache Filling:
- 1/2 cup white chocolate chips: Use a good quality brand you enjoy eating on its own. Better chocolate means a smoother, richer ganache.
- 2 tbsp heavy cream: This creates the luscious, creamy texture. For a non-dairy version, full-fat coconut cream works beautifully.
- 1/4 tsp peppermint extract: Start here and add more to taste if you love a stronger minty kick!
- Optional: A pinch of crushed candy canes or a drop of red gel food coloring: For a festive swirl! A little red color makes the filling look like a cute peppermint candy.
For the “Knit” Icing Decoration:
- 1/2 cup powdered sugar: This will form our simple, sweet icing.
- 1-2 tsp milk: Any milk will do—whole, 2%, or even almond milk. We just need enough to create a thick, pipeable consistency.
- Optional: White food coloring or white sanding sugar: If you want a pure white “yarn” look, a drop of white food coloring is magic. Sanding sugar sprinkled on top adds a lovely sparkly texture.
Step-by-Step: Baking Your Mitten Melts
Ready to create some cookie magic? Follow these steps, and you’ll have a tray of gorgeous mitten cookies before you know it. I’ve sprinkled in my favorite kitchen hacks to make everything go smoothly.
- Preheat and Prep: First things first, preheat your oven to 350°F (175°C). This gives the oven time to reach a consistent temperature, which is crucial for even baking. Line your baking sheets with parchment paper. Trust me, this is a non-negotiable for easy cleanup and preventing any sticking!
- Cream the Butter and Sugar: In a large bowl, beat the softened butter and powdered sugar together with an electric mixer on medium speed. We’re not just mixing; we’re “creaming.” Beat it for a good 2-3 minutes until it’s light, fluffy, and almost white in color. This step incorporates air, which is what gives us that delightful, tender texture. Don’t rush it!
- Mix in the Flavors: Beat in the vanilla extract and the optional almond extract until just combined. Scrape down the sides of the bowl to make sure everything is evenly incorporated.
- Bring in the Dry Ingredients: With your mixer on low speed, gradually add the flour and salt. Mix only until the dough just comes together and no dry streaks of flour remain. Chef’s Hack: Overmixing at this stage can make the cookies tough. As soon as it looks like cookie dough, stop the mixer!
- Shape the Mittens! This is the fun part! Turn the dough out onto a lightly floured surface. Roll it out to about 1/4-inch thickness. If you have a mitten-shaped cookie cutter, use it! If not, no worries—be like young Emily and freehand it! Use a knife to cut a mitten shape. Use the flat end of a chopstick or the back of a spoon to create a “cuff” at the wrist. Transfer the shapes to your prepared baking sheets.
- Create the Thumbprint: Now, use your thumb (or the end of a wooden spoon) to gently press a well into the center of each mitten. This is where our magical ganache will live. Don’t press all the way through the dough!
- The Chill Factor: Pop the entire baking sheet into the refrigerator for 15 minutes. This quick chill solidifies the butter, which prevents the cookies from spreading too much in the oven. It helps them hold their cute mitten shape!
- Bake to Perfection: Bake the cookies for 10-12 minutes. They’re done when the edges are just barely starting to turn a light golden brown. The centers should still look soft and set. They will continue to firm up as they cool.
- Cool Completely: Let the cookies cool on the baking sheet for 5 minutes before transferring them to a wire rack to cool completely. This is important! If you try to move them while they’re too warm, they might break.
- Make the Ganache: While the cookies cool, make the filling. Place the white chocolate chips and heavy cream in a microwave-safe bowl. Heat in 20-second bursts, stirring well after each, until the chocolate is melted and the mixture is smooth. Stir in the peppermint extract. If you’re using color, add it now and swirl it gently.
- Fill ‘Em Up! Once the cookies are completely cool, spoon the ganache into the thumbprint wells. If you want that “melt” effect, you can serve the cookies when the ganache is still slightly warm and soft.
- Decorate with Icing “Yarn”: For the final touch, whisk the powdered sugar and milk together to form a thick icing. It should be pipeable—not too runny. Place it in a small zip-top bag, snip a tiny corner off, and pipe lines and dots onto the mitten “cuff” to look like knitwear. Sprinkle with sanding sugar now if you’re using it. Let the icing set before serving.
How to Serve These Adorable Cookies
Presentation is part of the fun with these cookies! They’re so cute, you’ll want to show them off.
I love arranging them on a simple white or rustic wooden platter. Pile them up like a basket of freshly knitted mittens! For an extra festive touch, sprinkle a little powdered sugar “snow” over the entire platter before serving.
These Mitten Melts are perfect with a mug of hot cocoa, a glass of cold milk, or a warm cup of coffee. They’re the ultimate holiday treat. They also make incredible edible gifts! Package a few in a cellophane bag tied with a red ribbon, and you’ve got a heartfelt, homemade present that anyone would adore.
Get Creative! Mitten Melt Variations
Once you’ve mastered the classic, feel free to get creative! Here are a few of my favorite twists on this recipe:
- Chocolate Lover’s Mitten: Substitute 1/4 cup of the flour with unsweetened cocoa powder for a chocolate cookie base. Fill with a dark chocolate ganache instead of white chocolate.
- Fruity Jam Thumbprints: Skip the ganache altogether and fill the thumbprints with your favorite jam or fruit preserves! Raspberry, apricot, or strawberry all work wonderfully.
- Nutty Delight: After filling with ganache, sprinkle the top with finely chopped pistachios or toasted almonds for a lovely crunch and color contrast.
- Orange-Cranberry Twist: Replace the peppermint extract with orange extract in the ganache. Stir in a tablespoon of finely chopped dried cranberries for a tart, festive flavor.
- Gluten-Free & Vegan Friendly: Use a 1:1 gluten-free flour blend. For vegan cookies, use plant-based butter, and make the ganache with dairy-free white chocolate and coconut cream. The results are just as delicious!
Chef Emily’s Notes from the Kitchen
This recipe has evolved so much since that first lopsided batch in my grandma’s kitchen. The addition of the almond extract was a happy accident—I grabbed the wrong bottle once and never looked back! The ganache filling was also a later upgrade from the simple jam we used to use. It makes them feel so much more decadent.
A funny story: I once tried to pipe intricate cable-knit sweater patterns onto these cookies. It was… ambitious. The icing was too thin, and it all ran together, creating what my husband lovingly called “ghost mittens.” We laughed so hard. So, my advice? Keep the decoration simple and fun. A few lines and dots are all you need to capture that cozy feeling. The imperfections are what make them charming and homemade!
Mitten Melt FAQs & Troubleshooting
Baking can come with questions, and I’m here to help! Here are answers to some common ones.
Q: My cookies spread too much and lost their mitten shape! What happened?
A: This is almost always a temperature issue. The two most common culprits are: 1) Your butter was too soft or almost melted. Remember, softened, not melted! 2) You skipped the chilling step. That 15 minutes in the fridge is crucial for solidifying the butter and preventing spread. Don’t skip it!
Q: My ganache is grainy or seized up. How can I fix it?
A: Grainy ganache usually means the chocolate got too hot. White chocolate is especially sensitive. If it seizes (becomes thick and clumpy), stir in a teaspoon of warm cream at a time until it becomes smooth again. Gentle, low heat is the key!
Q: Can I make the dough ahead of time?
A: Absolutely! You can make the dough, shape the cookies, and then freeze them on the baking sheet. Once frozen solid, transfer them to a freezer bag. You can bake them straight from the freezer, just add a minute or two to the baking time. This is a huge time-saver during the busy holiday season!
Q: How should I store these cookies?
A: Store them in an airtight container at room temperature for up to 5 days. If your house is warm, you might want to keep them in the fridge so the ganache stays firm. Just let them come to room temperature for that perfect “melt” effect.
Nutritional Information (Approximate)
I’m all about balance! Enjoy your treats mindfully. Here’s a general breakdown per cookie (assuming the recipe makes 24 cookies). Please note, this is an estimate and can vary based on specific ingredients used.
- Calories: 160
- Protein: 1g
- Carbohydrates: 15g
- Fat: 10g
- Sugar: 8g
- Sodium: 55mg
Remember, the joy and connection that come from baking and sharing food are just as important as the ingredients. So bake with love and enjoy every bite!
Final Thoughts from My Kitchen to Yours
Well, my friend, there you have it! My all-time favorite holiday cookie recipe, straight from my heart (and my messy kitchen) to yours. These Mitten Melt Cookies are more than just a treat; they’re a little piece of holiday magic, a edible memory, and a whole lot of fun to create.