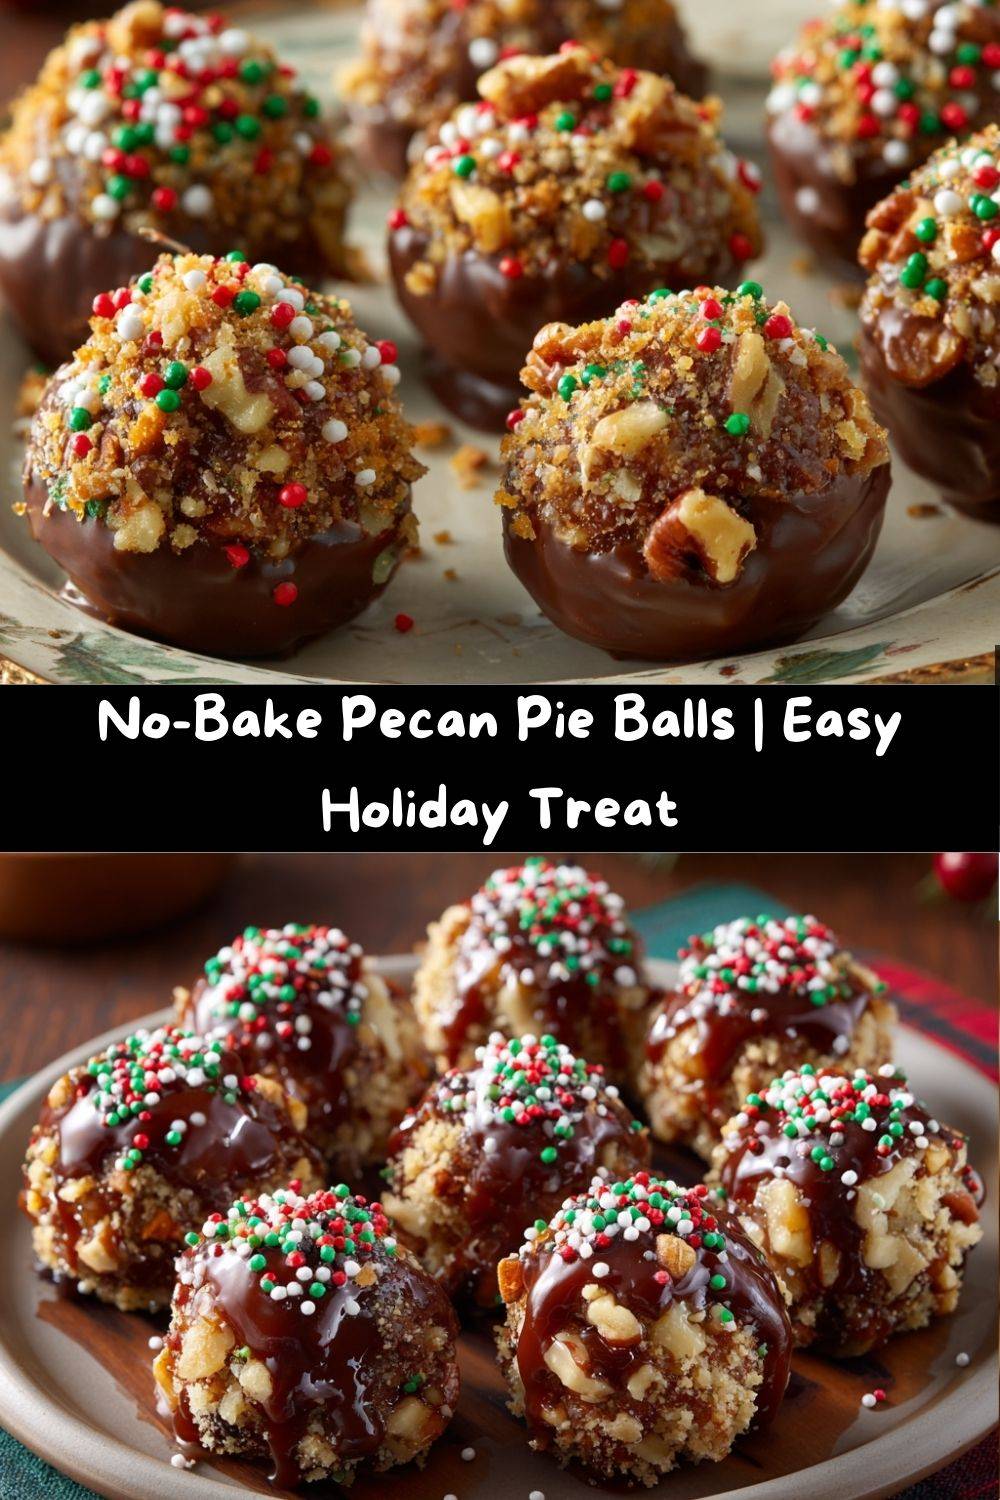
Forget the Fork: You’re Going to Love These No-Bake Pecan Pie Balls
Hey there, friend! Let’s be real for a second. Is there anything more iconic than a pecan pie sitting proudly in the center of the holiday table? That glossy, crackly top, the rich, gooey filling… it’s a slice of pure nostalgia. But what if I told you we could capture all that magic—every bit of that buttery, nutty, sweet-as-can-be flavor—in a single, irresistible, no-bake bite?
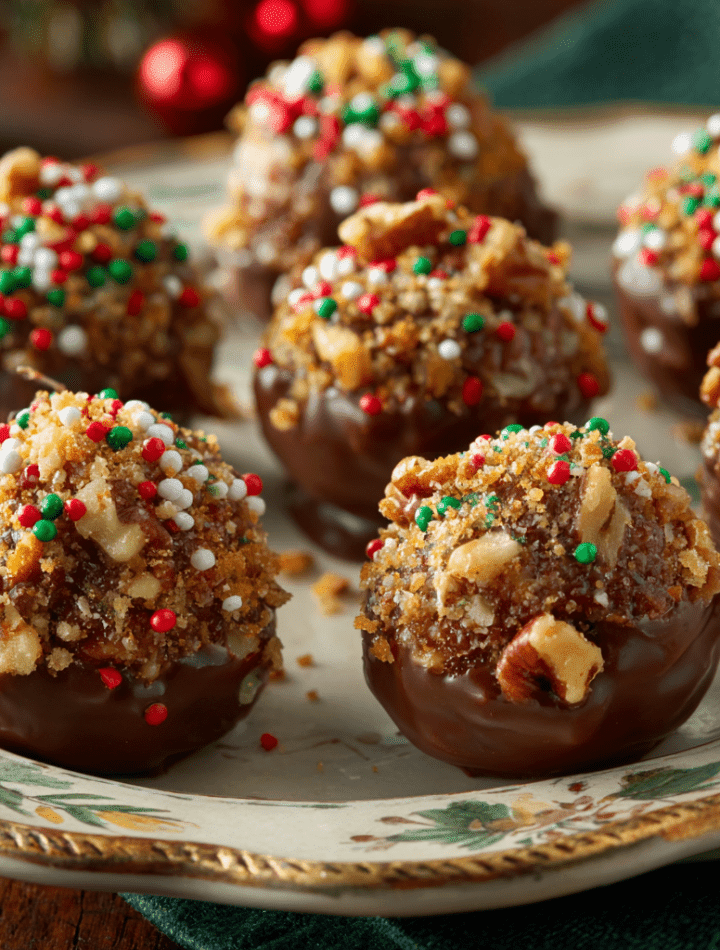
That’s right, we’re leaving the pie plate in the cupboard today. We’re making Pecan Pie Balls, and your life is about to get a whole lot easier and more delicious. Imagine this: a rich, fudgy dough packed with toasted pecans and graham cracker crumbs, sweetened with maple and brown sugar, and kissed with the warm, cozy flavors of rum and almond. Then, we roll them into perfect little orbs and give them a luxurious dunk in smooth chocolate, finishing them off with a festive shower of sprinkles.
These are the ultimate treat for when you’re craving that classic pecan pie experience but maybe don’t have the time (or the confidence!) to wrestle with a rolling pin. They come together in about 25 minutes of active time, and the oven gets to take a well-deserved nap. They’re perfect for holiday cookie boxes, party platters, or that secret stash in the fridge for when you need a 3 pm pick-me-up. So, tie on your favorite apron (the one with the stains that tell a story), and let’s make some kitchen magic happen!
A Spoonful of Sweet Memories
This recipe takes me right back to my grandma’s kitchen, a place that always smelled like heaven and felt like a warm hug. My grandma was the queen of “a little of this, a pinch of that” cooking, and her pecan pie was the stuff of legend. Every Thanksgiving, she’d let me help by carefully arranging the pecans on top in a beautiful spiral. My little hands would be sticky with Karo syrup, and she’d always sneak me a taste of the filling before it went into the shell, her eyes twinkling.
One particularly chaotic holiday, a cousin accidentally bumped the finished pie, sending it sliding right off the counter. It landed with a heartbreaking *splat*. There was a moment of stunned silence before my grandma, without missing a beat, looked at the mess, looked at our horrified faces, and started laughing. “Well,” she said, “the filling still tastes good! We’ll just have to eat it with a spoon!” And we did. We scooped that glorious, nutty filling into bowls, and it was messy and imperfect and absolutely delicious.
That’s the spirit behind these Pecan Pie Balls. They’re all about the joy of the filling—the heart and soul of the pie—without any of the stress. They’re fun, a little imperfect, and guaranteed to bring smiles, just like my grandma’s kitchen always did.
Gathering Your Pecan Pie Ball Squad
Here’s the dream team of ingredients that’s going to come together to create these little bites of bliss. The beauty of this recipe is its simplicity—you probably have most of this in your pantry already!
- 1 ½ cups pecans, finely chopped: The star of the show! I like to toast mine for about 8 minutes in a 350°F oven first. It wakes up their oils and gives them an incredible, deep, nutty flavor that’s a game-changer. Chef’s Insight: If you’re not a pecan person, walnuts make a fantastic, slightly more bitter swap.
- ¾ cup graham cracker crumbs: This is our “crust” ingredient, providing structure and a lovely, subtle honey-ish flavor that pairs perfectly with the pecans. Substitution Tip: Digestive biscuits or vanilla wafers crushed into fine crumbs would work wonderfully here too.
- ¾ cup brown sugar: This isn’t just for sweetness; the molasses in the brown sugar gives that classic, deep, caramel-like flavor that’s essential to pecan pie. Pack it firmly into your measuring cup!
- ¼ cup pure maple syrup: For a touch of autumnal, woodsy sweetness. Please, for the love of all that is good, use the real stuff! The imitation syrup just won’t give you the same complex flavor.
- 2 tbsp light corn syrup: I know, I know, but hear me out! A little bit helps keep the texture of the balls soft and fudgy, preventing them from getting gritty or too hard. It’s the secret to that perfect chewy bite.
- 2 tbsp salted butter, melted: Butter is non-negotiable for that rich, decadent taste. Using salted butter helps balance the sweetness and enhances all the other flavors. Dietary Swap: A good plant-based butter works great for a dairy-free version.
- 1 ½ tsp almond extract & 4 ½ tsp rum extract: This dynamic duo is what makes these taste like the real deal! The almond adds a beautiful, fragrant base note, and the rum extract gives that warm, boozy-but-not-actually-boozy flavor we associate with pecan pie. Chef’s Hack: If you have real rum on hand, you can use 1-2 tablespoons instead of the rum extract, but you may need to add a few extra graham cracker crumbs if the mixture gets too wet.
- 12 oz chocolate melting discs: I’m a huge fan of melting discs (or candy melts) for dipping. They set beautifully, don’t require tempering, and come in dark, milk, or white chocolate varieties. Pro-Tip: You can use high-quality chocolate bars, but you’ll need to temper it properly to get a nice snap and shine.
- Holiday sprinkles: Because joy is non-negotiable! This is your chance to get creative. Use classic holiday colors, crushed pecans, or even a tiny flake of sea salt for a fancy finish.
Let’s Get Rolling: Your Foolproof Guide
Okay, team! It’s time to get our hands a little messy. Don’t worry—it’s the sign of a good time in the kitchen. Follow these steps, and you’ll be a pecan pie ball pro in no time.
- Combine the Dry Goods: In a large mixing bowl, add your finely chopped pecans, graham cracker crumbs, and brown sugar. Give them a good whisk to combine. This ensures every bit of sweetness and nuttiness is evenly distributed. Chef’s Tip: If you have a few larger pecan pieces, that’s totally fine! It adds a nice textural surprise.
- Create the “Dough”: Now, pour in the maple syrup, corn syrup, melted butter, almond extract, and rum extract. Grab a sturdy spatula or wooden spoon and start mixing. It might seem dry at first, but keep going! You’ll soon see it come together into a thick, sticky, and incredibly fragrant dough. Little Hack: If the mixture feels too dry and isn’t holding together when you pinch it, add another teaspoon of maple syrup. If it’s too wet, add a tablespoon of graham cracker crumbs.
- Roll and Chill: Line a baking sheet with parchment paper. Using a small cookie scoop (about 1 tablespoon size) or your hands, portion out the dough and roll it into smooth, 1-inch balls. Place them on the prepared tray. Once they’re all rolled, pop the tray into the refrigerator for at least 30 minutes. This step is crucial! Chilling firms up the butter and makes the balls much easier to dip without falling apart.
- Melt the Chocolate: When the balls are almost chilled, melt your chocolate. You can do this in a microwave-safe bowl in 30-second bursts, stirring well between each, or use a double boiler on the stove. The goal is smooth, fluid chocolate. If using a microwave, be careful not to overheat it, or the chocolate can seize up and become grainy. Pro-Move: Pour the melted chocolate into a narrow, deep cup or glass. This makes dipping so much easier and less messy!
- The Big Dip: Remove the balls from the fridge. Using a fork or a specialty dipping tool, gently lower a ball into the melted chocolate. Swirl it around to coat completely, then lift it out, gently tapping the fork on the edge of the cup to let the excess chocolate drip off.
- Decorate and Set: Carefully slide the coated ball back onto the parchment-lined tray. Immediately, while the chocolate is still wet, shower on your sprinkles! Repeat with the remaining balls. You can let them set at room temperature (takes a bit longer) or pop the tray back in the fridge for about 15 minutes for a quick set.
How to Serve These Little Gems
Presentation is part of the fun! While these are delicious straight off the tray, here are a few ideas to make them extra special:
The Classic Platter: Arrange them on a beautiful cake stand or a rustic wooden board. They look stunning all clustered together, showing off their different sprinkle personalities.
Giftable Goodness: These are absolute stars in holiday cookie boxes. Place them in festive mini cupcake liners to keep them from sticking together and to make them look extra professional.
The Dessert Charcuterie: Create an epic dessert board! Pile these pecan pie balls alongside some fresh fruit, a few chunks of sharp cheddar cheese (trust me, the sweet and salty combo is divine!), and some other small cookies.
With a Side of Coffee: Serve a couple of these alongside a hot cup of coffee or a mug of spiced cider. They are the perfect little sweet bite to end a meal or to enjoy during an afternoon break.
Mix It Up! Creative Twists on the Classic
Once you’ve mastered the basic recipe, the kitchen playground opens up! Here are a few of my favorite ways to riff on these pecan pie balls:
- Bourbon Bliss: Swap the rum extract for 1-2 tablespoons of real bourbon. The caramel and oak notes in the bourbon are a match made in heaven with pecans.
- Salted Caramel Swirl: Before rolling the balls, press a small, soft caramel candy into the center of each portion of dough. When you bite in, you’ll get a gooey, salty-sweet surprise.
- Cookie Butter Craze: Replace half of the graham cracker crumbs with crushed Biscoff or Speculoos cookies. The warm spice flavor is incredible.
- Mocha Madness: Add 1-2 teaspoons of instant espresso powder to the dry ingredients for a subtle coffee kick that enhances the chocolate coating.
- “Crustless” Pie Ball: For a gluten-free version, simply replace the graham cracker crumbs with an equal amount of finely ground toasted pecans or gluten-free oat flour.
Chef Emily’s Kitchen Confidential
This recipe has become a staple in my holiday rotation, but it didn’t start out perfect. The first time I made them, I was so impatient I skipped the chilling step. Let’s just say I ended up with delicious but decidedly un-ball-like “pecan pie blobs” that I had to smear onto the chocolate with a knife! It was a delicious mess, but it taught me a valuable lesson: patience is a secret ingredient. Over the years, I’ve found that toasting the pecans is the single biggest upgrade you can make. It transforms them from a simple nut into a deeply flavorful powerhouse. Don’t skip it! These balls are a testament to the fact that the best recipes are often the simplest ones, made with love and a willingness to get your hands a little sticky.
Your Questions, Answered!
Q: My mixture is too crumbly and won’t hold a ball shape. What did I do wrong?
A: No worries, this is common! It usually means your mixture is a tad too dry. The fix is easy. Add another teaspoon of maple syrup or corn syrup and mix again. If it’s still not holding, a tiny splash of water (like ½ a teaspoon) can help bring it together.
Q: Can I make these ahead of time?
A: Absolutely! They are fantastic make-ahead treats. Once set, store them in an airtight container in the refrigerator for up to 2 weeks. You can also freeze them for up to 3 months. Just thaw in the fridge before serving.
Q: My chocolate coating is thick and clumpy. How can I thin it out?
A: This usually means the chocolate got too hot. You can try stirring in a teaspoon of coconut oil or vegetable shortening. This will thin the consistency and help it set with a nice glossy finish.
Q: Can I leave out the extracts?
A: You can, but you’ll lose a lot of the classic “pecan pie” flavor. If you must, try adding a teaspoon of vanilla extract instead. It will still be tasty, but it will taste more like a chocolate-covered pecan truffle (which is still a win in my book!).
A Quick Nutritional Note
Let’s be real—these are a treat, and we should enjoy them as such! Each ball comes in at around 160 calories. They’re energy-dense thanks to the healthy fats from the pecans and the sugars. The pecans also bring a small boost of protein, fiber, and important minerals like manganese. While they’re not a health food, it’s nice to know that you’re getting some nutritional benefits from the nuts along with all that deliciousness. The key, as with all good things, is mindful enjoyment. Savor one or two with a cup of tea instead of mindlessly eating a handful, and you’ll feel perfectly satisfied.
Final Thoughts from My Kitchen to Yours
Well, my friend, there you have it! Your new secret weapon for impressing a crowd, filling a cookie box, or simply treating yourself. I love this recipe because it proves that you don’t need fancy equipment or a whole day to create something truly special. It’s about capturing a feeling—the warmth, the joy, the comfort of a classic dessert—in a fun, new way.
I hope you have as much fun making these Pecan Pie Balls as I do. I hope your kitchen fills with the incredible smell of toasted pecans and warm spices. And most of all, I hope you share them with someone you love. Now, go forth and get your roll on! And don’t forget to tag me on social media @TastyChow if you make them—I love seeing your creations!
With a full heart and a happy belly,
— Emily
Prep Time: 25 minutes | Chill Time: 30 minutes | Yield: ~28 balls
Per Ball (Approximate): Calories: 160 | Fat: 10g | Saturated Fat: 4g | Carbohydrates: 18g | Sugars: 14g | Protein: 1.5g | Sodium: 30mg