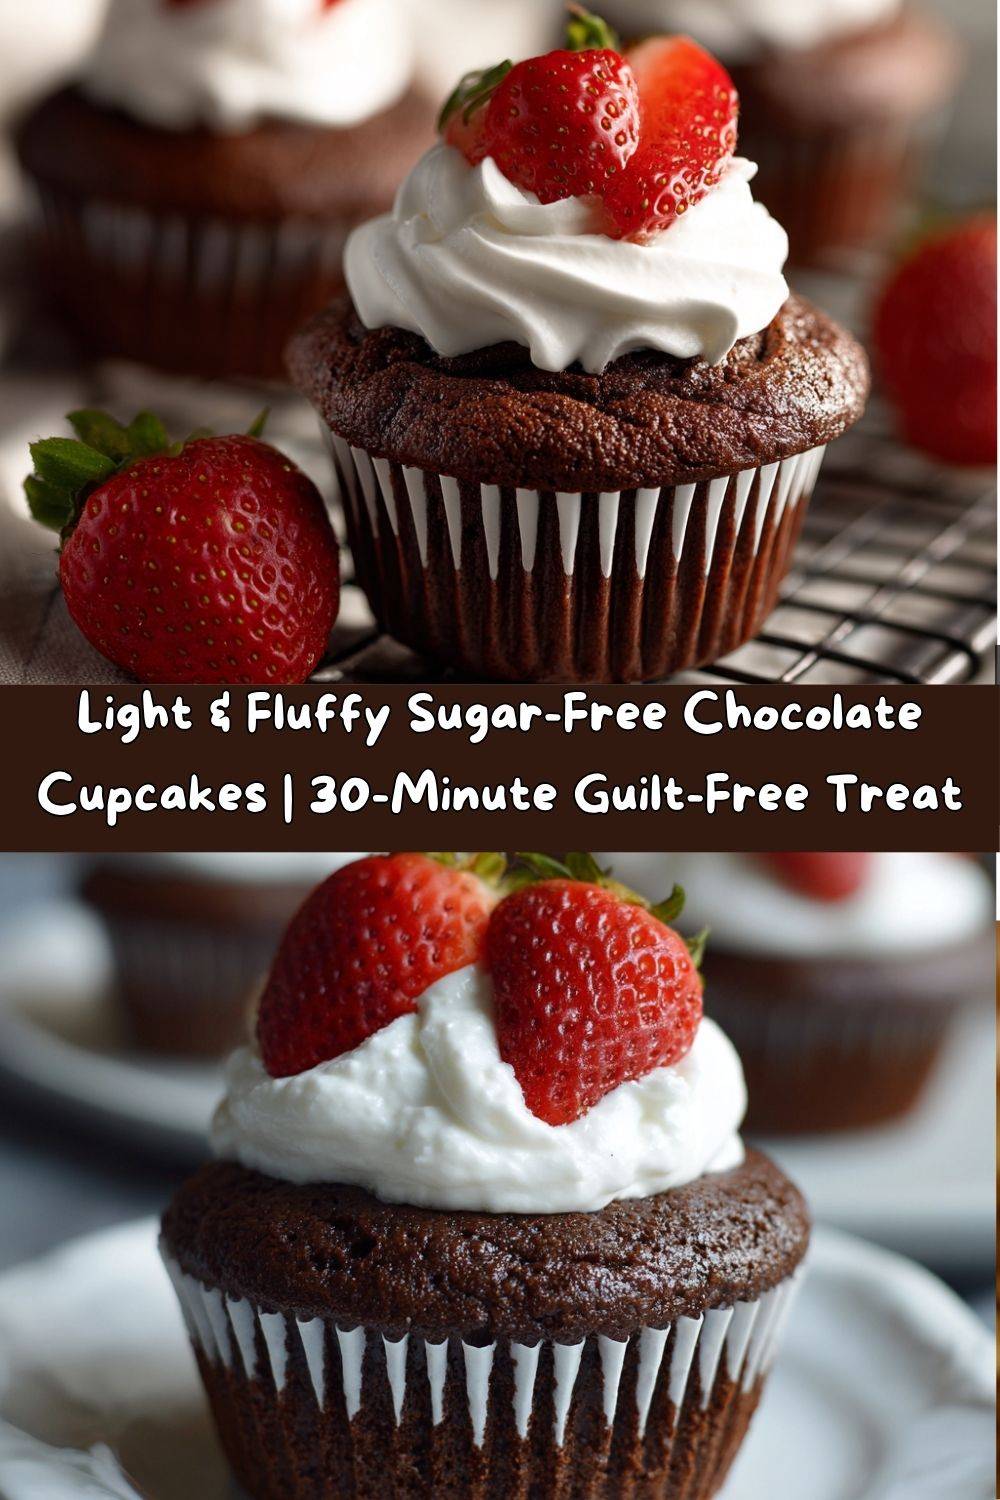
Light & Fluffy Sugar-Free Chocolate Cupcakes: Your New Go-To Guilt-Free Treat!
Hey there, my fellow flavor-chaser! Let’s have a real kitchen-talk for a second. Have you ever been hit with one of those powerful, undeniable chocolate cravings, only to have that little voice in your head whisper, “But… the sugar?” It’s a battle I know all too well. You stare longingly at recipes, you dream of a moist, decadent cupcake, but you don’t want the energy crash or the guilt that sometimes comes along for the ride.
Well, my friend, I’m here to tell you that those days are over. I’m swooping into your kitchen (virtually, of course, with my favorite messy apron on) to share a recipe that feels like a total game-changer. We’re making the most incredibly Light & Fluffy Sugar-Free Chocolate Cupcakes you’ve ever sunk your teeth into. And the best part? You can have these little clouds of chocolate joy in the oven in under 10 minutes. No kidding!
This isn’t about deprivation. It’s about celebration! We’re using a couple of brilliant shortcuts and smart swaps to create a treat that’s perfect for anyone watching their sugar intake, whether it’s for health reasons, dietary preferences, or just because you want to feel your best. They’re rich, they’re satisfying, and they prove that “better-for-you” can absolutely mean “delicious.” So, preheat that oven and grab a bowl. We’re about to make some magic happen.
The Story Behind the Bite: A Promise to My Grandpa
This recipe holds a really special place in my heart, and it all goes back to my grandpa. He was my original taste-tester, my biggest fan, and the man who could put away a half-dozen of my classic double-fudge cupcakes in a single sitting. A few years ago, he was diagnosed with type 2 diabetes. I’ll never forget the look on his face when he thought his days of enjoying my baked goods were over. It was a mix of resignation and pure sadness that just broke my chef’s heart.
I made it my mission right then and there. I spent weeks in my kitchen, surrounded by bowls of failed experiments (we don’t talk about the “sawdust muffins” of 2020). I was determined to create a chocolate cupcake that was so good, he wouldn’t feel like he was missing out. The day I finally nailed this version—the one you’re about to make—and saw his face light up after the first bite, was a victory sweeter than any sugar rush. He looked at me, winked, and said, “Kiddo, you’ve done it again.” That’s the spirit I want to bring to your kitchen today.
Gather Your Ingredients: The Dream Team for Fluffy Cupcakes
One of the things I love most about this recipe is its beautiful simplicity. We’re keeping the ingredient list short and sweet (pun intended!), but each one plays a starring role. Here’s what you’ll need:
- 1 box Sugar-Free Chocolate Cake Mix (I use Pillsbury Devil’s Food): This is our fantastic foundation! Using a sugar-free mix saves us a ton of time and the headache of blending different sugar substitutes. It’s already perfectly balanced for us. Chef’s Insight: Look for one that uses maltitol or a stevia blend. The texture it provides is spot-on for a classic cupcake crumb.
- 1 cup Plain Non-Fat Greek Yogurt: This is the SECRET WEAPON, folks! The yogurt does two incredible things: it adds a ton of moisture, ensuring our cupcakes stay wonderfully soft, and it also adds a protein boost, making them more satisfying. Substitution Tip: If you’re out of Greek yogurt, an equal amount of unsweetened applesauce or even sour cream will work beautifully!
- 1 cup Water: Simple, but essential for bringing our batter together to the perfect, pourable consistency.
- 2 Large Eggs: Our trusty binders and leaveners! Eggs give the cupcakes structure and help them rise into those beautiful, fluffy domes we all love. Pro-Tip: Make sure your eggs are at room temperature for the best volume and a super smooth batter.
Let’s Get Baking: Your Foolproof, Step-by-Step Guide
Ready to see how effortlessly these come together? Follow these steps, and you’ll be a sugar-free baking pro in no time. I’ve sprinkled in my favorite chef hacks to make sure you get perfect results every single time.
- Preheat and Prep. First things first, get that oven preheating to 375°F (190°C). This higher temperature is key for getting a good initial rise on our cupcakes. While it’s warming up, line two standard 12-cup muffin tins with paper liners or give them a very light spray with cooking spray. Trust me, doing this now makes the process so smooth later. Chef’s Hack: If you only have one muffin tin, no worries! Just bake in batches. Place the second batch of batter in the fridge while the first one bakes to keep the leavening agents active.
- The “One-Bowl Wonder” Mix. In a large mixing bowl, combine the sugar-free cake mix, Greek yogurt, water, and eggs. Now, here’s my mixing philosophy for these: mix just until the batter is smooth and no dry streaks of mix remain. I use a sturdy whisk or a spatula for about 60-75 seconds. Important Tip: Avoid overmixing! Overworking the batter can develop too much gluten, leading to dense, tough cupcakes. We want light and fluffy, not chewy.
- The Perfect Fill. Using a spoon, a cookie scoop, or even a measuring cup, divide the batter evenly among the 24 prepared muffin cups. You’re aiming to fill them about 3/4 of the way full. This is the sweet spot for getting a nice, rounded top without any messy overflow in the oven. Little Helper: An ice cream scoop with a release mechanism is my absolute favorite tool for this—it’s quick, clean, and ensures every cupcake is the same size.
- Bake to Perfection. Slide those tins into your preheated oven and bake for 23 minutes. Now, ovens can be sneaky, so start checking at the 20-minute mark. The classic test is to insert a toothpick into the center of a cupcake. If it comes out clean or with a few moist crumbs clinging to it, they’re done! You’ll also notice the tops spring back lightly when you touch them. Kitchen Story: My grandma always said, “A watched cupcake never bakes!” So try to resist the urge to open the oven door too early. That rush of cold air can cause them to fall.
- The All-Important Cool Down. Once they’re perfectly baked, take the muffin tins out of the oven and let the cupcakes cool in the tins for about 5 minutes. Then, carefully transfer them to a wire rack to cool completely. Pro-Tip: This step is non-negotiable! If you try to frost or top a warm cupcake, you’ll have a melty, sad situation on your hands. Patience is a virtue in baking!
Dress to Impress: How to Serve These Chocolate Beauties
Okay, the hard part is over! Now for the fun part: making them look as incredible as they taste. You can absolutely enjoy these cupcakes plain—they’re that good. But if you want to elevate them into a truly show-stopping dessert, here are my favorite ways to serve them:
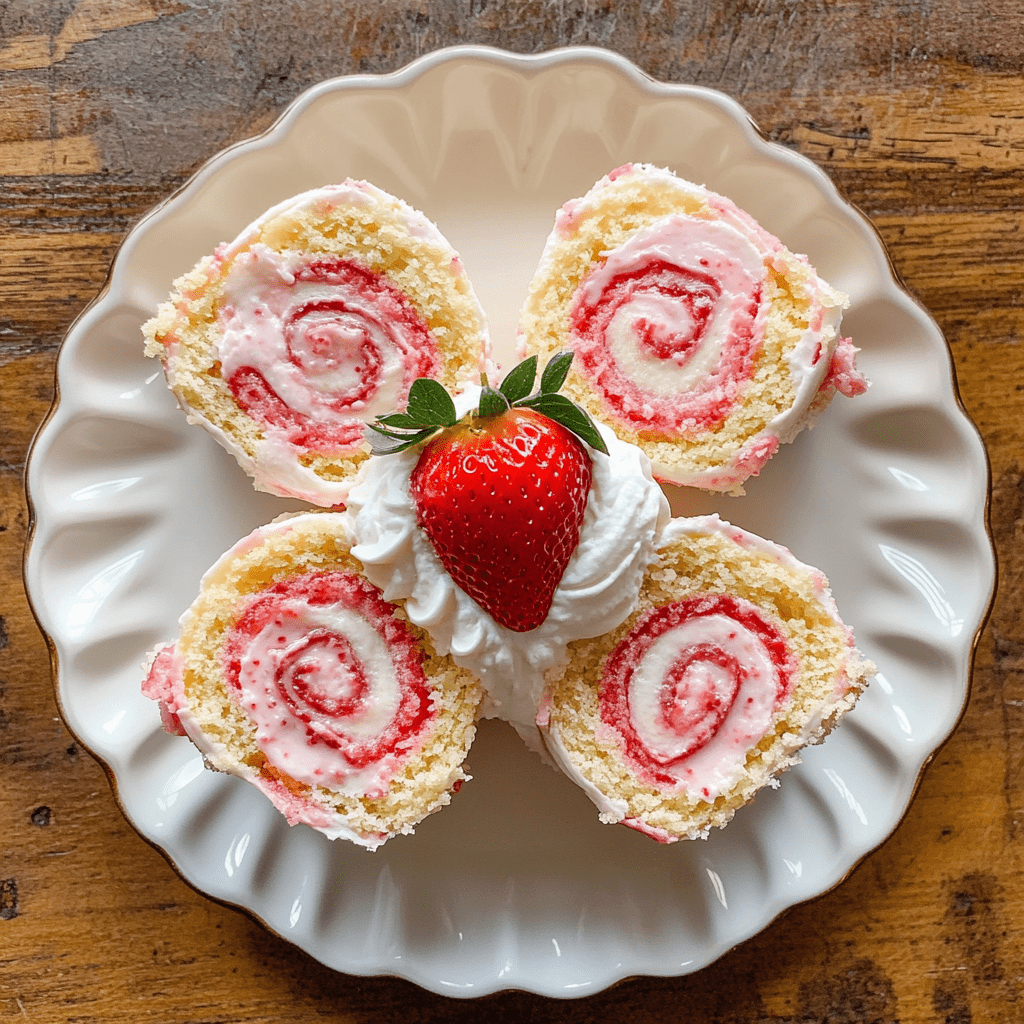
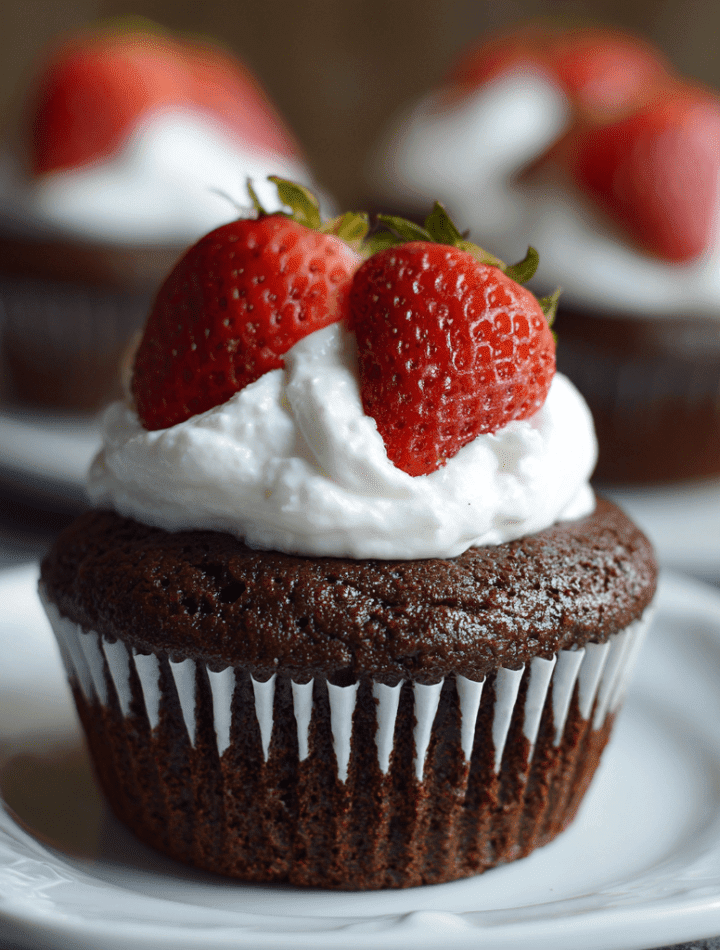
The classic suggestion from the recipe is a total winner: top each cupcake with a fresh, sliced strawberry and a generous dollop of light Cool Whip. The combination of rich chocolate, bright berry, and airy, creamy topping is pure harmony.
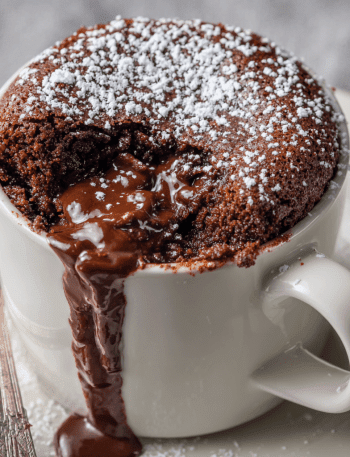
Want to get a little fancier? Try a dusting of unsweetened cocoa powder or a light drizzle of a simple sugar-free chocolate glaze (just mix a little powdered erythritol with milk or water and unsweetened cocoa powder). For a festive touch, a few raspberries or a sprinkle of chopped, toasted nuts adds wonderful texture and flavor.
Presentation matters! Place them on a beautiful cake stand or a simple wooden board. They look so inviting and prove that eating well doesn’t mean sacrificing an ounce of joy.
Get Creative! Fun Flavor Twists & Dietary Swaps
I love a recipe that acts as a canvas for your creativity. Once you’ve mastered the basic version, feel free to play around! Here are a few of my favorite variations:
- Chocolate-Orange Bliss: Add the zest of one large orange to the batter. The bright, citrusy flavor cuts through the richness of the chocolate in the most incredible way. It’s a classic pairing for a reason!
- Mocha Chip Delight: Stir in 1/2 cup of sugar-free chocolate chips and 1 tablespoon of instant espresso powder into the batter. The coffee enhances the chocolate flavor and the chips give you little pockets of melty goodness.
- Peanut Butter Cup Dream: After filling the muffin cups halfway with batter, drop a small teaspoon of smooth, sugar-free peanut butter into the center. Then, cover with more batter until 3/4 full. You’ll have a delicious, gooey peanut butter surprise in the middle!
- Gluten-Free Friendly: Simply swap the standard sugar-free cake mix for a certified gluten-free chocolate cake mix. The rest of the recipe stays exactly the same!
- Dairy-Free Version: Replace the Greek yogurt with an equal amount of dairy-free yogurt (plain, unsweetened coconut or almond yogurt work well) and use a dairy-free cake mix if needed.
Chef Emily’s Notebook: Extra Thoughts & A Funny Story
This recipe has become such a staple in my own life, and it’s evolved a bit since that first batch for my grandpa. I’ve found that these cupcakes actually taste even more moist and flavorful the day after you bake them, as the ingredients have more time to meld. They’re fantastic for make-ahead treats!
And now for a little kitchen confession… I once, in a pre-coffee haze, accidentally used a cup of vanilla Greek yogurt instead of plain. I was horrified, thinking I’d ruined the whole batch. But you know what? They were a hit! The subtle vanilla note was a lovely background flavor. It just goes to show that sometimes the best recipes are born from happy little accidents. So don’t be afraid—baking is an adventure!
Your Questions, Answered! FAQs & Troubleshooting
I’ve made these cupcakes dozens of times and have helped countless readers make them too. Here are the most common questions and how to fix any potential hiccups.
- Q: My cupcakes sunk in the middle. What happened?
A: This is usually due to one of two things: 1) Overmixing the batter, which incorporates too much air that then deflates, or 2) Underbaking. Make sure you’re mixing just until combined and that your toothpick test comes out clean. Also, ensure your oven is at the correct temperature—an oven thermometer is a baker’s best friend! - Q: Can I make this into a cake instead?
A: Absolutely! This batter works wonderfully for a single-layer 9×13 inch cake. Just grease the pan well, pour in the batter, and bake at 350°F (175°C) for about 25-30 minutes, or until a toothpick inserted in the center comes out clean. - Q: The batter seems really thick. Is that normal?
A: Yes! Because we’re using Greek yogurt and no oil, the batter will be thicker than a traditional cake mix batter. This is totally fine and exactly what we want for a fluffy, structured cupcake. Don’t be tempted to add extra liquid. - Q: How should I store these cupcakes?
A: Once completely cooled, store them in an airtight container at room temperature for up to 2 days. For longer storage, I recommend keeping them in the fridge for up to 5 days. They can also be frozen for up to 3 months—just wrap them individually in plastic wrap and place them in a freezer bag.
A Quick Peek at the Nutrition
I’m all about balance and being mindful of what we’re putting into our bodies. Here’s a general breakdown of what you can expect from one of these fabulous cupcakes (without any toppings). Remember, these are estimates and can vary slightly based on the specific brands of ingredients you use.
Prep Time: 7 mins | Bake Time: 23 mins | Total Time: 30 mins | Makes: 24 cupcakes
Approx. per cupcake (without toppings):
Calories: 90 | Protein: 3g | Carbohydrates: 11g | Fat: 2.5g | Sugar: 0g
With the Greek yogurt providing a protein punch and the sugar-free mix keeping the carbs and sugars in check, these are a smart, satisfying treat you can feel great about enjoying any day of the week.
Final Thoughts from My Kitchen to Yours
Well, my friend, we’ve done it! We’ve created a batch of insanely delicious, guilt-free chocolate cupcakes that are sure to become a new favorite. This recipe is proof that you don’t need hours in the kitchen or a long list of complicated ingredients to make something truly special.
Whether you’re whipping these up for a weekend treat, a birthday party where dietary needs vary, or just to have a smarter snack on hand, I hope these cupcakes bring as much joy to your table as they have to mine. They’re more than just a dessert; they’re a reminder that taking care of yourself can be full of flavor and fun.
So, from my messy, flour-dusted kitchen to yours, happy baking! I’d love to hear how your cupcakes turn out. Tag me on social @TastyChow with