Forget Everything You Thought You Knew About Butterscotch Pudding
Hey there, my fellow food lover! Let’s have a little heart-to-heart about dessert. I’m talking about that moment after dinner when a tiny, persistent voice in your head whispers, “Okay, but what about something sweet?” You’re not looking for a towering, six-layer cake or a fussy pastry that requires a physics degree to assemble. No, you’re craving something simpler. Something soul-deep. A dessert that feels like a warm, cozy blanket for your taste buds.
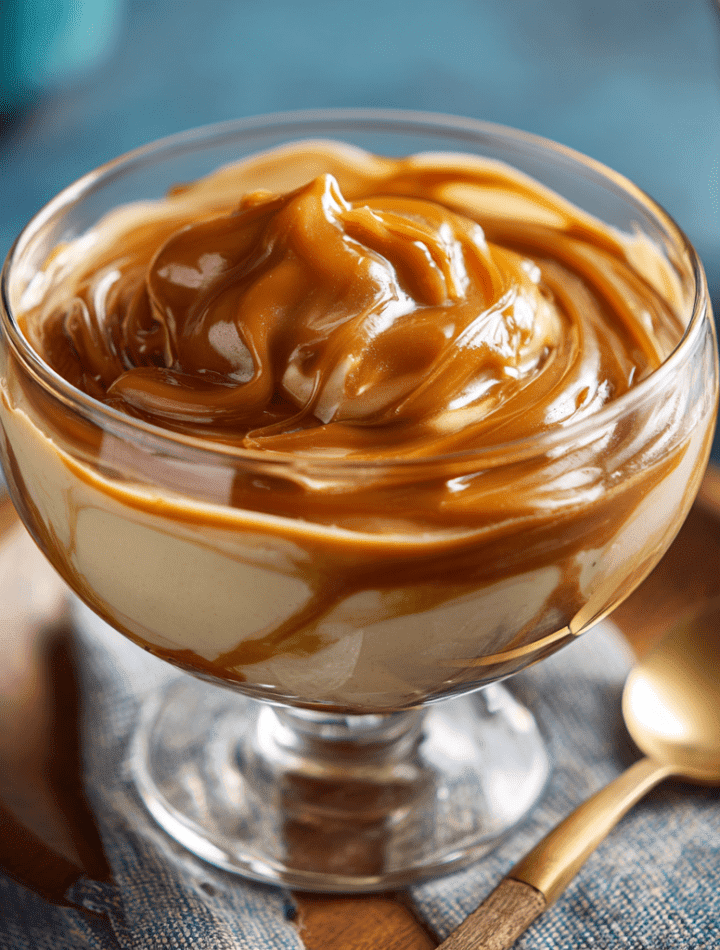
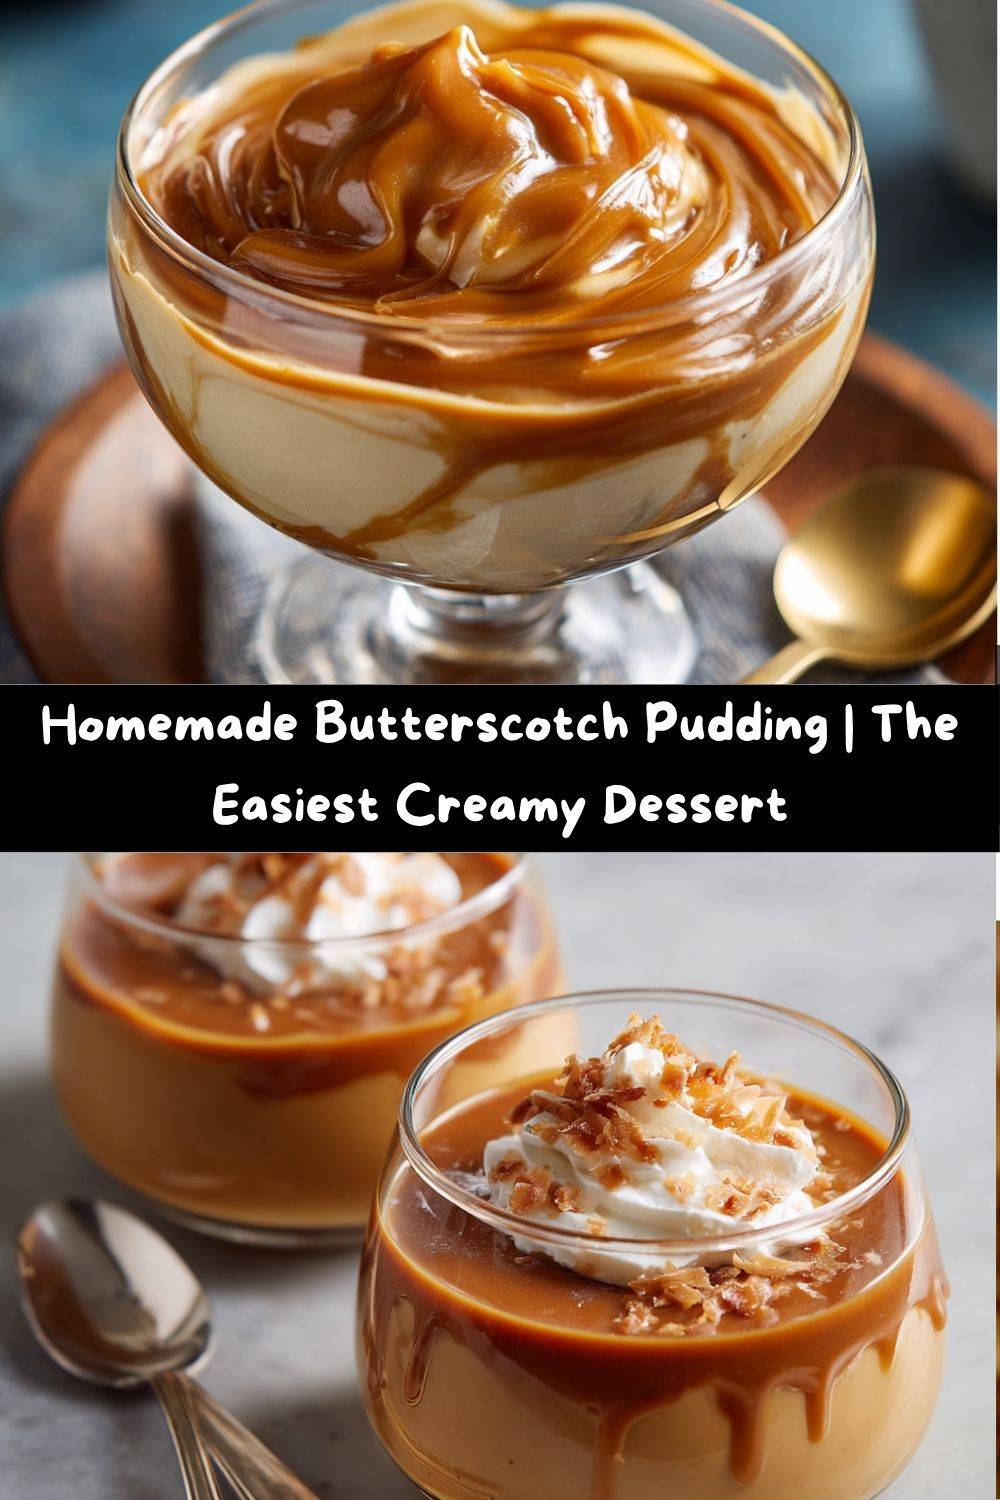
Friends, I am here to tell you that you are dreaming of my Homemade Butterscotch Pudding.
Now, I see you. Maybe you’re picturing those plastic cups from the supermarket, the ones with the thin, lackluster film on top. Let’s banish that thought right now! The real deal—the kind you make from scratch in your own kitchen—is a completely different universe of flavor. We’re talking about a dessert that’s luxuriously silky, deeply caramelized, and has a warm, almost toasty flavor that you just can’t get from a box. It’s rich without being heavy, elegant in its simplicity, and it has this magical way of making everything feel… right in the world.
The best part? It’s deceptively easy. With just a handful of pantry staples and about 15 minutes of active cooking, you can create a dessert that will have your family looking at you like you’re a certified kitchen wizard. So, grab your favorite saucepan and that trusty whisk. We’re about to make a pudding so good, it’s going to become your new secret weapon.
A Spoonful of Sunday Memories
This recipe takes me right back to my grandma’s kitchen, a place that always smelled like a happy mix of brewing coffee and something baking. She wasn’t a fancy chef, but she was a master of comfort. One rainy Sunday, after a massive roast dinner, she disappeared into the kitchen and emerged not with a pie or cookies, but with four simple glass bowls of pudding.
It was my first taste of real butterscotch. It wasn’t just sweet; it was complex. It had a depth, a warmth, a slight bitterness that played perfectly against the sweet creaminess. I remember the smooth, cool texture on my tongue and the way the flavor lingered. I was hooked. That humble pudding, served without any fanfare, felt more special than any restaurant dessert. It taught me a lesson I carry into my cooking every single day: the most memorable food isn’t about complexity; it’s about heart. And this pudding? It’s got heart for days.
Gathering Your Happy-Making Ingredients
See? I told you it was simple! This is the dream team, the A-squad of ingredients that, when combined with a little love, create pure magic. Let’s break them down so you understand the *why* behind the *what.*
- ½ cup Brown Sugar, packed: This is the soul of your butterscotch! Don’t just scoop it—press it into your measuring cup. That deep molasses flavor is what gives butterscotch its signature toasty, caramel vibe. Chef’s Insight: For a deeper, almost grown-up flavor, try using dark brown sugar instead of light.
- 3 tablespoons Cornstarch: This is our thickening hero. It’s what transforms our liquid base into that lush, spoonable texture we’re after. Chef’s Tip: Make sure you whisk it thoroughly with the sugar before adding the milk to avoid any pesky lumps!
- 2 cups Whole Milk: I highly recommend whole milk for its richness, which creates a beautifully creamy mouthfeel. Substitution Tip: No whole milk? 2% will work in a pinch, or for an ultra-decadent version, swap one cup of the milk for heavy cream.
- 2 tablespoons Unsalted Butter: Butter adds a glorious sheen and a layer of luxurious flavor that ties everything together. Using unsalted lets you control the salt level perfectly. Chef’s Insight: That little bit of fat from the butter also helps carry the flavor throughout the pudding.
- 1 teaspoon Vanilla Extract: The flavor enhancer! A good vanilla adds a beautiful floral note that makes the butterscotch flavor pop. Please, for the love of all things tasty, use the real stuff!
- A Generous Pinch of Salt: This might be the most important ingredient after the brown sugar. Salt is the ultimate flavor brightener. It cuts the sweetness and makes the butterscotch taste more like, well, butterscotch. Don’t you dare skip it!
Let’s Make Some Magic: Your Step-by-Step Guide
Ready? Apron on, let’s do this! I’ll walk you through every step so you feel confident and have a perfect pudding every single time.
- The Dry Team Assemble! In a medium saucepan (I like one with a heavier bottom for even heating), whisk together your packed brown sugar and cornstarch. Get in there and really whisk until they are one cohesive, sandy mixture. This initial step is your secret weapon against a lumpy pudding, so don’t rush it! Chef’s Hack: Running the whisk through the mixture in a figure-eight motion is a great way to ensure everything is perfectly combined.
- Welcome the Milk. Now, gradually stream in your milk while whisking constantly. I mean it—constant motion! Start with just a tiny splash to create a smooth paste, then slowly add the rest. This technique, called “slurrying,” is the professional way to prevent cornstarch from clumping up the second it hits liquid.
- The Patient Cook. Place your saucepan over medium heat. Now, here comes the part that requires a little patience and a strong whisking arm. Cook the mixture, stirring constantly, for about 5-8 minutes. At first, it will seem like nothing is happening. Then, you’ll feel it start to thicken slightly against the sides of the pan. Keep going! You’re waiting for that first big, thick *bloop* of a bubble to break the surface. Once it does, let it bubble gently for a full 60 seconds while you keep stirring. This is crucial—it cooks out the raw cornstarch taste!
- The Grand Finale of Flavor. Remove the pan from the heat immediately. Now, stir in the butter, vanilla, and that all-important pinch of salt. Watch as the butter melts into the pudding, making it glossy and rich. Stir until everything is beautifully smooth and incorporated.
- Chill Out. Carefully pour the hot pudding into your serving dishes—I’m a sucker for vintage glass custard cups, but any bowl or even a mason jar works! To prevent a “pudding skin” from forming (which I actually love, but I know it’s divisive!), press a piece of plastic wrap directly onto the surface of the pudding. Let it cool on the counter for a bit before tucking it into the fridge to set for at least 1 hour, though 2-3 is even better.
How to Serve Your Masterpiece
Okay, the hard part is over (wait, was any of it really that hard?). Now for the fun part: serving it up! A spoonful of this glorious pudding is fantastic all on its own, but why stop there? Let’s make it a celebration!
I love serving it in clear glasses or bowls so you can see those beautiful layers if you add toppings. A giant, cloud-like dollop of freshly whipped cream is non-negotiable for me. From there, the sky’s the limit! A sprinkle of crushed toffee bits or Heath bar adds a wonderful crunch. A drizzle of extra salted caramel sauce leans into the gourmet vibe. For a fresh twist, a few raspberries or sliced strawberries on the side cut through the richness beautifully. However you choose to serve it, do it with a smile—you just made homemade pudding from scratch!
Make It Your Own: Delicious Recipe Variations
Once you’ve mastered the classic, it’s time to play! This recipe is a wonderful canvas for your creativity. Here are a few of my favorite twists:
- Salted Bourbon Butterscotch: For a decidedly adult version, stir in 1-2 tablespoons of bourbon along with the vanilla. Finish each serving with an extra tiny flake of sea salt. It’s sophisticated and incredibly delicious.
- Banana Pudding Parfait: Layer slices of ripe banana and this butterscotch pudding in a glass, topping it with whipped cream and vanilla wafer cookies. It’s a heavenly mash-up of two classics.
- Dairy-Free Delight: Easily make this vegan! Use a rich, creamy oat milk or canned coconut milk, and swap the butter for a plant-based alternative. The result is just as creamy and dreamy.
- Espresso Infusion: Whisk 1-2 teaspoons of instant espresso powder in with the dry ingredients. The coffee doesn’t overpower the butterscotch; it just makes it taste deeper and more complex. It’s a match made in heaven.
- Butterscotch Pots de Crème: Feeling fancy? Use only 1 ½ cups of milk and replace the other ½ cup with heavy cream. The result is an even richer, more custard-like dessert that will seriously impress your guests.
Chef Emily’s Kitchen Notes
This recipe has been my go-to for years, and it’s evolved in little ways. I used to be terrified of scorching the bottom of the pan, so I’d cook it on too low a heat and end up with a thin pudding. Don’t be like old Emily! Medium heat and constant stirring are the keys to success. And a funny story: I once, in a pre-coffee haze, accidentally used powdered sugar instead of cornstarch. Let’s just say it resulted in a very sweet, very thin soup that not even my dog would eat! We all have our kitchen flops—it’s how we learn. The most important ingredient you can add to any recipe is a sense of humor.
Your Butterscotch Pudding Questions, Answered!
I’ve gotten a lot of questions about this recipe over the years, so I’ve compiled the most common ones here to help you out!
- My pudding is lumpy! Can I fix it? Absolutely! Don’t panic. Just pour the finished pudding through a fine-mesh sieve into your serving dishes. It will catch any cornstarch lumps, and you’ll be left with a perfectly smooth texture. No one will ever know!
- Why did my pudding not set? This usually means the cornstarch didn’t get activated enough. Remember, you need to bring the pudding to a full bubble and hold it there for that full 60 seconds. If you take it off the heat too soon, it won’t thicken properly. If it’s still runny after chilling, you can pour it back into the pan and cook it for a few more minutes.
- Can I make this ahead of time? You sure can! This is a fantastic make-ahead dessert. It will keep beautifully in the fridge, covered, for up to 3 days. The flavors actually meld and get even better overnight.
- What’s the difference between butterscotch, caramel, and toffee? Great question! It all comes down to the ingredients. Butterscotch is made with brown sugar and butter. Caramel is made by slowly cooking white sugar until it liquefies and browns, then adding cream and butter. Toffee is similar to caramel but cooked to a higher temperature, making it hard and crunchy.
Nutritional Information (Because We’re Curious!)
I’m all about balance! Enjoying a rich, homemade dessert is one of life’s great pleasures. Here’s a general breakdown per serving (based on 4 servings, without toppings), so you can enjoy it mindfully. Remember, these are estimates and can vary based on the specific brands of ingredients you use.
- Calories: ~160
- Fat: 5g
- Carbohydrates: 27g
- Sugar: 19g
- Protein: 3g
- Sodium: 70mg
To lighten it up a bit, you can use 2% milk, which will slightly reduce the fat and calories. But sometimes, your soul needs the full, creamy, whole-milk version, and that’s perfectly okay too!
Your New Go-To Comfort Dessert
And there you have it! Your very own ticket to homemade butterscotch pudding heaven. This isn’t just a recipe; it’s a reminder that the most satisfying cooking projects don’t have to be complicated. They just have to be made with a little bit of love and a whole lot of brown sugar.
I can’t wait for you to experience the joy of dipping a spoon into that silky, homemade pudding. I have a feeling this is going to become a regular in your dessert rotation, just like it is in mine. So, from my messy, flour-dusted kitchen to yours, happy cooking!
I’d love to hear how it turns out! Tag me on social @TastyChow so I can see your beautiful creations. Now, go forth and chow down!
— Emily 🥄