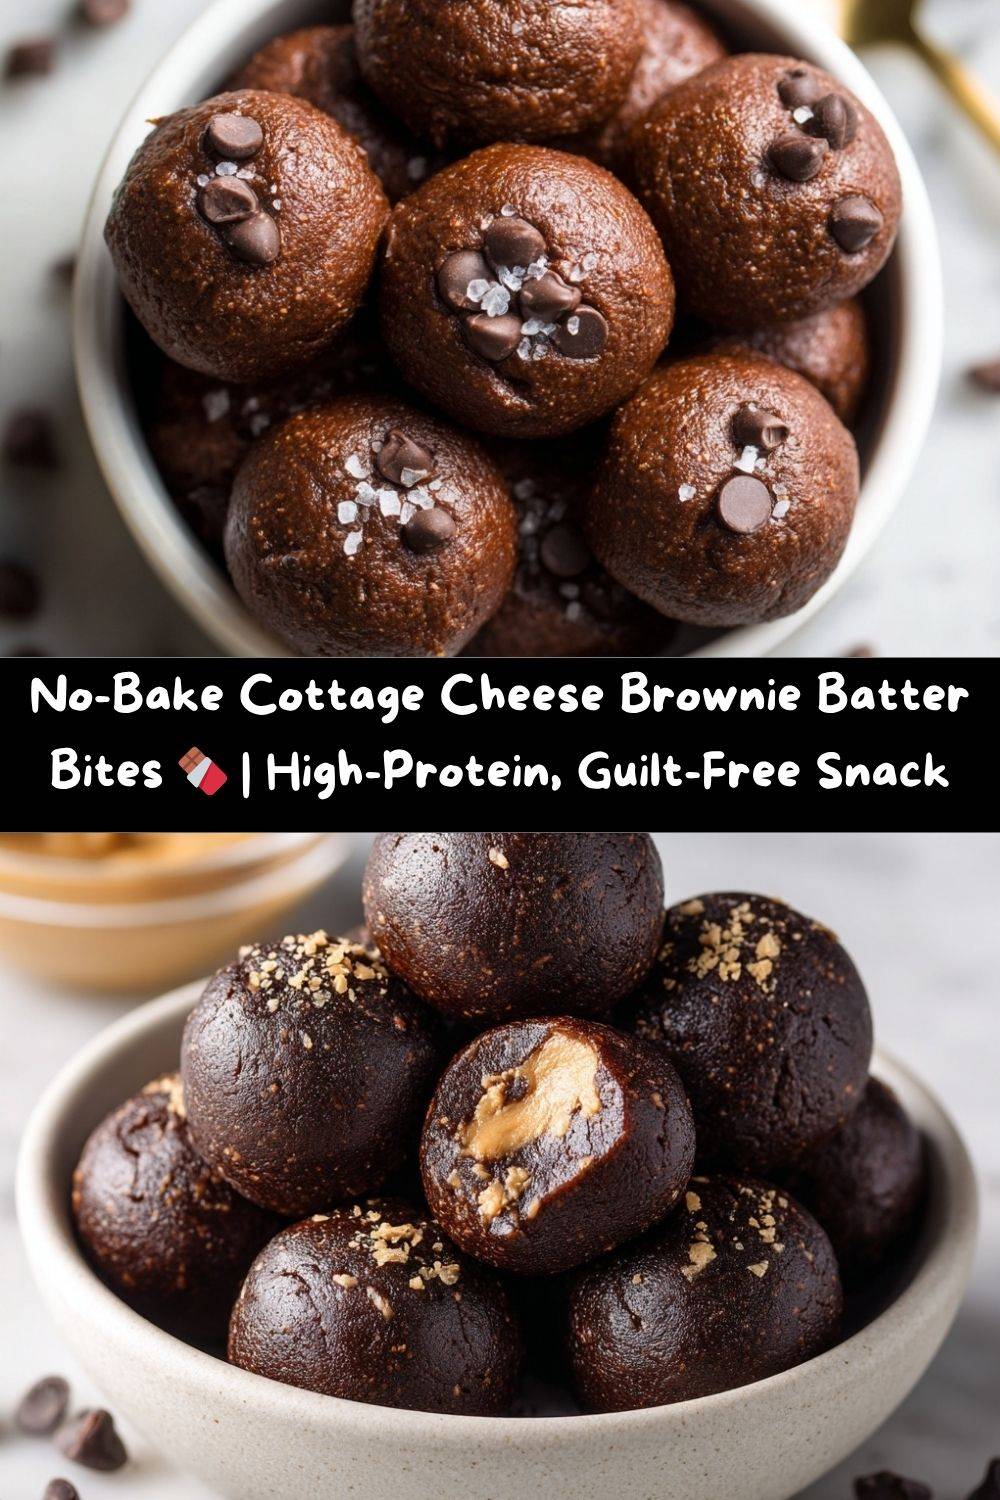
No-Bake Cottage Cheese Brownie Batter Bites: Your New Favorite Guilt-Free Snack
Hey there, my fellow food lover! Let’s have a real chat for a second. You know that moment. It’s 3 PM, your energy is crashing, and a little voice in your head starts whispering sweet nothings about something rich, fudgy, and deeply, profoundly chocolatey. Or maybe it’s after dinner, and the craving for a brownie is so intense you can practically smell it baking. I’ve been there more times than I can count, staring into the pantry abyss, willing a magical, healthy dessert to appear.
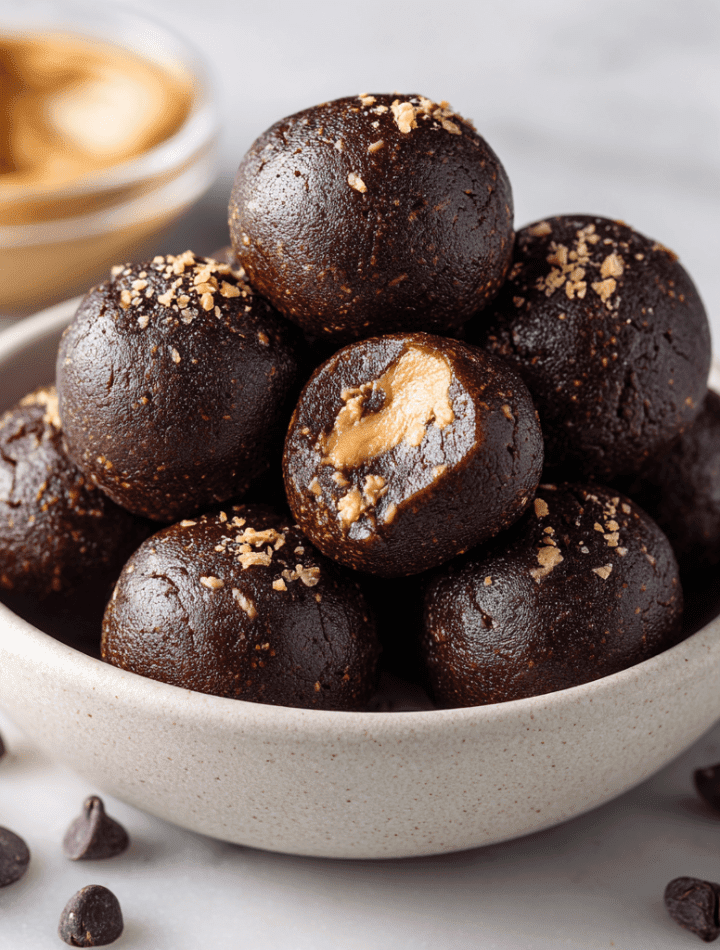
Well, my friend, consider this your magic wand. I’m so ridiculously excited to share with you a recipe that has genuinely changed my snacking game: No-Bake Cottage Cheese Brownie Batter Bites. Yes, you read that right! We’re taking all the decadent, spoon-licking joy of brownie batter and transforming it into a powerhouse, high-protein, no-bake bite that you can feel amazing about eating.
These little morsels are creamy, intensely chocolatey, and satisfying in a way that a sad, diet-approved rice cake could only dream of. They’re the perfect fuel for a busy day, a brilliant post-workout refuel, or just because you deserve a treat that loves you back. So, tie your apron, grab your food processor, and let’s make some messy, delicious magic together.
The Day I Licked the Bowl… and Got a Protein Punch
This recipe was born from a happy accident, like most of the best things in my kitchen. Picture this: I was developing a new baked brownie recipe for the site. My kitchen counter was a glorious disaster zone—flour dusted like snow, multiple bowls of batter, and a sink full of every spoon I own. My mission was a “healthier” brownie, but my first few attempts were, let’s just say, lacking that soul-satisfying fudge factor.
Frustrated, I took a break and was snacking on some cottage cheese with berries. As I stared at the creamy white curds, a lightbulb went off. Cottage cheese is mild, creamy, and packed with protein… what if it could be the secret to the ultimate moist, dense brownie texture? I immediately blended a cup until it was silky smooth and folded it into my batter. It was a game-changer! The brownies were incredible, but the real magic happened when I snuck a taste of the raw batter. It was so smooth, so rich, and so dangerously delicious, I thought, “Why even bake it?” And just like that, these no-bake brownie batter bites were conceived in a whirlwind of chocolate and culinary curiosity.
Gather Your Ingredients: The Dream Team for Deliciousness
Here’s the all-star cast of characters that come together to create this kitchen miracle. I’ve included some of my favorite swaps and chef-y insights so you can make this recipe your own!
- 1 Cup Cottage Cheese (Full-Fat or Low-Fat): This is our secret weapon! It creates an unbelievably creamy, moist base and packs in a serious protein punch. Chef’s Tip: For the smoothest texture, I highly recommend blending it first until it’s completely smooth, like a thick yogurt. If you’re dairy-free, silken tofu is a fantastic swap!
- 4 Tbsp Unsweetened Cocoa Powder: This is where our deep, chocolatey soul comes from. Use a good quality one—it makes all the difference! Chef’s Insight: This is pure chocolate essence without the added sugar or fat, giving us that intense brownie flavor guilt-free.
- ½ Cup Almond Flour: This gives our bites structure and a lovely, slightly nutty flavor. It also keeps them gluten-free! Substitution Tip: No almond flour? Oat flour (just blend rolled oats until fine) works beautifully too.
- 2 Scoops Chocolate Protein Powder: This doubles down on the chocolate flavor and amps up the protein. It also helps thicken the “dough.” Chef’s Note: I use a whey-casein blend, but any chocolate protein powder you love will work. For a plant-based version, use a vegan chocolate protein powder.
- 4 Tbsp Pure Maple Syrup: Our natural sweetener! It adds a subtle, caramel-like depth that plays so nicely with the chocolate. Substitution Tip: Honey or agave syrup would also be lovely here.
- ½ Cup Mini Chocolate Chips: Because every great brownie needs melty pockets of chocolate! The mini ones distribute perfectly. Fun Twist: Use dark chocolate chips for a richer, less sweet bite, or even white chocolate chips for a fun contrast.
- 2 Tbsp Peanut Butter (Optional but Dreamy): This is my personal “can’t-live-without” addition. It adds a rich, salty backbone that makes the chocolate flavor pop even more. Allergy-Friendly Swap: Sunflower seed butter or tahini are incredible alternatives!
- Optional Flavor Boosters: Feel like a kitchen wizard? Add ½ tsp of espresso powder to intensify the chocolate (you won’t taste coffee, I promise!) or a generous pinch of flaky sea salt sprinkled over the top of the finished bites for a salty-sweet situation that is downright addictive.
Let’s Make Some Magic: Your Foolproof Steps to Brownie Bite Bliss
I promise, this is one of the easiest recipes you’ll ever make. We’re talking 10 minutes of active time and zero oven required. Let’s do this!
- Transform Your Cottage Cheese. Plop your cottage cheese into the bowl of a food processor. Now, let it rip! Blend for a good 60-90 seconds, scraping down the sides once, until it’s completely smooth and has the consistency of a thick Greek yogurt or sour cream. Chef’s Hack: This step is non-negotiable for that luxuriously smooth brownie batter texture. No one wants curds in their brownie bite! If you don’t have a food processor, a high-powered blender will work in a pinch.
- Create the Chocolate Dough. To that beautifully smooth cottage cheese, add your cocoa powder, almond flour, chocolate protein powder, maple syrup, and peanut butter (if you’re using it—and you really should!). Pop the lid back on and pulse until a thick, dark, and glorious dough forms. It might seem a bit wet at first, but keep pulsing! It will come together. Chef’s Tip: If the dough seems too sticky to handle, don’t panic! Just add another tablespoon of almond flour. If it seems too dry, a teaspoon of milk (dairy or non-dairy) will fix it right up.
- The Best Part: Fold in the Chips! Now, take the blade out of your food processor. This is a job for a trusty spatula and your own two hands. Pour in the mini chocolate chips and gently fold them in until they’re evenly distributed. Little Kitchen Story: I always sneak a tiny taste at this point. It’s the cook’s reward, and it lets me check if I need an extra pinch of salt. This raw “batter” is honestly so good, you could just eat it with a spoon and call it a day. But we’re going for bites, so let’s keep going!
- Scoop and Roll. Arm yourself with a small cookie scoop, a melon baller, or just a regular tablespoon. Scoop up portions of the dough and roll them gently between your palms to form neat little balls. Chef’s Hack: If the dough is sticking to your hands, lightly dampen them with a bit of water. It creates a non-stick barrier and makes the rolling process a breeze.
- The Chill Factor. Place your beautiful brownie bites on a plate or baking sheet lined with parchment paper. Now, the hardest part: patience. Pop them into the fridge for at least 20-30 minutes to firm up. This chilling time is crucial—it allows the flavors to meld and gives them the perfect, firm-yet-fudgy texture.
How to Serve & Savor Your Brownie Bites
You’ve done it! You’ve created a masterpiece. Now, how to enjoy it? The possibilities are endless!
For the ultimate experience, I love serving these straight from the fridge, slightly chilled. The contrast between the cool, fudgy interior and the little bursts of melty chocolate chips is pure heaven. Arrange them on a cute little plate for an after-dinner treat that will impress your friends, or pack a few in a small container for a desk-side snack that will power you through that afternoon slump.
Feeling extra? Crumble one or two bites over a bowl of Greek yogurt with some fresh berries for a next-level parfait. Or, for a truly decadent (but still healthy-ish) dessert, place a couple of bites in a bowl and drizzle them with a little warm peanut butter or a sprinkle of flaky sea salt. You are the artist of your own snack time—get creative!
Get Creative: 5 Fun Twists on the Classic
Once you’ve mastered the basic recipe, the playground is open! Here are a few of my favorite ways to mix things up:
- The Rocky Road Rendezvous: Swap the mini chocolate chips for a mix of mini marshmallows and chopped walnuts. It’s a classic flavor combo that never fails to delight.
- The Mint Chocolate Chip Cool-Down: Add ¼ teaspoon of pure peppermint extract to the food processor with the other ingredients. Fold in the chocolate chips as usual. It’s like a refreshing, protein-packed thin mint!
- The Tropical Escape: Omit the peanut butter and add ¼ cup of unsweetened shredded coconut and 2 tablespoons of chopped dried mango or pineapple. It’s a sunny, sweet, and totally transportive bite.
- The Cookie Dough Dupe: Use vanilla protein powder instead of chocolate, and swap the cocoa powder for 2 extra tablespoons of almond flour. Fold in butterscotch chips instead of chocolate chips. Voilà! You have edible cookie dough bites.
- The Double-Dark Decadence: For the true chocoholic, use dark cocoa powder and fold in chopped dark chocolate bar pieces instead of chips. This one is intense, rich, and deeply satisfying.
Chef Emily’s Notebook: A Few Parting Thoughts
This recipe has become such a staple in my house that I almost always have a batch stashed in the freezer. They’ve evolved from that initial “a-ha!” moment into my go-to for potlucks, road trips, and those days when I need a little edible hug.
A funny kitchen story? The first time I made these, my husband walked in, saw the dark, fudgy balls on the counter, and immediately popped one in his mouth before I could stop him. His eyes got wide and he said, “Whoa. These are dangerous.” He had no idea he was eating cottage cheese! That’s the beauty of this recipe—it’s our little secret. It feels like a decadent treat, but it’s built on a foundation of real, wholesome ingredients. Don’t you just love when that happens?
Your Questions, Answered!
I’ve gotten so many DMs about this recipe, so let’s tackle the most common questions right here.
Q: My dough is too sticky to roll! What did I do wrong?
A: Don’t worry, this is an easy fix! It usually means your cottage cheese was a bit more hydrating than mine, or your protein powder absorbs liquid differently. Just add more almond flour, one tablespoon at a time, until the dough is manageable. Wetting your hands with cold water before rolling also works wonders.
Q: Can I make these without a food processor?
A: You can, but you’ll need to get creative. For the cottage cheese, you *must* blend it until smooth. A high-powered blender is your best bet. For mixing the dough, you could try using a hand mixer on high speed, or even just a lot of elbow grease with a wooden spoon in a large bowl. The food processor really is the MVP here for ease and texture.
Q: How long do these last, and can I freeze them?
A> They keep beautifully in an airtight container in the fridge for up to 5 days. For longer storage, they are freezer champions! Lay them in a single layer on a parchment-lined sheet to freeze solid, then transfer to a freezer bag. They’ll keep for up to 3 months. I love grabbing one straight from the freezer for a frozen, fudgy treat.
Q: I don’t like the taste of protein powder. Can I leave it out?
A> You can, but you’ll need to adjust the dry ingredients. Omit the protein powder and add an extra ¼ cup of almond flour and an extra tablespoon of cocoa powder. The texture will be slightly different, and the protein content lower, but they’ll still be delicious!
The Good Stuff: What’s Fueling Your Body?
Let’s talk about why these bites are more than just a tasty treat. They’re a smart choice for your body! The combination of protein from the cottage cheese and protein powder, healthy fats from the almond flour and peanut butter, and complex carbs from the maple syrup creates a balanced snack that provides sustained energy.
It helps keep blood sugar levels stable, curbs cravings, and supports muscle recovery. The fiber from the almond flour and cocoa keeps you feeling full and satisfied. So, when you enjoy one (or three!) of these, you’re not just satisfying a sweet tooth—you’re giving your body high-quality fuel to power through your day. Now that’s what I call a win-win.
Nutritional Info (per bite, estimated):
Calories: 80 | Protein: 6g | Carbs: 6g | Fat: 5g | Fiber: 2g
Final Thoughts from My Kitchen to Yours
Well, my friend, we’ve reached the end of our brownie batter bite journey. I truly hope this recipe brings as much joy and satisfaction to your kitchen as it has to mine. It’s a testament to the fact that eating well doesn’t mean depriving yourself. It’s about getting creative, playing with flavors, and finding those brilliant little hacks that make healthy living feel like a celebration.
So, the next time that chocolate craving hits, I hope you remember this recipe. Remember that you have the power to whip up something incredibly delicious that also makes you feel fantastic. Now, go forth and chow down! And if you make them, please tag me on social @TastyChow—I love seeing your creations!
With a full heart and a happy, chocolate-smeared apron,
— Emily