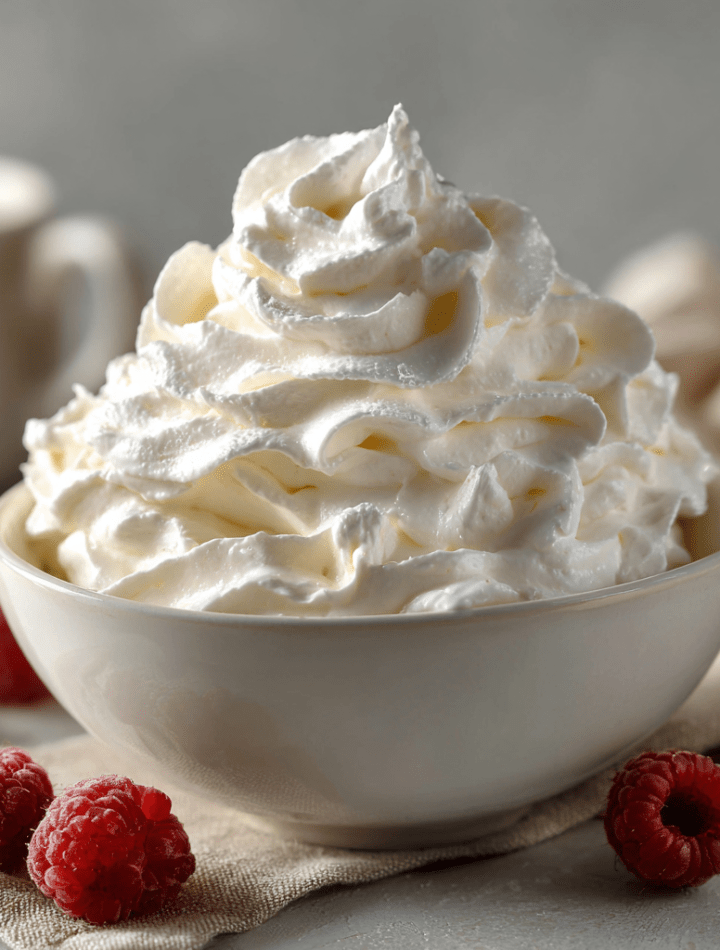
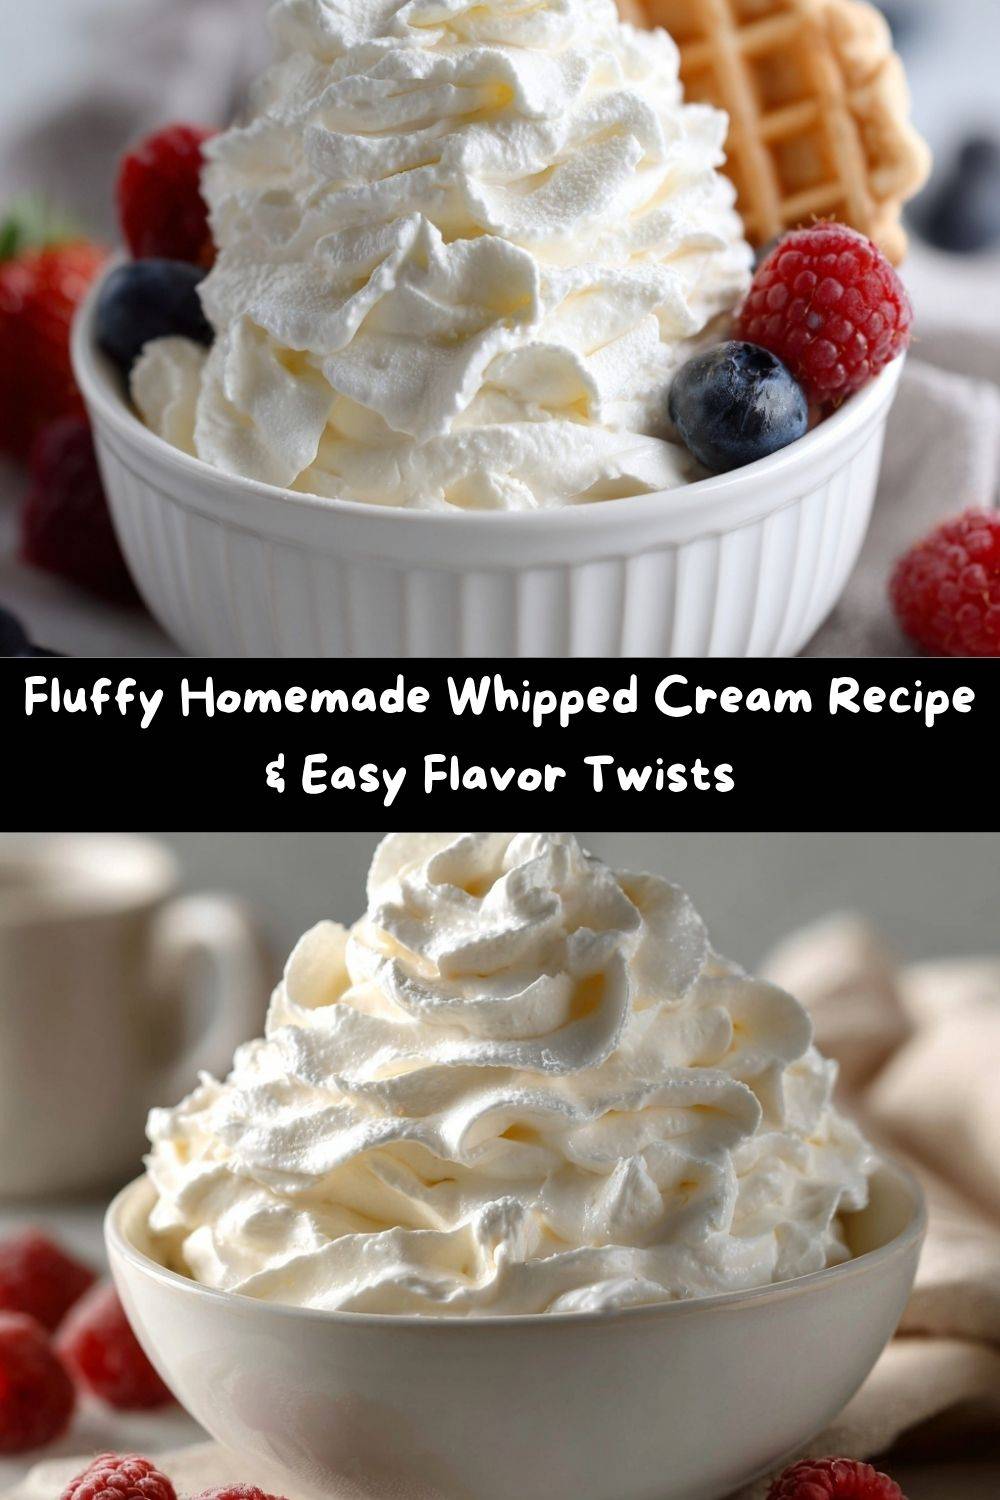
Forget the Can: Let’s Make Real Whipped Cream
Hey there, friend! Let’s have a little chat about one of life’s simplest, most joyful pleasures: a dollop of perfectly fluffy, homemade whipped cream. You know what I’m talking about. That cloud-like, subtly sweet magic that melts on your tongue and transforms a simple dessert into a masterpiece. It’s the happy dance on your pie, the cozy blanket in your hot cocoa, and the sunny smile atop a bowl of fresh berries.
Now, I see you eyeing that can of store-bought stuff in the fridge. No judgment here—we’ve all been there on a busy Tuesday! But let me let you in on a little secret: making your own whipped cream is faster than you can find your keys and get to the store. Seriously! With just three classic ingredients and about five minutes, you can create something that tastes a million times better. It’s pure, it’s customizable, and it carries that special “I made this with my own two hands” kind of pride.
In this guide, I’m not just giving you a recipe. I’m giving you your new kitchen superpower. We’ll whip up the classic vanilla version together, and then I’ll show you how to get creative with some fun flavor twists. So, grab your mixer and your favorite mixing bowl. It’s time to make something deliciously simple and simply delicious. Let’s get whipping!
My First Whipped Cream “Aha!” Moment
My love affair with whipped cream started not in culinary school, but in my Grandma Rose’s kitchen. I was maybe seven years old, and she was making her famous strawberry shortcake. I watched, utterly mesmerized, as she poured this liquid cream into a big, cold metal bowl. She handed me her old hand-crank mixer—the kind that really gives your arm a workout—and told me to start turning.
My little arms were getting tired, and I was about to give up when something magical happened. The cream started to froth, then thicken, and suddenly, it was holding soft, beautiful peaks. I remember her leaning over, sprinkling in a little sugar and a splash of vanilla, and letting me have the first taste off the beaters. It was a revelation! It wasn’t just “cream” anymore; it was a cloud, a dream, a sweet, airy miracle. That moment taught me that the most extraordinary things often come from the simplest ingredients and a little bit of patience and love. To this day, every time I make whipped cream, I think of her and that magical transformation.
Your Whipped Cream Toolkit: The Ingredients
See? I told you it was simple! Just three core ingredients are all you need for a perfect foundation. But the devil is in the details, my friend, so let’s break down why each one matters and what your options are.
- 4 cups (32 oz) Heavy Whipping Cream: This is your star player! The high fat content (at least 36%) is what allows the cream to trap air and hold its shape. Chef’s Insight: For the fluffiest, most stable results, your cream needs to be ICE COLD. I even pop my bowl and beaters in the freezer for 15 minutes before I start. It makes a world of difference!
- 1/2 cup Powdered Sugar: We use powdered sugar instead of granulated for two brilliant reasons. First, it dissolves instantly, so you get a perfectly smooth texture without any graininess. Second, it contains a tiny bit of cornstarch, which helps stabilize the whipped cream just a touch. Substitution Tip: You can use granulated sugar, but your cream may have a slightly less smooth mouthfeel. If you do, add it at the very beginning with the liquid cream.
- 2 teaspoons Vanilla Extract: This is the soul of classic whipped cream. It adds a warm, aromatic depth that elevates it from “plain” to “perfection.” Chef’s Insight: For a truly next-level experience, use the seeds from a vanilla bean pod or a high-quality vanilla bean paste. You’ll see those beautiful little black specks, and the flavor is absolutely incredible.
How to Make Perfect Whipped Cream: A Step-by-Step Dance
Ready to become a whipping wizard? Follow these steps, and you’ll have a bowl of fluffy goodness in no time. I’m adding my favorite little hacks along the way to ensure your success!
- Chill Everything: Pour your cold heavy cream into a large, chilled mixing bowl. If you’re using a stand mixer, use the chilled metal bowl. Chef’s Hack: This is the #1 most important step for success! A cold environment helps the fat in the cream whip up quickly and hold more air, giving you maximum volume.
- Start Whipping: Using a hand mixer or stand mixer fitted with the whisk attachment, beat the cream on medium speed until it just begins to thicken. You’ll see trails starting to form from the beaters. This should take about 1-2 minutes. Why medium speed? Starting slower incorporates air more gradually, leading to a more stable and voluminous foam. Don’t be tempted to start on high!
- Sweeten the Deal: Now, add your powdered sugar and vanilla extract. If you’re adding any dry flavorings from our “twists” section (like cocoa powder or cinnamon), add them now too. Chef’s Hack: Sift your powdered sugar and cocoa powder before adding them! This prevents any little lumps from hiding in your otherwise perfectly smooth cream.
- Whip to Perfect Peaks: Increase the speed to medium-high and continue beating. Watch closely! The cream will go from soft peaks (peaks that gently flop over when you lift the beaters) to medium peaks (peaks that hold their shape but the tip still curls over slightly). This is the perfect stage for most uses—pipeable, but still dreamily soft. This usually takes another 2-3 minutes.
- Avoid the Danger Zone! Once you hit medium peaks, you are in the “watch like a hawk” stage. Overbeating is the only real mistake you can make here. If you go too far, the fat solids will separate from the liquid, and you’ll end up with butter and buttermilk! If you see it starting to look grainy or clumpy, stop immediately. But don’t worry, you’ve got this! Just keep an eye on it.
How to Serve Your Homemade Masterpiece
Okay, you’ve made this gorgeous, fluffy cloud. Now what? The possibilities are endless, but here are a few of my absolute favorite ways to serve it up.
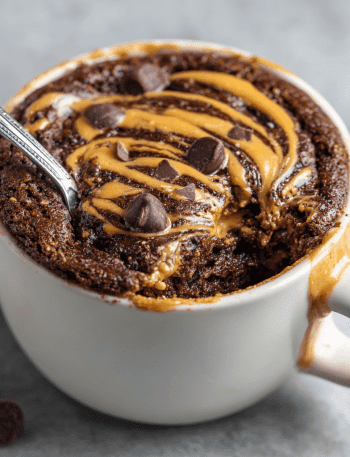
The Classic Dollop: A generous spoonful on top of a warm slice of pie (apple, pumpkin, pecan—you name it!) is a non-negotiable life upgrade. It also melts beautifully into a mug of rich hot chocolate or a freshly brewed latte.
The Elegant Pipe: Fit a piping bag with a star tip (I’m partial to a large open star tip for big, beautiful swirls) and fill it with your whipped cream. Pipe it onto cupcakes, cheesecake, or a fruit tart for an instantly professional and gorgeous finish.
The Simple Sundae: Layer it in a parfait glass with fresh berries and a sprinkle of granola. Or create the ultimate ice cream sundae by adding a cloud of this cream on top of your favorite scoop—it’s a cream-on-cream dream!
The Breakfast of Champions: Yes, whipped cream for breakfast! A fluffy mound on top of pancakes, French toast, or waffles is a weekend treat that always brings smiles to the table.
Get Creative! Flavor Twists & Swaps
Once you’ve mastered the classic, it’s time to play! Here are a few of my go-to flavor variations to make your whipped cream the star of any dish.
- Chocolate Whipped Cream: Add 2 tablespoons of unsweetened cocoa powder along with the powdered sugar. This is heavenly on angel food cake, or as a dip for strawberries.
- Peppermint Whip: Swap the vanilla for 1/2 teaspoon of peppermint extract. It’s the perfect festive topper for holiday desserts, especially brownies or chocolate pie.
- Cinnamon-Vanilla Spice: Add 1/2 teaspoon of ground cinnamon with the sugar. This is my secret weapon for topping sweet potato casserole, pumpkin pie, or a simple bowl of oatmeal.
- Maple Cream: Omit the vanilla and use 1 tablespoon of pure maple syrup instead. The flavor is rich and autumnal, perfect on pancakes or with roasted pears.
- Lemon Zest Delight: Add the finely grated zest of one lemon. It’s bright, fresh, and incredible on berry desserts or a simple pound cake.
Chef Emily’s Notebook Scribbles
This recipe has been my ride-or-die for years, but it’s had its share of kitchen adventures! I’ll never forget the time I was chatting away on the phone, distractedly whipping cream, and I suddenly heard a *slap-slap-slap* sound. I looked down to find I’d made a beautiful, if unexpected, batch of fresh butter. Whoops! Consider it a friendly reminder to keep an eye on your mixer.
Over time, I’ve learned that this recipe is a beautiful canvas. Don’t be afraid to taste as you go! Want it sweeter? Add a touch more sugar. Want a stronger vanilla flavor? Go for it! Making whipped cream should be an intuitive, fun process. Trust your palate—you are the chef of your own kitchen!
Your Whipped Cream Questions, Answered!
I’ve gotten a lot of questions about whipped cream over the years. Here are the ones I hear most often, so you can whip with confidence!
Q: Can I make whipped cream by hand?
A: You absolutely can! It’s a fantastic arm workout. Use a large balloon whisk and a chilled metal bowl. It will take some elbow grease and about 5-8 minutes of vigorous whisking, but you’ll get there. You’ll know you’re close when your arm starts to feel the burn!
Q: My whipped cream is runny and won’t thicken. What happened?
A: This almost always comes down to temperature. Your cream, bowl, or beaters were likely not cold enough. Pop the whole bowl into the fridge for 20-30 minutes, then try whipping again. It should cooperate! Also, double-check that you’re using “heavy whipping cream,” not half-and-half or whole milk.
Q: Can I make it ahead of time?
A> Yes, but it’s best fresh. You can store it in a sealed container in the fridge for up to 24 hours. It may soften a bit and weep a little liquid, but you can give it a quick re-whip with a whisk to bring it back to life.
Q: How can I make it more stable for piping on a cake?
A> For extra stability that holds for days, add a stabilizer. My favorite method is to whip in 1-2 tablespoons of instant vanilla pudding powder when you add the sugar. It doesn’t alter the flavor much and works like a dream!
A Quick Note on Nutrition
Let’s be real, homemade whipped cream is a treat, and we should enjoy it as such! It’s a simple combination of dairy fat and sugar. The primary nutritional component is fat from the heavy cream, which provides a rich, satisfying mouthfeel and helps you feel full.
Because the ingredients are so simple, you have complete control over what goes in. You can adjust the sugar to your liking or explore alternative sweeteners if that’s your preference. A little goes a long way in adding a luxurious finish to fruits, whole-grain pancakes, or other nutrient-dense foods. As with all the good things in life, the key is mindful enjoyment. So, savor that dollop on your holiday pie or your weekend pancakes without a second thought!
Nutrition Details (per 1/2 cup serving):
Calories: 210 | Fat: 22g | Saturated Fat: 14g | Carbohydrates: 5g | Sugar: 4g | Protein: 1g
Prep Details:
Prep Time: 5 minutes | Total Time: 5 minutes | Yields: 8 servings (approx. 4 cups)
You’re Officially a Whipped Cream Pro!
And there you have it! You are now equipped with everything you need to know to make the most incredible, fluffy, dreamy homemade whipped cream. You’ve got the classic recipe, the fun flavor twists, the chef’s secrets, and the troubleshooting tips. You’ve graduated from the can to the bowl, and I am so proud of you!
This simple act of whipping cream is one of my favorite little kitchen rituals. It’s a reminder that slowing down and creating something from scratch, no matter how small, is a beautiful and rewarding act. It’s a gesture of love for yourself and anyone you share it with.
So, what are you going to crown with your first homemade batch? Tag me @TastyChow on Instagram so I can see your beautiful creations! Now, go forth and whip something wonderful.
With a happy heart and a whisk in hand,
— Emily