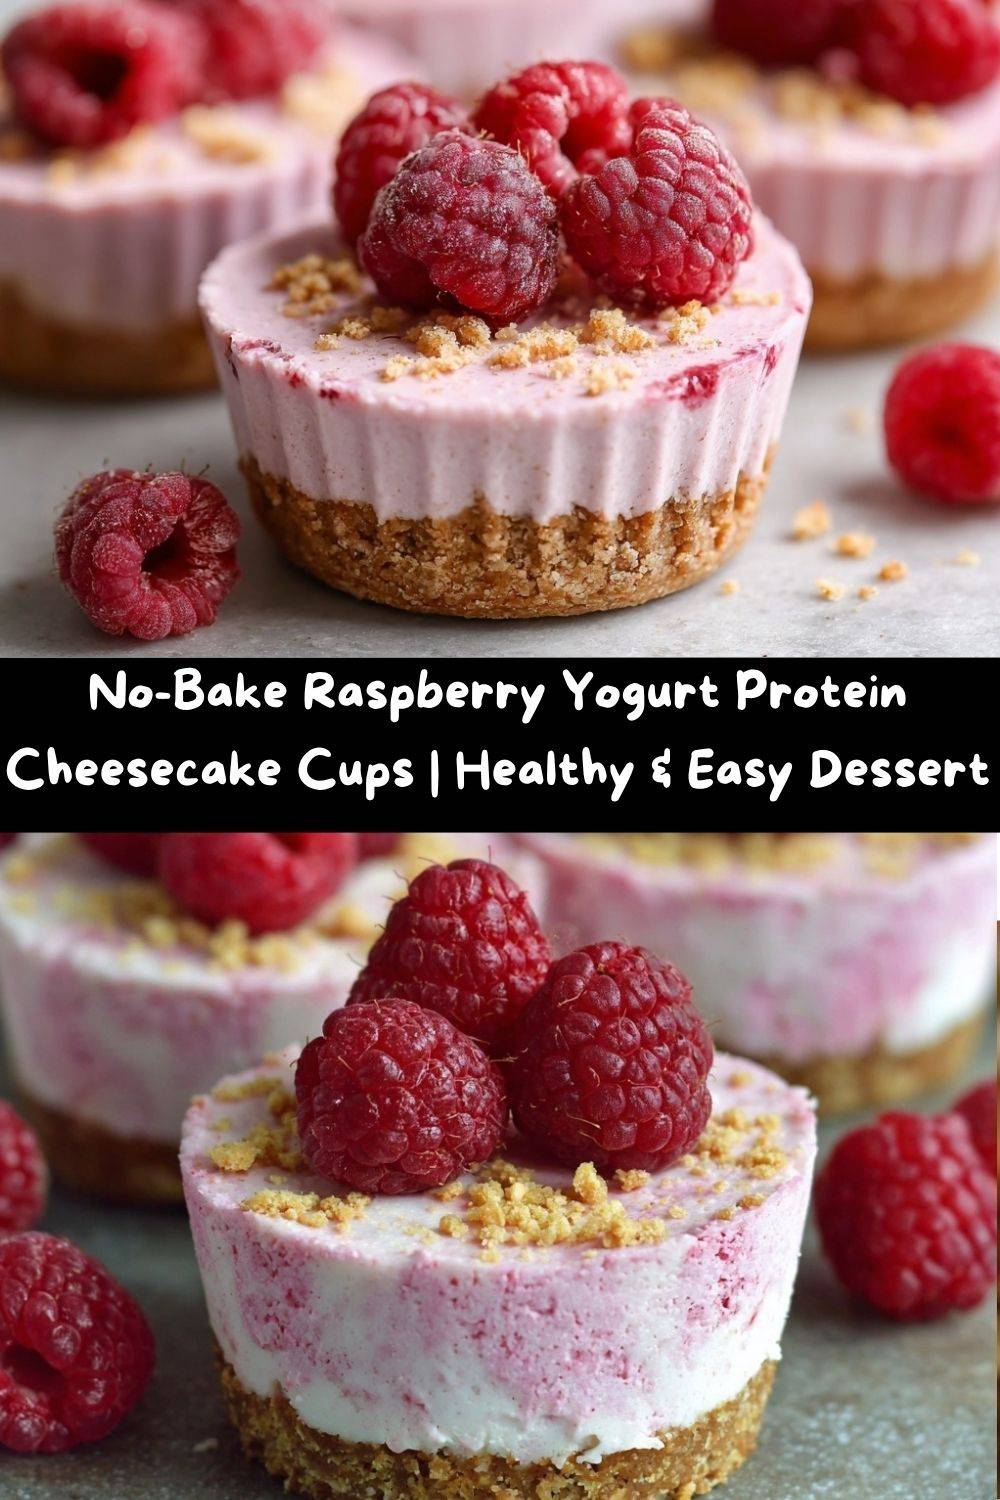
No-Bake Raspberry Yogurt Protein Cheesecake Cups: Your New Healthy Obsession!
Hey there, my fellow food lover! Let me paint you a picture. It’s that time of the afternoon when your energy is dipping, but your sweet tooth is screaming. You stare into the fridge, willing a magical, guilt-free dessert to appear. Sound familiar? For the longest time, I felt like I had to choose: was I in the mood for something healthy or something decadent? Why can’t we have both?
Well, my friends, I’m here to tell you that we absolutely can. I’ve been tinkering in my kitchen (apron splattered with raspberry purée, no less) to create a treat that feels like a total indulgence but is secretly a powerhouse of goodness. Enter these gorgeous, No-Bake Raspberry Yogurt Protein Cheesecake Cups!
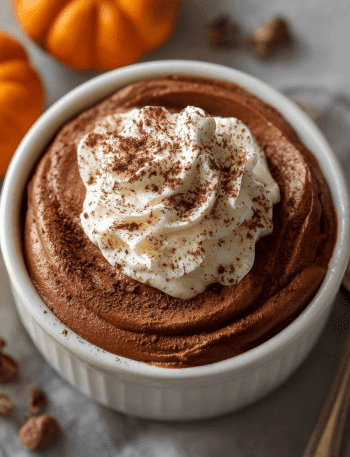
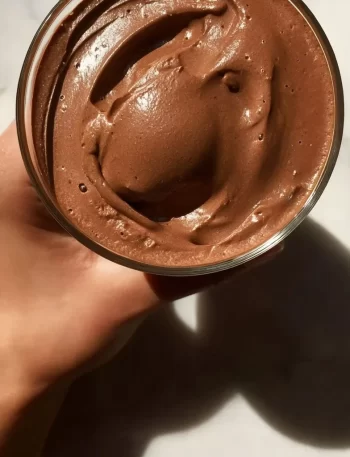
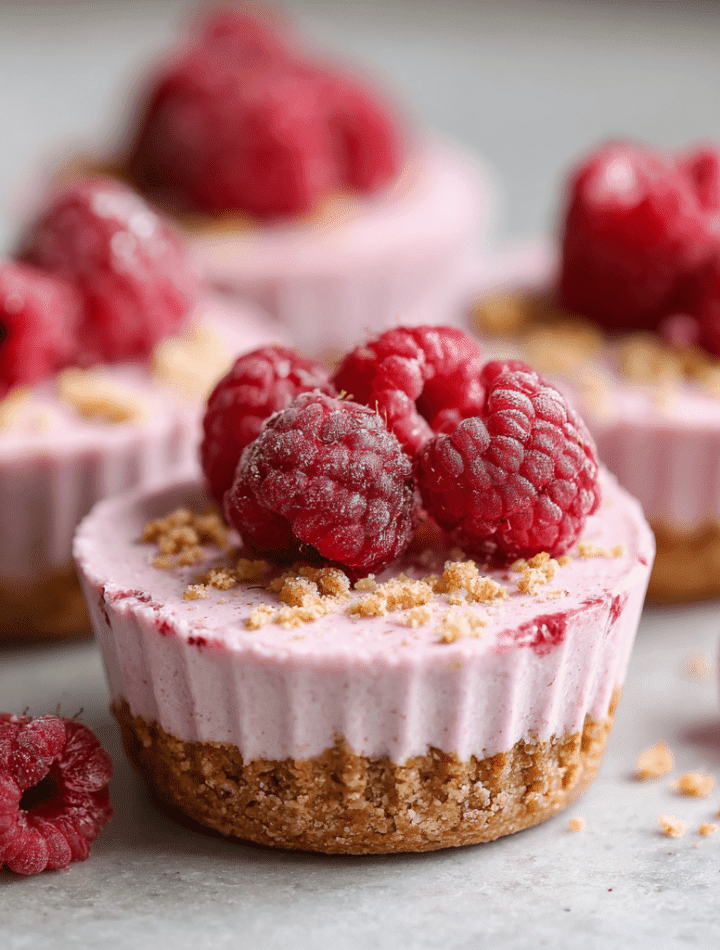
Imagine the creamiest, dreamiest cheesecake filling, swirled with a vibrant, tangy raspberry purée, all nestled in a cute little cup. They’re mousse-like, perfectly sweet, and packed with protein to keep you satisfied. The best part? There’s no oven required. Just a bowl, a whisk, and a little patience while they chill. They’re pretty enough for a party, easy enough for a Wednesday, and healthy enough to eat without a single shred of guilt. Let’s get mixing!
The Cheesecake That Changed My Mind
I have to be honest with you—I wasn’t always a “healthy dessert” believer. My philosophy has always been, “If you’re going to have dessert, have dessert.” A slice of my grandma’s New York-style cheesecake was a religious experience. It was dense, rich, and required a nap afterward. I loved it, but my body? Not so much.
That all changed after a particularly grueling week of recipe testing. I was living on coffee and bits of failed experiments. I needed a pick-me-up that was both a treat and actual fuel. I stared at the tub of Greek yogurt and the cream cheese on the counter, and the little voice in my head said, “What if…?” What if I could capture the essence of that beloved cheesecake—the creamy tang, the luxurious texture—but make it light, bright, and powerful? A few messy attempts later (one involving a tragic avocado—don’t ask), these little cups were born. The first bite was a revelation. It was like my taste buds and my muscles were high-fiving. It was the hug I needed, without the food coma.
Gather Your Ingredients: The Dream Team
This is where the magic starts! The beauty of this recipe is in its simplicity. Each ingredient plays a crucial role in creating that perfect, creamy, high-protein cheesecake texture we’re after.
- 1 cup plain Greek yogurt (full-fat or 2%): This is our protein superstar and the base of our creamy filling. I prefer full-fat for the richest texture, but 2% works beautifully too. Chef’s Insight: The thickness of Greek yogurt is key—it gives structure without needing gelatin!
- ½ cup low-fat cream cheese, softened: This brings the classic, tangy “cheesecake” flavor. Softening it is non-negotiable! Leave it on the counter for 30-60 minutes before you start. Substitution Tip: For a dairy-free version, use your favorite plant-based cream cheese.
- ¼ cup raspberry purée (fresh or frozen berries blended and strained): This is our natural food coloring and flavor bomb! Simply blend a handful of raspberries (fresh or frozen and thawed) and push them through a fine-mesh strainer to remove the seeds. Chef’s Insight: Using purée instead of whole berries gives you that gorgeous, uniform pink color and silky-smooth texture.
- 2–3 tablespoons honey or maple syrup: Our natural sweetener! Start with 2 tablespoons and taste. I usually go for 3 because I have a major sweet tooth. Substitution Tip: Agave nectar or a sugar-free maple syrup would work just fine here.
- 1 teaspoon vanilla extract: The flavor enhancer that makes everything taste more luxurious and well-rounded. Don’t skip it!
- Pinch of salt: This might seem small, but it’s a game-changer. Salt makes the sweet and tangy flavors pop. Trust me on this.
- Optional: ½ scoop unflavored or vanilla protein powder: Want an extra protein punch? Go for it! I recommend a clean, unflavored or vanilla whey or plant-based powder. Chef’s Insight: If you add protein powder, the mixture will thicken significantly. You can add a teaspoon of milk or water to loosen it up if needed.
- Crushed graham crackers or almond flour for crust (optional): For a little textural contrast, a tiny crust base is divine. Graham crackers are classic, while almond flour keeps it gluten-free and adds a lovely nutty flavor.
Let’s Make Some Magic: Step-by-Step Instructions
Ready to see how quickly this all comes together? Put on some fun music, because you’re only about 10 minutes away from cheesecake paradise.
- Get That Cream Cheese Silky Smooth. In a medium-sized bowl, add your softened cream cheese. Using a hand mixer (or a whisk and some serious elbow grease), beat it until it’s completely smooth and lump-free. This is the most important step! If the cream cheese is even slightly cold, you’ll end up with little lumps in your final product, and we want mousse-like perfection. Chef’s Hack: If you forgot to soften your cream cheese, you can zap it in the microwave for 10-15 seconds, but be careful! You want it soft, not melted and soupy.
- Bring in the Gang. To the beautifully smooth cream cheese, add the Greek yogurt, raspberry purée, your chosen sweetener, vanilla extract, and that all-important pinch of salt. Chef’s Commentary: I love watching the white and pink swirl together before I even start mixing—it’s so pretty!
- Mix Until Mousse-Like. Now, mix everything together on medium speed until it’s completely combined, silky, and has a light, mousse-like consistency. This should only take a minute or two. If you’re using the optional protein powder, now is the time to sprinkle it in and mix just until combined. Chef’s Tip: Don’t overmix once the protein powder is in, as it can sometimes make the texture a bit gummy.
- Create Your Base (Optional, but Recommended). If you’re going for the crust, grab your silicone muffin liners, small jars, or ramekins. Add about a teaspoon of crushed graham crackers or almond flour to the bottom of each cup and press down gently with the back of a spoon. This gives you that authentic cheesecake experience from the very first bite.
- Spoon and Smooth. Divide the beautiful pink cheesecake mixture evenly among your cups. Use the back of your spoon to smooth the tops, creating a nice, clean canvas for your garnishes later.
- The Hardest Part: The Chill. Carefully place the cups in the refrigerator and let them set for at least 2 hours, though overnight is even better. This chill time allows the flavors to meld and the texture to firm up into that perfect, sliceable-but-creamy cheesecake cup. Chef’s Hack: If you’re in a serious hurry, you can pop them in the freezer for 30-45 minutes, but the texture will be slightly firmer.
How to Serve These Pretty Little Things
Okay, the wait is over! It’s time to serve your masterpiece. This is where you can really let your inner artist shine.
I love taking these out of the fridge about 5-10 minutes before serving to just take the edge off the chill. Then, the fun begins! Top each cup with a plump, fresh raspberry and maybe a tiny mint leaf for a pop of green. A light dusting of graham cracker crumbs or a tiny drizzle of extra raspberry purée looks absolutely stunning. For an extra protein boost, a small dollop of Greek yogurt and a sprinkle of lemon zest is also a fantastic finish.
These are perfect for meal prep—just line them up in your fridge for a ready-to-go breakfast or snack. They also make the most impressive healthy dessert for a dinner party. Serve them on a beautiful platter and watch your friends’ eyes light up when you tell them they’re actually good for you!
Make It Your Own: Delicious Recipe Variations
Once you’ve mastered the basic recipe, the flavor world is your oyster! Here are a few of my favorite twists to keep things exciting.
- Lemon Blueberry Bliss: Swap the raspberry purée for blueberry purée. Add the zest of one lemon to the filling for a bright, sunny flavor combination that’s absolutely irresistible.
- Chocolate Peanut Butter Cup: Omit the fruit purée. Instead, add 2 tablespoons of natural peanut butter powder (like PBfit) and 1 tablespoon of unsweetened cocoa powder to the filling. You’ll feel like you’re eating a healthy Reese’s!
- Tropical Coconut Mango: Use coconut-flavored Greek yogurt if you can find it, and swirl in ¼ cup of mango purée instead of raspberry. Top with toasted coconut flakes for a mini vacation in a cup.
- Cookies & Cream: For a truly decadent (but still high-protein) treat, fold 2 tablespoons of crushed gluten-free Oreos or another chocolate cookie into the plain filling. Use the crushed cookies as the “crust” too!
- Purely Plant-Based: Make it vegan! Use a thick, plant-based Greek-style yogurt (I love the ones from Kite Hill or Cocojune) and vegan cream cheese. Swap the honey for maple syrup and use a plant-based protein powder.
Chef Emily’s Notebook Scribbles
This recipe has become such a staple in my kitchen that I barely need to look at the recipe card anymore. It’s evolved from that first “what if” experiment into my go-to for potlucks, new mom gifts, and “I need a win today” treats.
One of my favorite kitchen stories involves these cups. I was bringing them to a friend’s BBQ and my container tipped over in the car. I arrived with what looked like a beautiful, swirled pink *dip*. I was so embarrassed, but I just slapped a “Raspberry Cheesecake DIP” label on it, served it with graham crackers and apple slices, and it was the hit of the party! So remember, even if your presentation isn’t perfect, the flavor will always shine through. No kitchen fail is ever truly a fail—it’s just a new recipe in disguise.
Your Questions, Answered!
I’ve gotten so many DMs about this recipe, so let’s tackle the most common questions right here.
Q: My mixture is too runny! What did I do wrong?
A: The most common culprit is the yogurt. Make sure you’re using a true, thick Greek yogurt or Skyr. If your brand is a bit watery, you can strain it in a cheesecloth-lined sieve for 30 minutes beforehand. Also, remember that the mixture will firm up significantly in the fridge!
Q: Can I make these without any sweetener?
A: You can, but they will be quite tart. The sweetener balances the tang from the yogurt and cream cheese. If you’re avoiding added sugars, try using a mashed, very ripe banana for natural sweetness, or a few drops of liquid stevia to taste.
Q: My protein powder made the texture grainy. How can I prevent that?
A: This is a common issue! To avoid graininess, make sure your other ingredients are very smooth first. Then, sift your protein powder into the mixture as you’re stirring, rather than dumping it in all at once. Mixing it with a tablespoon of the yogurt first to form a paste can also help it incorporate more smoothly.
Q: How long will these really last in the fridge?
A: They are best enjoyed within 3-4 days. After that, the yogurt might start to separate a tiny bit of liquid (this is called “whey”), but it’s perfectly safe to eat. Just give it a stir! I don’t recommend freezing them, as the texture can become icy and separate upon thawing.
The Healthy Scoop (No Pun Intended!)
I know many of you are curious about the nutritional profile, so let’s break it down. Please remember, these are estimates and can vary based on the specific brands and ingredients you use (like full-fat vs. low-fat dairy, and whether you add the crust or protein powder).
Per serving (one cup, without crust and without added protein powder), you’re looking at approximately:
- Calories: ~120-150
- Protein: 10-12g (A fantastic amount for a dessert!)
- Fat: ~5g
- Sugar: 6-8g (Mostly natural from the raspberries and honey)
This makes them a fantastic, balanced snack or a light dessert. The protein and fat will help keep you full and satisfied, while the natural sugars give you a gentle energy boost without the crash. It’s a treat you can feel genuinely good about feeding your body and your soul.
Final Thoughts from My Kitchen to Yours
Well, my friend, we’ve done it. We’ve created something truly special together. These No-Bake Raspberry Yogurt Protein Cheesecake Cups are proof that taking care of yourself doesn’t mean sacrificing flavor or fun. They are a celebration of simple, wholesome ingredients coming together to create pure joy in a cup.
I hope this recipe finds its way into your regular rotation and brings a little bit of bright, creamy happiness to your busy days.
With love and a full heart,
Emily