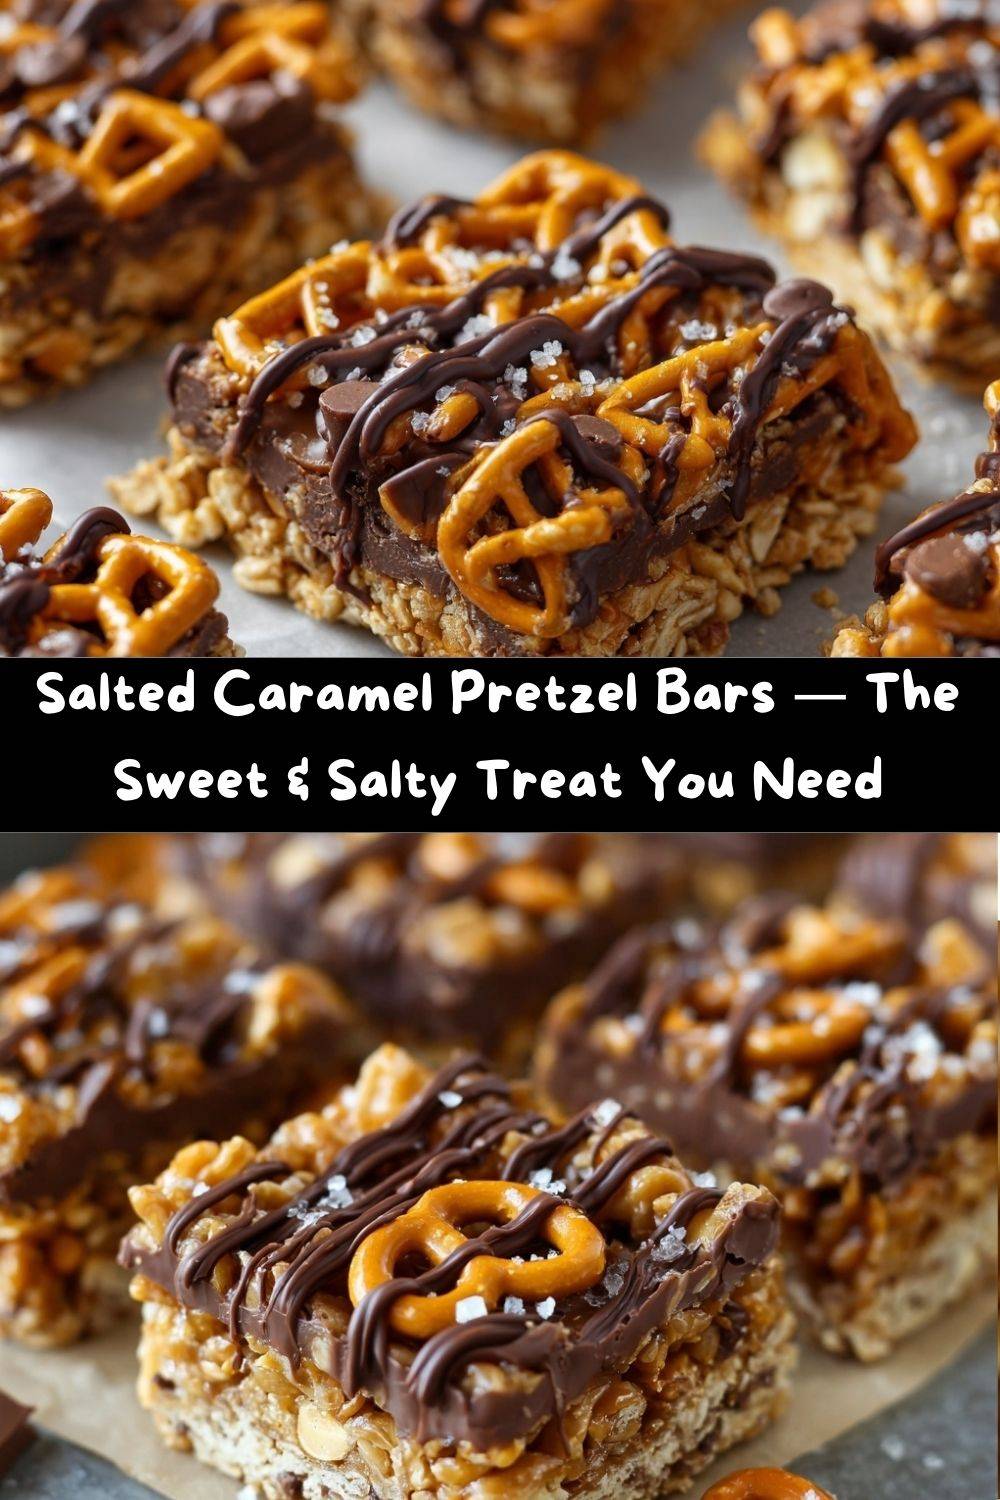
Salted Caramel Pretzel Bars: Your New Favorite Sweet & Salty Obsession
Hey there, friend! Let’s talk about one of life’s greatest culinary mysteries: why is the combination of sweet and salty just so darn irresistible? It’s the kind of flavor magic that makes you close your eyes and just sigh with happiness. And today, we’re harnessing all that magic into one ridiculously easy, no-bake treat that’s about to become your go-to for potlucks, late-night cravings, and “I-deserve-a-treat” moments: Salted Caramel Pretzel Bars.
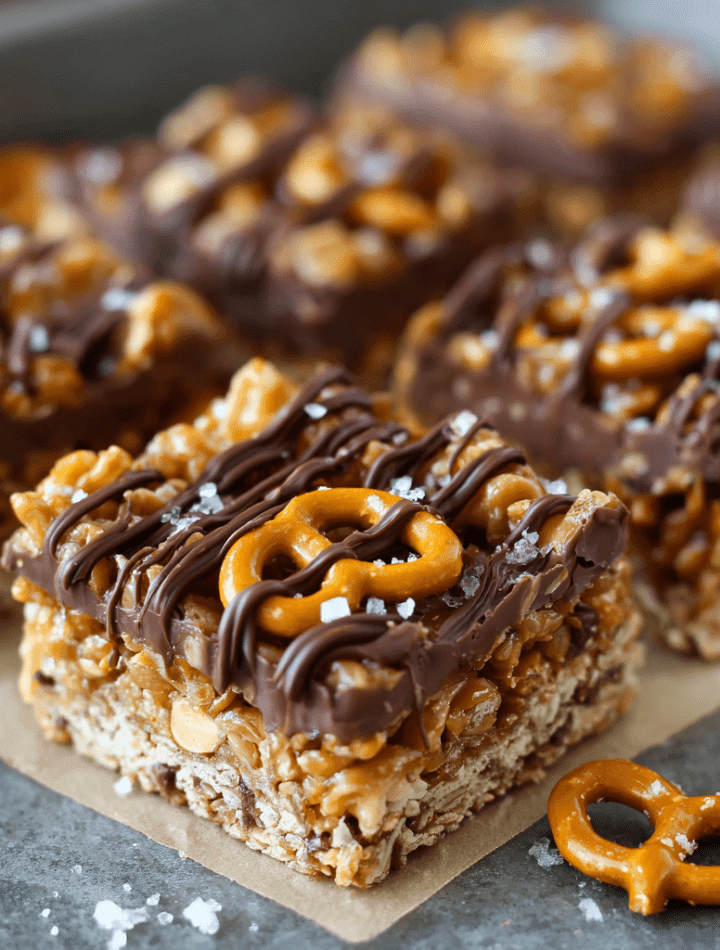
Imagine this: a chewy, hearty base of oats, packed with crunchy pretzel pieces and little pockets of melty caramel. We’re topping it all off with a slick, shiny drizzle of chocolate and the pièce de résistance—a delicate sprinkle of flaky sea salt that makes every single flavor pop. This isn’t just a dessert; it’s a full-sensory experience. The best part? You don’t even need to turn on your oven. We’re whipping these up on the stovetop and letting the fridge do the hard work.
I created this recipe for those days when you need a little joy, stat. It’s for when brownies feel too plain and a bag of pretzels feels… well, not quite celebratory enough. It’s the perfect project to tackle with kids (they love the crushing and stirring parts!) or to whip up solo while you’re sipping a glass of wine and pretending to have your life together. So, tie on your favorite apron—the one with the stains that tell a thousand kitchen stories—and let’s make something unforgettable together.
The Happy Accident That Started It All
This recipe, like many of my favorites, was born from a beautiful kitchen disaster. Picture this: It was a rainy Tuesday, and I was attempting a fancy, multi-layer caramel and chocolate tart for a dinner party. Long story short, my tart crust decided it had other plans and crumbled into a million pieces. I was left with a bowl of delicious, salty-sweet filling and a whole lot of frustration.
Instead of crying over spilled… well, tart filling… I started raiding the pantry. I found a bag of pretzels, some oats, and a last-minute burst of inspiration. I crushed the pretzels right into the filling, pressed the whole glorious mess into a pan, and crossed my fingers. A few hours later, after a chill in the fridge and a haphazard chocolate drizzle, I nervously sliced into it. Friends, it was a revelation. The crunchy, salty pretzels mixed with the sweet, chewy base was a hundred times better than my original, fussy plan. My dinner guests devoured it and demanded the recipe for what they dubbed “Emily’s Happy Accident Bars.” The moral of the story? Sometimes the best recipes find you when you’re not even looking for them.
Gather Your Ingredients: The Cast of Characters
Here’s everything you’ll need to bring these sweet and salty dreams to life. I’ve included some of my favorite chef insights and substitutions so you can make this recipe your own!
- 2 cups old-fashioned oats: These are the heart and soul of our bar, giving it a wonderful chewy texture and a wholesome, nutty flavor. Chef’s Tip: Don’t use quick oats! They’ll get too mushy. We want the sturdy structure of old-fashioned.
- 1½ cups mini pretzels, crushed into pieces: This is where our signature salty crunch comes from! I like mini pretzels because they’re easy to crush. Substitution Tip: If you only have regular pretzels, that’s totally fine! Just give them a good whack in a zip-top bag with a rolling pin.
- ¾ cup caramel bits: These little gems are a game-changer. They melt perfectly into the bars, creating lovely gooey pockets. Chef’s Insight: Can’t find caramel bits? You can chop up about 20 soft caramel candies instead. Just be sure to unwrap them all—a tedious but crucial step!
- ¼ cup honey or light corn syrup: This is the glue that holds our bars together and adds a beautiful, floral sweetness. Substitution Tip: I prefer honey for its flavor, but light corn syrup will give you a slightly chewier, more consistent texture. Agave nectar works too!
- ¼ cup brown sugar: This deep, molasses-kissed sugar adds a rich, caramel-like depth to our syrup. It’s the flavor foundation.
- 4 tbsp unsalted butter: Butter adds richness and helps create that perfect, firm-yet-chewy bar. Chef’s Tip: Using unsalted lets us control the saltiness, which is key in a recipe that already has salty pretzels.
- ½ tsp vanilla extract: A splash of vanilla is the secret weapon that makes all the other flavors sing. It’s the warm, aromatic note in the background.
- ½ cup roasted peanuts (optional for crunch): I highly recommend this addition! It gives a fantastic nutty flavor and an extra layer of texture. Substitution Tip: Allergic to peanuts? Try roasted almonds or pecans, or just leave them out entirely.
- ½ cup semi-sweet or milk chocolate chips (for drizzle): The crowning glory! Semi-sweet balances the sweetness, while milk chocolate leans into the decadence. You can’t go wrong.
- Flaky sea salt (for topping): Do not skip this! A sprinkle of flaky salt like Maldon right at the end elevates this from a simple bar to a gourmet treat. It enhances every single flavor.
Let’s Make Some Magic: Step-by-Step Instructions
Okay, team! It’s time to get our hands dirty (figuratively, of course—we’re using spoons!). Follow these steps, and you’ll be a Salted Caramel Pretzel Bar pro in no time.
- Prep Your Pan & Crush Your Pretzels. First things first, line an 8×8-inch baking pan with parchment paper, leaving a little overhang on two sides. This is your “sling” that will make lifting the whole slab of bars out of the pan a total breeze—trust me on this! Now, take out any Tuesday frustrations by placing your mini pretzels in a zip-top bag and crushing them with a rolling pin. You’re aiming for a mix of small pieces and a little bit of pretzel “dust” for maximum texture distribution. Chef’s Hack: No rolling pin? A wine bottle, a heavy can, or even a small frying pan works perfectly in a pinch!
- Combine Your Dry Ingredients. In a large mixing bowl, toss together the old-fashioned oats, your beautifully crushed pretzels, the caramel bits, and the peanuts (if you’re using them). Give it a good stir so everything is evenly distributed. Seeing all those textures and flavors together is half the fun!
- Create the Gooey Syrup Glue. Now, for the magic potion! In a medium saucepan over medium heat, combine the butter, brown sugar, and honey (or corn syrup). Stir it constantly with a wooden spoon or silicone spatula until the butter melts and the mixture comes to a gentle bubble. Let it bubble for about 60 seconds—this is crucial for dissolving the sugar and creating a syrup that will set properly. Remove the pan from the heat and immediately stir in the vanilla extract. It will sizzle and smell absolutely heavenly.
- The Big Mix! Carefully pour the hot syrup over your dry oat and pretzel mixture. Working quickly, stir everything together until every single oat, pretzel piece, and peanut is thoroughly coated in that glossy, sweet syrup. The caramel bits might start to get a little soft and melty, and that’s exactly what we want!
- Press and Compact. Transfer the mixture into your prepared parchment-lined pan. Now, here is the most important step for getting bars that hold their shape: PRESS, PRESS, PRESS! Use the bottom of a measuring cup or a glass, and really compact the mixture into the pan. Apply firm, even pressure across the entire surface. The more compact it is now, the less likely your bars are to crumble later.
- The Patience Game (a.k.a. Chilling). Pop the pan into the refrigerator for at least 1-2 hours, or until the bars are completely firm. I know it’s hard to wait, but this step is non-negotiable. This is when the syrup sets and transforms our loose mixture into sliceable, perfect bars.
- The Grand Finale: Chocolate & Salt. Once the bars are firm, lift them out of the pan using the parchment paper sling and place them on a cutting board. Melt your chocolate chips in the microwave in 20-second bursts, stirring between each, until smooth. Drizzle the melted chocolate artistically (or enthusiastically!) over the top. Immediately, before the chocolate sets, sprinkle on that gorgeous flaky sea salt. This makes the salt stick and gives you that perfect bit in every bite.
- Slice and Serve! Using a sharp knife, slice the large slab into 10 rectangular bars. For super clean cuts, you can wipe the knife blade clean between slices. Now, the best part: take a bite and prepare to be amazed!
How to Serve These Salty-Sweet Beauties
You can absolutely just grab a bar and go (no judgment here!), but if you want to make them feel extra special, here are a few of my favorite ways to serve them.
For a dessert platter, arrange the bars on a beautiful wooden board alongside some fresh fruit like apple slices, strawberries, and grapes. The fresh fruit provides a lovely, bright contrast to the rich, sweet bars. If you’re serving them at a party, cut them into smaller, bite-sized squares and stack them on a cake stand for an easy, elegant finger food.
My personal favorite way to enjoy them? With a hot cup of coffee in the afternoon or a cold glass of milk after dinner. The bitterness of the coffee or the creaminess of the milk is the perfect partner for the sweet and salty flavors. They also pack and travel incredibly well, making them the ultimate treat for picnics, road trips, or as a thoughtful homemade gift for a friend who needs a pick-me-up.
Get Creative! Recipe Variations & Twists
Once you’ve mastered the base recipe, the kitchen playground is yours! Here are a few fun ways to mix things up and make these bars your own signature treat.
- Rocky Road Twist: Swap out the peanuts for ½ cup of mini marshmallows and add a handful of chopped walnuts. You get that classic rocky road flavor in every bite.
- Tropical Escape: Omit the peanuts and stir in ½ cup of shredded coconut and ¼ cup of chopped dried mango or pineapple. It’s like a vacation for your taste buds!
- Double Chocolate Delight: Are you a chocoholic? Me too. Replace ¼ cup of the oats with ¼ cup of unsweetened cocoa powder when you mix the dry ingredients. You’ll get a rich, chocolatey base that’s out of this world.
- Peanut Butter Lover’s Dream: Add ¼ cup of creamy peanut butter to the saucepan when you’re melting the butter and honey. This makes the syrup even richer and gives you an intense peanut butter flavor throughout.
- Gluten-Free & Nut-Free Friendly: To make these for friends with dietary restrictions, simply use certified gluten-free oats and pretzels. Then, leave out the peanuts entirely. They’ll still be utterly delicious and inclusive for everyone to enjoy!
Chef Emily’s Kitchen Notes
This recipe has evolved so much since that first “happy accident.” I’ve learned that the type of honey you use can change the flavor profile—a wildflower honey gives a more floral note, while a clover honey is milder. I’ve also found that if I’m in a real hurry, popping the pan in the freezer for 30-40 minutes will set the bars much faster than the fridge.
One of my favorite kitchen memories involving these bars was when my nephew, who is a fiercely loyal chocolate chip cookie fan, tried one. He looked at me, wide-eyed, and said, “Auntie Em, these are… confusing. But in a good way!” That’s the power of sweet and salty—it keeps you on your toes and always coming back for one more bite.
Your Questions, Answered! FAQs & Troubleshooting
Let’s tackle some common questions to ensure your bar-making journey is smooth sailing.
Q: My bars are too crumbly and won’t hold together! What did I do wrong?
A: The most common culprit is not pressing the mixture firmly enough into the pan. Really lean into it! The second most likely issue is not letting the syrup bubble for long enough. That 60-second bubble is key for the sugar to dissolve and create a proper binding syrup. If it happens, don’t worry—you’ve just invented a fantastic “Salted Caramel Pretzel Crunch” topping for ice cream!
Q: Can I make these bars ahead of time?
A: Absolutely! In fact, I think they taste even better the next day. You can store them in an airtight container in the refrigerator for up to 5 days, or in the freezer for up to 3 months. They’re a fantastic make-ahead dessert.
Q: My caramel bits didn’t melt much. Is that normal?
A> Yes, that’s perfectly normal! We’re not aiming for a uniform caramel layer. The goal is to have some bits that melt and create chewy pockets, and some that stay whole for little bursts of caramel flavor. It’s all part of the texture adventure.
Q: Can I use dark chocolate for the drizzle?
A: Please do! I love using dark chocolate for a slightly less sweet, more sophisticated finish. It pairs beautifully with the salted caramel.
Quick Nutritional Snapshot
I’m all about balance—enjoying delicious, soul-satisfying treats without any guilt! Here’s a general nutritional breakdown per bar (based on 10 bars and including the optional peanuts). Remember, this is just an estimate, as ingredients can vary.
- Calories: ~250 kcal
- Carbohydrates: ~30 g
- Fat: ~12 g
- Sugar: ~17 g
- Protein: ~4 g
Dietary Info: This recipe is vegetarian. It contains gluten (from pretzels and oats) and can contain nuts if you add the peanuts. For gluten-free and nut-free versions, please see the variations section above!
Final Thoughts from My Kitchen to Yours
Well, my friend, we did it! We took a handful of simple, pantry-staple ingredients and transformed them into a treat that’s bursting with texture, flavor, and pure joy. I hope these Salted Caramel Pretzel Bars bring as much happiness to your kitchen as they have to mine.
This recipe is a perfect reminder that cooking doesn’t have to be complicated to be incredible. It’s about having fun, embracing a little mess, and creating something that makes people feel good. So, the next time you’re craving that perfect sweet-and-salty fix, you know exactly what to do.