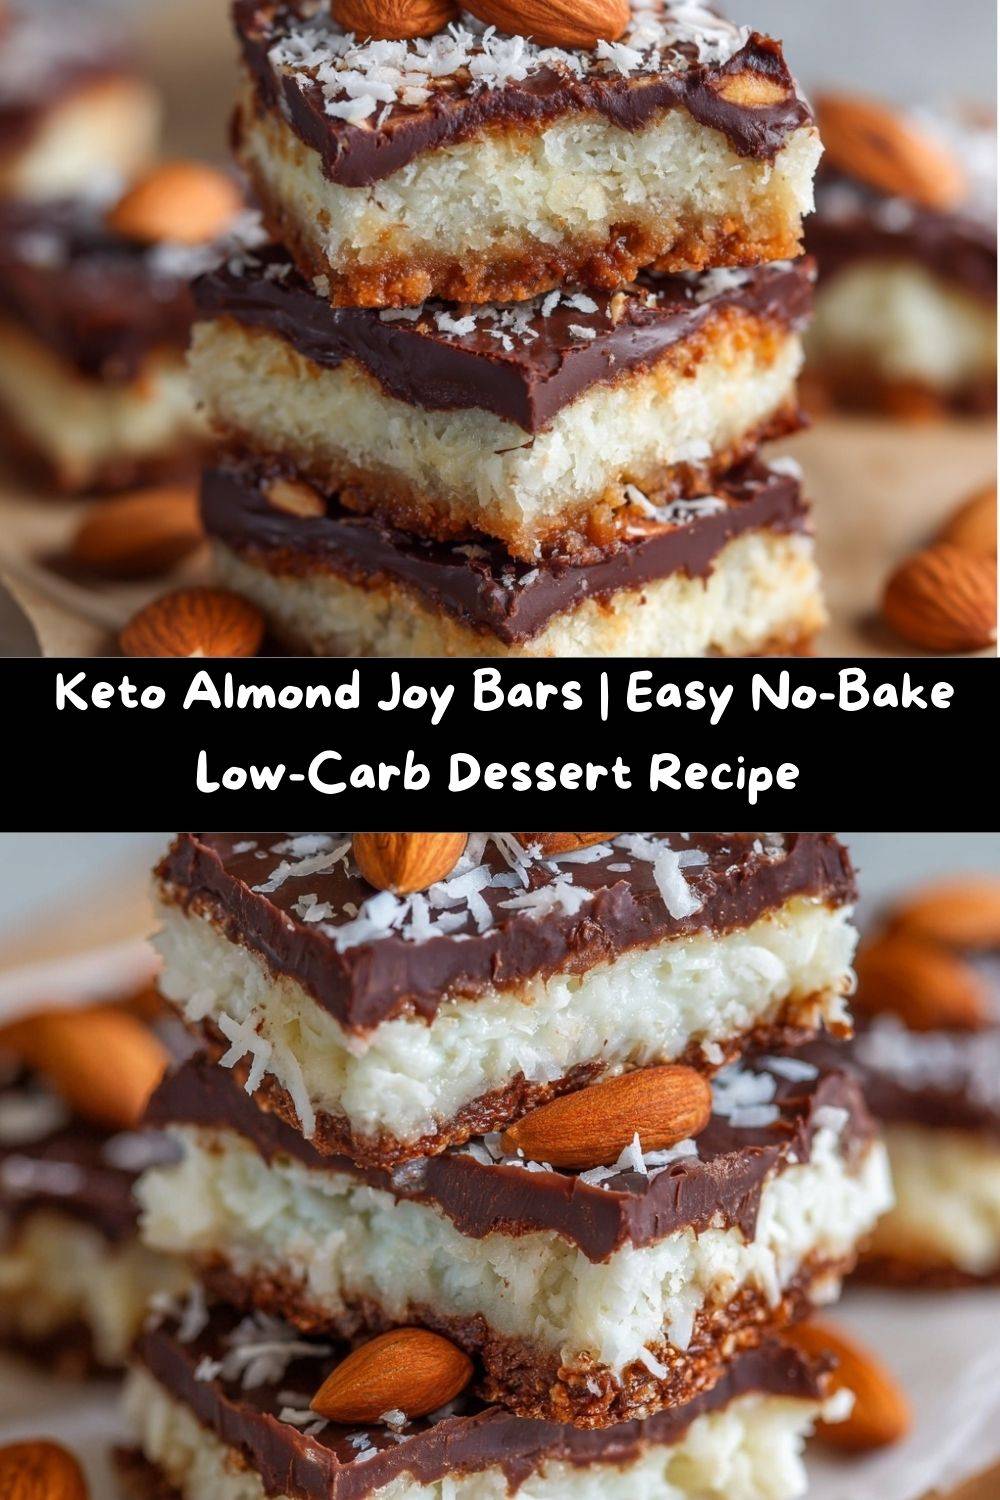
Hey, Let’s Make Some Magic (Without Turning on the Oven)!
Picture this: you’re curled up on the couch, a good movie queued up, and a craving for something sweet, chewy, and decadent hits you like a ton of bricks. But if you’re living that low-carb life, reaching for a classic candy bar feels like a distant dream. Well, my friend, dream no more. I’m about to hand you the keys to your new favorite keto-friendly treat: Homemade Keto Almond Joy Bars.
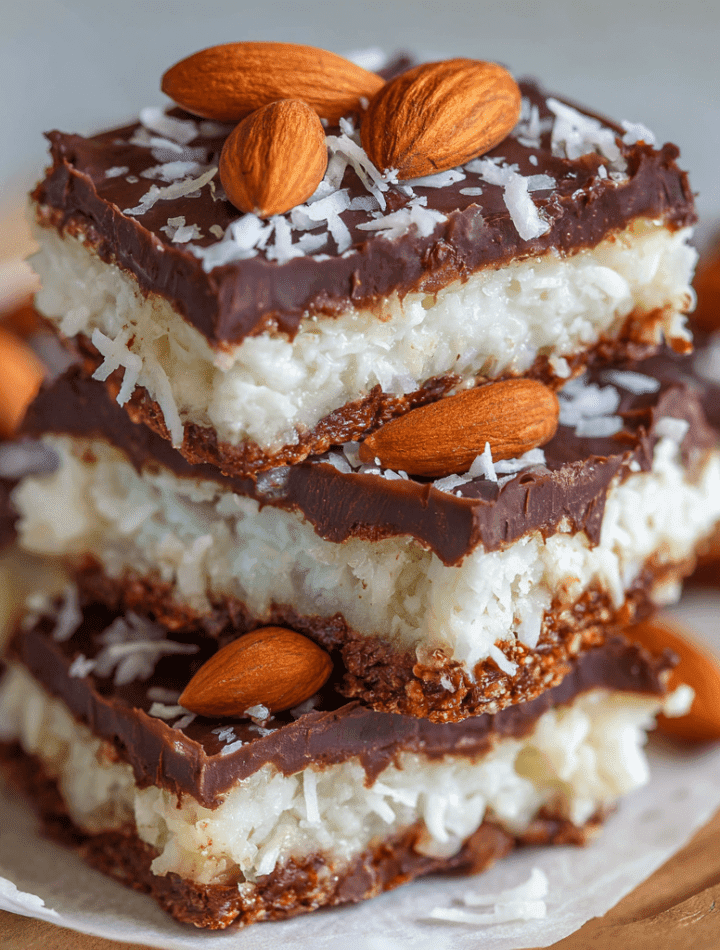
These bars are my kitchen’s answer to that siren call of chocolate, coconut, and almond. They’re everything you love about the nostalgic candy aisle classic—that sweet coconut center, the satisfying crunch of a roasted almond, all enveloped in a rich, crackly dark chocolate shell—but made with clean, simple ingredients that love you back. The best part? There’s absolutely no baking required. We’re talking 10 minutes of active prep and a little patience while they set in the fridge. That’s it! Whether you need a quick dessert for a weeknight, a impressive little treat for a gathering, or just a secret stash in the freezer for emergencies (we all have them), this recipe is your new best friend. So, tie that apron on, clear a little counter space, and let’s make something delicious that will have you doing a happy dance in your kitchen.
The Candy Aisle & My Grandma’s Purse
This recipe takes me straight back to being eight years old, trailing behind my grandma in the grocery store. She had this magical, cavernous purse that always seemed to produce something wonderful. Without fail, right at the checkout lane, she’d lean down and whisper, “Pick one.” My eyes would dart between the shiny wrappers, but my hand always, always went for the Almond Joy. “Sometimes you feel like a nut…” the jingle would play in my head as I’d carefully unwrap it, savoring the perfect layers.
Years later, when I started my keto journey, I thought those moments of simple, sweet joy were behind me. I missed the combination of textures and flavors. So, I did what I always do: I headed into the kitchen to recreate the magic. After a few… interesting experiments (let’s just say not all sugar-free chocolates are created equal), I landed on this formula. The first time I bit into one of these homemade versions, it wasn’t just a tasty bite—it was a time machine. It was the feeling of my grandma’s hand in mine, the rustle of her purse, and the shared secret of a treat. That’s the power of food, isn’t it? It’s not just fuel; it’s memory, comfort, and love. And now, I get to share that feeling with you.
Gathering Your Kitchen Crew (A.K.A. The Ingredients)
Here’s the beautiful part: you only need a handful of simple ingredients to create these little wonders. I’ve broken it down by layer so you can see how the magic comes together. Let’s chat about each one!
For the Coconut Layer (The Heart of the Joy):
- 2 cups unsweetened shredded coconut: This is our star! Look for a fine or medium shred for the best texture. The unsweetened part is key for keeping carbs low. Pro Chef Tip: Give it a quick toast in a dry pan for 2-3 minutes until just fragrant for an insane depth of flavor. It’s a game-changer!
- 1/2 cup coconut cream: Not coconut milk! Coconut cream is the thick, luxurious stuff from the top of the can. It binds our coconut shreds into a luscious, chewy center. If your can is well-chilled, just scoop out the solid cream. No coconut cream? Full-fat canned coconut milk will work in a pinch, but your mixture might be a tad less firm.
- 1/4 cup powdered erythritol: I love powdered erythritol (like Swerve Confectioners) because it dissolves seamlessly and doesn’t have a cooling aftertaste for most people. Substitution Insight: You can use monk fruit sweetener or allulose in the same amount. If using a granulated sweetener, just pulse it in a clean coffee grinder or blender for a few seconds to powder it.
- 1/2 teaspoon vanilla extract: The secret background singer that makes the coconut flavor pop. Use pure vanilla if you have it!
For the Almond Layer (The Crunchy Surprise):
- 24 whole roasted almonds (about 2 per bar): I use lightly salted, roasted almonds for that perfect sweet-and-salty vibe. If you have raw almonds, simply toast them in a 350°F oven for 8-10 minutes. The nut is non-negotiable for me—it’s the “joy”!
For the Chocolate Coating (The Luxurious Blanket):
- 1 cup sugar-free dark chocolate chips: Lily’s or ChocZero are my go-to brands. They melt beautifully and taste fantastic. If you have a sugar-free chocolate bar, chop it up!
- 1 tablespoon coconut oil: This little addition is our magic trick. It thins the melted chocolate just enough to make dipping and coating a smooth, glossy dream. It also helps the shell set with a beautiful snap.
Let’s Build Some Bars! (Step-by-Step with Chef Emily)
Ready? This is the fun part. We’re building, pressing, dipping, and transforming. Follow these steps, and you’ll be a keto candy bar artisan in no time.
- Create the Coconut Dream Center: In a medium mixing bowl, combine the shredded coconut, coconut cream, powdered erythritol, and vanilla extract. Now, get in there with your hands or a sturdy spatula and mix until it’s fully combined and delightfully sticky. You should be able to squeeze a bit in your palm and have it hold its shape. Chef’s Hack: If your coconut cream was super solid, you can warm it for 10 seconds in the microwave to make mixing easier.
- Press and Pre-Chill: Line an 8×8-inch baking pan with parchment paper, letting the edges hang over the sides (this makes removal a breeze!). Dump your coconut mixture into the pan and press it down firmly and evenly into one unified layer. We want it compact so our bars don’t crumble. Pop the whole pan into the freezer for a solid 20 minutes. This firms it up so we can cut clean bars.
- Slice and Stud with Almonds: Take the pan out of the freezer. Using the parchment paper as handles, lift the whole coconut slab out onto a cutting board. With a sharp knife, cut it into 12 even rectangles. Now, take two of your beautiful roasted almonds and gently press them, side-by-side, onto the top of each bar. Don’t push them all the way through; just nestle them in.
- Melt the Chocolate to Perfection: In a microwave-safe bowl or using a double boiler, melt your chocolate chips with the tablespoon of coconut oil. If microwaving, do it in 30-second bursts, stirring vigorously in between, until completely smooth. Pro Tip: Never overheat chocolate! It can seize up. If using a double boiler, make sure the bottom of the bowl doesn’t touch the simmering water.
- The Grand Dip: Now for the fun, messy part! One by one, take a coconut bar and dunk it into the melted chocolate. Use a fork to flip it and ensure it’s completely coated. Let the excess drip off for a second, then gently place it back onto the parchment-lined pan or a fresh sheet of parchment. Little Kitchen Story: My first time doing this, I tried to use tongs. Disaster. A simple fork is your most elegant tool here.
- The Final Chill: Once all bars are coated in their chocolate jackets, transfer the pan to the refrigerator. Let them chill for at least 20-30 minutes, or until the chocolate coating is completely firm and has that satisfying snap when you break it.
How to Serve & Savor Your Creation
Congratulations! You’ve just made professional-looking, insanely delicious keto candy bars. Now, how to enjoy them? The beauty is in the simplicity.
Let them sit at room temperature for 5 minutes after taking them out of the fridge. This allows the chocolate to lose its fridge chill and the coconut center to become perfectly chewy. Arrange them on a cute plate for dessert, pack them in a lunchbox for a special treat, or stack them in an airtight container for gifting (trust me, they make an incredible gift for fellow low-carb friends). I love pairing one with a cup of black coffee or a mug of peppermint tea—the bitterness of the drink balances the sweet, rich bar perfectly. For a next-level dessert platter, arrange a few bars with some fresh berries and a dollop of whipped cream. Fancy, fast, and utterly satisfying.
Make It Your Own: Delicious Twists & Swaps
Got an idea? Run with it! This recipe is a fantastic canvas for your creativity. Here are a few of my favorite riffs:
- Sea Salt Supreme: After dipping the bars, immediately sprinkle a tiny pinch of flaky sea salt over the wet chocolate. It elevates all the flavors.
- Double Chocolate Indulgence: Stir 1-2 tablespoons of cocoa powder into the coconut mixture for a chocolate-coconut center. It’s like a Mounds bar had a baby with an Almond Joy.
- Nut-Free “Joy”: Not an almond fan or have an allergy? Simply omit them! You’ll have delicious keto Mounds bars. For crunch, try pressing a single macadamia nut on top instead.
- Peanut Butter Paradise: Swirl 2 tablespoons of unsweetened, creamy peanut butter into the coconut mixture before pressing it into the pan. Use a roasted peanut on top instead of an almond. Hello, homemade keto version of a certain other famous bar!
- Espresso Kick: Add 1 teaspoon of instant espresso powder to the coconut mixture for a mocha-coffee flavor that’s absolutely divine with the dark chocolate.
Chef Emily’s Notebook Scribbles
This recipe has been a living, evolving thing in my kitchen. The first batch? I used a chocolate that seized up and turned into a grainy mess. We’ve all been there! I’ve learned that the quality of your sugar-free chocolate truly matters. I also used to make these as round, domed “cookies,” but the bar shape is just easier to cut and dip. A funny story: my dog, Biscuit, is obsessed with the smell of coconut. I have to be extra vigilant when these are setting on the counter, or I’ll turn around to find a very guilty-looking pup and one less bar! The recipe is forgiving, though. If your center seems too dry, add a teensy bit more coconut cream. Too wet? A sprinkle more shredded coconut. You’ve got this.
Your Questions, Answered!
Q: My coconut mixture is too dry and won’t stick together. What do I do?
A: No worries! This usually means your coconut cream was a bit lean. Just add more coconut cream, a teaspoon at a time, until the mixture becomes squeezable and holds together when pressed.
Q: Can I use a different sweetener?
A: Absolutely. Monk fruit/allulose blend or pure powdered allulose work great. If using a granulated stevia blend that’s much sweeter than erythritol, you’ll need to drastically reduce the amount—check the package for sugar equivalency.
Q: Why did my chocolate coating get dull or streaky?
A: This is called “bloom.” It happens if the chocolate was heated too quickly or got damp. It’s still perfectly safe to eat and tastes fine, it just doesn’t look as shiny. To prevent it, melt gently and ensure your bars are completely dry before dipping.
Q: How should I store these, and how long do they last?
A: Store them in an airtight container in the refrigerator for up to 2 weeks. They also freeze beautifully for up to 3 months! Just layer them between parchment paper in a freezer bag. Thaw in the fridge or for a few minutes on the counter.
Nutritional Information (Because Knowledge is Power!)
Here’s the breakdown per bar (assuming the recipe yields 12 bars). Remember, these values can vary slightly based on the specific brands of ingredients you use, especially the chocolate chips.
Per Serving: Approximately 170 Calories | 15g Fat | 7g Total Carbs | 4g Fiber | 3g Net Carbs | 2g Protein
This macro profile is a dream for those following a ketogenic or low-carb lifestyle. The high, healthy fat content comes primarily from the coconut and almonds, keeping you satisfied. The net carbs are kept low by using unsweetened coconut and a sugar-free sweetener. It’s a treat you can genuinely enjoy without derailing your goals. Always calculate with your exact ingredients for the most precise tracking.
Your New Go-To Treat Awaits
And there you have it! You’re now fully equipped to conquer any chocolate-coconut-almond craving that comes your way. This recipe is proof that eating low-carb doesn’t mean sacrificing the fun, the flavor, or the little moments of sweet nostalgia. It’s about getting creative, using wholesome ingredients, and making food that makes you feel amazing.
I hope these Keto Almond Joy Bars become a staple in your kitchen, bringing as much joy to your table as they have to mine. Remember, the kitchen is for playing, for making memories, and for feeding your soul—literally and figuratively. Now, go enjoy one (or two… I won’t tell) with pride. You made that!
Made with love,
Chef Emily 🥥🍫