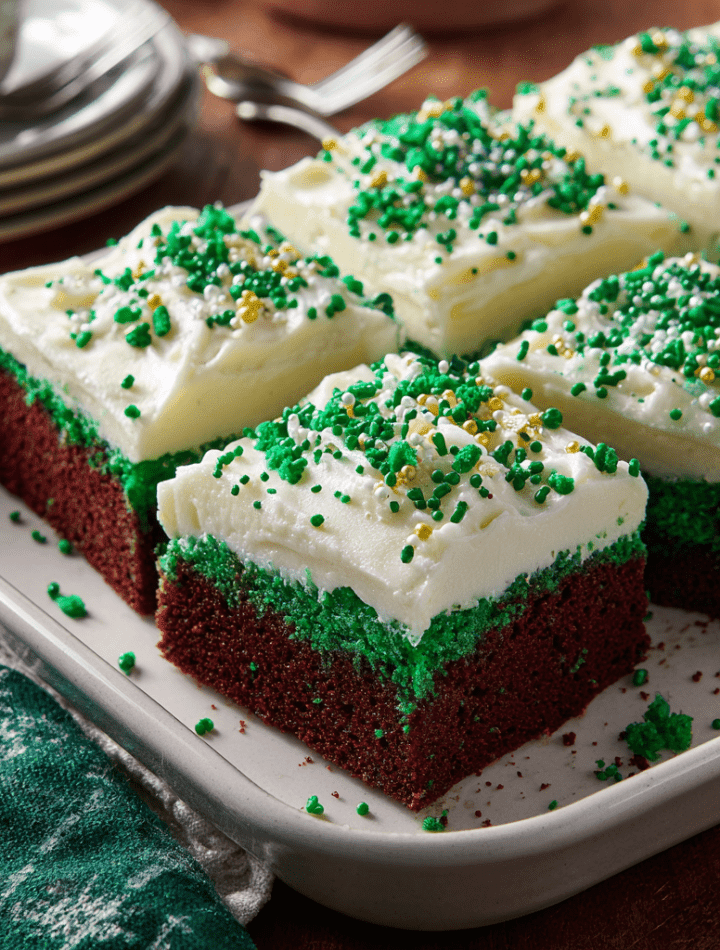
Green Velvet Sheet Cake: Your New Favorite Festive Bake
Hey there, my fellow flavor-chaser! Emily here, waving from my flour-dusted kitchen counter. Have you ever opened the fridge, spotted that one bottle of vibrant green food coloring tucked behind the mustard, and just known it was destined for something spectacular? That’s exactly the kind of kitchen magic we’re making today.
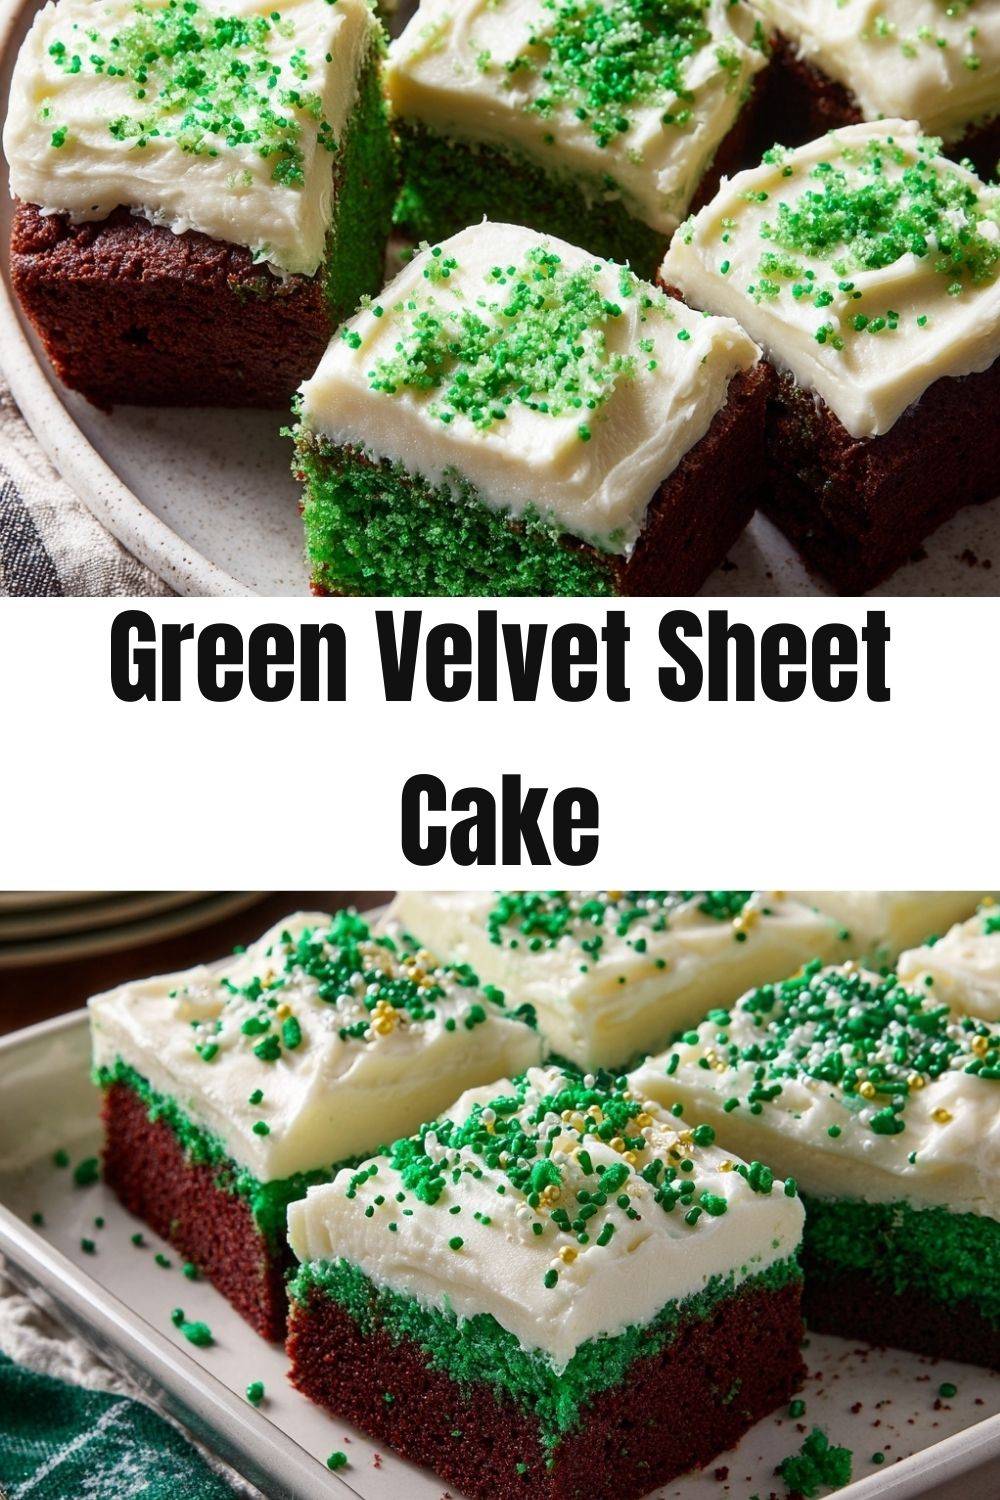
We all adore a classic red velvet cake—its subtle cocoa flavor, its tender crumb, that iconic cream cheese frosting. But friends, let’s have some fun. Imagine all that beloved, soul-hugging flavor, but in a shade that screams celebration, whimsy, and pure joy. Enter my Green Velvet Sheet Cake. This isn’t just a color swap; it’s a mood. It’s the perfect centerpiece for a St. Patrick’s Day feast, a dazzling surprise at a Christmas cookie swap, or the star of a “just because we need something fabulous” Tuesday.
This cake is everything I love in a recipe: impossibly moist, wildly simple to whip up (we’re talking one-bowl energy, seriously), and guaranteed to make everyone’s eyes light up when you bring it to the table. The bold green hue is a conversation starter, but the first bite is where the real magic happens. That tangy, lush cream cheese frosting is the perfect partner to the rich, velvety cake. So, tie on your favorite apron (the messy one is totally acceptable), and let’s create a dessert that’s as fun to make as it is to devour. Ready? Let’s chow down!
My First Green Velvet & A Kitchen Happy Accident
This recipe has a special place in my heart, and it all started with a near-disaster that turned into a beloved tradition. Years ago, I was tasked with bringing dessert to my niece’s “Leprechaun Land” birthday party in March. My plan? A classic red velvet cake. My reality? A frantic 9 PM discovery that I had exactly three drops of red food coloring left and a whole bottle of emerald green.
In a moment of “what’s the worst that could happen?” I went for it. I poured in the green, held my breath, and slid the pan into the oven. When I pulled it out, I couldn’t stop grinning. It was the most gloriously green, festive cake I’d ever seen. The kids at the party went absolutely wild for it, declaring it “Leprechaun Cake.” That cake wasn’t just saved; it was upgraded. It taught me that sometimes the best recipes are born from happy accidents and a willingness to play with your food. Now, making this green velvet cake each March feels like revisiting that little moment of kitchen bravery and joy.
Gathering Your Green Velvet Goodies
Here’s what you’ll need to create this vibrant masterpiece. I’ve included my best chef tips and swaps so you can bake with confidence!
For the Cake:
- 2 ½ cups all-purpose flour: The foundation. Spoon and level it into your measuring cup to avoid a dense cake.
- 1 ½ cups granulated sugar: For sweetness and that perfect tender texture.
- 1 teaspoon baking soda: Our leavening agent! It reacts with the acid (buttermilk & vinegar) for a beautiful rise.
- 1 teaspoon cocoa powder: Chef’s Insight: Don’t skip this! It’s not for chocolate flavor, but for deepening the color and adding that classic, subtle velvet background note.
- ½ teaspoon salt: Balances all the sweetness and makes the flavors pop.
- 2 large eggs, room temperature: They incorporate much better when not cold. Just pop them in a bowl of warm water for 5 minutes if you forgot!
- 1 ½ cups vegetable oil: The secret to that unbeatable, moist crumb. Canola or a mild olive oil work too.
- 1 cup buttermilk, room temperature: The second key to moisture and tang. No buttermilk? Make a quick “sour milk”: Add 1 Tbsp white vinegar or lemon juice to a cup measure, then fill with regular milk to the 1-cup line. Let it sit for 5 minutes.
- 2 teaspoons pure vanilla extract: For warmth and aroma.
- 1 teaspoon white vinegar: Enhances the red (or green!) color and activates the baking soda.
- Green food coloring (gel or liquid, to desired shade): Pro Tip: Gel coloring is my go-to. It’s more concentrated, so you use less and don’t water down the batter. Start with a teaspoon and add until you get a deep, rich emerald green.
For the Cream Cheese Frosting:
- 8 oz (one block) full-fat cream cheese, softened: Use the brick-style, not the spreadable tub. Full-fat gives the best texture and flavor.
- ½ cup (1 stick) unsalted butter, softened: Together with the cream cheese, this creates a frosting that’s spreadable, stable, and dreamy.
- 3 ½ cups powdered sugar, sifted: Sifting prevents lumps! You can adjust by ¼ cup if you like it more or less sweet.
- 1 teaspoon vanilla extract: The perfect flavor pairing.
- Pinch of salt: Cuts the sweetness and makes the frosting taste more complex.
Let’s Bake: Step-by-Step to Green Velvet Perfection
Follow these simple steps for a foolproof, show-stopping cake. I’m chatting you through every part!
- Prep Your Stage. Preheat your oven to 350°F (175°C). Grease and flour a 9×13-inch metal baking pan. I like to use a little butter or baking spray, then a sprinkle of flour, tapping out the excess. This guarantees your beautiful cake will release like a dream. Chef’s Hack: For extra insurance, line the bottom with a sling of parchment paper after greasing.
- Mix the Dry Team. In a large mixing bowl, whisk together your flour, sugar, baking soda, cocoa powder, and salt. Get them really well acquainted! This ensures the leavening is evenly distributed so your cake rises uniformly.
- Combine the Wet Crew. In a separate bowl or a large measuring jug, whisk the eggs lightly. Then, add the oil, buttermilk, vanilla, and vinegar. Now for the fun part: add your green food coloring. Start with a little—you can always add more. Whisk until you have a consistently, outrageously green mixture. Little Story: This is my favorite part—watching the swirls of color become this vibrant liquid promise of cake.
- Bring It All Together. Pour your gorgeous green wet ingredients into the bowl with the dry ingredients. Use a whisk or a spatula to mix until just combined and smooth. No streaks of flour, but don’t over-mix! A few small lumps are totally fine. Over-mixing leads to toughness, and we want tender.
- Bake to Bliss. Pour the batter into your prepared pan, spreading it evenly into the corners. Slide it into your preheated oven and bake for 30-35 minutes. The cake is done when the top springs back lightly to the touch, the edges are just pulling away from the pan, and a toothpick inserted in the center comes out clean or with a few moist crumbs. Set a timer! Ovens vary.
- The All-Important Cool Down. This is critical for frosting success. Let the cake cool in the pan on a wire rack for at least 1 hour, or until completely cool to the touch. Attempting to frost a warm cake is a fast track to melty, runny frosting disaster. Patience, my friend!
- Make the Frosting. While the cake cools, beat the softened cream cheese and butter together in a large bowl with an electric mixer (or a stand mixer fitted with the paddle) on medium speed until it’s completely smooth, creamy, and lump-free, about 2 minutes. Add the sifted powdered sugar, vanilla, and salt. Start mixing on low so sugar doesn’t fly everywhere, then increase to medium-high and beat for 2-3 minutes until it’s light, fluffy, and heavenly.
- Frost & Feast! Once the cake is completely cool, spread the frosting evenly over the top with an offset spatula or butter knife. I love a rustic, swirly look. For cleaner slices, pop the frosted cake in the fridge for 20-30 minutes before cutting. Then, slice, serve, and watch the smiles appear.
Serving Your Masterpiece
This cake is a star all on its own, but a little presentation flair never hurts! Here’s how I love to serve it:
For a classic look, simply cut it into generous squares right in the pan. The contrast of the white frosting on that vibrant green is stunning. For holidays, get playful with toppings: a light sprinkle of green sanding sugar, festive sprinkles, or even a scattering of crushed pistachios adds nice texture. If you’re feeling fancy, pipe little rosettes of extra frosting on top of each slice using a star tip.
This cake is rich, so I find smaller squares are perfect with a cup of coffee or a glass of cold milk. It’s the ultimate potluck or party dessert because it feeds a crowd with zero fuss. Just set it out, provide a stack of plates and a cake server, and let everyone help themselves to a slice of pure, green joy.
Get Creative: Fun Twists on the Classic
Love the base recipe? Make it your own with these easy variations!
- “Confetti” Green Velvet: Fold in ½ cup of rainbow sprinkles (jimmies, not nonpareils) with the dry ingredients. It becomes a confetti cake with a green base—perfect for birthdays!
- Minty Fresh: Add ½ teaspoon of pure peppermint extract to the cake batter (reduce vanilla to 1 ½ tsp). For the frosting, add ¼ tsp peppermint extract. It’s like a cool, creamy mint-chocolate dream.
- Lemon Zest Brightness: Add the zest of one large lemon to the cake batter and the frosting. The citrus cuts the richness beautifully and makes the green flavor feel even fresher.
- Gluten-Free Swap: Use a high-quality 1:1 gluten-free all-purpose flour blend (like Bob’s Red Mill or King Arthur). The result is just as tender and delicious.
- “Black Velvet” for Halloween: Swap the green food coloring for black gel coloring (you’ll need quite a bit) and decorate with orange sprinkles or candy eyes for a spooky, stunning treat.
Chef Emily’s Extra Notes
This recipe has become my go-to for last-minute celebrations because it’s so forgiving and always a hit. Over the years, I’ve learned a few things: First, gel food coloring really is worth it for that professional, deep color. Second, if your frosting seems too soft after mixing, just chill it in the fridge for 15 minutes—it’ll firm right up. And lastly, this cake tastes even better the next day! The flavors meld and the texture becomes even more sublime. I often bake it the night before a party, frost it in the morning, and let it chill until showtime. One more thing: don’t be afraid of the vinegar. You won’t taste it, I promise. It’s just there working its silent, scientific magic for a perfect rise and crumb.
Your Questions, Answered
Q: Can I make this into cupcakes or layer cakes?
A: Absolutely! For cupcakes, line a muffin tin and fill liners 2/3 full. Bake at 350°F for 18-22 minutes. This recipe will make about 24-28 cupcakes. For two 9-inch round layers, grease and flour the pans, divide the batter, and bake for 25-30 minutes.
Q: My frosting is runny. What happened?
A> The usual culprits are: 1) The cream cheese/butter wasn’t soft enough, so it didn’t blend smoothly, or 2) They were too warm/over-beaten. Make sure ingredients are *softened* (cool to the touch but indentable), not melted. If it’s runny, chill the whole bowl of frosting for 20-30 minutes, then re-whip.
Q: Why did my cake turn out dense or didn’t rise much?
A> The most common reason is over-mixing the batter once the wet and dry are combined. Mix just until you no longer see dry flour. Also, double-check your baking soda isn’t expired!
Q: Can I use natural food coloring?
A> You can, but be aware it may result in a more muted, earthy green (think avocado shade) rather than a bright emerald. You might also need to use significantly more, which could slightly alter the batter’s consistency.
Nutritional Information*
*Please note: This is an estimate provided for informational purposes based on standard ingredients and software calculations. Variations will occur based on specific brands and modifications.
Per Serving (1/12th of cake):
Calories: ~460 | Total Fat: 27g | Saturated Fat: 9g | Cholesterol: 65mg | Sodium: 240mg | Total Carbohydrates: 52g | Dietary Fiber: 0.5g | Sugars: 38g | Protein: 4g
This is a celebratory dessert, meant to be enjoyed in the context of a balanced diet. The moisture comes from oil, and the frosting is a delightful indulgence. To lighten it up slightly, you can reduce the sugar in the cake by ¼ cup, use a light cream cheese, or simply enjoy a smaller slice with a pile of fresh berries on the side!
Final Thoughts from My Kitchen to Yours
Well, friend, we did it! We took a simple pantry staple—a bottle of food coloring—and turned it into a memory-making, crowd-pleasing, absolutely delicious celebration cake. That’s the heart of what I love about cooking: the ability to create joy, share stories, and make ordinary days feel a little more special with something baked with love.
I hope this Green Velvet Sheet Cake finds its way to your holiday table, your potluck, or your weekend baking project. Most of all, I hope it gives you the same little thrill it gives me every time I see that vibrant green batter turn into something magnificent. Don’t forget to tag me on social @TastyChow if you make it—I love seeing your creations! Now, go enjoy your well-earned slice. You’ve baked something wonderful.
Until next time, keep chasing flavor!