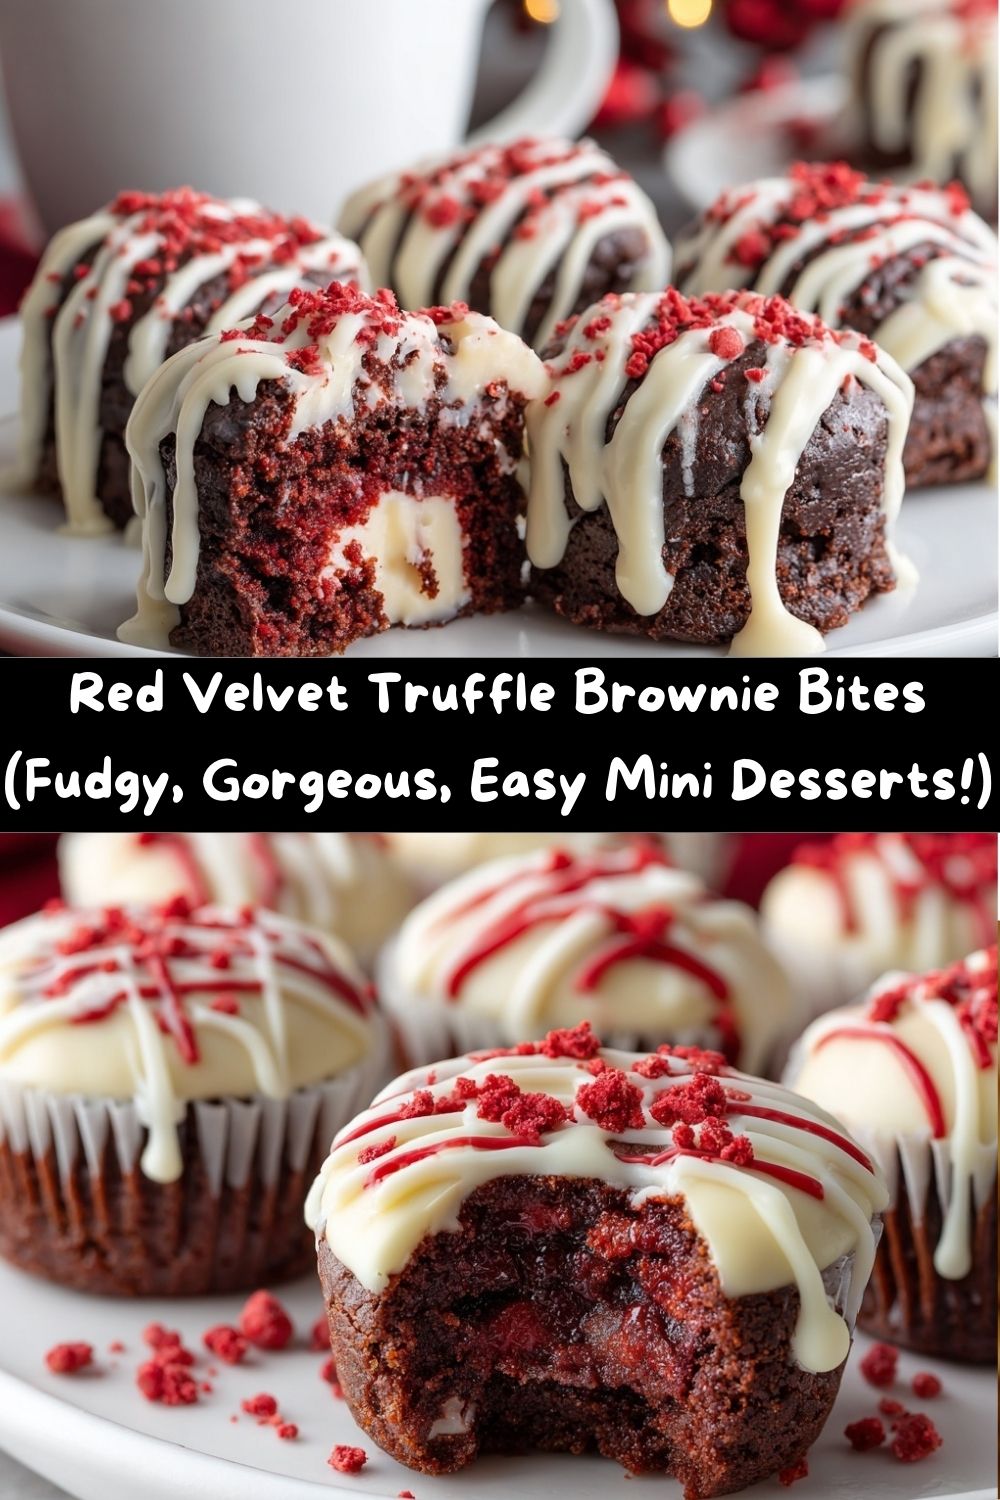
Red Velvet Truffle Brownie Bites: A Little Bite of Pure Joy
Hey, friends! Chef Emily here, coming to you from my perpetually flour-dusted kitchen counter. Ever have one of those moments where you need a dessert that feels fancy, looks absolutely stunning, but secretly comes together without a ton of fuss? You want to make something that makes people’s eyes light up, but you also don’t want to spend your entire evening decorating. I hear you. That exact craving is what brought these Red Velvet Truffle Brownie Bites to life.
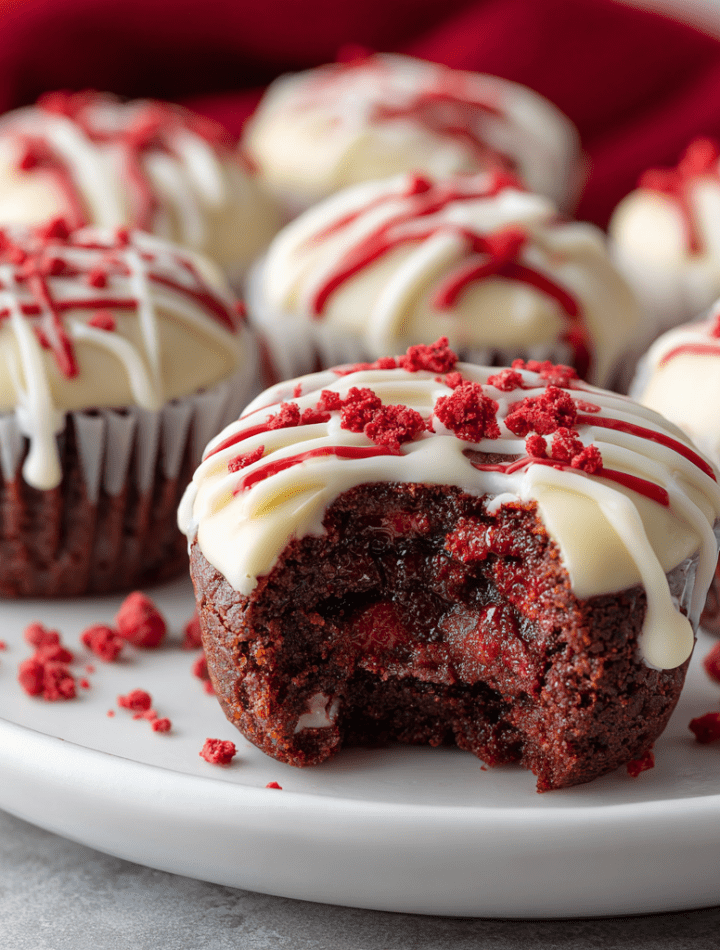
Picture this: a dense, fudgy brownie that hugs your fork. A heart of luxuriously smooth, tangy-sweet red velvet ganache hiding inside like a delicious secret. And a whimsical drizzle of white chocolate on top, because a little sparkle never hurt anybody. These are the ultimate party starter, the perfect Valentine’s treat, the show-stopping addition to your holiday cookie tray, or just a very, very good Tuesday.
This isn’t just another brownie recipe. It’s a experience. We’re taking all the beloved flavor of a classic red velvet cake—that hint of cocoa, that touch of tang, that iconic color—and packing it into a two-bite wonder that’s somehow even more satisfying. Whether you’re a seasoned baker or just dipping your toes into the world of from-scratch treats, I’ll be right here with you, sharing my tips and tricks. So, tie on that apron (the messy one is always the best), preheat your oven, and let’s make something truly, ridiculously delicious together.
The Story Behind the Bite: A Happy Kitchen Accident
I have to confess, the first version of these was a total happy accident. A few years back, I was testing a red velvet cheesecake brownie bar recipe for a Christmas potluck. In my classic Emily-style, I got a little over-enthusiastic with the cream cheese layer. When I went to cut them into neat squares, the center oozed out in the most glorious, messy, irresistible way. My first thought was, “Well, that’s not very potluck-friendly.” My second thought, after licking the spoon, was, “But holy cow, this TASTE is everything.”
It reminded me instantly of my grandma’s red velvet cake, the one she only made for special occasions. She’d let me help stir the big bowl, turning the batter that magical shade of red with a drop of that mysterious little bottle. That memory—the smell of her kitchen, the pride of helping, the sheer anticipation of that first slice—is pure comfort food magic for me. I wanted to capture that feeling in a single, elegant bite. So, I turned my “messy” problem into the solution: instead of a layered bar, why not make a deliberate pocket of that creamy red velvet goodness inside a sturdy little brownie cup? And just like that, these Truffle Brownie Bites were born. They’re a little nod to tradition, a big dose of innovation, and 100% a reminder that sometimes the best recipes come from our “oops” moments.
Gathering Your Delicious Arsenal
Here’s everything you’ll need to create these little bites of heaven. I’ve added my chef-y notes and swaps because I believe in making recipes work for your kitchen!
For the Fudgy Brownie Bites:
- ½ cup (1 stick) unsalted butter, melted – This is the soul of our brownie’s fudgy texture. Using unsalted lets you control the salt level. If you only have salted, just reduce the added salt in the recipe by a pinch.
- 1 cup granulated sugar – Sweetens and helps create that lovely crackly top. For a deeper flavor, you can swap half for light brown sugar.
- 2 large eggs – They bind everything together and add richness. Make sure they’re at room temperature for a smoother batter!
- ⅓ cup unsweetened cocoa powder – The chocolate foundation. I prefer natural cocoa here for that classic, slightly sharper chocolate note that plays so well with red velvet.
- ½ cup all-purpose flour – Just enough to give structure without making the bites cakey. For a gluten-free version, a 1:1 GF blend works beautifully.
- ¼ teaspoon salt – Crucial! It enhances all the other flavors and balances the sweetness.
- ½ teaspoon pure vanilla extract – The flavor booster. Don’t skip it!
For the Red Velvet Truffle Ganache:
- ½ cup high-quality white chocolate chips or chopped bar – The base of our creamy center. A good bar of baking chocolate will give you the smoothest melt, but chips work in a pinch.
- ¼ cup heavy cream (whipping cream) – This turns our chocolate into silky-smooth ganache. For a slightly tangier center, you could use full-fat sour cream.
- 1 tablespoon cream cheese, softened – My secret weapon! It adds that signature red velvet tang and helps the ganache set up perfectly.
- 1 teaspoon liquid red food coloring – For that iconic, vibrant hue. Gel coloring works too—you’ll only need a tiny dab!
- ½ teaspoon pure vanilla extract – A second dash to round out the ganache flavor.
For the Fancy Finish:
- ¼ cup white chocolate, melted (for drizzling) – This is for the beautiful drizzle on top. I like to use the same chocolate I used in the ganache for consistency.
Let’s Get Baking: Step-by-Step with Chef Emily
Ready? Let’s do this! I’ll walk you through each step so you feel like a pro.
- Prep and Preheat: Start by preheating your oven to 350°F (175°C). This is like letting your car warm up on a cold day—it ensures even baking from the get-go. Generously grease a 24-cup mini muffin pan with non-stick spray or butter. I mean it—get in all those nooks and crannies! This guarantees a clean release later. Chef’s Hack: If you’re nervous about sticking, you can use mini paper liners, but I find a well-greased pan gives a prettier, more rustic look.
- Make the Brownie Batter: In a medium bowl, whisk together the melted butter and sugar until they’re friends. It’ll look a bit grainy, and that’s perfect. Add the eggs, one at a time, whisking well after each. Now, sift in your cocoa powder, flour, and salt. Sifting isn’t just for fussiness—it breaks up lumps and makes for an ultra-tender brownie. Gently fold the dry ingredients into the wet until just combined. A few streaks of flour are okay; overmixing is the enemy of fudginess! Stir in the vanilla.
- Fill and Bake: Using a small cookie scoop or two spoons, divide the batter evenly among your prepared muffin cups, filling each about ¾ of the way full. They don’t rise a ton, so it’s safe to fill them up. Pop the pan in the center of your preheated oven and bake for 12-15 minutes. You’re looking for the tops to look set and a toothpick inserted near the edge to come out with a few moist crumbs (not wet batter). Key Tip: The center might look slightly underdone, but it will set as it cools. Overbaking leads to dry bites!
- Cool and Create a Well: This is the patience part. Let the brownie bites cool in the pan for 10 minutes, then carefully transfer them to a wire rack to cool completely. Once they’re totally cool, take the rounded end of a wooden spoon or a small melon baller and gently press into the center of each bite to create a little well for our ganache. Don’t press all the way through! Just a nice, cozy indent.
- Whip Up the Magic Ganache: While the brownies cool, make the star of the show. Place the white chocolate chips and heavy cream in a microwave-safe bowl. Heat in 20-second bursts, stirring vigorously between each, until the chocolate is completely melted and the mixture is smooth. (You can also do this in a heatproof bowl over a pot of simmering water). Add the softened cream cheese, red food coloring, and vanilla. Whisk, whisk, whisk until it’s a gorgeous, uniform, velvety red. Let it sit at room temperature for 10-15 minutes. It will thicken slightly, becoming the perfect piping or spooning consistency.
- Fill and Drizzle: Spoon or pipe the slightly thickened ganache into the wells you created in each brownie bite. Now, melt your remaining ¼ cup of white chocolate (again, using short bursts in the microwave). Using a fork or a small piping bag with the tiniest tip snipped off, drizzle the melted chocolate artfully over the top of each bite. There are no rules here—zigzags, swirls, confetti-like dots… have fun with it!
- The Final Chill: Place the finished bites on a tray and pop them in the refrigerator for at least 30 minutes to let everything set. This makes them neat to eat and absolutely perfect in texture.
How to Serve These Showstoppers
Presentation is half the fun with these little gems! You can serve them straight from a simple plate, but let’s get creative.
For a party, arrange them on a tiered cake stand or a beautiful platter lined with a doily or some festive parchment paper. They look incredible mixed in on a dessert charcuterie board next to some fresh berries, nuts, and other bite-sized sweets.
Want to gift them? Place a few in a small, clear cellophane bag tied with a red or white ribbon, or stack them in a festive mini cupcake box. They make the most thoughtful homemade gift for teachers, neighbors, or friends.
Pair them with a glass of cold milk for the ultimate classic combo, a cup of strong coffee to cut through the sweetness, or even a glass of champagne or prosecco if you’re feeling extra celebratory. Trust me, they hold their own!
Mix It Up! Recipe Variations
Love the base recipe? Here are a few ways to make it your own:
- Chocolate Lover’s Dream: Swap the white chocolate in the ganache for semi-sweet or dark chocolate. You’ll get a deep, decadent chocolate truffle center. Use natural cocoa in the brownie for a double-chocolate punch.
- Peppermint Party: Add ¼ teaspoon of peppermint extract (not mint!) to the ganache instead of vanilla. Crush some candy canes or peppermint candies and sprinkle them on top with the white chocolate drizzle for a festive, wintry treat.
- Lemon-Raspberry Twist: Omit the red food coloring. Add ½ teaspoon of lemon zest to the ganache and fold in a few fresh raspberries, lightly crushed. The tangy, fruity center is a gorgeous surprise.
- “Naked” Style: Skip the white chocolate drizzle and instead, after chilling, roll the filled brownie bites in a coating. Try crushed Oreo cookies, finely chopped pecans, or even red sanding sugar for a sparkly finish.
- Dairy-Free Delight: Use vegan butter, dairy-free white chocolate chips, canned full-fat coconut milk instead of heavy cream, and a dairy-free cream cheese alternative. The results are just as fabulous!
Chef Emily’s Kitchen Notes
This recipe has become a staple in my house, especially around the holidays. I’ve lost count of how many batches I’ve made! Over time, I’ve learned that letting the ganache cool and thicken a bit before filling is the #1 tip for a neat presentation. If you’re in a hurry, you can pop it in the fridge for 5 minutes, but stir it often so it doesn’t set completely.
One time, I was filming a video of me making these and I was talking so much (shocking, I know) that I accidentally used the entire bottle of red food coloring. My ganache was neon fire-engine red, and my hands looked like I’d performed surgery! We laughed so hard, and the brownies still tasted amazing. So, if your first batch isn’t “blog-perfect,” I promise they’ll still be delicious. That’s the real goal, anyway.
FAQs & Troubleshooting
Q: My ganache is too runny and won’t stay in the brownie well. Help!
A: No worries! This usually means it needs more time to cool and thicken. Let it sit at room temperature longer, or give it a very brief 5-minute chill in the fridge, stirring every minute. You want it to be like a thick pudding consistency.
Q: Can I make these ahead of time?
A: Absolutely! They are fantastic make-ahead treats. Store them in a single layer in an airtight container in the refrigerator for up to 3 days. You can also freeze them for up to a month. Thaw in the fridge overnight.
Q: My brownie bites are dry. What happened?
A: This is almost always due to overbaking. Remember, they continue to cook a bit from residual heat as they cool. Next time, check them at the 12-minute mark and look for those moist crumbs on the toothpick test. Also, be sure not to overmix the batter.
Q: Can I use a regular muffin pan instead of mini?
A: You can, but they’ll be more like regular cupcakes! Adjust the baking time to 18-22 minutes for a standard pan. You’ll get fewer, larger treats, which is never a bad thing.
Nutritional Information*
Okay, let’s be real—these are a decadent, celebratory treat. But here’s the breakdown per brownie bite (based on a yield of 24):
- Calories: ~120
- Total Fat: 7g
- Saturated Fat: 4g
- Cholesterol: 30mg
- Sodium: 45mg
- Total Carbohydrates: 14g
- Dietary Fiber: 0.5
- Total Sugars: 11g
- Protein: 1.5g
Your exact numbers will vary depending on chocolate brands, toppings, and size, but this gives you a good general idea.
And remember—joy doesn’t have to be calorie-free to be worth it. These are celebration bites, meant to be savored, shared, and adored.
The Last Bite
If you’re anything like me, you’re already imagining that first fudgy bite: the soft brownie giving way to that silky, tangy red velvet center, the whisper of white chocolate crackling just a little on top. These are desserts made to spark delight—tiny, two-bite reminders that baking doesn’t need to be complicated to feel luxurious.
What I love most about these Red Velvet Truffle Brownie Bites is that they hold all the nostalgia of classic red velvet cake—those childhood birthdays, those holiday spreads, those once-a-year special-occasion slices—yet they feel modern, playful, and unbelievably fun to make. They’re elegant enough for gifting, whimsical enough for parties, and easy enough for a random Tuesday when you want something sweet that makes you smile.
I hope as you whisk, fold, scoop, and drizzle, you feel the same cozy joy I do when I bake them—the kind that fills the kitchen, settles your shoulders, and makes time slow down just a little. And if your first batch isn’t picture-perfect? Congratulations—you’ve just earned your spot in the Red Velvet Club. Every “oops” is just another delicious opportunity.
When you make these (and you have to make these), tag me @FoodMeld so I can see your creations. Nothing makes me happier than watching your kitchens come alive with color, flavor, and fun.
Until our next baking adventure,
Chef Emily 💗✨