The Secret to a Perfect Pie? It All Starts With This Crust.
Hey there, friend! Chef Emily here, waving from my flour-dusted kitchen counter. Can we talk about pie for a second? Not the filling—we’ll get to those juicy berries and silky custards another day—but the humble, glorious, make-it-or-break-it pie crust.
I get it. The mere thought of making pie dough from scratch can send a shiver down the spine of even a confident cook. Visions of tough, chewy pastry or a sad, soggy bottom might dance in your head. You might be thinking, “Emily, I’ll just grab the frozen stuff. It’s easier.” But hear me out: what if I told you that the most flaky, buttery, melt-in-your-mouth pie crust of your dreams is literally 10 minutes and 4 ingredients away? And you don’t need any fancy gadgets, just your own two hands.
This recipe is my kitchen security blanket. It’s the foundation for everything from my Grandma’s apple pie to a summer tomato galette. It’s forgiving, flexible, and foolproof. Today, I’m pulling back the curtain and sharing every single tip I’ve learned—from culinary school to my own hilarious kitchen flops—so you can bake with total confidence. So tie on that apron, and let’s make a little magic. Trust me, after you taste the difference homemade makes, you’ll never go back.
My First Pie Crust & Grandma’s Wooden Spoon
My journey with pie crust began, like all the best things, with my grandma. I was maybe seven years old, standing on a wobbly stool, watching her make a peach pie. Her hands moved with a rhythm that seemed like magic. She didn’t measure; she just *knew*. When it was my turn to help, she handed me her worn wooden spoon and a bowl of flour and butter. “Don’t fuss with it too much, sweet pea,” she’d say. “You want to see little bits of butter. That’s where the flaky lives.”
Of course, my first solo attempt years later was… less magical. In culinary school, determined to be “perfect,” I overworked the dough into a smooth, obedient ball. My chef instructor took one look and said, “Emily, you’ve made a lovely pie-shaped cracker.” It was tough, dense, and a total disappointment. That failure was my best lesson: perfection is overrated, but texture is everything. A perfect pie crust isn’t about a perfectly smooth dough; it’s about embracing those uneven, pea-sized bits of cold butter. That’s the secret handshake into the Flaky Pastry Club. This recipe is the love child of my grandma’s intuitive wisdom and my hard-earned “don’t-do-this” lessons. It’s built for real life, real kitchens, and real joy.
Gathering Your Flaky, Buttery Building Blocks
See? I told you it was simple. Just four humble ingredients hold the key. But the *how* we use them is the real chef’s secret. Let’s break it down:
- 1 ¼ cups all-purpose flour: This is our reliable foundation. All-purpose flour has just the right amount of protein to give structure without making the crust tough. Chef’s Insight: For a slightly more tender crust, you can swap out 2-3 tablespoons of the AP flour for cake flour. Want a nuttier flavor? Try using half whole-wheat pastry flour!
- ½ teaspoon salt: Never, ever skip this! Salt isn’t just for seasoning; it actually tightens the gluten proteins, giving us more control and preventing a tough crust. It also makes the butter flavor sing. Substitution Tip: If you only have salted butter on hand, just reduce this added salt to a scant ¼ teaspoon.
- ½ cup (1 stick) unsalted butter, COLD and cubed: This is the star. The cold, solid fat is what creates steam in the oven, leading to those heavenly, separate layers. Chef’s Hack: I pop my stick of butter in the freezer for 15-20 minutes before I start, then cube it quickly. The cubes should be about the size of small peas or almonds. Using unsalted butter lets you control the salt level perfectly.
- 3 to 4 tablespoons ice water: The “ice” part is non-negotiable. We need the water to be as cold as possible to keep the butter firm. Pro Tip: Drop an ice cube into a glass of water, then measure your tablespoons from that. We add just enough to bring the dough together—it should look a bit shaggy, not wet.
Let’s Make Some Dough: A Step-by-Step Journey to Flakiness
Ready? This is where the fun happens. I’ll walk you through each step with all my favorite hacks.
- Mix the Dry Team: In a large, wide bowl, whisk together your flour and salt. A quick whisk here ensures the salt is evenly distributed, so every bite is balanced. No one wants a salty corner!
- Cut in the Butter – The “Flaky” Moment: Scatter your ice-cold butter cubes over the flour. Now, using a pastry cutter, two forks, or even just your fingertips, start cutting the butter into the flour. Here’s the key: You’re not blending it into a paste. You’re pressing and slicing until the mixture looks like a bunch of coarse crumbs, with butter pieces ranging from fine sand to visible pea-sized nuggets. Those nuggets? That’s your future flakiness. Chef’s Speed Trick: If you have a box grater, you can grate your frozen butter directly into the flour! It’s incredibly fast and effective.
- Bring It Together with Water: Drizzle 3 tablespoons of your ice-cold water over the flour-butter mixture. Using a rubber spatula or a fork, gently stir and fold. It will look dry and crumbly at first. If after a few folds it doesn’t start clumping when pinched, add the final tablespoon of water, bit by bit. The dough is ready when you can pinch a handful and it holds together. It will still look a bit shaggy and messy in the bowl—that’s perfect!
- Form & Chill – The Patience Payoff: Dump the crumbly dough onto a clean surface. Using your hands, gently press and knead it 2-3 times just until it forms a cohesive ball. Flatten it into a 1-inch thick disk. This shape makes rolling out later so much easier. Wrap it tightly in plastic wrap and refrigerate for at least 30 minutes. This chill time is crucial—it relaxes the gluten and re-solidifies the butter, guaranteeing maximum flakiness. Don’t rush it!
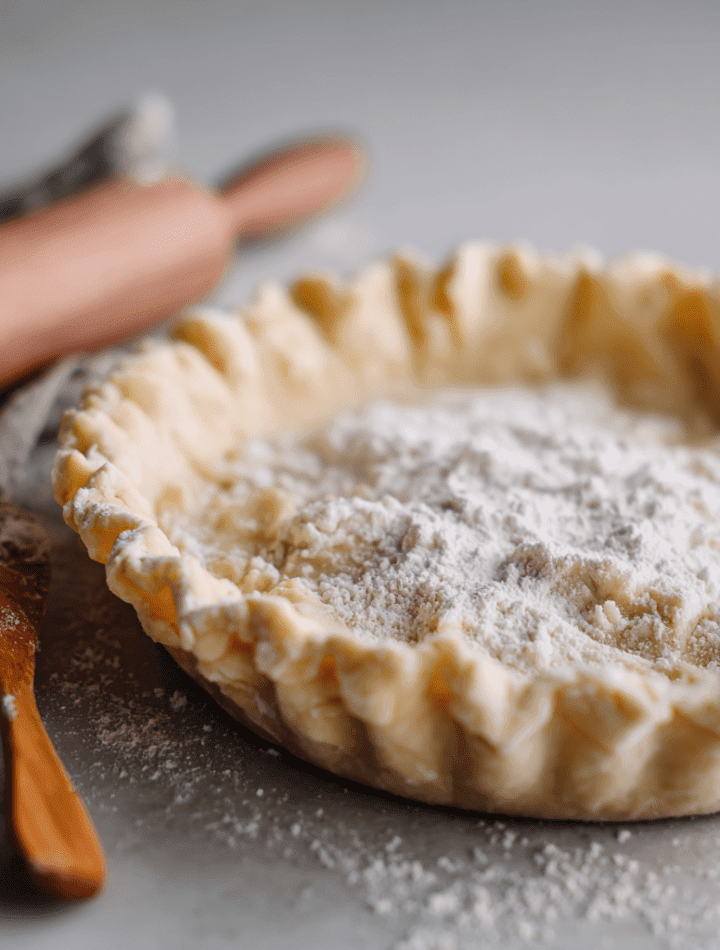
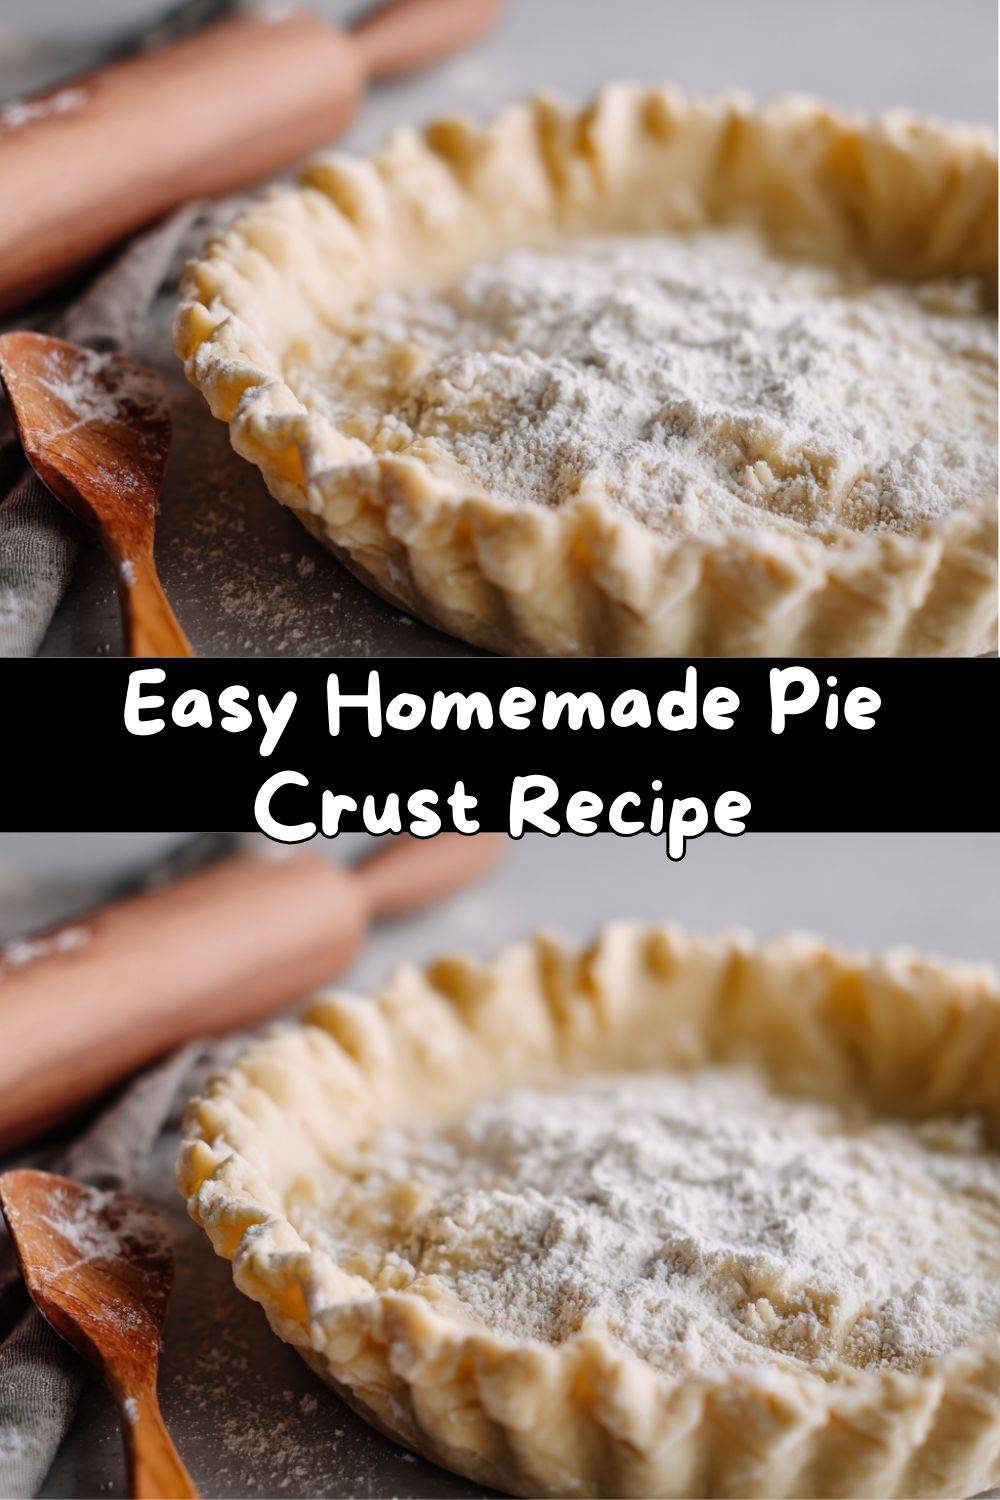
- Roll & Use – The Grand Finale: On a lightly floured surface, place your chilled disk. Start rolling from the center outward, rotating the dough a quarter turn after every few rolls to ensure an even circle and to prevent sticking. Roll it to about 12 inches in diameter for a 9-inch pie plate. To transfer without tears, gently roll the dough onto your rolling pin, then unroll it over your pie dish. Gently press it in, trim the overhang, and crimp the edges as you like. Your masterpiece is ready for its filling!
How to Show Off Your Beautiful Crust
You’ve created a masterpiece! Now, let’s serve it with style.
For a classic fruit pie, let it cool almost completely on a wire rack. This allows the filling to set so you get clean slices. A dollop of softly whipped cream or a scoop of vanilla ice cream is non-negotiable in my book. For a savory quiche or pot pie, let it rest for 10-15 minutes after baking. This makes slicing cleaner and lets the flavors settle.
My Favorite Presentation Trick: Brush the top crust of a double-crust pie with a little cream or beaten egg and sprinkle with coarse sugar before baking. It gives a gorgeous, sparkling, professional finish. For a single crust pie (like pumpkin), try decorating the edge with fork tines, or use the scraps to cut out little leaves or hearts to add on top before baking.
Make It Your Own: 5 Fun Twists
Once you’ve mastered the basic formula, the world is your pie! Here are some of my favorite riffs:
- Sweet & Nutty: Add 2 tablespoons of granulated sugar to the dry ingredients and substitute ¼ cup of the flour with finely ground almonds or pecans for a gorgeous flavor and texture.
- Herb-Infused Savory Crust: Perfect for chicken pot pie or a tomato tart! Add 1 tablespoon of finely chopped fresh herbs (like thyme, rosemary, or chives) to the dry ingredients. A crack of black pepper is amazing here too.
- Cheesy Goodness: Fold in ½ cup of finely grated sharp cheddar or Parmesan cheese after you cut in the butter. This is life-changing for quiches and savory galettes.
- Vegan & Still Flaky: Swap the cold butter for an equal amount of very cold, high-quality vegan butter sticks (the kind that comes in a block, not tub). Use a plant-based milk with a squeeze of lemon for the ice water if needed.
- Gluten-Free Friend: Use a 1:1 gluten-free all-purpose flour blend that contains xanthan gum. The dough will be more delicate, so chill it well and roll it out between two sheets of parchment paper for easy handling.
A Few More Thoughts From My Kitchen to Yours
This recipe has evolved from that “pie cracker” incident into my most trusted formula. Over the years, I’ve made it in sweltering summer kitchens and cold winter rentals. The one constant? Keep. Everything. Cold. I’ve even been known to chill my bowl and pastry cutter on really hot days!
Remember, pies are meant to be shared and enjoyed, not stressed over. Your crust might have a small tear—just patch it with a scrap of dough. The edges might be a little rustic. That’s called “homemade charm,” and it tastes infinitely better than anything that comes out of a box. This dough is your friend, not your critic. Have fun with it!
Your Pie Crust Questions, Answered
Q: My dough is too crumbly and won’t come together. Help!
A: No panic! This usually means it needs a touch more water. Add another teaspoon of ice water at a time, mixing gently, until it just holds together. The dough should still look a bit dry, but not be a pile of sand.
Q: Why did my crust shrink dramatically in the oven?
A> Shrinking happens when the gluten is overworked and/or the dough wasn’t chilled enough. Next time, be gentler when forming the disk, and make sure you’re giving it that full 30-minute fridge rest (or longer!). Also, when placing it in the pie plate, don’t stretch the dough to fit; just let it settle in naturally.
Q: Can I make this ahead of time?
A> Absolutely! The dough disk can be wrapped and refrigerated for up to 3 days. You can also freeze it for up to 3 months. Thaw overnight in the fridge before rolling.
Q: How do I prevent a soggy bottom crust?
A> For wet fillings (like fruit pies), I swear by “blind baking.” Prick the chilled crust all over with a fork, line it with parchment paper, fill with pie weights or dried beans, and bake at 375°F for 15-20 minutes before adding your filling. It creates a protective barrier!
Nutritional Information (Per Serving – 1/8 of crust)
Okay, let’s be real: pie crust is a treat, and it’s okay to enjoy it! This info is for the crust alone, before any delicious filling is added. Remember, using high-quality butter makes a difference not just in flavor, but in satisfaction. A little goes a long way when it’s this flavorful.
- Calories: ~150
- Total Fat: 11g
- Saturated Fat: 7g
- Carbohydrates: 12g
- Protein: 2g
Please note: This is an estimate based on the specific ingredients used. Values can vary depending on brands and exact measurements.
You’re Officially a Pie Crust Pro!
Look at you! You’ve just unlocked a fundamental kitchen skill that will serve you for a lifetime of baking. This easy pie crust recipe is more than just a list of steps—it’s an invitation to slow down, get your hands a little dusty, and create something truly special from scratch.
The sound of that first fork cracking through a flaky, golden-brown crust you made yourself? Pure magic. It’s the sound of confidence, of love, and of delicious things to come. So whether you’re baking for a holiday crowd or just a quiet Tuesday night treat, I hope this crust brings you as much joy as it’s brought me and my family.
Now, go forth and bake! And when you do, I’d love to see it. Tag me or share your stories. Remember, in this kitchen, we celebrate the try, not just the perfect result. Happy baking, friend!
— Emily 🥧