Say Goodbye to Sad, Dry Leftover Chicken: My Secret to Reheat-Proof Perfection
Hey there, friend! Let’s have a real kitchen talk for a second. How many times have you stared into your fridge, your beautiful, meticulously meal-prepped containers staring back, only to be filled with a sense of… dread? Because we all know the fate of most leftover chicken. It starts its journey as a tender, juicy triumph. But after a spin in the microwave? It transforms. It becomes the stuff of sad desk-lunch legends: dry, rubbery, a protein that requires a heroic amount of sauce just to get it down.
I’ve been there. I’ve eaten that. And as someone who believes food should be a joy from the first bite to the very last reheat, I declared it unacceptable. So, I put on my favorite messy apron (the one with the tiny avocado print, obviously) and got to work. Through a lot of trial, a little error, and a few “aha!” moments, I cracked the code.
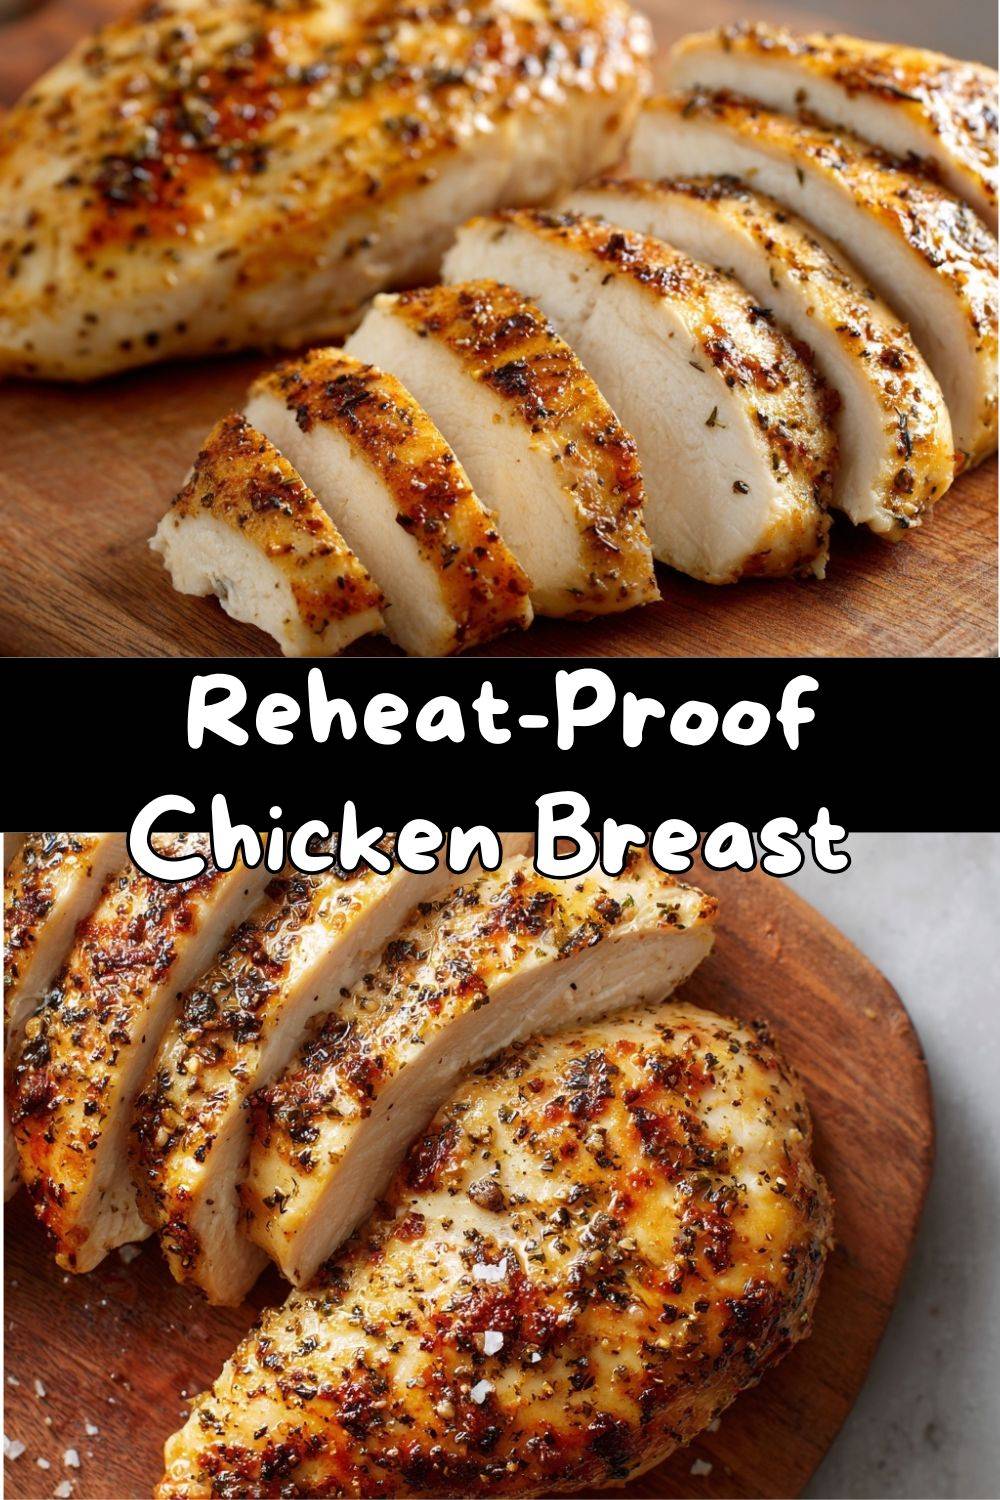
This isn’t just another “how to cook chicken breast” guide. This is your ticket to freedom. This is the method for creating Reheat-Proof Chicken Breast Cuts that stay remarkably tender and juicy, even after a zap in the microwave. Imagine: protein that’s perfect for quick salads, hearty grain bowls, speedy wraps, or your kiddo’s lunchbox, all without the fear factor. No more drowning it in dressing or hiding it under a mountain of cheese. Just smart, simple cooking that lasts. Are you ready to make your meal prep dreams come true? Let’s get into it.
The Chicken That Started It All: A Lunchbox Love Story
This recipe was born out of pure lunchbox necessity. A few years back, I was packing lunches for my niece and nephew—two of the most honest (read: brutally critical) food critics I know. I’d send them off with what I thought was a masterpiece: a cute bento box with pasta, veggies, and a nice piece of grilled chicken. Without fail, the chicken would come back home, barely touched. “It’s too chewy, Auntie Em,” my niece would say, making a face. “It’s like a flavor sponge that sucked all the flavor out,” my nephew, the budding poet, would add.
One day, frustrated but determined, I tried something different. I’d butterflied and pounded the chicken super thin, cooked it gently, and sliced it into little strips before packing it. I didn’t think much of it. The next afternoon, I got a text from my sister: “What did you DO to this chicken? The kids devoured it and asked for more tomorrow.” That was my lightbulb moment. It wasn’t about a fancy marinade or a complicated technique. It was about the shape and the gentleness. By creating thinner, more uniform pieces and stopping the cook at the perfect moment, I’d accidentally created chicken that not only tasted great fresh but held up like a champ in their lunchboxes. The quest for the ultimate reheat-proof chicken was officially on, and it all started with pleasing two picky eaters.
What You’ll Need: Simple Ingredients, Big Flavor
Beautifully simple food starts with simple ingredients. Here’s everything you need to build your foundation of perfect, reheatable chicken. Don’t let the short list fool you—each component plays a starring role!
- 2 boneless, skinless chicken breasts: The star of our show! Look for breasts that are similar in size so they cook evenly. Chef’s Insight: I often buy a family pack, prep it all using this method, and freeze portions. It’s a weeknight lifesaver!
- 1 tablespoon olive oil or neutral cooking oil: This creates a barrier for searing and helps the seasoning stick. Substitution Tip: Avocado oil, grapeseed oil, or even a light spray of cooking oil all work perfectly. Use what you have!
- Salt and pepper to taste: The dynamic duo. Please, for the love of flavor, season generously! Kosher salt and freshly cracked black pepper make all the difference. Chef’s Insight: Salting just before cooking is key here. It seasons the surface without drawing out too much moisture.
- Optional: 1/2 teaspoon garlic powder or smoked paprika: This is where you can add your own signature. Flavor Twist: Garlic powder adds a savory backbone, while smoked paprika gives a subtle, smoky warmth that’s incredible in salads or with roasted veggies. Feel free to use onion powder, dried herbs like thyme or oregano, or even a pinch of cayenne for heat!
Step-by-Step: Your Path to Juicy Chicken Victory
Okay, team. Grab your cutting board and your favorite sharp knife. We’re doing this. Follow these steps closely—the magic is in the details.
- Butterfly & Flatten: Place one chicken breast on your cutting board. Place your non-knife hand flat on top. Using a sharp knife, carefully slice into the thicker side of the breast, parallel to the board, and cut almost all the way through, then open it like a book. You’ve just butterflied it! Repeat with the second breast. Chef’s Hack: If you’re nervous, you can also just slice the breast all the way through into two thinner cutlets. Now, place the butterflied pieces between two sheets of plastic wrap or parchment paper. Using a rolling pin, meat mallet, or even a heavy skillet, gently pound them to an even 1/2-inch thickness. This ensures every bit cooks at the same rate—no more dried-out edges with a raw center!
- Season Well: Drizzle the oil over both sides of the chicken cutlets. Sprinkle with a generous amount of salt, pepper, and your chosen optional seasoning. Use your hands to rub it all in, making sure every nook and cranny is coated. Let it sit for 5 minutes while your pan heats up. Chef’s Commentary: This brief rest allows the salt to start working its way in, and bringing the chicken closer to room temperature means more even cooking.
- Cook Gently: Heat a large skillet (non-stick or well-seasoned cast iron is great) over medium-low to medium heat. You want it hot, but not screaming hot. Add the chicken. It should sizzle gently. Cook for 3-4 minutes on the first side, until you see the edges turning opaque. Flip! Cook for another 3-4 minutes on the second side. Here’s the most important part: Your chicken is done when the internal temperature reaches 160-165°F (71-74°C). Please use a meat thermometer! It’s the single best tool to prevent overcooking. The chicken will continue to cook as it rests (carryover cooking is our friend here). Chef’s Warning: Resist the urge to press down on the chicken with your spatula. You’re just squeezing out all those precious juices!
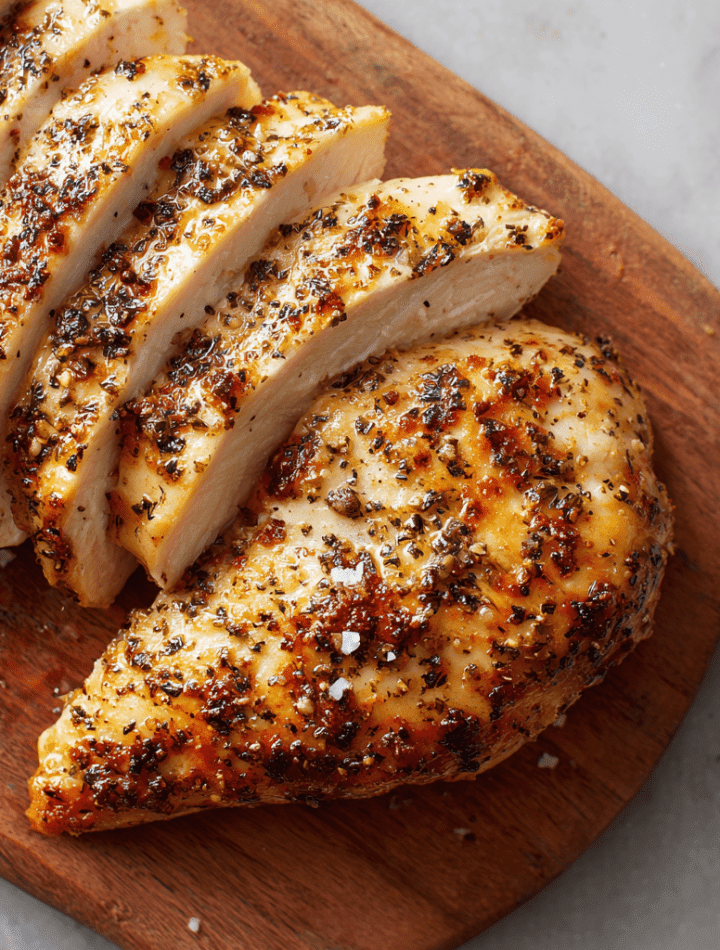
- Rest, Then Slice: Transfer the cooked chicken to a clean cutting board or plate. Walk away for at least 5 full minutes. I know it’s tempting, but this is non-negotiable. Resting allows the juices, which have been driven to the center by the heat, to redistribute throughout the meat. If you slice immediately, all that moisture ends up on your board. After it rests, slice it against the grain into strips or bite-sized cubes. Chef’s Tip: Slicing “against the grain” means cutting perpendicular to the long muscle fibers. It makes each piece more tender and easier to chew.
How to Serve Your Juicy Masterpiece
Now for the fun part! This chicken is the ultimate culinary chameleon. Here are a few of my favorite ways to enjoy it, fresh or reheated:
- The Power Bowl: Start with a base of quinoa or rice, add a big handful of greens (massaged kale is perfect), some roasted sweet potatoes, avocado slices, and a pile of this chicken. Drizzle with a creamy tahini or yogurt sauce.
- The Lightning-Fast Wrap: Grab a whole-wheat tortilla, spread on some hummus or mashed avocado, add chicken strips, crunchy shredded cabbage, and a few pickled red onions. Roll, slice, and enjoy instantly.
- The “Fancy” Salad: Toss mixed greens with a bright lemon vinaigrette. Top with chicken, fresh berries, goat cheese crumbles, and toasted pecans. It feels gourmet but comes together in minutes.
- The Simple Snack Plate: For an easy lunch, arrange chicken strips with whole-grain crackers, cheese cubes, grapes, and some carrot sticks. It’s satisfying, balanced, and kid-approved.
5 Flavorful Twists to Keep Things Exciting
Once you’ve mastered the basic method, the world is your chicken-flavored oyster! Try one of these easy variations next time.
- Italian Herb: Mix the salt and pepper with 1 tsp dried Italian seasoning and 1/4 tsp garlic powder. After cooking, while it rests, drizzle with a tiny bit of balsamic glaze.
- Lemon Pepper Zing: Use plenty of cracked black pepper and the zest of one lemon in your seasoning. After slicing, squeeze a little fresh lemon juice over the top.
- Southwest Fiesta: Season with smoked paprika, cumin, and a touch of chili powder. Perfect for taco salads, burrito bowls, or quesadillas.
- Coconut Curry (Dairy-Free): Cook the chicken as directed. In the same pan, sauté a spoonful of red curry paste in a little coconut milk. Toss the sliced chicken back in the sauce just to coat. It reheats beautifully.
- For Our Veggie Friends: This method works wonders for extra-firm tofu or tempeh! Press the tofu well, slice into 1/2-inch slabs, and follow the same searing process. The results are just as reheat-friendly.
Emily’s Kitchen Notes & Stories
This recipe has become my weeknight MVP. It’s evolved from just “lunchbox chicken” to my absolute go-to for any recipe that calls for cooked chicken. Need chicken for a casserole? I use this method. Making a big batch of soup? I’ll prep this separately and add it at the end so it doesn’t get tough. The biggest lesson I’ve learned is that treating chicken gently and respecting the rest period isn’t just chef-y nonsense—it’s the golden rule for texture.
A funny story: I once taught this method in a virtual cooking class. A participant was so excited she immediately cooked four pounds of chicken. She texted me later saying her family had eaten it straight from the storage container while she was putting groceries away! She called it “snackable chicken,” which might just be the highest compliment I’ve ever received.
Your Questions, Answered!
Q: My chicken still gets a bit dry when I reheat it. What am I doing wrong?
A: The most common culprit is the microwave power! Always reheat at 70% power (or medium power). Cover the dish with a damp paper towel—the steam created is your best friend. Also, ensure you’re not reheating for too long. 45-60 seconds for a single serving is usually plenty.
Q: Can I bake this chicken instead of pan-searing?
A: Absolutely! For baking, arrange the seasoned, pounded cutlets on a parchment-lined baking sheet. Bake at 400°F (200°C) for 15-18 minutes, or until they hit 165°F internally. The sear won’t be as strong, but the juiciness will still be there.
Q: How long does this chicken last in the fridge?
A: Stored in an airtight container, it will keep beautifully for 3-4 days. For longer storage, freeze the sliced chicken in single-serving portions for up to 3 months. Thaw overnight in the fridge before reheating.
Q: Can I use chicken thighs?
A: You can, and they’ll be deliciously juicy! However, thighs have more fat and a different texture, so they won’t dry out as easily to begin with. This technique is specifically designed to solve the lean breast’s tendency to dry out.
Nutritional Information (Per Serving)
Note: This is an estimate for one serving (approx. 1/2 of a prepared breast, about 3-4 oz cooked) based on the base recipe with olive oil. Values will change with different oils or added sauces.
- Calories: ~210
- Protein: 30g (A fantastic, lean protein source to keep you full and fueled!)
- Fat: 10g (Mostly from the heart-healthy olive oil used for cooking.)
- Carbohydrates: 0g
- Sodium: Varies based on seasoning.
This chicken is a perfect building block for a balanced meal. Pair it with complex carbs like brown rice or sweet potato and a variety of colorful vegetables for a plate that’s satisfying, nutritious, and anything but boring.
Final Thoughts: Your Meal Prep Game Just Leveled Up
So there you have it, my friend—my not-so-secret secret to chicken that actually *wants* to be a leftover. This method is more than a recipe; it’s a fundamental shift in how we approach a common kitchen task. It’s about cooking with intention, not just for the meal in front of us, but for the busy versions of ourselves who will need good food later in the week.
I hope this becomes part of your regular kitchen rhythm, giving you one less thing to worry about and one more thing to look forward to. Remember, great cooking isn’t about being perfect; it’s about being prepared, being kind to your ingredients, and creating food that makes you and your people happy—more than once!