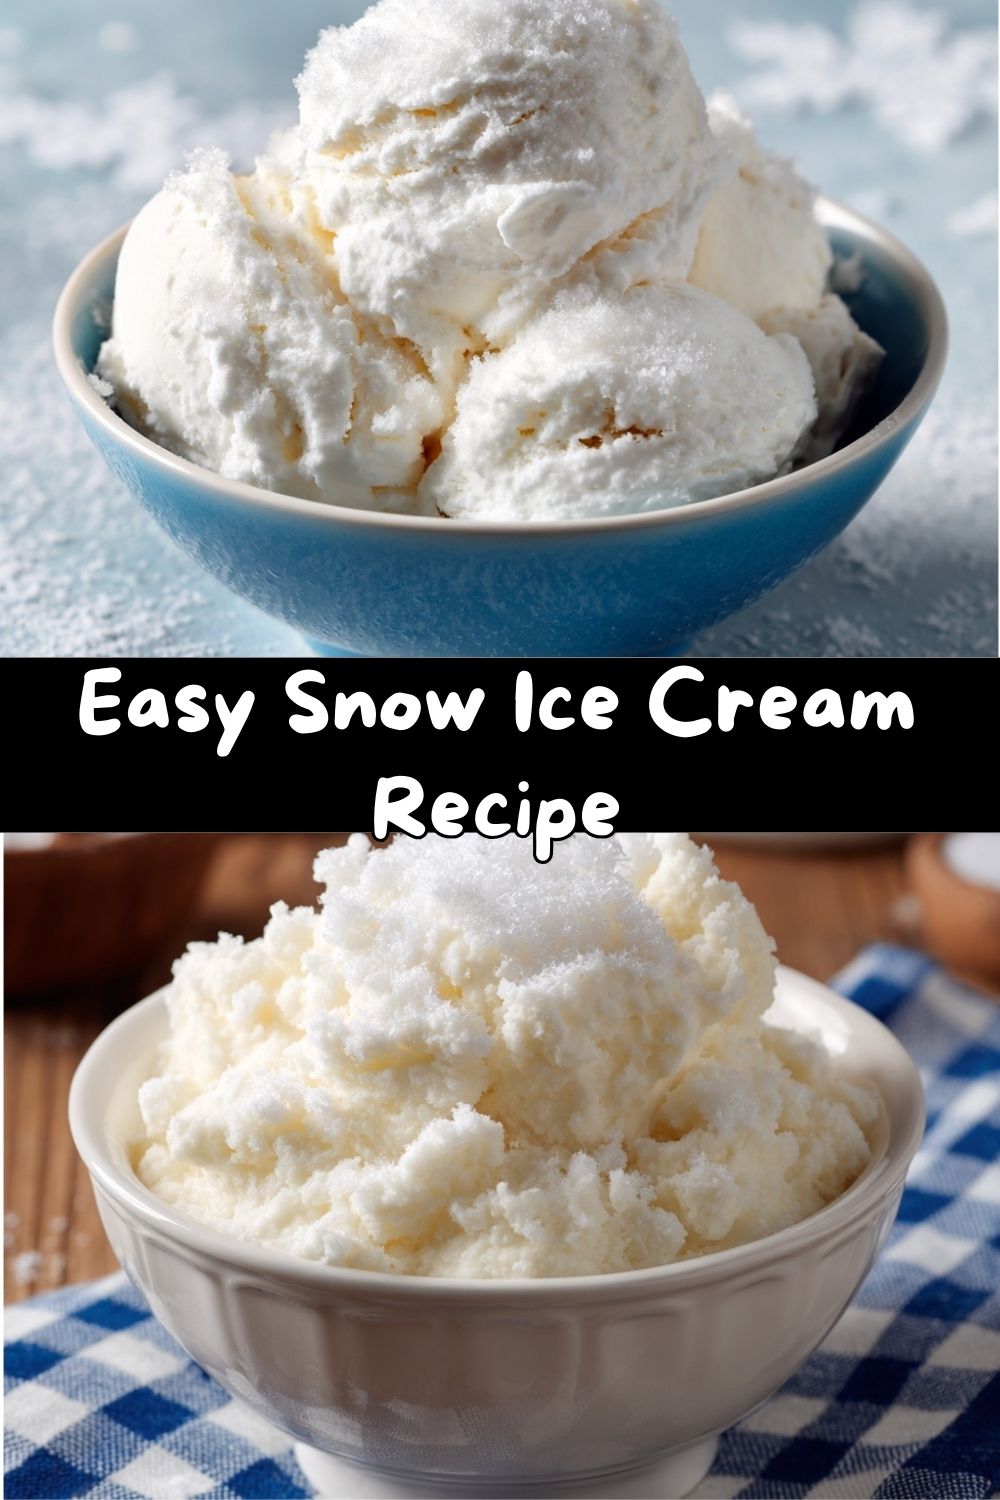
Turn a Snow Day Into a Sweet Celebration with Easy Snow Ice Cream!
Hey there, friend! Emily here, from my (currently flour-dusted) kitchen to yours. Is there anything more magical than the first real snowfall of the year? That hush that falls over the neighborhood, the way the world suddenly looks like it’s been frosted with vanilla icing… it always makes me want to pull on my coziest socks, put the kettle on, and create something delicious. But today, we’re skipping the oven and heading outside!
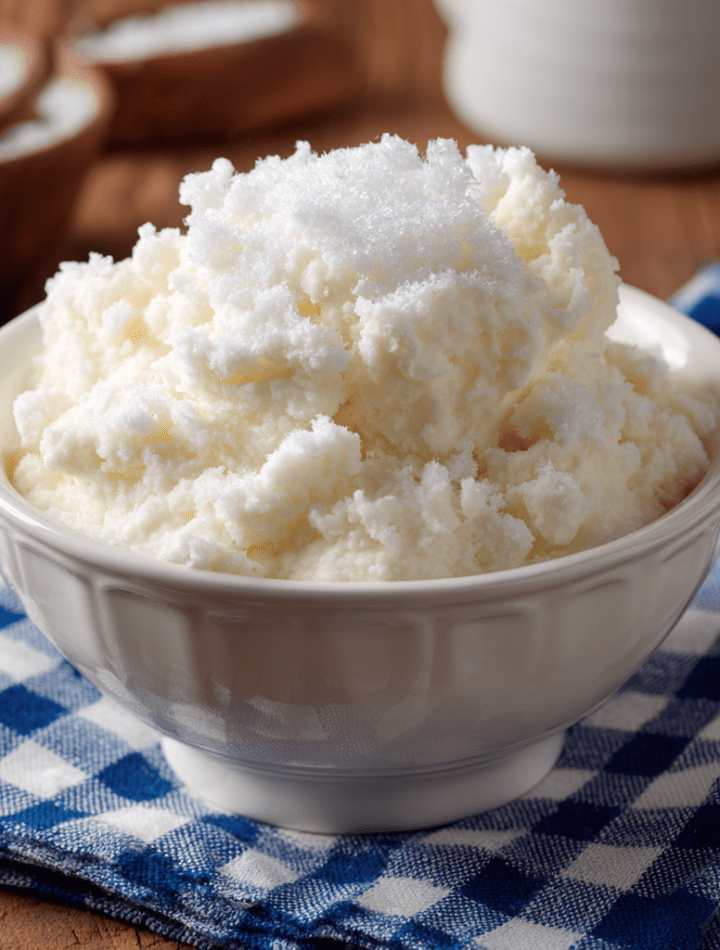
I want to let you in on one of my all-time favorite winter traditions: making Snow Ice Cream. This isn’t just a recipe; it’s a little scoop of edible joy, a five-minute kitchen hack that feels like pure magic. It’s the dessert version of catching snowflakes on your tongue, but infinitely creamier and more delicious. If you’ve never turned fresh snow into a sweet, frosty treat, you are in for the most fun you’ll have with a mixing bowl all season.
This recipe is the ultimate in simplicity and nostalgia. With just a handful of pantry staples and a big bowl of fresh, clean snow, you can create a soft-serve style dessert that will have kids (and let’s be honest, adults too) grinning from ear to ear. It’s a fantastic way to celebrate a snowy day, create a core memory with your family, or just satisfy a spontaneous ice cream craving without leaving the house. So, are you ready to play with your food in the best possible way? Let’s grab a bowl and make some magic!
A Spoonful of Memories: My Grandma’s Snow Day Secret
This recipe takes me right back to my grandma’s farmhouse in Michigan. I remember pressing my nose against the cold windowpane, watching the flakes drift down, and praying it would be enough to cancel school. The moment the official “snow day” call came through, Grandma would already be pulling her biggest yellow mixing bowl from the cupboard with a knowing wink.
We’d bundle up in layers that made us waddle like penguins, then trudge out to the middle of the untouched backyard, where the snow was deepest and purest. She’d let me scoop the pristine white powder into the bowl, reminding me to “get the good stuff from the top, honey, not the dusty bits.” Back inside, with rosy cheeks and snow melting in our hair, the real alchemy happened. A splash of milk, a glug of her homemade vanilla, a shower of sugar. She’d let me stir, my small hands struggling with the quickly freezing mixture, until it transformed into something miraculous. That first bite, eaten standing right there at the kitchen counter, tasted like freedom, fun, and boundless love. It’s that exact feeling—that simple, sweet, shared happiness—that I hope this recipe brings to your kitchen today.
Gathering Your Snow Ice Cream Magic
Here’s the beautiful part: you likely have everything you need right now! The magic is in the simplicity. Let’s break it down:
- 8 cups fresh, clean snow: This is your star ingredient! Chef’s Insight: Always collect snow from an untouched area, away from roads, foot traffic, or pets. The middle of a yard or a clean patio table is perfect. Get it right after it falls for the best texture. No snow? No panic! You can use finely shaved ice from your freezer or a bag of store-bought ice run through a blender or food processor until it’s fluffy.
- 1 cup whole milk: This creates the creamy base. Substitution Tips: Any milk works wonderfully here! For extra richness, use half-and-half or heavy cream. For a dairy-free version, almond milk, oat milk, or full-fat coconut milk are fantastic. The higher the fat content, the richer and less icy your final treat will be.
- 1/3 cup granulated sugar: Sweetens the deal. Chef’s Insight: Granulated sugar dissolves perfectly in the cold liquid. You can also use superfine sugar if you have it. For a different flavor, try maple syrup or honey; just whisk it into the milk really well.
- 1 tsp pure vanilla extract: The flavor MVP. Substitution Tips: This is where you can get creative! Try almond extract, peppermint extract (a holiday favorite!), or a scrape of vanilla bean paste for those beautiful little specks.
- A tiny pinch of salt: Trust me on this! Chef’s Insight: Salt is a flavor enhancer, even in sweet things. This tiny pinch won’t make it taste salty; it will make the sweet and vanilla flavors pop and taste more rounded. Don’t skip it!
Let’s Make Some Snow Cream! Your Step-by-Step Guide
Ready for the easiest “cooking” you’ll ever do? Here we go!
- Prep Your Station: Before you run outside, place a large mixing bowl (I like a sturdy glass or metal one) and a sturdy whisk or a large wooden spoon by the door. This is a speed game—you want to get that snow inside and mixed before it starts to melt from the warmth of your house.
- The Great Snow Harvest: Take your big bowl outside and gently scoop up fresh, clean snow from the top layer of an undisturbed area. Pack it loosely—don’t press it down! Fill that bowl to the brim and head back inside. Chef’s Hack: If you have multiple helpers, send one out for a second bowl of “snow backup.” You can never have too much!
- Mix the Base: In a separate, smaller bowl, quickly whisk together the milk, sugar, vanilla, and that all-important pinch of salt. Whisk it for a good 30 seconds to ensure the sugar is starting to dissolve. This is your sweet, creamy “sauce.”
- Bring on the Snow! Pour your creamy mixture over the gigantic bowl of snow. Now, using your whisk or spoon, start to fold and stir. Don’t be aggressive! You’re gently combining, not beating. Watch the Magic Happen: Almost instantly, it will start to thicken and look like soft-serve ice cream. If it seems too wet and slushy, add a bit more snow. If it’s too dry and crumbly, add a tiny splash more milk. You’re aiming for a perfect, scoopable consistency.
- Serve Immediately! This is not a make-ahead dessert. Scoop it into bowls, cones, or even mugs right away. The texture is best within the first few minutes. It’s a fleeting, wonderful treat meant to be enjoyed in the moment, just like a perfect snowflake.
How to Serve Your Frosty Masterpiece
Presentation is part of the fun! I love serving snow ice cream in colorful bowls or even in clear mugs so you can see all the layers if you add toppings. Speaking of toppings—this is where you can really go wild! Set up a little “snow cream sundae” bar and let everyone customize their bowl.
Classic Toppings: A drizzle of chocolate syrup, a handful of rainbow sprinkles (jimmies, for my Midwestern friends!), or a shower of mini chocolate chips that get delightfully crunchy in the cold.
For the Gourmet: Warm up some homemade salted caramel sauce or hot fudge for a delicious hot-and-cold contrast. Crushed-up peppermint candies or thin mints are a holiday dream.
Keep it Simple: Sometimes, a single maraschino cherry on top or a light dusting of cocoa powder or cinnamon is all you need to feel fancy. The pure, vanilla-specked version is also absolutely perfect on its own.
5 Fun Twists on Your Snow Ice Cream
Once you’ve mastered the classic, the snowy playground is yours! Here are a few of my favorite ways to mix it up:
- Strawberry Blizzard: Whisk 2-3 tablespoons of strawberry jam or a few mashed fresh strawberries into your milk mixture before adding the snow. Top with fresh strawberry slices.
- Peppermint Patty: Use 1/2 tsp of peppermint extract instead of vanilla. Stir in some crushed candy canes or peppermint baking bits. Drizzle with dark chocolate sauce for the full effect.
- Chocolate Snow Storm: Whisk 2 tablespoons of cocoa powder and an extra tablespoon of sugar into your milk base. You’ve just made instant chocolate soft-serve!
- Cookie Dough Dream: Fold in mini chocolate chips and small chunks of edible cookie dough (or crushed store-bought cookie dough bites) at the very end.
- Tropical Escape (Shaved Ice Style): For a dairy-free, lighter option, skip the milk and make a simple syrup by dissolving the sugar in 1/2 cup of hot water, then chilling it. Mix that syrup and vanilla with the snow for a shaved-ice texture. Use coconut extract and top with tropical fruit!
Emily’s Kitchen Notes & Stories
Over the years, I’ve made this recipe more times than I can count, and it’s led to some hilarious kitchen fails (pro tip: powdered sugar does NOT dissolve well and creates a weird, gritty texture… learned that the hard way!). One year, my dog got so excited about the snow-collecting process that he bounded right into my full bowl. Let’s just say we had to start over, and he got his own (dog-safe) “puppy snow cone” as a consolation prize.
The recipe has evolved, too. My grandma used sweetened condensed milk, which is utterly decadent and delicious, but I’ve found that a simple milk-and-sugar base is more adaptable for different diets and tastes. The core of it—the joy, the spontaneity, the connection—that hasn’t changed one bit. It’s a reminder that the best cooking isn’t always about precision; it’s about feeling and fun.
Your Snow Ice Cream Questions, Answered!
Q: Is it safe to eat snow?
A: This is the most important question! Only use snow that is fresh, white, and clean. Collect it from the middle of a yard, away from roads, buildings, trees (where animals might be), and foot traffic. The first snowfall of the season is often considered less clean, so I prefer to use snow from a good storm after it’s been falling for a while. If you have any doubts, the shaved ice alternative is a perfect, safe option!
Q: My snow cream turned out icy/grainy. What happened?
A: This usually means the snow was either too packed down or slightly melted when you started. You want light, fluffy snow. Also, working quickly is key—the longer the snow sits in your warm kitchen, the more it melts and refreezes into larger ice crystals. Make sure your milk mixture is cold, too!
Q: Can I save leftovers in the freezer?
A: You can try, but fair warning: it will freeze into a solid, icy block. Snow ice cream is truly meant to be enjoyed fresh. It’s about the experience as much as the dessert. Think of it like a soufflé or fresh whipped cream—its prime state is fleeting and wonderful.
Q: Can I make this vegan?
A: Absolutely! Use your favorite plant-based milk (coconut, oat, and almond are great), ensure your sugar is vegan (most granulated sugar is), and use a vanilla extract that doesn’t contain glycerin from animal sources. It works like a charm!
A Quick Nutritional Glance
Let’s keep it real—this is a fun treat, not an everyday health food! But it’s wonderful to know what you’re enjoying. The following is an approximate estimate for a 1-cup serving of the classic recipe made with whole milk and granulated sugar:
- Calories: ~110
- Protein: 2g
- Fat: 3g
- Carbohydrates: 18g
- Sugar: 14g
Remember, these numbers can change significantly based on your choice of milk (using skim milk will reduce fat and calories, while coconut milk may increase them) and how many toppings you add. The beauty of making it yourself is that you control the ingredients, so you can adjust to fit your preferences. Most of all, it’s about the joy and the memory—so savor every spoonful!
Final Thoughts from My Cozy Kitchen
Well, my friend, I hope this recipe brings a little extra sparkle to your winter. In a world that often feels complicated, there’s something so beautifully simple about turning snowfall into dessert. It’s a reminder to find joy in the moment, to play, and to share simple pleasures with the people we love.
So, the next time the sky starts to sprinkle down those fluffy white flakes, don’t just watch from the window. Grab a bowl, rally your crew, and make a sweet memory together. I’d love to hear how it goes! Tag me on social @TastyChow with your snowy creations.
Until next time, keep your apron messy and your heart full.
— Emily 🥄❄️