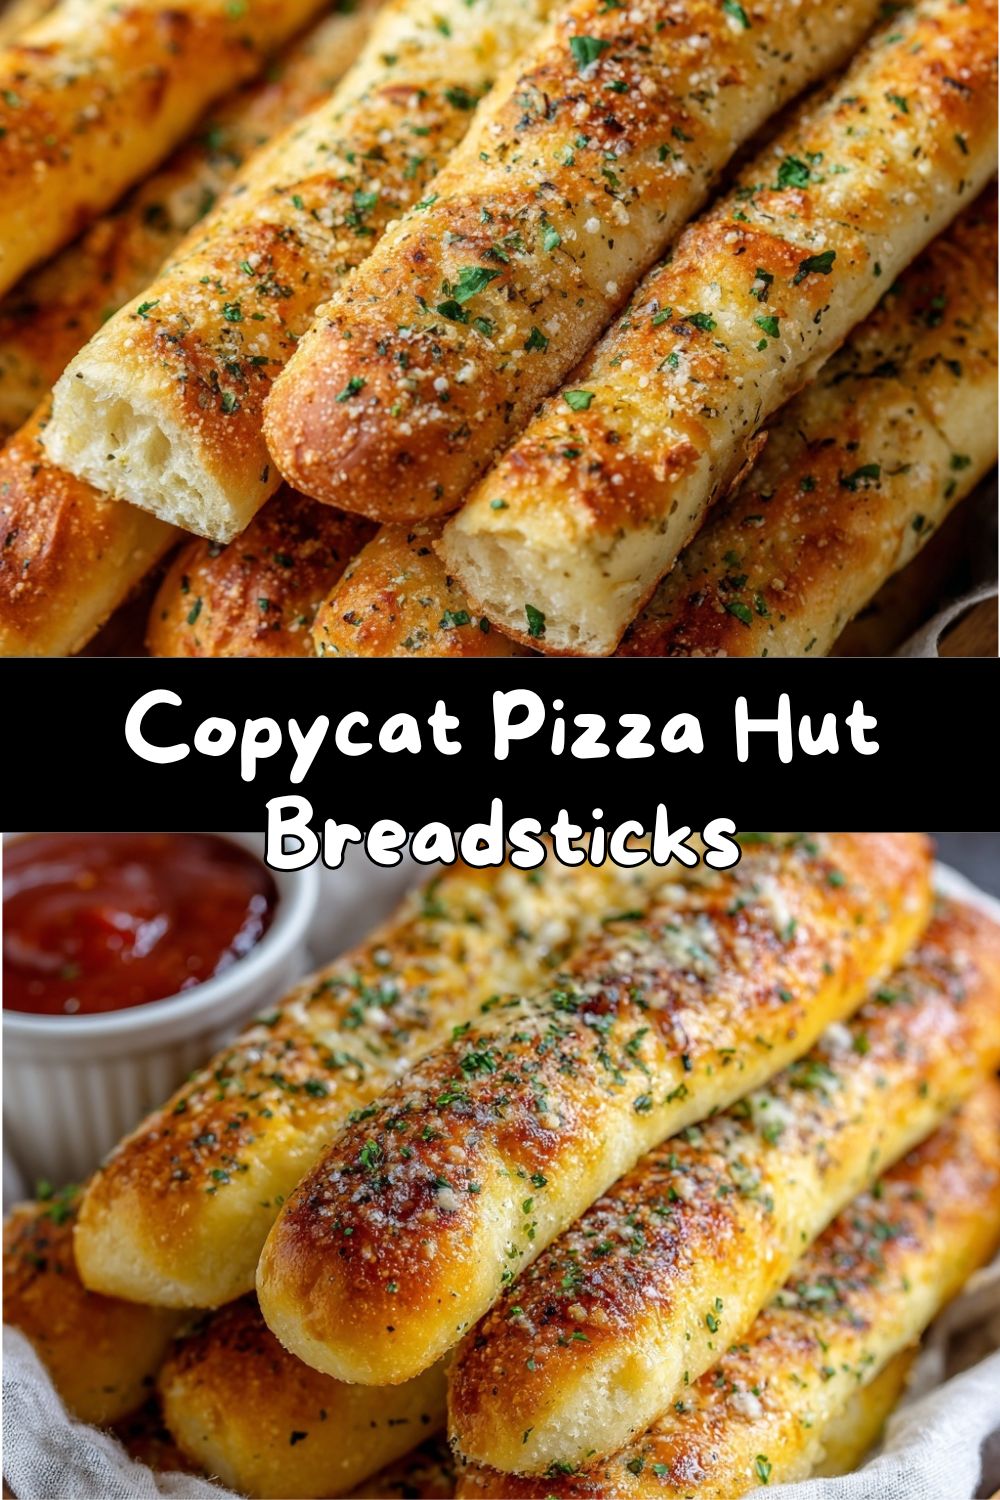
The Secret’s Out: How to Make Pizza Hut Breadsticks Right in Your Own Kitchen
Hey there, friend! Emily here, apron already a little dusted with flour, because I’m about to let you in on a little secret. You know that moment? The one where you’re ordering a pizza, but let’s be real, you’re just as excited for that side of warm, buttery, garlicky breadsticks? That heavenly aroma hits you the second the box opens, and you have to immediately claim one (or three) before anyone else gets to them. What if I told you that magic—that specific, nostalgic, perfectly soft and seasoned magic—isn’t a secret held by pizza parlors anymore?
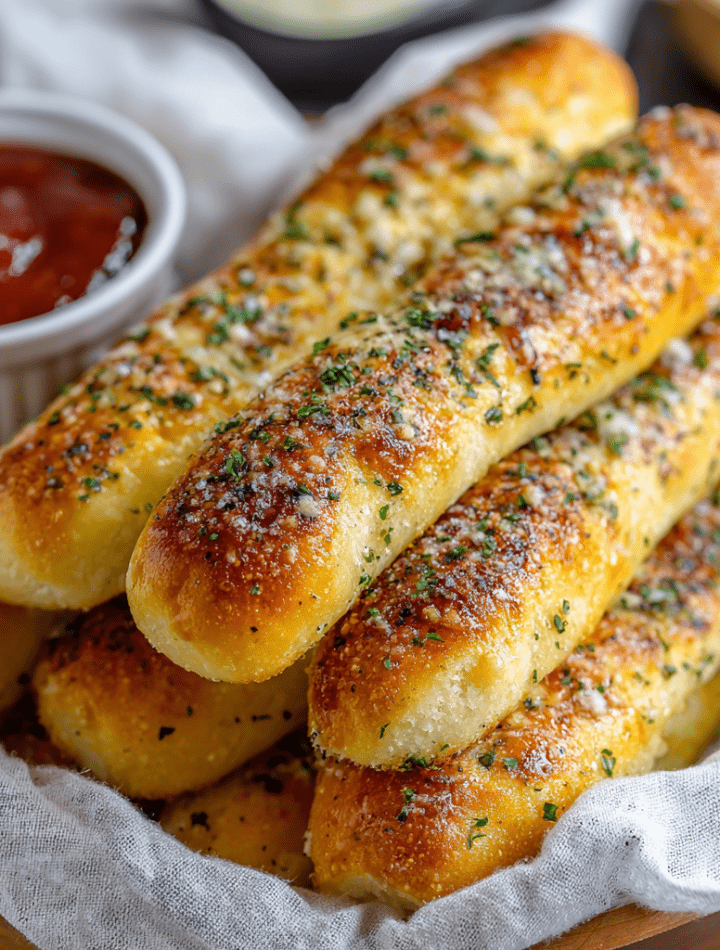
Today, we’re bringing the pizzeria home. We’re making Copycat Pizza Hut Breadsticks that are so spot-on, you might just check your door for a delivery driver. These aren’t just any breadsticks. They’re the full experience: fluffy and tender on the inside with just the right amount of chew, brushed with a river of melted butter and garlic, and dusted with that iconic savory seasoning blend that makes you lick your fingers. The best part? They’re made with simple ingredients and a whole lot of love, straight from my kitchen to yours.
Whether it’s for a epic family pizza night, a game-day snack spread, or just because you deserve a warm, carby treat on a Tuesday, these breadsticks are your ticket to joy. So, tie on your favorite apron, put on some good music, and let’s bake up some happiness together. Get ready to make your house smell like the best pizza joint in town—because it’s about to become one.
My First Bite & The Dream of Endless Breadsticks
My love affair with these breadsticks started, like many great food stories, in a booth with red vinyl seats. I was about eight years old, swinging my legs that couldn’t yet touch the floor, completely hypnotized by the personal pan pizza I’d earned from the Book-It program at school. But when the waitress set down that small, red plastic basket lined with a white paper doily, piled high with golden breadsticks… the pizza was momentarily forgotten. That first bite was a revelation. It was softer than any bread I’d had, soaked in butter, and covered in a mysterious, delicious green-speckled seasoning. It tasted like celebration.
Fast forward through culinary school and years of recipe testing, and that memory never left. I’ve always believed the best recipes are the ones that transport you—and this one is a time machine straight to childhood joy. I’ve tweaked and tested this recipe more times than I can count, aiming not just to replicate, but to bottle that feeling of simple, shared delight. Making them at home now, the smell filling my kitchen, it’s not just about the flavor (though that’s a huge part of it!). It’s about creating that experience for my own family, for friends gathered around the table, and now, for you. It’s about proving that the little joys of takeout can be made—and maybe even made a little better—with your own two hands.
Gathering Your Flavor Toolkit: The Ingredients Breakdown
Here’s everything you’ll need to create this masterpiece. Don’t worry, it’s all straightforward stuff! I’ve added my little chef notes next to each one because knowing your ingredients is the first step to kitchen confidence.
For the Dough:
- 1 cup warm water (110°F): Think “baby bottle warm”—not hot! Too hot and it will kill the yeast, too cold and it won’t wake it up. A quick tip: if it feels comfortably warm on your wrist, it’s perfect.
- 2¼ tsp active dry yeast: This is our magical leavening agent, the tiny organism that makes our breadsticks puff up into fluffy clouds. Make sure your packet isn’t expired for the best rise.
- 2 tsp sugar: Just a little snack for the yeast to get it active and foamy. It doesn’t make the dough sweet.
- 2½ cups all-purpose flour: The workhorse! I use plain all-purpose for the ideal tender-yet-chewy texture. For a slightly more authentic “chain restaurant” texture, you can swap in ½ cup of bread flour for extra chew.
- ½ tsp salt: Crucial for flavor. It balances everything and strengthens the gluten structure.
- 2 tbsp olive oil: This adds richness and keeps the dough beautifully supple. You can use a neutral oil like vegetable or canola if that’s what you have.
For the Legendary Topping:
- 3 tbsp melted butter: The heart and soul of the operation! Use real, unsalted butter for the best flavor. This is the buttery glue for our seasoning.
- 1 tsp garlic powder: Not fresh garlic here! Powder gives us that distinct, evenly distributed pizzeria-style garlic flavor without burning.
- 1 tbsp grated parmesan (optional): My little extra “chef’s kiss.” It adds a subtle salty, umami depth. The green canister kind works in a pinch, but fresh is fabulous.
- 1 tsp dried oregano & 1 tsp dried parsley: The dynamic green duo! This is where that signature look and herbal aroma comes from. Rub the oregano between your palms as you add it to wake up its oils.
- ½ tsp onion powder: The secret background singer that makes the garlic flavor pop even more. Don’t skip it!
- Pinch of salt: To season the seasoning! It ties all the dried herbs and powders together.
Let’s Get Baking: Your Step-by-Step Roadmap to Breadstick Bliss
Ready to see some kitchen magic? Follow these steps, and you’ll be a breadstick hero in no time. I’m chatting you through each one with my best tips!
- Wake Up the Yeast: In a large mixing bowl (or the bowl of your stand mixer), combine the warm water, yeast, and sugar. Give it a gentle stir and let it sit for 5-10 minutes. You’re looking for a foamy, creamy layer on top—this is called “proofing” and it’s your sign that the yeast is alive and ready to work! Chef’s Tip: No foam? Your yeast might be asleep (old) or the water was too hot/cold. Start over before adding flour to ensure a good rise.
- Make the Dough: To the foamy yeast mixture, add the flour, salt, and olive oil. Stir with a wooden spoon or the dough hook attachment on low speed until a shaggy dough forms. Then, it’s kneading time! If doing it by hand, turn the dough out onto a lightly floured surface and knead for 5-7 minutes. If using a mixer, knead with the dough hook on medium-low for 4-5 minutes. You want a smooth, slightly elastic ball that springs back lightly when poked. Chef’s Hack: The windowpane test! Stretch a small piece of dough. If you can stretch it thin enough to see light through it without it tearing immediately, your gluten is well-developed and your breadsticks will be perfect.
- Let It Rise & Shine (First Rise): Place your beautiful dough ball in a lightly oiled bowl, turning it once to coat it in oil. This prevents a dry skin from forming. Cover the bowl tightly with plastic wrap or a damp kitchen towel. Let it rest in a warm, draft-free spot for about 1 hour, or until doubled in size. My favorite spot? On top of the oven while it’s off, or in a microwave with a cup of just-boiled water.
- Shape Your Sticks: Punch down the risen dough (the most satisfying step!) and turn it out onto a lightly floured surface. Using a rolling pin, roll it into a rectangle about ½-inch thick. Don’t stress about perfection—rustic is charming! Using a pizza cutter or a sharp knife, cut the rectangle into 10-12 even strips. Chef’s Tip: A bench scraper is your best friend here for cutting and transferring the strips without over-stretching them.
- The Patience Payoff (Second Rise): Gently place your breadstick strips on a baking sheet lined with parchment paper or a silicone mat, leaving a little space between them. Cover them loosely with that towel again and let them rise for another 20-30 minutes. They won’t double this time, but they’ll get nicely puffed. Meanwhile, preheat your oven to a hot 425°F (220°C).
- Bake to Golden Perfection: Once puffed, bake your breadsticks for 12-15 minutes. You’re looking for a lovely light golden brown on top and bottom. Chef’s Watch-Out: Ovens vary! Start checking at 12 minutes. The smell will also tell you when they’re close—it will be irresistibly bready.
- The Flavor Bath: While the breadsticks bake, mix your melted butter with all the seasonings—garlic powder, oregano, parsley, onion powder, and that pinch of salt. As soon as the breadsticks come out of the oven, use a pastry brush to lavishly brush this buttery elixir all over every single surface. The warm bread will drink it right in. Sprinkle with the optional parmesan immediately so it sticks.
- Serve with Love: Transfer them to a serving plate or basket. Serve IMMEDIATELY while they’re warm, soft, and fragrant. I promise, the first bite will be pure nostalgia.
How to Serve These Golden Wonders
Presentation is part of the fun! For the full Pizza Hut effect, line a basket or plate with a clean, white kitchen towel or parchment paper and pile those warm breadsticks high. The star of the show, of course, is the dipping sauce. Offer a few ramekins so everyone can choose their own adventure:
- Classic Marinara: A warm, herby marinara sauce is the traditional and perfect tangy counterpart.
- Creamy Ranch: The cool, herby creaminess is a fantastic contrast to the warm, garlicky bread. This is a crowd-pleaser!
- Cheesy Dip: Warm up some Alfredo sauce or a simple cheese dip for the ultimate indulgence.
- Garlic Butter: Have extra seasoned butter? Warm a little extra for double-garlic dipping. No judgment here!
These breadsticks aren’t just a side; they’re the main event for any snack table, the perfect companion to a big salad for a light meal, or the essential carb for your homemade pizza night. Serve them with a big smile—you made these!
Make It Your Own: Delicious Twists & Swaps
Once you’ve mastered the classic, the kitchen playground opens up! Here are a few of my favorite ways to mix things up:
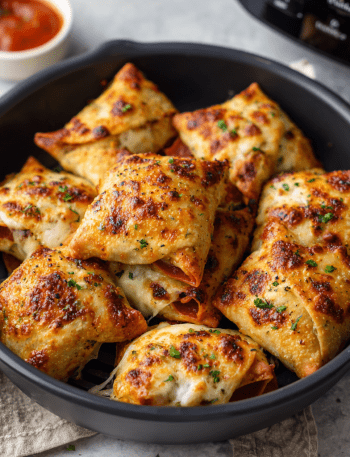
- “Stuffed” Breadsticks: Before rolling out the dough, sprinkle it with a cup of shredded mozzarella and a handful of mini pepperoni. Roll it up like a jelly roll, seal the edge, and then slice into pinwheels. Place them spiral-side-up on the baking sheet, let rise, and bake. Hello, pizza rolls!
- Everything Bagel Seasoning: Swap the herb topping for a generous brush of plain melted butter and a heavy sprinkle of everything bagel seasoning after baking. Unbelievably good.
- Cheesy Garlic Explosion: Add ½ cup of grated parmesan or asiago cheese directly into the dough during the mixing stage. Then, after the final butter brush, top with more cheese and broil for 1-2 minutes until bubbly.
- Herb-Infused Butter: Gently heat the butter with a few cloves of fresh smashed garlic and a sprig of fresh rosemary. Let it steep for 15 minutes, then strain and use this flavored butter for the topping. Next-level aroma!
- Whole Wheat Version: For a heartier twist, substitute up to 1 cup of the all-purpose flour with whole wheat flour. The flavor is nuttier and wonderful, and you might need a touch more water as whole wheat absorbs more liquid.
Emily’s Kitchen Notebook: The Heart of the Recipe
This recipe has lived many lives in my kitchen! The first time I tested it, I was so impatient I skipped the second rise. The result? Dense, sad little bread soldiers. Lesson learned: the rises are non-negotiable for that iconic soft, airy texture. This is where the flavor and texture develop, so let time be your friend.
I also learned that the butter must go on the second the breadsticks leave the oven. I once got distracted by a phone call and brushed them five minutes later… they were still good, but they didn’t have that glorious, glistening, soaked-in sheen. Timing is everything!
Most importantly, this recipe is meant to be shared and fun. Get the kids involved in cutting the strips or brushing on the butter. Laugh if your rectangle looks more like a map of a country. It doesn’t matter. What matters is the joy of creating something delicious together. That’s the real secret ingredient.
Your Questions, Answered (Let’s Troubleshoot!)
Q: Can I make the dough ahead of time?
A: Absolutely! After the first rise, you can punch down the dough, wrap it tightly in plastic, and refrigerate it for up to 24 hours. When ready, let it sit at room temp for 30 minutes, then shape, do the second rise, and bake. You can also freeze the shaped, unbaked sticks on a tray, then transfer to a bag. Bake from frozen, adding a few extra minutes.
Q: My dough didn’t rise much. What happened?
A> The usual suspects are old/inactive yeast, water that was too hot and killed the yeast, or a drafty/too-cold rising spot. Next time, ensure your yeast is fresh and your water is just warm to the touch (110°F). Let the dough rise in a turned-off oven with the light on for a consistently warm environment.
Q: Can I use garlic salt instead of garlic powder and salt?
A> Be cautious! Garlic salt is about 3 parts salt to 1 part garlic powder. If you use it, substitute it for the garlic powder AND the pinch of salt in the topping, and reduce any added salt in the dough slightly to avoid over-salting.
Q: Why are my breadsticks a bit hard?
A> The most common reason is over-baking. Ovens run hot, so they may be done closer to 12 minutes. Also, ensure you’re measuring your flour correctly—scooping directly from the bag can pack in too much, leading to a drier, denser dough. Spoon your flour into the measuring cup and level it off for accuracy.
A Quick Note on Nutrition
While we’re all about indulgence and joy here at Tasty Chow, I believe in mindful enjoyment! These breadsticks are a treat, and here’s a general snapshot of what’s in one (approximate, based on 12 breadsticks):
- Calories: ~150
- Carbohydrates: ~22g (Hello, delicious energy!)
- Protein: ~3g
The Real Secret Ingredient: Sharing the Moment
And that, my friend, is the real magic behind these Copycat Pizza Hut Breadsticks. Yes, the dough is soft. Yes, the butter is unapologetically generous. Yes, that seasoning blend hits every nostalgic note just right. But what truly makes these breadsticks special is the moment they create.
It’s the sound of laughter around the table while someone reaches for “just one more.” It’s the way the kitchen smells like comfort and celebration all at once. It’s watching a basket empty faster than you expected and realizing you’ve officially won dinner.
These breadsticks remind us that some of the best food memories come from simple pleasures — warm bread, shared plates, and the joy of making something familiar with your own hands. Whether you’re recreating a childhood favorite, starting a new family tradition, or just craving something cozy and carb-forward, this recipe delivers every time.
So bake them golden. Brush them generously. Serve them warm. And don’t forget the marinara.
Because sometimes, the best nights don’t come in delivery boxes — they come straight from your oven.
Happy baking,
Emily 🍞✨