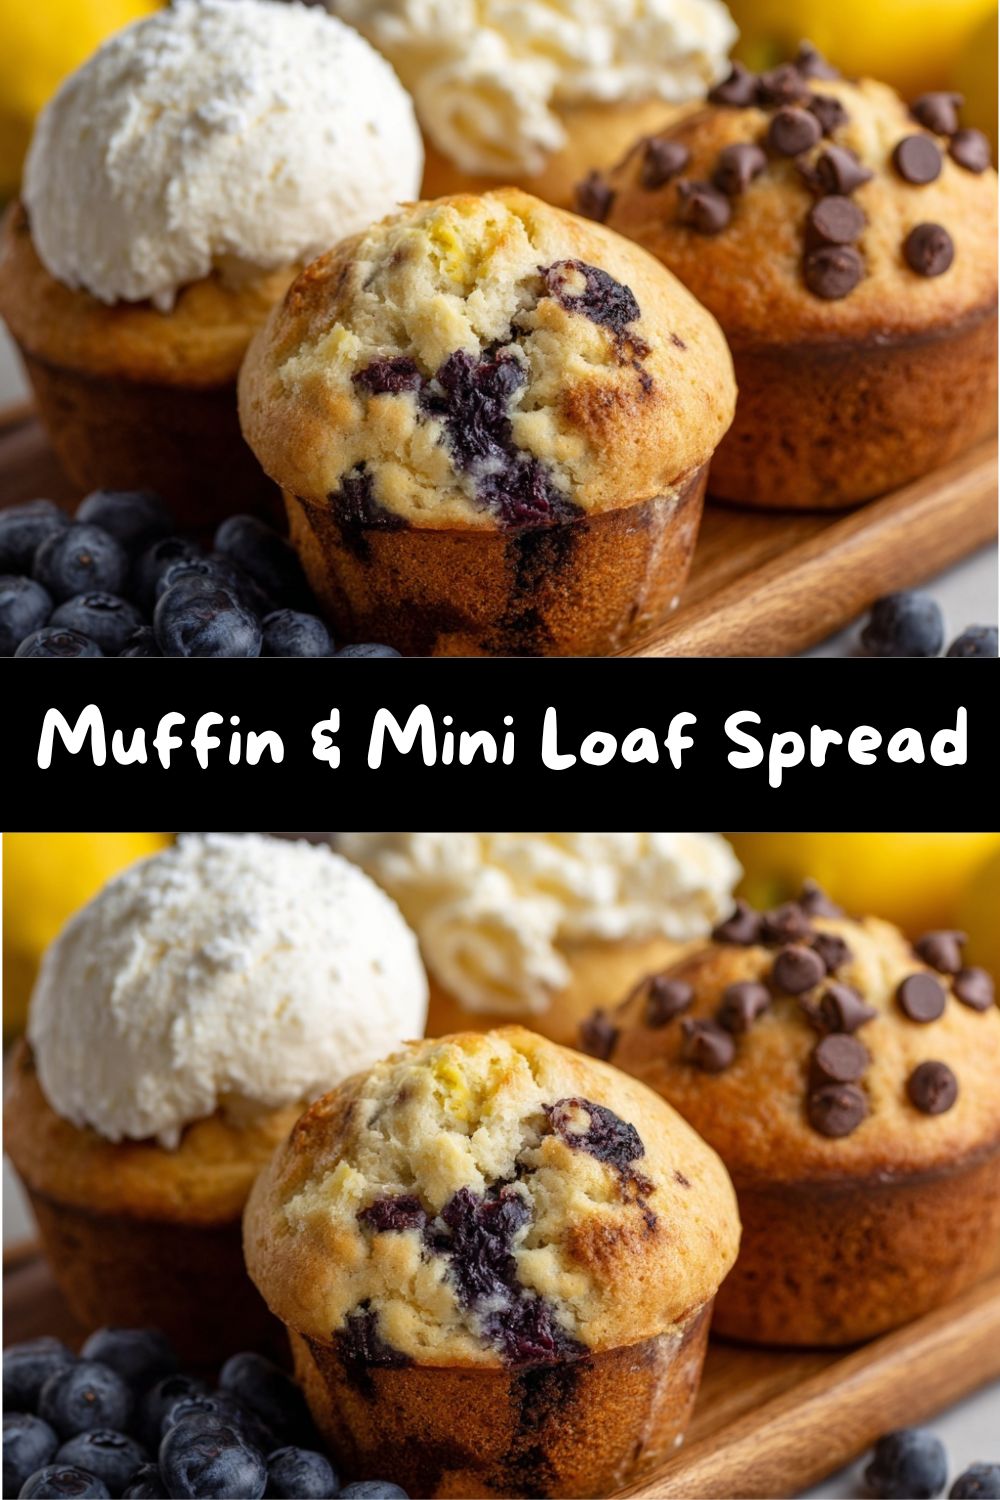
Your New Brunch Party Trick: The Ultimate Muffin & Mini Loaf Spread
Hey there, friend! Come on in, grab an apron, and let me tell you about my absolute favorite way to make a crowd (or just my very hungry family) light up with joy. It’s not a complicated soufflé or a five-tier cake. Nope. It’s something much simpler, infinitely more versatile, and guaranteed to make your kitchen smell like a heaven-scented bakery: a gorgeous, mix-and-match Muffin & Mini Loaf Spread.
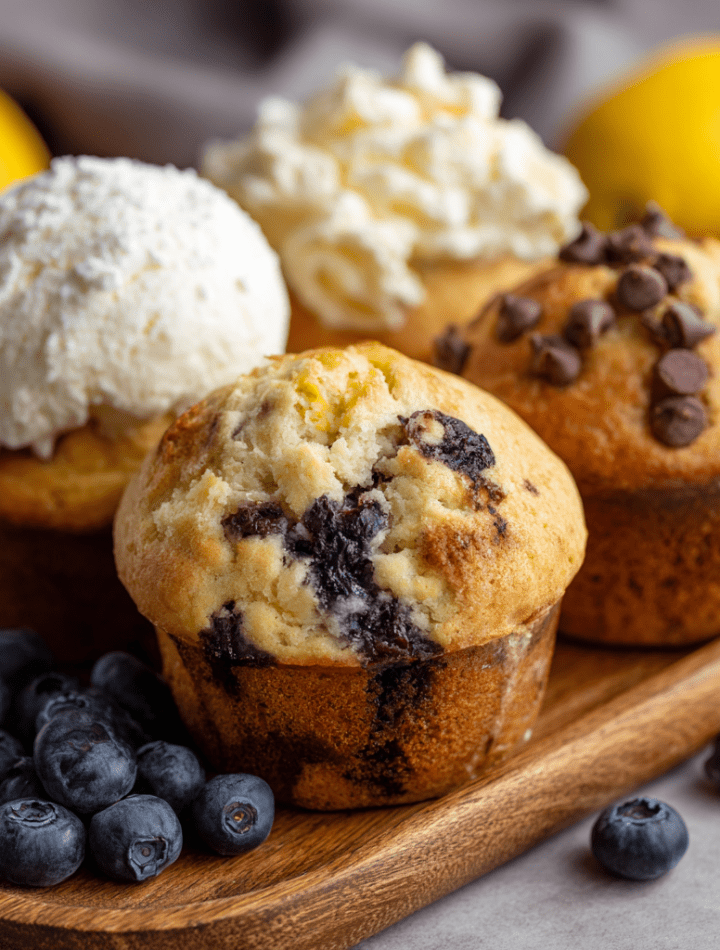
Picture this: a wooden board, piled high with soft, tender mini loaves and perfectly domed muffins. Some are bursting with juicy blueberries, others are zesty with lemon, some are cozy with banana, and a few are studded with melty chocolate chips. It’s a brunch centerpiece, a snack-time savior, and a lunchbox hero all in one. The best part? You make ONE base batter. That’s it. One bowl (okay, maybe two), one set of core ingredients, and then you get to play, creating four different flavors that please every single person at your table.
As someone who lives for the “ooohs” and “ahhhs” around the table, this spread is my secret weapon. It looks like you spent all day baking, but the secret is in the smart, simple method. Whether you’re hosting a lazy weekend brunch, need a thoughtful edible gift, or just want to stock the freezer with wholesome treats, this recipe is your new best friend. So, let’s ditch the stress and embrace the fun of baking. Are you ready to create something deliciously spectacular together? Let’s get mixing!
The Legacy of Grandma’s “Choose-Your-Own-Adventure” Baking
This entire concept takes me right back to my grandma’s linoleum-tile kitchen, where the counter was always dusted with a fine layer of flour. Sundays were for baking, but never just one thing. My brother was a chocolate fiend, I was obsessed with fruit, my dad loved anything citrusy, and my mom preferred things plain and simple. Instead of baking four separate batches, my clever grandma would whip up one big bowl of her “magic batter.”
She’d then divide it into little soup cups—the mismatched ones with the faded flowers. Into one went the chocolate chips she’d saved just for my brother. Another got the bruised bananas from the fruit bowl. My cup got a handful of wild blueberries we’d picked that week, and the last got a generous grating of lemon zest from the tree out back. Watching that single batter transform into four different treats felt like actual kitchen wizardry to my young eyes. It was more than efficiency; it was a lesson in love and customization. She showed me that feeding people isn’t just about the food—it’s about seeing each person and saying, “I made this one just for you.” That’s the spirit I’m bringing to this spread today. Let’s make some magic, and maybe a beautiful mess, together.
Gathering Your Flavor Arsenal: Ingredients & Insights
Here’s everything you need for our master batter and all the delightful add-ins. I’ve sprinkled in some chef-y notes and swaps so you can bake with confidence, no matter what’s in your pantry!
- 1 ¾ cups all-purpose flour: The trusty foundation. For a slightly more tender crumb, you can swap in ½ cup with cake flour. For a whole-grain boost, white whole wheat flour works great too!
- 1 tsp baking powder + ½ tsp baking soda: Our dynamic leavening duo! The baking powder gives the main lift, and the baking soda reacts with the yogurt/sour cream for a beautiful, tender rise. Make sure they’re not expired for maximum puff power.
- ¼ tsp salt: The flavor enhancer. It might seem small, but it balances the sweetness and makes every other ingredient taste more like itself.
- ½ cup unsalted butter, softened: Hello, richness and tenderness! “Softened” means it should indent easily when poked but not be melted or greasy. In a pinch, an equal amount of neutral oil (like avocado or vegetable) works, though the texture will be slightly more moist and less fluffy.
- ½ cup granulated sugar + ¼ cup brown sugar: The sweet team. White sugar gives structure and sweetness, while brown sugar (pack it in!) adds moisture and a subtle molasses depth. Using all of one type is fine in a hurry.
- 2 large eggs: Our binding agents and structure-builders. Bring them to room temperature for a smoother, more emulsified batter. A quick tip: place cold eggs in a bowl of warm water for 5-10 minutes.
- ½ cup plain yogurt or sour cream: The SECRET to incredibly moist, tender baked goods! The acidity also tenderizes the gluten. I always have one or the other in my fridge for this reason. Greek yogurt, regular yogurt, or full-fat sour cream are all perfect.
- 1 tsp vanilla extract: The aromatic background note that makes everything taste like “bakery-quality.” Don’t skip it!
Flavor Brigade (Pick Your Favorites!):
- Lemon: Zest of 1 lemon + 1 tbsp juice. The zest is where the powerful, sunny oil lives—never skip it! The juice adds a bright tang.
- Blueberry: 1 cup fresh or frozen. No need to thaw frozen berries! Tossing them in a spoonful of the dry flour helps prevent them from sinking to the bottom.
- Banana: 2 ripe bananas, mashed. The spottier, the better! They should be almost black for the sweetest flavor and easiest mashing.
- Chocolate Chip: ¾ cup mini or regular chips. Mini chips distribute more evenly in every bite. I love using semi-sweet, but dark or milk chocolate are delicious too!
Let’s Bake: Simple Steps to Spread-Worthy Success
Follow these steps, and you’ll be a spread-making pro in no time. I’m chatting you through each one with my favorite kitchen hacks!
- Prep Like a Pro: Preheat your oven to 350°F (175°C). This is non-negotiable for even baking. Now, line a standard 12-cup muffin tin with paper liners or generously grease it with butter or non-stick spray. If you’re going the mini loaf route (I use 4-loaf pans), grease those beauties well. This is also the time to get your add-ins ready: zest the lemon, mash the bananas, etc.
- Whisk the Dry Team: In a medium bowl, whisk together the flour, baking powder, baking soda, and salt. This isn’t just mixing—it’s ensuring our leaveners are perfectly distributed so every muffin rises to its full, glorious potential. Give it a good 20-second whisk and set it aside.
- Cream the Butter & Sugars: In a large mixing bowl, beat the softened butter with the granulated and brown sugars. We’re going for light, fluffy, and almost pale in color. This should take about 2-3 minutes with a hand mixer or stand mixer. This step incorporates air, which is part of our lift! Chef’s Hack: If your butter isn’t quite soft, grate it on the large holes of a box grater. It’ll soften in minutes!
- Incorporate the Wet Ingredients: Beat in the eggs, one at a time, making sure each is fully combined before adding the next. Scrape down the bowl. Then mix in the yogurt (or sour cream) and vanilla. The mixture might look a little curdled at this point—that’s totally okay! The flour is coming to the rescue.
- Combine Gently: Add the dry ingredients to the wet ingredients. Now, switch to a spatula or use your mixer on the lowest setting. Mix just until the flour disappears. A few streaks are fine! Overmixing is the #1 enemy of tender muffins and loaves—it develops gluten and leads to toughness. We want tender crumbs, not bread!
- Divide & Conquer (The Fun Part!): Here’s where the magic happens. Divide your batter equally into four smaller bowls. (Roughly ¾ to 1 cup of batter per bowl). Now, fold in your chosen add-ins to each bowl. For lemon, mix zest and juice. For blueberry, gently fold them in. For banana, fold in the mash. For chocolate chip, you know the drill! Fold until just combined.
- Bake to Golden Perfection: Scoop your flavored batters into the prepared muffin cups or mini loaf pans. For muffins, fill cups about ¾ full. Bake as follows:
- Muffins: 18-22 minutes. They’re done when the tops spring back lightly to the touch and a toothpick inserted comes out clean (or with just a few melted chocolate crumbs).
- Mini Loaves: 28-35 minutes. The same toothpick test applies, and the edges will be pulling away from the pan slightly.
Chef’s Note: Ovens vary! Start checking at the lower end of the time range.
- The Crucial Cool Down: Let the muffins/loaves cool in the pan for 5 minutes. This allows them to set. Then, transfer them to a wire rack to cool completely. I know it’s tempting, but cutting into them while hot can lead to gummy textures. Let’s practice a little patience—it’s worth it!
Plating Your Masterpiece: Serving Suggestions
Now for the grand reveal! Don’t just plop these on a plate. Let’s create a moment.
I love using a large wooden cutting board, a vintage platter, or even a simple baking sheet lined with a cute tea towel. Arrange your muffins and mini loaves in little groups by flavor. Tuck in small bowls of complementary accompaniments: a dollop of lemon curd next to the lemon loaves, a bowl of fresh blueberries by the blueberry muffins, some honey or peanut butter for the banana bread, and a small pile of extra chocolate chips by the chocolate chip ones.
Add freshness with a small bunch of grapes, some strawberry halves, or a few sprigs of mint. For a brunch spread, place a small dish of softened butter or whipped honey butter in the center. This isn’t just food; it’s an experience. It invites people to gather, to choose their favorite, to mix flavors, and to dig in together. For gifting, place a mini loaf in a cellophane bag tied with baker’s twine—it’s a gift straight from the heart (and the kitchen!).
Make It Your Own: Delicious Recipe Variations
The fun doesn’t stop with these four flavors! This base batter is your canvas. Here are some of my favorite twists:
- Lemon Blueberry Bliss: Combine two bowls! Add the lemon zest/juice AND a ½ cup of blueberries to one portion of batter for the ultimate sunny-day muffin.
- Banana Chocolate Chip Swirl: Add the mashed banana to your batter portion, then swirl in 2 tablespoons of chocolate-hazelnut spread or a handful of chocolate chips before baking.
- Streusel-Topped Everything: Make a quick streusel by mixing ¼ cup flour, ¼ cup brown sugar, 2 tbsp cold cubed butter, and a pinch of cinnamon with your fingers until crumbly. Sprinkle generously on any flavor before baking for a bakery-style crunch.
- Dairy-Free/Vegan Twist: Use vegan butter or coconut oil, a flax egg (1 tbsp ground flax + 3 tbsp water per egg), and dairy-free yogurt. The batter might be slightly thinner, but it bakes up beautifully!
- Gluten-Free Friendly: Swap the all-purpose flour for a 1:1 gluten-free baking blend. The yogurt/sour cream helps keep GF baked goods wonderfully moist.
Chef Emily’s Kitchen Notes
This recipe has evolved from my grandma’s original, which was a bit more… let’s call it “rustic.” Over the years, through culinary school and a *lot* of happy accidents, I perfected the ratio of yogurt for moisture and discovered the two-sugar trick. I’ve also learned to embrace frozen blueberries year-round—they’re a total game-changer and prevent that sad “no blueberry season” slump.
A funny story: I once accidentally grabbed the jar of cayenne pepper instead of cinnamon when making a banana loaf variation. Let’s just say it was a… *spicy* surprise! My husband bravely ate two slices before telling me. Moral of the story: always double-check your spice jars when you’re chatting and baking! Now I keep them on a different shelf.
FAQs & Troubleshooting: Your Questions, Answered
Q: Can I make this as one big loaf instead?
A: Absolutely! For a standard 9×5 inch loaf pan, you’ll want to use the batter from *two* of the flavor portions combined (so, all the banana batter, or all the lemon, etc.). Bake at 350°F for 50-60 minutes, tenting with foil if the top browns too quickly. Always use the toothpick test in the center.
Q: My blueberries all sank to the bottom! What happened?
A: The most common culprit is batter that’s a bit too thin, or berries that are too wet/heavy. Next time, toss your blueberries (fresh or frozen) in a light coating of the dry flour mixture before folding them in. This little flour jacket helps them “float” in the batter during baking.
Q: Can I freeze these?
A: YES! This is one of my favorite meal-prep moves. Let them cool completely, then wrap individually in plastic wrap and place in a freezer bag. They’ll keep for up to 3 months. Thaw at room temperature or pop a frozen muffin in the microwave for 30 seconds for a warm treat.
Q: My muffins didn’t dome nicely. They’re flat on top.
A: This could be a few things: 1) Overmixing the batter (develops gluten), 2) Old baking powder/soda, or 3) Oven temperature might be off (an inexpensive oven thermometer even an inexpensive oven thermometer can make a huge difference!). For taller domes, make sure your oven is fully preheated and don’t overfill the muffin cups—¾ full is the sweet spot.
A Final Word from My Flour-Dusted Kitchen
And there you have it, my friend—your new go-to brunch secret, snack-time solution, and freezer hero all rolled into one joyful baking session. This Muffin & Mini Loaf Spread isn’t just about efficiency (though one-batter baking is a dream). It’s about abundance. It’s about offering choices, celebrating different tastes, and creating something that feels generous and welcoming without exhausting yourself.
I love that this recipe invites creativity. One day it’s lemony and bright, the next it’s cozy banana-chocolate comfort. It adapts to the season, to your pantry, and to the people you’re baking for. And maybe best of all, it carries that old-fashioned magic my grandma taught me—that baking can be practical and personal at the same time.
So whether you’re setting out a beautiful brunch board, wrapping mini loaves for neighbors, or just sneaking a muffin with your morning coffee, I hope this recipe brings a little warmth and happiness into your day. Bake what you love, share what you make, and don’t forget to save one just for yourself—you’ve earned it.
From my kitchen to yours,
Emily 🧡