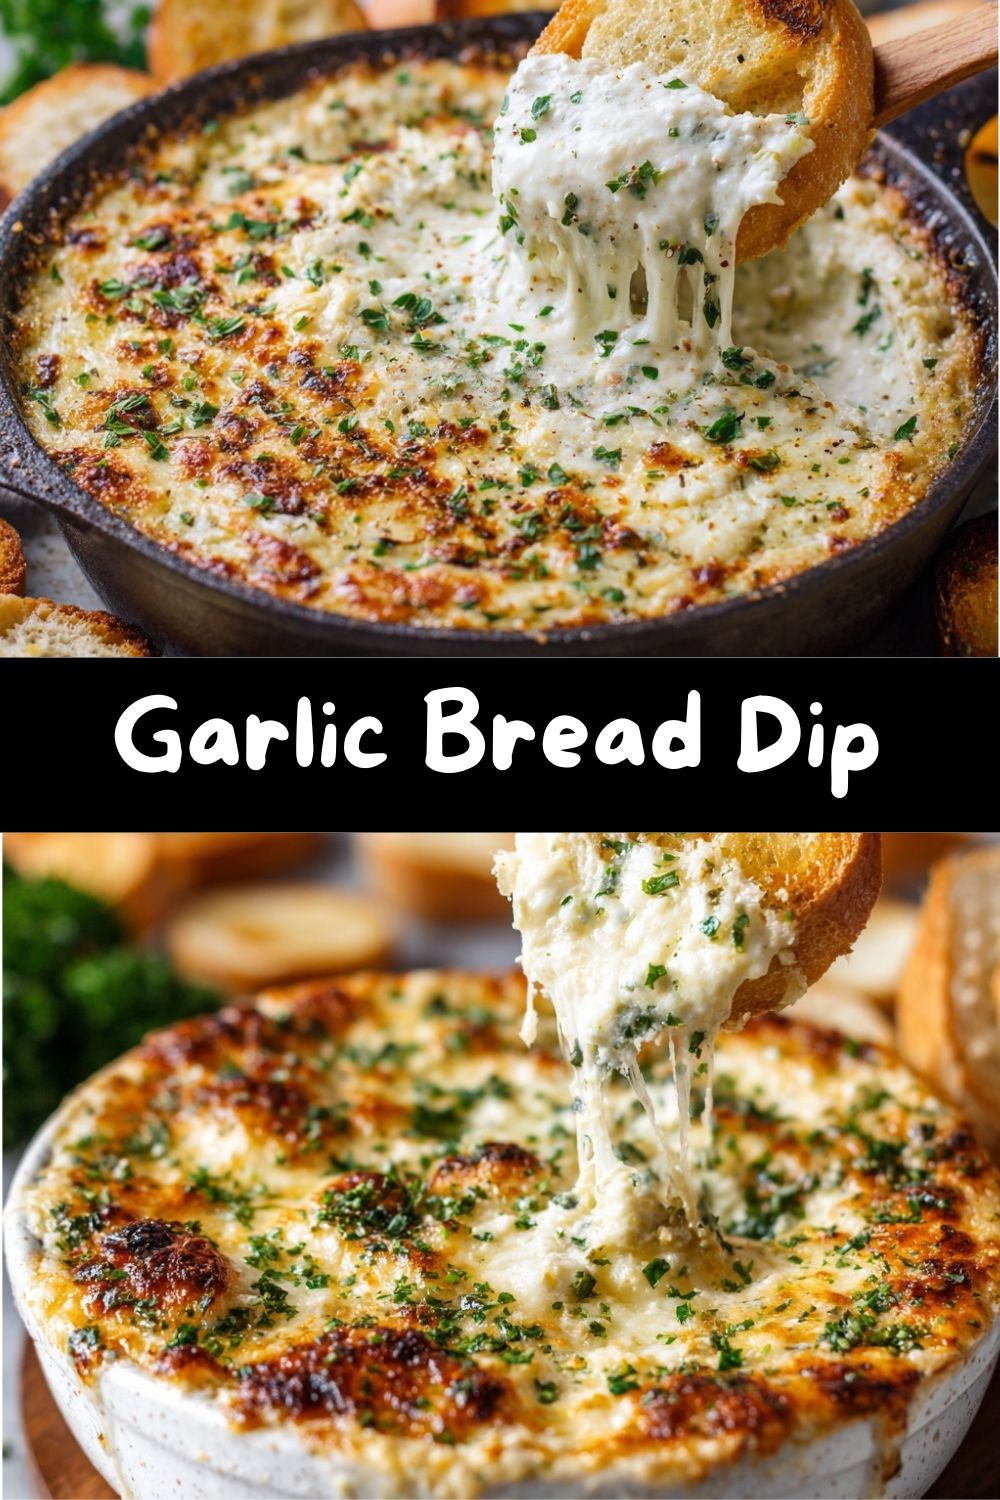
Garlic Bread Dip: The Ultimate Shareable, Cheesy Comfort Food
Hey there, friend! Welcome back to my cozy kitchen corner. If you’re anything like me, you believe that any gathering, from a loud game day bash to a quiet Tuesday night on the couch, is made infinitely better with a truly epic dip. We’re talking about the kind of dip that makes people hover around the table, the one that sparks friendly debates over the last scoop, the one that has everyone asking, “Wait, what’s *in* this?”
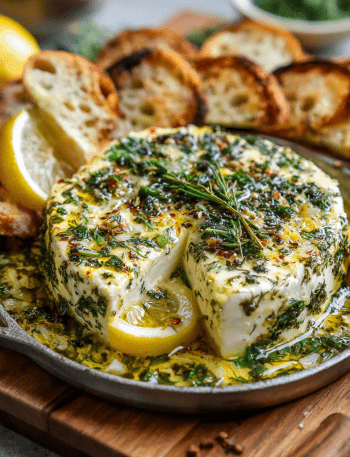
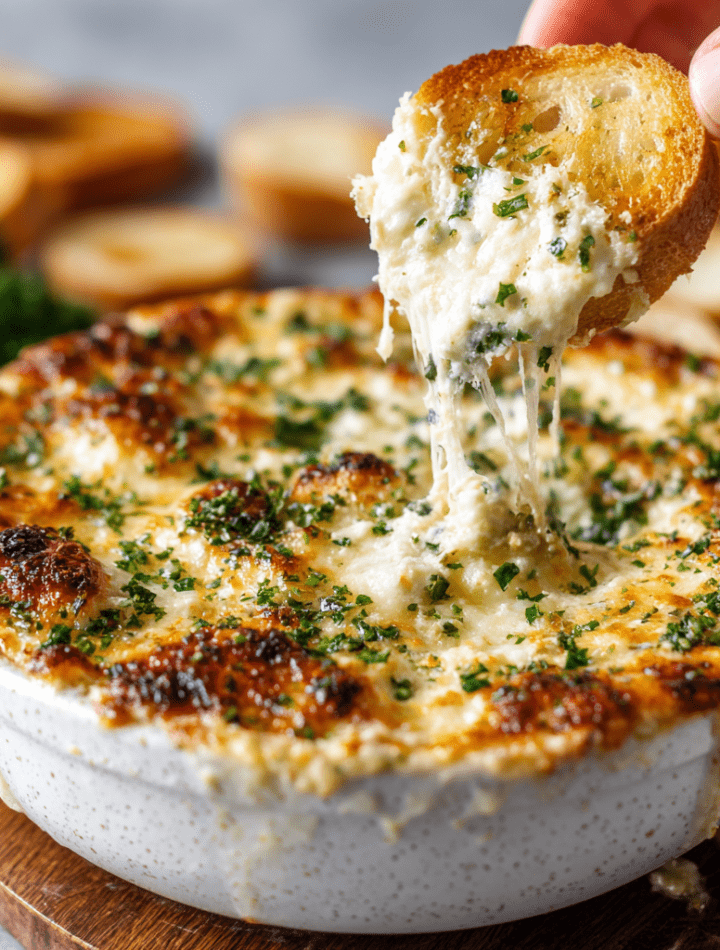
Today, we’re taking everything we adore about golden, buttery garlic bread and transforming it into a warm, bubbly, dippable masterpiece. This Garlic Bread Dip is not a side thought; it’s the main event. Imagine the creamy richness of a decadent spread, packed with roasted garlic, melted mozzarella, sharp parmesan, and all those Italian herbs we love, baked until it’s gloriously golden and begging for a piece of crusty bread to dive right in.
This recipe is my love letter to communal eating, to the joy of sharing food straight from the oven. It’s incredibly simple to whip up with pantry staples, but the flavor payoff is absolutely restaurant-worthy. So, preheat your oven, grab your favorite mixing bowl (and your favorite people), and let’s make something delicious that’s guaranteed to be the star of the snack table.
The Night We Ditched the Forks: A Garlicky Love Story
This recipe was born from a happy accident and a serious craving. A few years back, I was hosting a last-minute movie night. The plan was classic garlic bread to go with pasta, but wouldn’t you know it, my good loaf had turned into a breadcrumb candidate. Panic? For a second. Then, I looked at the ingredients on my counter: cream cheese, sour cream, a block of mozzarella, and a whole head of garlic.
In a “what’s the worst that could happen” moment, I threw it all in a bowl, gave it a hearty stir, and baked it. What emerged from the oven was a puffy, fragrant, cheesy cloud. We tore into it with the sad, slightly-stale baguette ends I’d rescued and toasted. And something magical happened. We stopped talking. We just… dipped. And smiled. And dipped some more. The movie played in the background, but the real show was this spontaneous, communal bowl of joy. It was messier, more interactive, and infinitely more fun than any sliced bread. That’s the spirit I want to capture in every bite of this recipe—the unplanned, shared, utterly delightful moments that good food creates.
Gathering Your Flavor Arsenal
Here’s what you’ll need to create this creamy, cheesy wonder. Don’t worry, it’s all about building layers of flavor with simple ingredients!
- 1 (8 oz) block cream cheese, softened: This is our luxurious, tangy base. Pro-Tip: Let it sit on the counter for a good 30-60 minutes. Soft cream cheese blends into a silky-smooth dip, while cold cream cheese will leave little lumps (which, honestly, still taste great, but we’re going for velvety here!).
- 1/2 cup sour cream & 1/2 cup mayonnaise: The dynamic duo! Sour cream adds tang, and mayo brings a rich, eggy creaminess that makes the dip irresistibly lush. Swaps: You can use all sour cream or all Greek yogurt for a lighter tang, but the mayo really adds a special depth.
- 1 cup shredded mozzarella cheese: For that iconic, stretchy, gooey cheese pull. Chef’s Insight: I like to shred a block of low-moisture mozzarella myself. Pre-shredded bags often have anti-caking agents that can make the melt a bit grainy.
- 1/2 cup grated parmesan cheese: Our flavor powerhouse! Use the good stuff from the refrigerated section, not the shelf-stable canister. Parm brings a salty, nutty, umami punch that balances the creaminess perfectly.
- 4 cloves garlic, minced: The star! For a deeper, sweeter, less pungent flavor, I highly recommend using roasted garlic. Just wrap a whole head in foil with a drizzle of oil and bake at 400°F for 40 minutes. Squeeze out the soft, caramelized cloves. It’s a game-changer.
- 1 tsp Italian seasoning: A little herb garden in your palm. This blend of oregano, basil, thyme, and rosemary adds that classic garlic bread aroma. Feel free to use fresh herbs if you have them!
- Salt & pepper to taste: Don’t skip seasoning! Taste your mixture before baking. The parmesan is salty, so you may not need much extra salt, but a few cracks of black pepper are essential.
- Optional garnish: A sprinkle of chopped fresh parsley adds color and freshness, and a pinch of red pepper flakes gives a welcome hint of heat.
- For Serving: Toasted baguette slices are classic, but don’t stop there! Garlic knots, pretzel bites, breadsticks, pita chips, or even crisp fresh veggies like bell peppers and carrots are all fantastic vessels.
Let’s Get Mixing & Baking: Your Foolproof Roadmap
Ready to make some magic? Follow these simple steps, and I’ll walk you through every tip and trick I’ve learned along the way.
- Preheat & Prep: First, crank that oven to 375°F (190°C). This is the perfect temperature to get everything hot, bubbly, and beautifully golden without burning the top too quickly. While it heats, grab a medium-sized mixing bowl and a 1 to 1.5-quart baking dish (a pie plate or small casserole dish works beautifully). Lightly greasing the dish isn’t strictly necessary, but it makes cleanup a dream.
- The Creamy Base: In your bowl, plop in the softened cream cheese, sour cream, and mayonnaise. Now, get ready to mix! Use a sturdy spoon or a hand mixer on low. The goal is a completely smooth, homogenous mixture. No streaks of cream cheese! This is the foundation, so take a minute here to make it perfect. Chef’s Hack: If your cream cheese is still a bit chilly, pop the bowl (metal only!) in the microwave for 10-second bursts until it’s easily stir-able.
- Add the Flavor Bombs: Time for the good stuff! Stir in the shredded mozzarella, grated parmesan, minced (or roasted!) garlic, Italian seasoning, salt, and pepper. Mix until everything is evenly distributed. You’ll have a thick, incredibly fragrant, cheesy spread. Give it a taste—this is your moment to adjust. Want more garlic? Add it! More herbs? Go for it! Make it yours.
- Spread & Stage: Transfer this glorious mixture to your prepared baking dish. Use your spoon or a spatula to spread it into an even layer. I like to give the top a little rustic swoosh with the back of my spoon—it creates lovely ridges that get extra crispy and golden in the oven.
- Bake to Perfection: Slide the dish into your preheated oven. Now, the hardest part: the wait. Bake for 20–25 minutes. You’re looking for the edges to be actively bubbling and the top to have gorgeous golden-brown spots. The dip will puff up slightly—that’s a good sign! If you want an extra-crispy, bronzed top, you can broil it for the final 1-2 minutes, but WATCH IT LIKE A HAWK. Broilers are powerful!
- Garnish & Serve Immediately: Once out of the oven, let it cool for just 2-3 minutes—it will be molten lava hot! Then, sprinkle on your chopped parsley or red pepper flakes. This is crucial: serve it warm! The texture is at its absolute peak—creamy, dippable, and utterly irresistible.
How to Serve This Dip Like a Pro (a.k.a. Maximize Joy)
Presentation is part of the fun! Don’t just plop the baking dish on the table (though, honestly, no one will complain if you do). For a casual gathering, I love placing the warm dish right in the center of a large board or platter. Surround it with an array of dippers: a basket of warm, toasted baguette slices (brushed with olive oil and a hint of garlic salt before toasting), a pile of crispy garlic knots, some sturdy breadsticks, and a rainbow of fresh veggie sticks for a refreshing crunch.
For a more styled appetizer spread, transfer a portion of the dip to a smaller, prettier bowl and keep the baking dish warm in the oven for refills. Provide small plates and plenty of napkins—things are about to get deliciously messy. This dip also makes an incredible side dish alongside a simple Italian salad or a bowl of marinara for double-dipping. Honestly, the possibilities are endless.
Make It Your Own: 5 Tasty Twists
Once you’ve mastered the classic, the kitchen playground opens up! Here are some of my favorite ways to riff on this recipe:
- The Pizza Party: Stir in 1/4 cup of finely chopped pepperoni and 2 tablespoons of drained, chopped jarred roasted red peppers before baking. Garnish with a sprinkle of oregano after baking. Pizza in dip form? Yes, please.
- Spinach & Artichoke Fusion: Fold in 1/2 cup of thawed, squeezed-dry frozen chopped spinach and 1/2 cup of chopped, canned artichoke hearts (also drained well). It’s the best of both creamy dip worlds!
- Seafood Sensation: For a luxe twist, mix in one 6-oz can of well-drained lump crabmeat or flaked cooked shrimp. A dash of Old Bay seasoning in the mix takes it over the top.
- Lighter Bite: Use light cream cheese, light sour cream, and swap the mayo for plain Greek yogurt. You’ll still get incredible creaminess with a lighter footprint.
- Spicy ‘Nduja Kick: Love heat? Swirl in 2-3 tablespoons of soft ‘nduja sausage or a few tablespoons of your favorite spicy tomato jam before baking for a sweet and spicy ripple effect.
Emily’s Kitchen Notes & Stories
This recipe has become my go-to for potlucks because it travels like a dream. I’ll often assemble it completely at home, cover it tightly, and then pop it in my host’s oven when I arrive. It fills their kitchen with that “something amazing is baking” scent, which is basically a superpower for being a welcome guest!
Over time, I’ve learned that the type of garlic is your biggest creative lever. On lazy days, I use minced raw garlic. When I want to impress, I use slow-roasted cloves. Once, I even used black garlic for a deeply sweet, balsamic-like note—it was wild and wonderful. The recipe is a forgiving friend. It has evolved from that frantic movie night experiment into a cherished, adaptable staple in my recipe box, and I hope it finds a permanent spot in yours, too.
Your Questions, Answered!
Q: Can I make this dip ahead of time?
A: Absolutely! You can assemble the dip completely, cover it tightly, and refrigerate for up to 24 hours before baking. You may need to add 3-5 extra minutes to the bake time since it’s going into the oven cold.
Q: My dip seems a bit oily on top after baking. What happened?
A> No worries! This can happen if the mayo or cheeses separate a bit. It’s usually due to a very high fat content or slightly over-baking. Just give it a gentle stir before serving—it will recombine beautifully. Next time, try using full-fat dairy products (they are more stable) and keep an eye on the bake time.
Q: Can I freeze Garlic Bread Dip?
A: I don’t recommend freezing the baked or unbaked dip. The dairy and mayo-based mixture can separate and become grainy when thawed and reheated. It’s best enjoyed fresh!
Q: What if I don’t have a small baking dish?
A> Get creative! A cast-iron skillet, a standard loaf pan, or even individual ramekins work great. Just adjust the bake time—smaller vessels will cook faster, so check them around the 15-minute mark.
A Quick Nutritional Glance
Let’s be real: this is a celebratory, indulgent, shareable dip meant for enjoyment! The following information is an estimate per serving (based on 8 servings), calculated using standard ingredients. Remember, variations and specific brand choices will alter the numbers.
- Calories: ~240
- Protein: 7g
- Total Fat: 21g
- Saturated Fat: 10g
- Carbohydrates: 4g
- Sugar: 1g
- Sodium: ~320mg
To balance things out, I always recommend serving with plenty of fresh vegetable dippers alongside the bread. This adds fiber, vitamins, and a refreshing contrast to the rich, creamy dip, making the whole experience more satisfying and balanced.
Final Thoughts from My Kitchen to Yours
And there you have it, my friends—the full story of my beloved Garlic Bread Dip. More than just a recipe, it’s a formula for fun, a catalyst for connection, and proof that the best dishes often come from a little improvisation and a lot of love. It’s humble in its ingredients but extraordinary in its ability to bring people together.
I hope you make this for your next gathering, or better yet, just for yourself on a night you deserve something wonderfully cheesy. Don’t forget to tag me @TastyChow if you share a photo—nothing makes me happier than seeing your kitchen creations!
Now, go forth, bake that dip, and get ready for the compliments to roll in. Until next time, keep your spoons wooden, your cheese plentiful, and your kitchen full of joy.
With love and a full belly,
Emily