Introduction
Hey there, friend! Let’s talk about that moment. You know the one. It’s 3 p.m., your energy is doing a nosedive, and your stomach starts a low grumble that says, “Feed me something good, but please, for the love of all that is holy, make it quick and don’t make me feel guilty about it.” Or maybe you’re rushing out the door after a workout, needing some real fuel but staring into an empty fridge. I’ve been there more times than I can count, usually with a smudge of flour on my cheek and a pan in the sink.
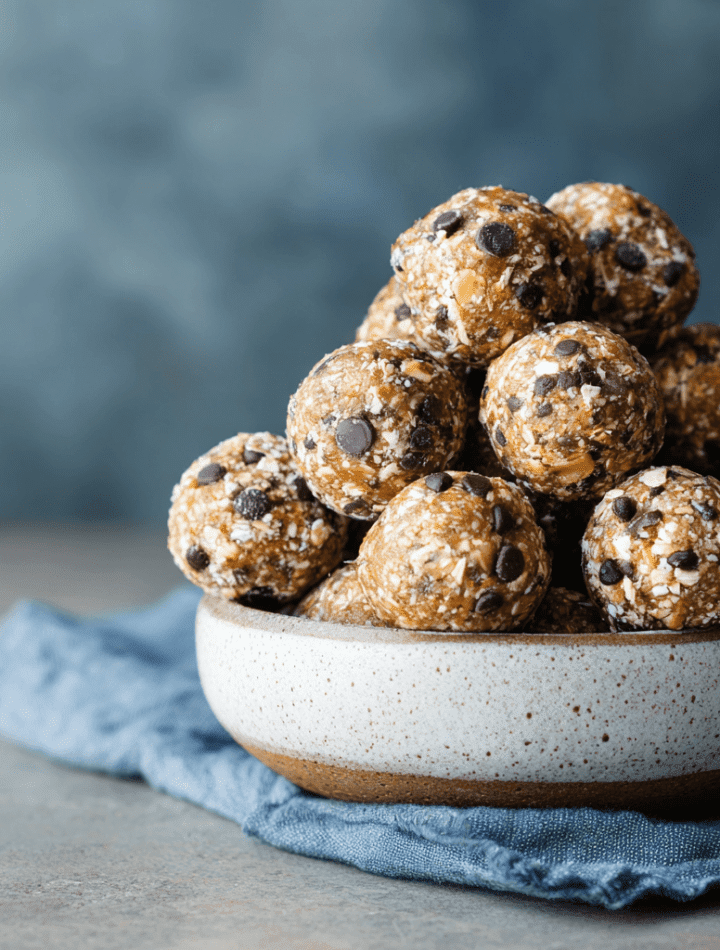
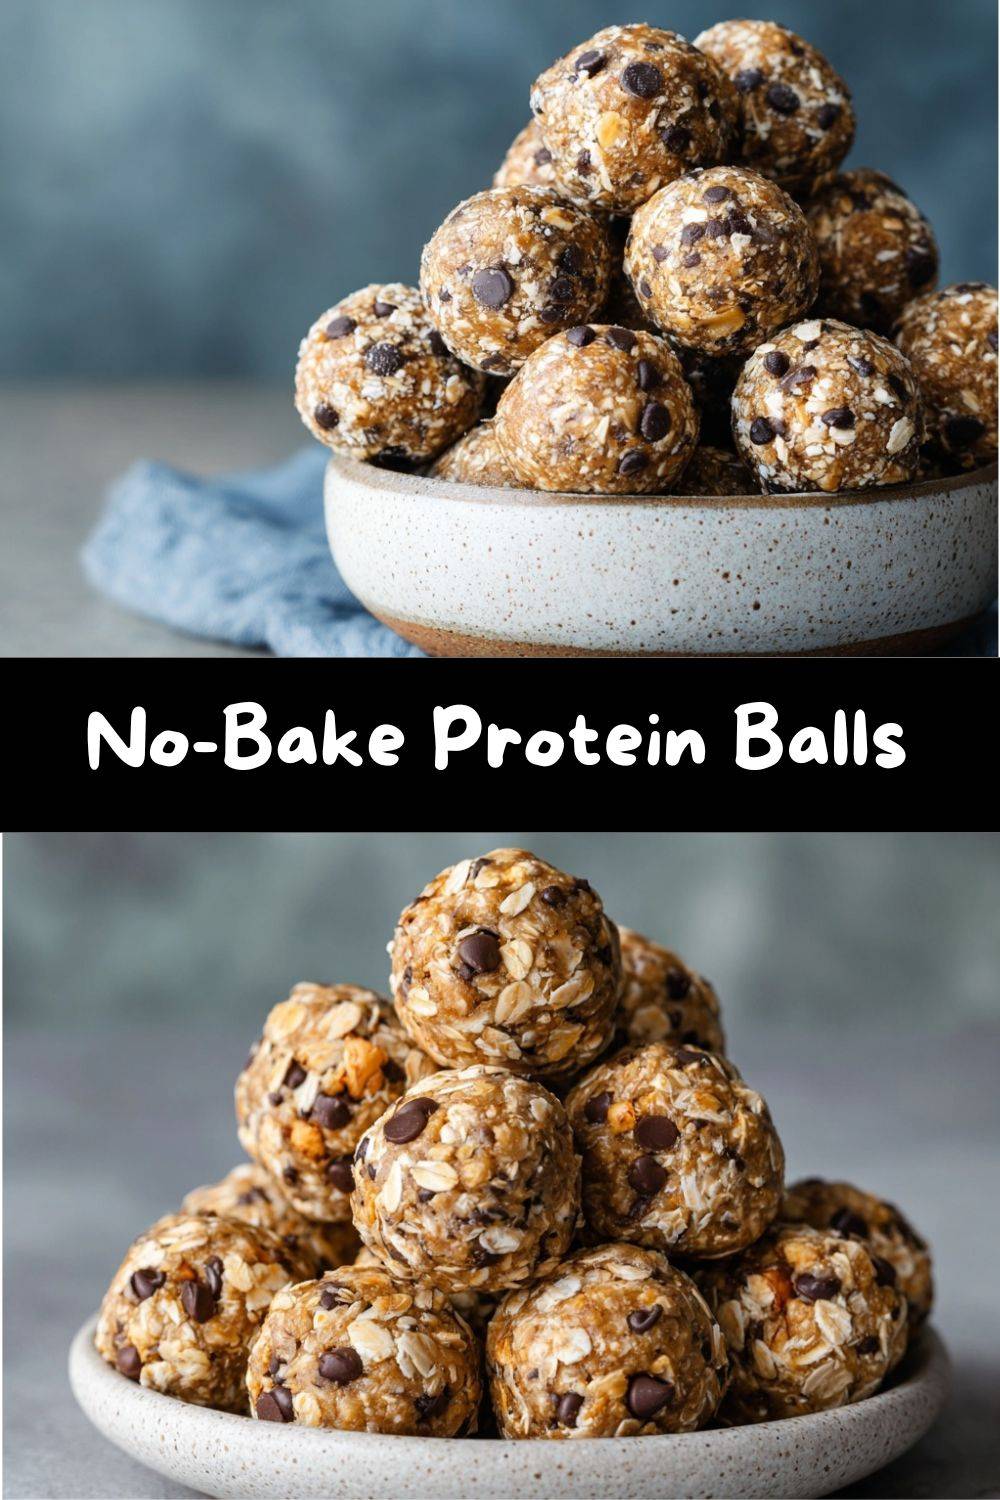
That’s exactly why I’m so utterly, completely in love with these No-Bake Protein Balls. They are the kitchen superhero we all need. Imagine a snack that requires zero oven time, comes together in one bowl, and somehow manages to be powerfully nutritious, deliciously satisfying, and tastes like a treat. That’s the magic we’re making today.
This recipe is my pantry’s pride and joy. It’s built on a foundation of simple, whole ingredients—rolled oats for lasting energy, creamy nut butter for healthy fats and that “can’t-stop-eating-it” quality, a touch of natural sweetness, and of course, a scoop of protein powder to turn a simple bite into a powerhouse. Whether you’re packing lunches, prepping for a busy week, or just need a wholesome something to satisfy your sweet tooth, these little balls of joy have got your back. So, tie on your favorite apron (the messy one is fine, I promise), and let’s roll up our sleeves—literally. It’s time to make snacking smart, simple, and seriously tasty.
My First (Slightly Crumbly) Protein Ball Adventure
I have to confess, my relationship with protein powder didn’t start in a gourmet kitchen. It started in my best friend Sam’s tiny apartment kitchen about a decade ago. We’d just gotten super into hiking, and after a long trail, we’d be ravenous. One day, Sam pulled out a bag of what looked like… slightly misshapen brown truffles? “Homemade protein bites!” she announced proudly. They were, to be kind, a bit dry. You had to take a sip of water with every bite. But the *idea* was genius.
We spent the whole afternoon tinkering. We added more peanut butter, then too much honey and they wouldn’t set. We tried blending the oats, we left them whole. We laughed until we cried when one batch turned into a single, sticky brick in the bowl. That messy, fun, experimental afternoon is the heart of this recipe. It taught me that the best kitchen creations aren’t about perfection; they’re about adaptability, taste, and the joy of making something that genuinely fuels you and your people. Every time I make these now, I think of Sam, our hiking boots by the door, and that delicious feeling of figuring it out together.
What You’ll Need (And Why!)
Here’s your shopping list. The beauty of this recipe is its flexibility, so I’ve included my favorite tips and swaps right alongside.
- 1 cup Rolled Oats (old-fashioned oats): This is our sturdy, fibrous base. They give the balls heart and texture. Chef’s Insight: Don’t use quick oats if you can avoid it—they can get a bit mushy. For a smoother texture, you can pulse the rolled oats in a food processor a few times!
- 1/2 cup Nut Butter: The glue that holds our universe together! Peanut butter is my classic go-to for that nostalgic flavor, but almond butter or cashew butter are fantastic, too. Pro Tip: Use natural, drippy nut butter. If yours is super stiff or cold, warm it gently for 10 seconds in the microwave to make mixing a breeze.
- 1/4 cup Honey or Maple Syrup: Our natural sweetener and second source of stickiness. Honey gives a floral depth, while maple syrup offers a warm, caramelly vibe and keeps things vegan. Substitution Alert: Agave nectar works in a pinch, but reduce by a teaspoon as it’s often sweeter.
- 1/3 cup Protein Powder: The star of the show! This is where you customize. Vanilla or chocolate whey protein are classic and reliable. For plant-based, I love a vanilla pea or brown rice protein blend. Chef’s Warning: Some protein powders are “thirstier” than others. This is why we have the milk on standby!
- 1/4 cup Mini Chocolate Chips or Chopped Nuts (optional but highly encouraged): The fun mix-ins! Mini chips distribute better, but regular chopped dark chocolate is a decadent move. Chopped almonds, walnuts, or pepitas add a wonderful crunch.
- 1–2 tbsp Milk (any kind): Your recipe rescuer! Dairy milk, almond milk, oat milk—whatever you have. This is the variable that ensures the perfect, rollable consistency. We add it “as needed,” one tablespoon at a time.
Emily’s Kitchen Whisper: Feeling fancy? Add a pinch of flaky sea salt on top of the rolled balls before chilling. It creates an incredible sweet-salty contrast that will make you look like a total snack genius.
Let’s Make Them! Step-by-Step
Ready? This is the easiest “cooking” you’ll do all week. I’m walking you through each step with all my favorite hacks.
- The Big Mix. Grab a medium-sized mixing bowl—no need for a fancy stand mixer here. Dump in your rolled oats, protein powder, and any dry mix-ins like chocolate chips or nuts. Give this a good stir with a wooden spoon or spatula. This evenly distributes the protein powder so you don’t get a clump of it in one ball. Chef Hack: If your protein powder is particularly lumpy, sift it into the bowl with the oats. It’s a tiny extra step that guarantees silky-smooth results.
- Bring in the Wet Team. Now, add your nut butter and honey/maple syrup right on top of the dry ingredients. Here’s where the arm workout begins! Start stirring. At first, it will seem impossible—like there’s too much dry stuff. Keep faith! As you stir and press, the nut butter and honey will slowly incorporate and start to form a thick, crumbly dough. This usually takes a good minute or two of dedicated mixing.
- The Consistency Check (The Most Important Step!). Stop mixing and grab a small handful of the dough. Squeeze it tightly in your palm. Does it hold together easily when you press it? Perfect! If it’s dry and crumbly and won’t hold a shape, it’s time for the milk. Add ONE tablespoon of milk and mix thoroughly. Check again. Repeat with the second tablespoon only if needed. The goal is a pliable dough that’s slightly sticky but not wet. Watch Out! Over-add the liquid and your balls will be too soft. We can fix it by adding a few more oats, but it’s best to go slow.
- Rolling Time! Line a plate or a small baking sheet with parchment paper. Scoop out about 1 tablespoon of dough. I love using a small cookie scoop (about 1-inch diameter) for perfectly uniform balls, but your hands work great too! Roll the dough firmly between your palms to form a smooth ball. If the dough is sticking to your hands, a tiny dab of neutral oil or water on your palms solves everything. Place each ball on the prepared tray.
- The Chill Pill. Pop the tray into the refrigerator for at least 20-30 minutes. This step is non-negotiable—it allows the oats to soften a bit, the fats in the nut butter to firm up, and transforms your sticky dough into perfectly firm, portable protein balls. Patience, grasshopper!
Serving Up Your Snack Stash
You did it! Now, how to enjoy these little gems? Obviously, grabbing one straight from the container while standing in front of the open fridge is a perfectly valid (and my personal favorite) method. But let’s get creative!
For a post-workout recharge, pair two balls with a piece of fruit like a banana or apple slices. The combo of protein and complex carbs is *chef’s kiss* for recovery. Pack them in a lunchbox for a guaranteed afternoon upgrade—they’re a hit with kids and adults alike. Heading out for a long hike or road trip? Toss a few in a reusable bag; they’re the ultimate travel-friendly fuel.
Want to make them feel extra special? Present them on a cute plate at your next book club or coffee catch-up. Sprinkle a few extra mini chips on top for a “chef-y” touch. They’re deceptively impressive!
Mix It Up! Flavor Variations
The basic formula is your canvas. Here are a few of my favorite ways to paint outside the lines:
- Chocolate-Covered Cherry: Use chocolate protein powder, add 2 tbsp of dried tart cherries (chopped) and 1 tbsp of cacao nibs instead of chocolate chips. A dash of almond extract takes it over the top.
- Cookie Dough Dream: Use vanilla protein powder. Add 2 tbsp of ground flaxseed for an omega-3 boost and swap the milk for 1 tbsp of vanilla extract. Fold in white chocolate chips and a sprinkle of mini chocolate chips.
- Tropical Escape: Use vanilla or unflavored plant-based protein. Swap the nut butter for coconut butter (warmed until runny), and add ¼ cup of unsweetened shredded coconut and 2 tbsp of chopped dried mango.
- Salty Peanut Butter Cup: Stick with peanut butter and chocolate protein powder. Roll the formed balls in a mix of crushed, salted pretzel bits for an insane sweet-salty-crunchy situation.
- Seed Power (Nut-Free): For a school-safe or nut-free version, use sunflower seed butter (just know it may turn the dough slightly green over time—totally harmless!). Use maple syrup, and add seeds like pumpkin (pepitas) and chia.
Chef Emily’s Final Notes
This recipe has evolved more than any other on Tasty Chow. From those first crumbly batches with Sam to the perfectly balanced version you see today, it’s been a lab of love. I’ve learned that the brand of protein powder makes the biggest difference in moisture, so never skip the “consistency check” step. I also keep a bag of these in my freezer for when a chocolate craving strikes—they thaw in minutes and taste like frozen cookie dough bites.
The best part? These protein balls have sparked more conversations with you all than almost any other recipe. I love seeing your photos and hearing how you made them your own—whether you added espresso powder for a kick or rolled them in sprinkles for your kid’s birthday. That’s what this kitchen community is all about. Keep sharing your chow!
FAQs & Kitchen Rescue
Q: My mixture is too wet and sticky! Help!
A: No panic! This happens. Simply add more dry ingredients a tablespoon at a time. More rolled oats are the first fix. A little extra protein powder can also help soak up moisture. Mix, then let it sit for 5 minutes before checking consistency again.
Q: Can I make these without protein powder?
A: Absolutely! For a “energy ball” version, just omit the protein powder. You’ll likely need to reduce the milk/liquid significantly. To boost nutrition, you could add 2-3 tablespoons of ground flax or chia seed in its place.
Q: Why won’t my balls stay together? They’re crumbly.
A: This means your mixture is too dry. The nut butter might have been too stiff, or your protein powder was extra absorbent. Drizzle in another half tablespoon of honey or maple syrup AND a teaspoon of milk. Mix thoroughly and try the squeeze test again. The binding agents (nut butter & honey) just need a little boost.
Q: How long do they really last?
A: In an airtight container in the fridge, they are perfect for 1-2 weeks. For longer storage, freeze them on a tray, then transfer to a freezer bag for up to 3 months. They thaw quickly, or you can eat them slightly frozen for a fun, firm texture.
Nutritional Info (A General Guide)
Please remember: This is an estimate based on the base recipe with peanut butter, honey, vanilla whey protein, and no optional add-ins. Your exact numbers will vary based on your specific ingredients and brands.
Yield: About 14 balls (1-inch each)
Serving Size: 1 ball
Estimated Per Serving:
Calories: ~110 | Total Fat: 6g | Saturated Fat: 1g | Carbohydrates: 10g | Dietary Fiber: 1g | Total Sugars: 5g (primarily natural from honey) | Protein: 5-7g
These little powerhouses provide a balanced mix of complex carbs (oats), healthy fats (nut butter), and protein to help keep blood sugar stable and keep you feeling full and satisfied. They’re a much smarter choice than a processed snack bar, and you control every single ingredient that goes in!
Final Thoughts
And there you have it—your new secret weapon for healthy, happy snacking. These No-Bake Protein Balls are proof that good food doesn’t have to be complicated. It’s about meeting yourself where you are—busy, hungry, and wanting something that actually works for real life.
These No-Bake Protein Balls are the kind of recipe that quietly changes your routine. They save you from the vending machine, the overpriced protein bar, and the “I’ll just skip eating” trap we’ve all fallen into. They’re forgiving, endlessly customizable, and built to fuel you without fuss. Once you make a batch, you’ll start keeping them on hand on purpose—in the fridge, in the freezer, tucked into bags before busy days—because they make life easier in the best possible way.
I hope you treat this recipe like a starting point, not a rulebook. Adjust the sweetness. Swap the nut butter. Add what you love. And when you find your perfect version, make it again and again. That’s how kitchen staples are born.
If you make them, I’d love to hear how you tweaked them—extra chocolate, espresso powder, sprinkles, all of it. This little recipe has room for everyone.
Here’s to smart snacking, messy bowls, and always having something good ready when hunger hits. 💛
—Emily