Rich and Creamy Chocolate Frosting: Your New Kitchen Secret Weapon
Hey friends! Let’s have a real talk for a second. How many times have you baked a gorgeous cake or a batch of perfect cupcakes, only to feel a tiny pang of disappointment when you crack open a tub of store-bought frosting? Don’t get me wrong, I’ve been there too. But that overly sweet, slightly artificial taste and that stiff, sometimes-grainy texture? We deserve better. Our creations deserve better.
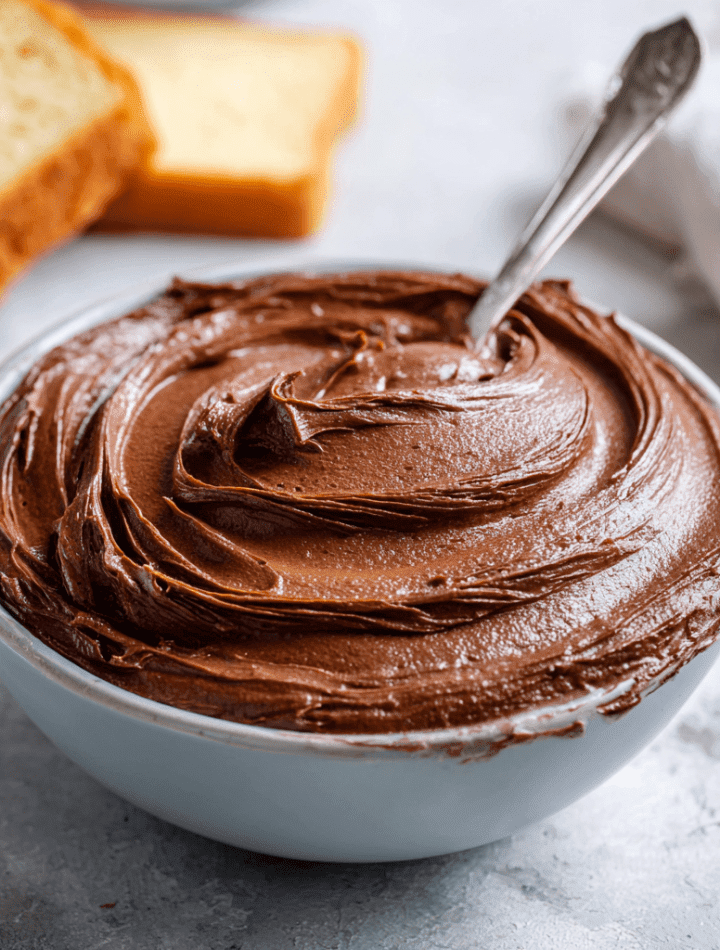
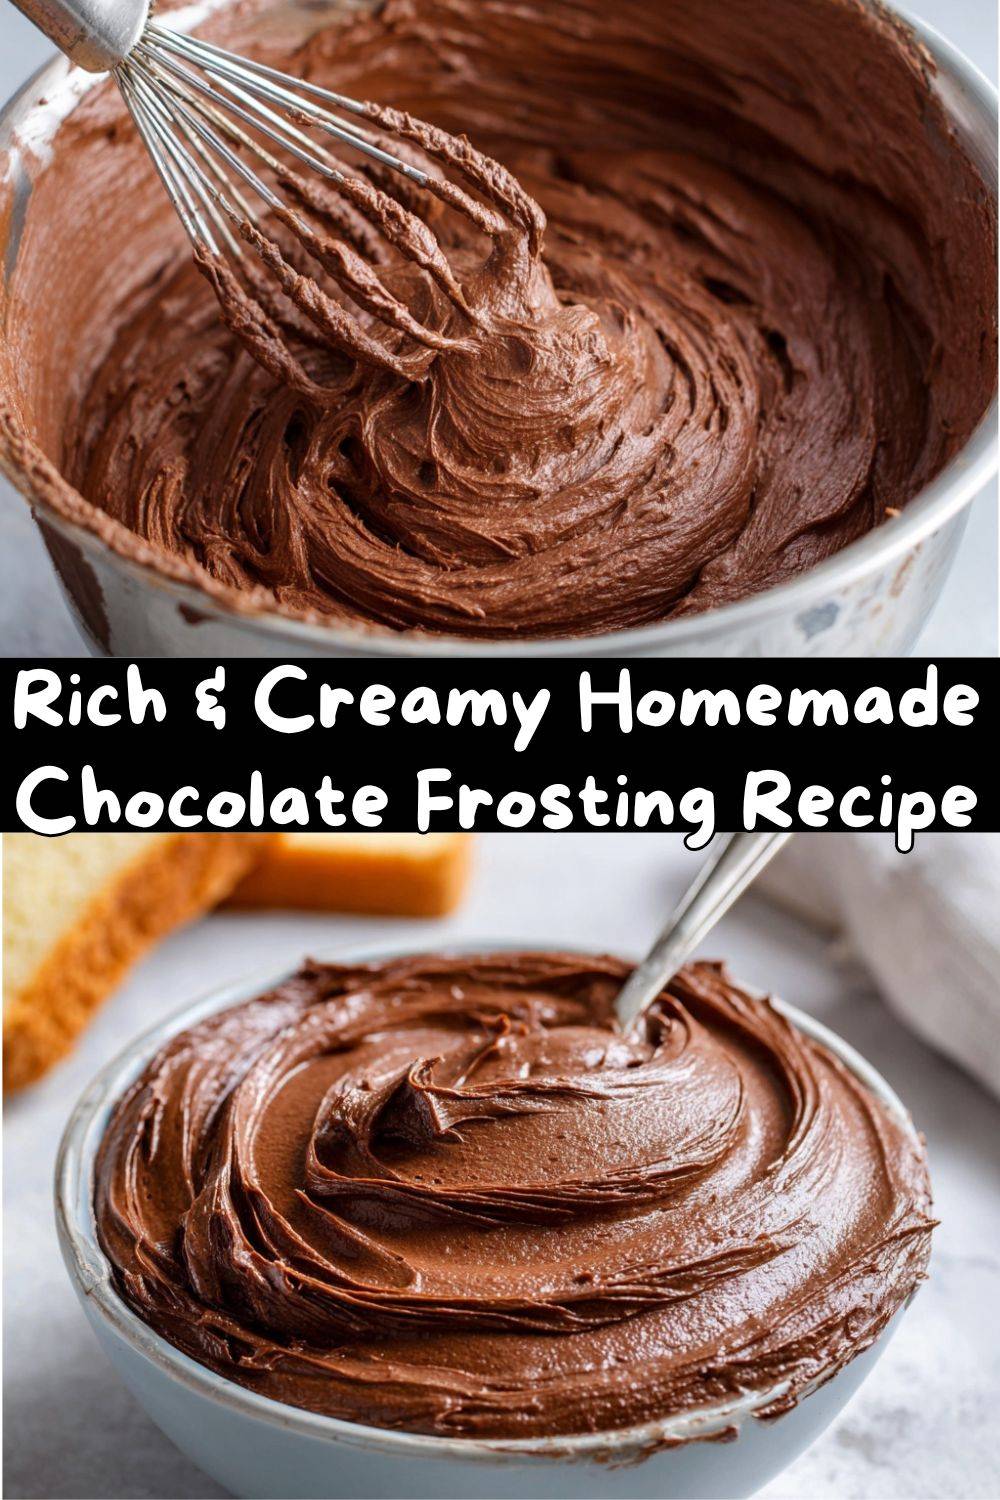
Today, I’m sharing the recipe that changed my baking game forever. This isn’t just any chocolate frosting. This is the Rich and Creamy Chocolate Frosting that dreams are made of. It’s the kind of frosting that makes people close their eyes and make that “Mmmmm” sound. It’s silky, deeply chocolatey without being cloyingly sweet, and it has a luxurious texture that spreads like a dream and pipes into beautiful, swoopy swirls that hold their shape.
The best part? It comes together in about 10 minutes with ingredients you probably already have in your pantry. This recipe is your one-way ticket to frosting freedom. Once you taste the magic that happens when real butter, quality cocoa, and a little love get whipped together, you’ll never look at a plastic tub the same way again. So grab your mixer, your favorite spatula (you know, the one that feels just right in your hand), and let’s make something incredibly, deliciously simple.
The Frosting That Started It All
This recipe takes me straight back to my grandma’s linoleum kitchen floor, where I’d sit cross-legged and watch her work her magic. She was the queen of “a little of this, a pinch of that” cooking, but her chocolate cake was a sacred, written-down ritual. The finale was always the frosting.
She’d let me “clean” the beaters, a reward that felt like winning the lottery. I remember the first time I truly tasted it—not just devoured it. It was rich, yes, but it had this almost grown-up depth, a hint of salt that made the chocolate sing, and it was so impossibly light. It wasn’t just a topping; it was the star. She’d always say, “Emily, good frosting should feel like a velvet cape for your cake.” That image stuck with me. Years later, in culinary school, while learning about emulsions and sugar crystallization, my mind kept drifting back to her simple bowl of fluffy, perfect chocolate bliss. This recipe is my homage to her—a slightly refined, foolproof version of that velvet cape. Every time I make it, I’m eight years old again, licking a beater with pure joy.
Gathering Your Frosting Toolkit
Here’s everything you need to create this masterpiece. I’ve added my little chef-y insights next to each one because knowing the why makes you a more confident baker!
- 1 cup (230g) unsalted butter, softened – This is the foundation. Using unsalted butter lets you control the salt level perfectly. “Softened” is key! It should give gently when poked but not be oily or melted. Think “cool room temperature.” Pro tip: if you forget to take it out, cut it into tablespoons and give it a quick 10-second blast in the microwave, flipping once.
- 3 1/2 cups (440g) powdered sugar – Also called icing sugar or confectioners’ sugar. The fine texture dissolves seamlessly. Always sift it! I know it’s an extra step, but it prevents lumps and makes for an ultra-silky frosting. Trust me on this.
- 1/2 cup (45g) unsweetened cocoa powder – This is where your flavor personality shines. Standard unsweetened cocoa powder works great. For a deeper, darker flavor, use Dutch-processed cocoa. It’s less acidic and gives an intense chocolate flavor and darker color.
- 1/2 tsp salt – The secret weapon! Salt cuts the sweetness and amplifies the chocolate flavor exponentially. Don’t skip it. I use fine sea salt.
- 2 tsp vanilla extract – Use the real stuff! Pure vanilla extract adds a warm, complex background note that complements the chocolate beautifully.
- 1/4 cup (60ml) milk or heavy cream – This is your texture tuner. Heavy cream will give you a slightly richer, more decadent mouthfeel, while milk keeps it a tad lighter. You likely won’t need the full amount, so add slowly!
Let’s Make Some Magic: Step-by-Step
Okay, team. Let’s do this. Clear a space, plug in your mixer (hand mixer or stand mixer both work beautifully), and let’s transform these simple ingredients into gold.
- Cream the Butter Like You Mean It: In your large mixing bowl, beat the softened butter on medium speed for a solid 2-3 minutes. We’re not just mixing here; we’re aerating. You’ll see it turn from yellow to a much paler, almost whitish color, and it will get wonderfully fluffy. This step incorporates air, which is what gives our frosting its light, whipped texture. Don’t rush this!
- The Gentle Dry Ingredient Merge: Here’s a chef hack to avoid a powdered sugar snowstorm: turn your mixer off. Sift in your powdered sugar and cocoa powder right over the bowl. Add the salt. Now, place a clean kitchen towel over the top of your mixer (hold it on!) and start it on the lowest possible setting. Mix just until the dry ingredients are incorporated and look crumbly. This keeps the cloud of sugar in the bowl and not all over you and your kitchen.
- Bringing It All Together: Add the vanilla and 2 tablespoons of your milk or cream. Turn the mixer up to medium-high and let it rip for 2-3 minutes. Stop and scrape down the sides and bottom of the bowl with a spatula. This is crucial for even mixing. Now, assess the texture. Is it too thick? Add more liquid, just one tablespoon at a time, beating for 30 seconds after each addition, until it’s perfect.
- The Final Whip: Once you’ve reached your desired consistency—spreadable but still holding peaks—give it one last, vigorous 1-minute beat on medium-high. This final whipping makes it incredibly smooth, light, and voluminous. You’ll hear the sound change to a softer “whirr” and see it become gorgeously glossy.
Consistency Check: For spreading: it should mound on a spatula but slide off easily. For piping: it should hold a sharp peak when you lift the beater. Too thick? Add liquid, a teaspoon at a time. Too thin? Add a couple more tablespoons of sifted powdered sugar.
How to Serve Your Chocolate Masterpiece
This frosting is your versatile best friend! Here’s how to let it shine:
For a classic two-layer cake, let your cakes cool completely. Dollop a generous amount of frosting on the first layer and spread it to the edges with an offset spatula. Gently place the second layer on top. Apply a thin “crumb coat” over the entire cake, chill for 15 minutes, then pile on the rest of the frosting for a smooth or swoopy finish.
For cupcakes, load the frosting into a piping bag fitted with a large star tip (like a 1M). Start at the outer edge and pipe a swirling mound towards the center for that beautiful bakery-style look. No piping bag? A zip-top bag with the corner snipped off works, or just use a spoon or knife for a rustic, adorable swirl.
Don’t stop there! This frosting is incredible on brownies (spread it on after they cool), as a dip for strawberries or pretzels, or even as a filling for whoopie pies or sandwich cookies. Get creative!
Make It Your Own: Flavor Twists & Swaps
Once you’ve mastered the classic, the playground is open! Here are a few of my favorite riffs:
- Mocha Magic: Dissolve 1-2 tablespoons of instant espresso powder into the vanilla and milk before adding it. It creates an incredible coffee-chocolate depth that’s irresistible for adults.
- Mint Chocolate Chip: Replace the vanilla with 1 tsp pure peppermint extract. Fold in 1/2 cup of finely chopped dark chocolate or mini chocolate chips at the end for texture.
- Orange Chocolate Dream: Replace the vanilla with 1 tsp orange extract. For a more subtle flavor, use the vanilla but add 1 tablespoon of finely grated orange zest.
- Salted Caramel Swirl: Make the frosting as directed. Before frosting your cake, drizzle the top with homemade or a good-quality store-bought salted caramel sauce and use a toothpick to swirl it in marbled patterns.
- Dairy-Free/Vegan: Use an equal amount of high-quality plant-based butter sticks (the kind made for baking) and plain, unsweetened almond or oat milk. The result is shockingly good!
Chef Emily’s Notebook
This recipe has been my ride-or-die for over a decade, but it’s evolved. I once, in a frantic pinch, used melted butter. Let’s just say I created a delicious chocolate soup that was fantastic over ice cream but a disaster for a cake. Lesson learned: softened butter is non-negotiable for structure!
I also used to be scared of adding the full amount of salt. But one day I did it, and it was a revelation. It transformed the frosting from “just sweet” to “complex and craveable.” My grandma knew what she was doing. This frosting freezes beautifully, too. I often make a double batch, freeze half in a container, and thaw it overnight in the fridge for a future baking emergency (or spontaneous Tuesday cupcake craving).
Your Frosting Questions, Answered!
Q: My frosting is too runny! What happened?
A: Don’t panic! This usually means the butter was too soft or you added a bit too much liquid. Pop the whole bowl into the fridge for 20-30 minutes to firm up the butter, then re-whip. If it’s still soft, beat in a few more tablespoons of sifted powdered sugar until it thickens.
Q: Why is my frosting grainy?
A: Graininess comes from undissolved powdered sugar. The fix is two-fold for next time: 1) Always sift your sugar and cocoa. 2) Make sure you beat it for the full time after adding the liquid. The extended beating helps dissolve the sugar completely. For this batch, sometimes just beating it for an extra 2-3 minutes can help smooth it out.
Q: Can I make this ahead of time?
A: Absolutely! Make it up to 3 days ahead. Store it in an airtight container in the fridge. When ready to use, let it come to room temperature for about an hour, then re-whip it in the mixer for a minute or two to bring back its fluffy texture.
Q: What’s the best way to color this chocolate frosting?
A> Because it’s dark, vibrant colors are tricky. For pastels or lighter colors, you’ll need a lot of gel food coloring. For deep colors (like red for a red velvet cake), use a specialty “no-taste” red gel, as you’ll need a significant amount.
A Quick Nutritional Glance
Let’s be real—this is a decadent, celebratory treat. A standard 2-tablespoon serving (enough for a generous cupcake swirl) has approximately: 160 calories, 10g fat (6g saturated), 18g carbohydrates, 16g sugar, and 1g protein. The primary contributors are the butter and powdered sugar. While it’s not an everyday health food, it’s a real food, made with simple, recognizable ingredients. You control what goes in, unlike many store-bought versions which can contain hydrogenated oils and preservatives. Enjoy it mindfully as part of a delicious homemade dessert!
You’ve Got This!
Look at you, ready to conquer the world of homemade frosting! I hope this recipe gives you the same confidence and joy it’s given me. Remember, baking is about the experience—the feel of the butter creaming, the smell of the cocoa, the satisfaction of creating something beautiful and delicious with your own two hands. This frosting is more than a recipe; it’s a tool for making memories, for celebrating small wins, and for sharing something made with genuine love.
So go forth and frost! Tag me on social @TastyChow if you make it—I love seeing your creations. Now, grab a spoon (or a beater… I won’t tell), taste that velvety perfection, and get ready for the compliments to roll in. Happy baking, my friend!
— Emily 🧑🍳❤️