Easy Homemade Aioli – Creamy Garlic Perfection in Minutes
If you’ve ever bought a jar of garlic aioli from the store and thought, “This is good… but I wish it tasted more… alive,” then you, my friend, are in for the happiest little kitchen revelation. Real aioli is like mayo’s fancier, more sophisticated, wildly flavorful cousin who just got back from a summer in the Mediterranean. It’s rich, luxuriously creamy, and packed with a punch of fresh garlic that store-bought versions can only dream of imitating.
The best part? It’s shockingly easy to make. We’re talking 5 ingredients, 10 minutes, and one bowl. Whether you’re dunking crispy golden fries, slathering it on a juicy burger, dolloping it over grilled asparagus, or using it as a secret sandwich spread, this aioli transforms the everyday into something special. It’s a drizzle of gourmet confidence that says, “Yeah, I made that.” So tie on your apron (the messy one is perfect), grab a whisk, and let’s make something deliciously simple together.
The Little Bowl of Big Confidence
My love affair with aioli started not in a fancy restaurant, but in a slightly chaotic culinary school kitchen. I was a ball of nerves, convinced everyone else had innate, magical cooking talents I lacked. Our task one week was emulsions: the science of convincing oil and water (in the form of lemon juice or vinegar) to become best friends and create something creamy.
I was whisking my heart out, but my first attempt at hollandaise sauce looked more like sad, scrambled eggs. Defeated, I stared at the ingredients for aioli—egg yolk, garlic, lemon, oil. “Same principle,” my instructor said, leaning over my station. “But simpler. Start slower than you think you need to. Trust your arm.”
I took a breath. I minced the garlic until it was almost a paste. I drizzled the oil in a thread-like stream, my arm burning as I whisked in a steady, rhythmic circle. And then it happened. The liquidy mess in my bowl suddenly grabbed onto the oil, thickening into a pale, glorious, creamy cloud. I seasoned it, tasted it, and my eyes literally widened. The garlic was bright and sharp, the lemon sang through, and the texture was pure silk. That little bowl was more than a sauce; it was my first real “I can do this” moment in the kitchen. I’ve been whisking up confidence (and aioli) ever since.
Your Aioli All-Stars: A Simple Cast of Characters
Here’s the beautiful part: greatness doesn’t need a crowd. Each of these ingredients plays a starring role. Let’s meet the team:
- 1 large egg yolk, at room temperature: This is our MVP, the emulsifier. Room temp is key! It blends more easily and creates a more stable emulsion than a cold yolk straight from the fridge. Chef’s Insight: Save the white for a morning omelet or a cocktail!
- 1 teaspoon Dijon mustard: This is our clever co-star. It adds a subtle tangy depth, but its real job is to help stabilize the emulsion, giving our aioli a foolproof head start. Substitution Tip: If you only have yellow mustard, use it, but know the flavor will be more pronounced.
- 1 tablespoon fresh lemon juice: Please, for the love of flavor, use a fresh lemon! That bottled stuff just can’t compete with the bright, sunny acidity of the real deal. This is our “water” element and flavor brightener.
- 1 garlic clove, finely minced or grated: The heart and soul of the operation! Mincing it super fine or grating it on a microplane ensures its flavor distributes evenly and mellows perfectly into the creaminess. No one wants a huge, sharp chunk of raw garlic.
- ½ cup neutral oil (like canola, grapeseed, or a light olive oil): This builds our body. A neutral oil lets the garlic and lemon shine. Using a strong extra-virgin olive oil can be overpowering and bitter. Chef’s Twist: For a more traditional flavor, use ¼ cup light olive oil and ¼ cup a neutral oil.
- Salt to taste: The magic dust that wakes up all the other flavors. Start with a pinch, whisk, taste, and go from there.
Let’s Make Magic: Your Foolproof, Step-by-Step Guide
Ready? This is where the fun happens. I’ll walk you through every step with my favorite kitchen hacks.
- Prep Your Stage. Find a medium bowl that’s stable (a damp paper towel underneath prevents slipping!). Have all your ingredients measured and within arm’s reach. This is called *mise en place* (everything in its place), and it turns cooking from chaotic to calm.
- Build Your Flavor Base. Add the room-temp egg yolk, Dijon mustard, fresh lemon juice, and your super-finely minced garlic to the bowl. Take a moment to whisk these together until they’re completely smooth and homogenous. You’re already building flavor!
- The Slow Dance (Emulsification!). Here’s the only “tricky” part, and I promise it’s not tricky if you follow this rule: start slow, slower than you think. Pour your oil into a liquid measuring cup with a spout for control. While whisking the yolk mixture constantly and vigorously, begin drizzling in the oil—literally just a few drops at a time for the first 2-3 tablespoons. Chef’s Hack: If you have a helper, have them drizzle while you whisk. No helper? Tuck the bowl in the crook of your arm or use a damp towel to secure it.
- Pick Up the Pace. You’ll see the mixture begin to thicken and look creamy. This is the emulsion forming! Hooray! Now you can start adding the oil in a very thin, steady stream (but still not a glug!). Keep that whisk moving in a consistent motion.
- Victory Lap. Once all the oil is incorporated, you’ll have a beautiful, thick, luxurious sauce. Whisk in a big pinch of salt. Taste it! This is the best part. Need more garlic? Add a tiny bit more. More tang? A squeeze of lemon. You’re the boss of your aioli.
- The Lazy Genius Method. If whisking isn’t your thing, you can absolutely use an immersion blender or a small food processor. Put all ingredients except the oil in the cup/processor. Turn it on, and while it’s running, slowly drizzle in the oil through the feed tube. It’ll be done in 60 seconds. Magic!
How to Serve Your Garlicky Masterpiece
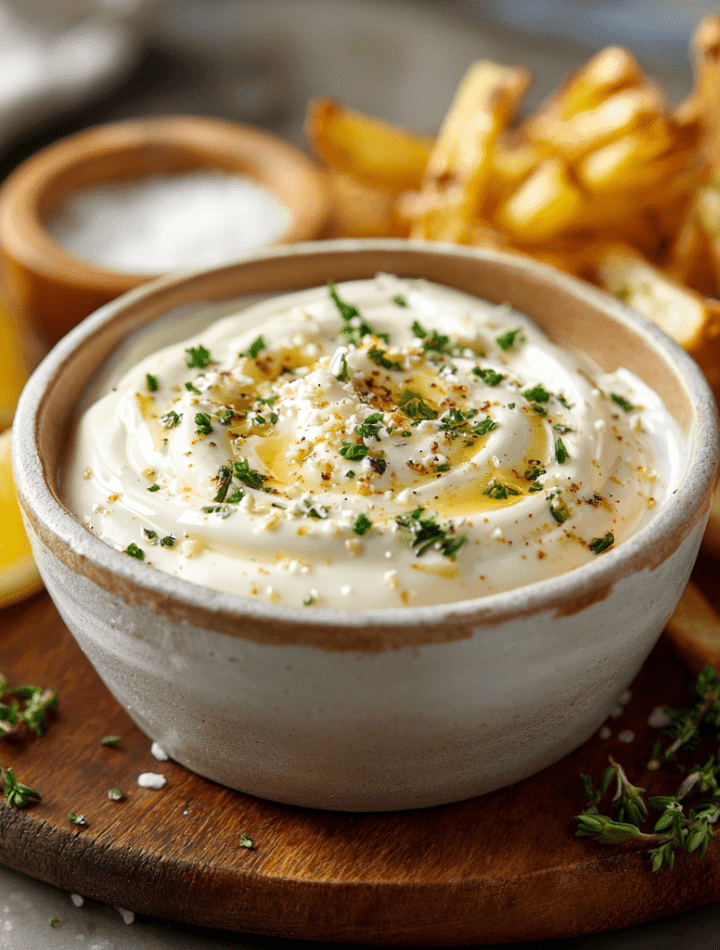
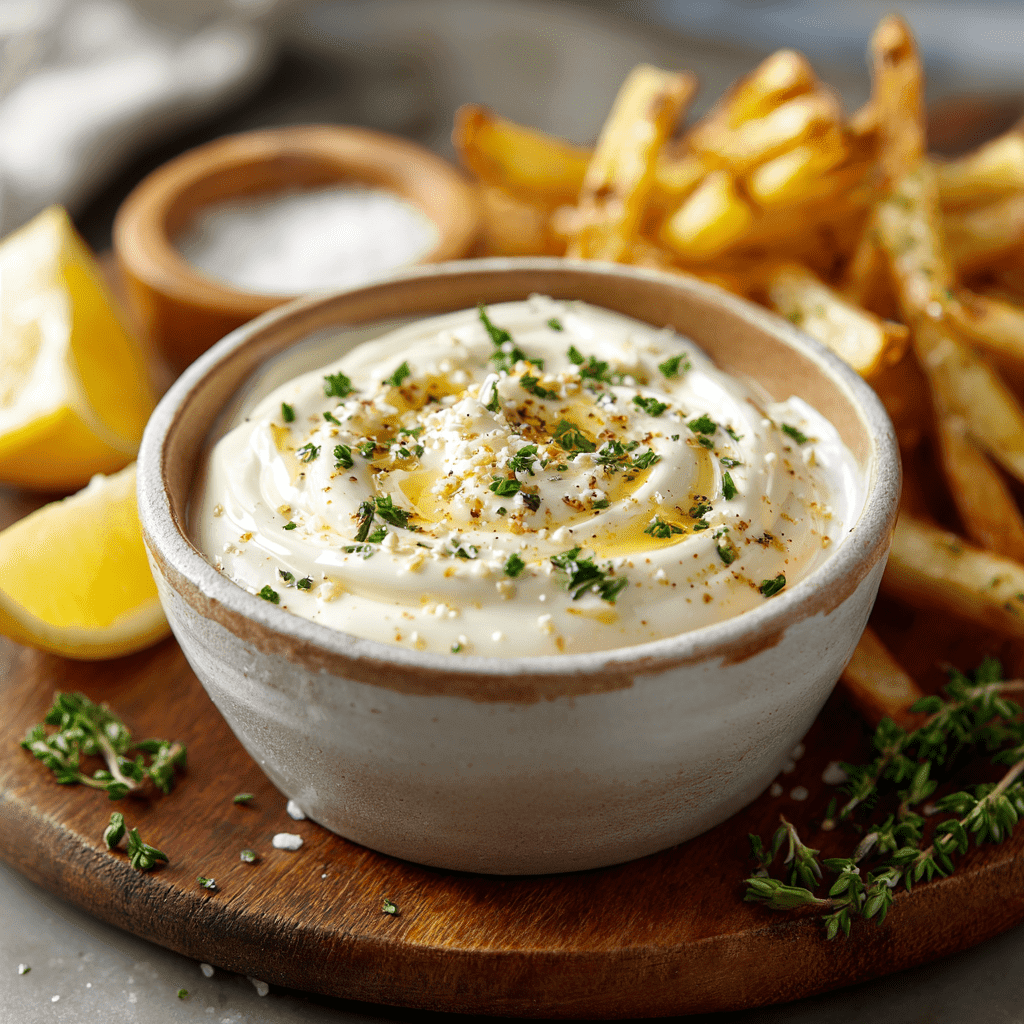
Now for the feast! Transfer your aioli to a cute little bowl and watch it become the star of the table.
- The Ultimate Dip: Serve with a mountain of hot, crispy french fries, sweet potato fries, baked potato wedges, or crispy roasted potatoes. It’s also incredible with artichoke leaves, steamed asparagus, or a platter of crunchy raw veggies.
- The Sandwich Savior: Throw out the mayo! Spread this on your burger buns, grilled chicken sandwiches, veggie burgers, or BLTs. It elevates a simple turkey and cheese sandwich to cafe-level status.
- The Seafood Soulmate: Dollop it on grilled shrimp, baked salmon, or fish tacos. It’s classic with crab cakes or a simple piece of pan-seared white fish.
- The Grill’s Best Friend: Use it as a finishing sauce for grilled vegetables (zucchini, bell peppers, corn on the cob), chicken, or steak. Thin it out with a tiny bit of water or lemon juice to make it drizzly.
Mix It Up! 5 Flavor Twists to Try
Once you’ve mastered the classic, the canvas is yours to paint! Here are some of my favorite riffs:
- Sun-Dried Tomato & Basil: Blend in 2 tablespoons of chopped oil-packed sun-dried tomatoes and 1 tablespoon of fresh chopped basil. Perfect for pasta salads or Italian sandwiches.
- Smoky Chipotle Lime: Add 1 finely chopped chipotle pepper in adobo sauce (plus a teaspoon of the sauce) and swap the lemon juice for lime juice. Hello, fish tacos and grilled corn!
- Herbes de Provence: Whisk in 1 teaspoon of herbes de Provence and an extra squeeze of lemon. This is pure French countryside elegance.
- Vegan Aioli: Replace the egg yolk with 2 tablespoons of aquafaba (the liquid from a can of chickpeas). The method is the same! It’s slightly less rich but still wonderfully creamy and delicious.
- Roasted Garlic Aioli: Swap the raw garlic for the creamy, sweet pulp of a whole head of roasted garlic. This creates a mellower, deeply sweet and nutty aioli that’s absolutely irresistible.
Chef Emily’s Notebook Scribbles
This recipe has been my faithful companion for years. I’ve made it for fancy dinner parties (served in fancy little spoons next to oysters) and for casual Friday nights (directly from the bowl with a bag of store-bought fries—no shame!). The biggest lesson? Don’t fear the emulsion. If it does break (it looks thin, greasy, and separated), don’t panic! All is not lost. Take a clean bowl, add a teaspoon of Dijon mustard or a fresh egg yolk, and slowly, slowly whisk your broken aioli into the new base. It will usually come right back together. Consider it a kitchen rite of passage!
Your Aioli Questions, Answered
Q: How long does homemade aioli last?
A: Because it contains a raw egg yolk, store it in a sealed container in the refrigerator and enjoy it within 3 days. Always give it a sniff test before using!
Q: My aioli is too thick! How can I thin it out?
A: Easy fix! Just whisk in a few drops of warm water, lemon juice, or even milk, one drop at a time, until it reaches your desired consistency.
Q: Can I use a whole egg instead of just the yolk?
A: You can, but the texture will be slightly less rich and a bit more on the mayo-like side. The yolk alone gives that luxurious, custardy mouthfeel we love in aioli.
Q: Is it safe to eat raw egg yolk?
A: There is always a minimal risk with consuming raw eggs. To mitigate this, use the freshest, highest-quality eggs you can find, preferably pasteurized eggs, which are treated to eliminate bacteria. If you’re pregnant, elderly, or have a compromised immune system, consider the vegan aquafaba variation.
Nutritional Information (Because We’re Curious!)
Let’s be real: aioli is a condiment, a flavor booster, not a main course. A little goes a long way! This nutritional info is an estimate per tablespoon. Since it’s an emulsion of oil and egg yolk, it is high in fat, but it’s primarily unsaturated fat from your chosen oil. It contains minimal carbs and a tiny bit of protein. The beauty of making it yourself is you control the quality of ingredients—no preservatives, stabilizers, or weird additives, just real food. Enjoy it mindfully as part of a delicious, balanced meal!
Per Tablespoon (approx): Calories: 90 | Fat: 10g | Saturated Fat: 1g | Carbohydrates: 0g | Protein: <1g
Final Thoughts from My Kitchen to Yours
And there you have it! Your passport to creamy, garlicky bliss. This recipe is more than just a sauce; it’s a reminder that the most satisfying kitchen wins often come from the simplest projects. It’s about touching your food, tasting as you go, and creating something vibrant and real.
I hope this aioli becomes your new secret weapon, your go-to for “wowing” without stressing, and your little kitchen confidence booster. Now, I’d love to hear from you! Did you try a fun variation? Did your family go crazy for it? Tag me on social @TastyChow or drop a comment below. Let’s keep the conversation and the deliciousness flowing.
Until next time, keep your whisks ready and your hearts (and bellies) full.
— Emily 🧄✨