Your New Favorite Easter Tradition Starts Here!
Hey friend! Emily here, waving at you from my flour-dusted kitchen. Is it just me, or does the air feel different when Easter rolls around? It’s all pastel colors, the hopeful scent of spring flowers, and that deep-down craving for a dessert that tastes like sunshine and celebration. But let’s be real: between hiding eggs, prepping a big dinner, and trying to keep the house somewhat presentable, who has hours to spend on a finicky, complicated treat?
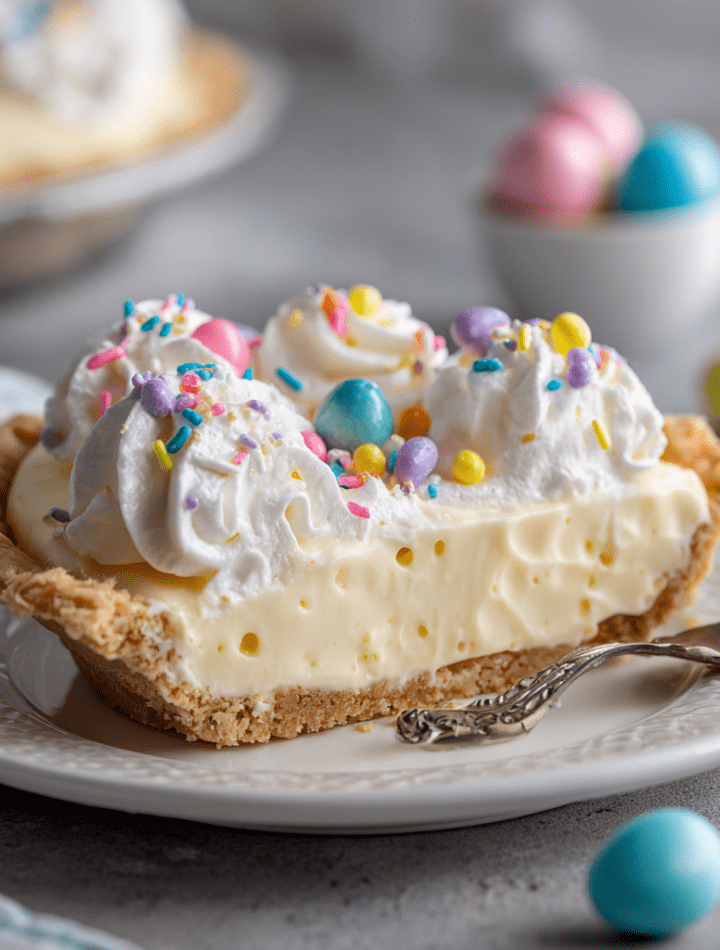
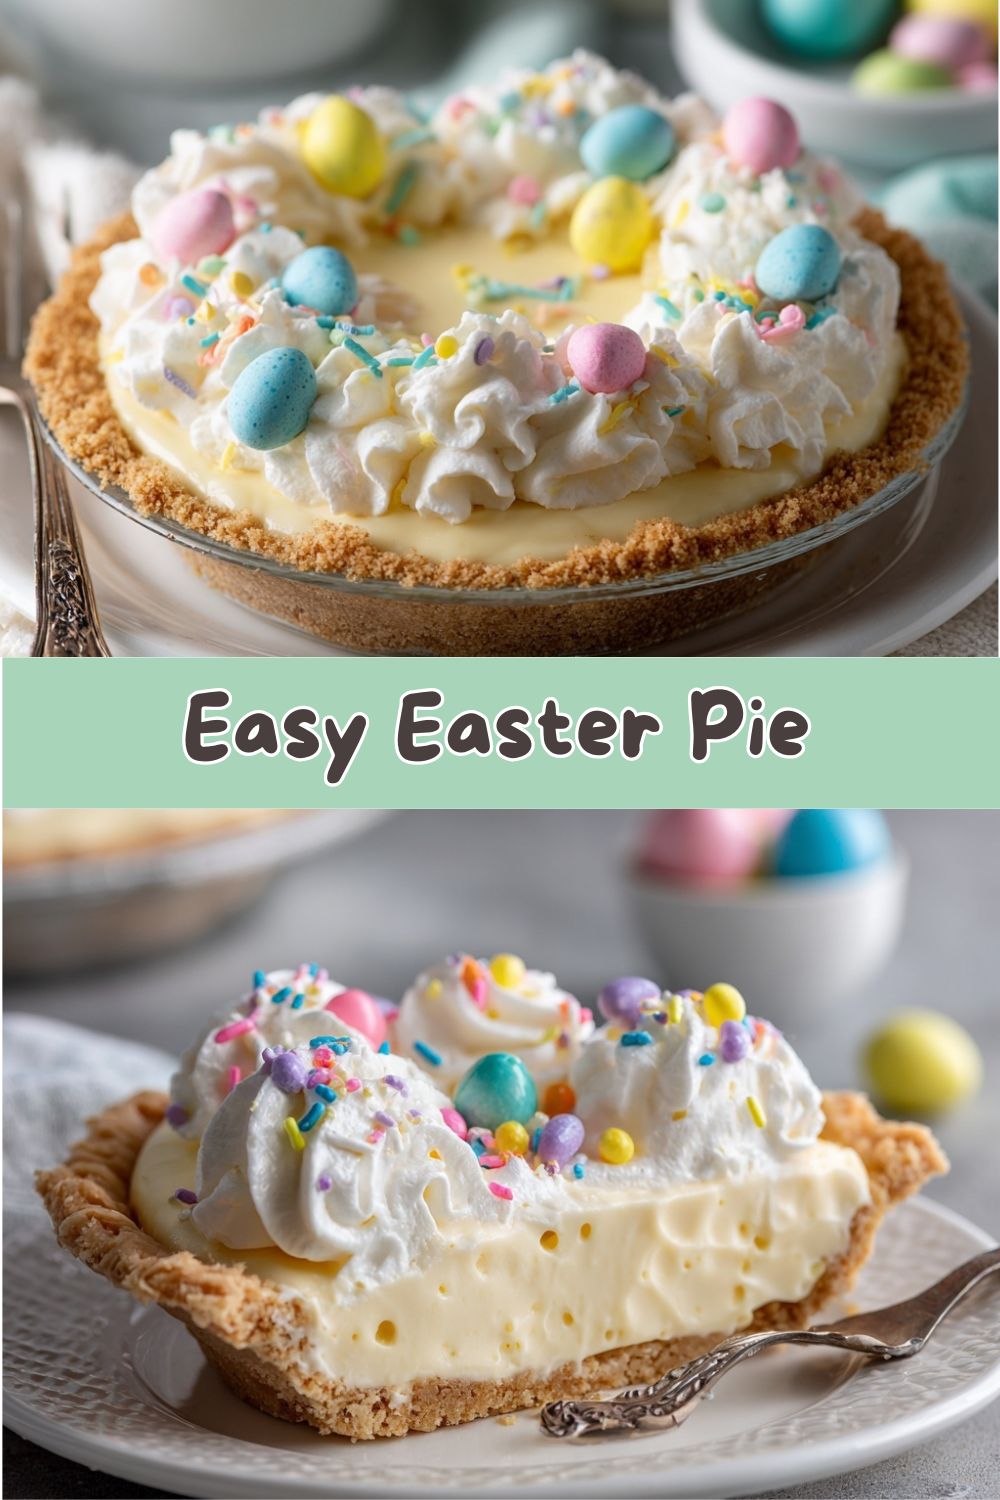
That’s exactly why I’m so crazy about this Easy Easter Pie. This isn’t just a recipe; it’s your secret weapon for a stress-free, show-stopping dessert. Imagine the creamiest, dreamiest filling you can think of, cradled in a buttery crust and topped with clouds of whipped cream and a sprinkle of springtime joy. It’s light enough after a big meal but special enough to make everyone at the table feel the holiday magic.
Best of all? We’re talking ten minutes of active work. No oven, no fuss, just pure, simple deliciousness. So, tie on your favorite apron (the cute one with the bunnies, obviously), and let’s make a dessert memory that’s as sweet and joyful as the season itself.
Sunny Sundays & Grandma’s Apron Strings
This pie always takes me right back to my Grandma Marion’s linoleum-floored kitchen. Easter was her holiday. She’d be a whirlwind of activity, but amidst the chaos, there was always a moment of calm reserved for “the cool pie.” She never called it by a fancy name—it was just “the cool pie.”
I’d pull a chair right up to the counter, my chin barely clearing the Formica, and watch her strong hands whisk that pudding mix with military precision. “Cold milk, Emmy-Lou,” she’d say, her voice a warm whisper. “The secret’s in the cold milk.” Then, with a magician’s flourish, she’d fold in the whipped topping, transforming the thick pudding into a cloud. My job was the sacred task of sprinkling the coconut on top, a duty I performed with the grave importance of a pastry chef decorating their masterpiece.
That pie wasn’t about complexity; it was about shared joy. It was the promise of something sweet waiting after the hunt, a creamy bite of togetherness. Every time I make it now, I feel that connection. It’s my way of passing on that same simple, sunny feeling. And honestly, I think that’s what the best holiday recipes are all about.
Gathering Your Sunshine Ingredients
Here’s the beautiful part: this pie comes together with just a handful of simple ingredients. Let’s break them down so you know exactly what role each one plays and how you can make it your own!
- 1 prepared pie crust (graham cracker or baked pastry crust): This is your foundation! A graham cracker crust brings a sweet, honey-kissed crunch that pairs perfectly with the creamy filling. For a more traditional feel, a blind-baked pastry crust is divine. Chef’s Insight: No time? A store-bought crust works wonderfully! I always keep one in the pantry for dessert emergencies.
- 1 (3.4 oz) box vanilla or coconut cream pudding mix: The star of the show! Vanilla pudding mix is a classic, neutral canvas. Using coconut cream pudding mix will amplify that tropical, springtime vibe. Substitution Tip: Need it sugar-free? A sugar-free pudding mix works like a charm here.
- 1½ cups cold milk: COLD is the operative word! Using cold milk (whole or 2% gives the richest texture) helps the pudding set quickly and smoothly. This isn’t the time for room-temperature milk from the counter.
- 1 cup whipped topping or freshly whipped cream: This is what gives our filling its magical, airy lift. Frozen whipped topping (like Cool Whip) is stable and easy. For a from-scratch touch, whip 1 cup of heavy cream with 2 tablespoons of powdered sugar until you get soft peaks. Chef’s Hack: If using fresh cream, fold it in gently at the very end to maintain volume.
- ½ cup sweetened shredded coconut or pastel sprinkles (optional, but highly encouraged!): The “Easter” on top! Toasted coconut adds nutty depth, while untoasted keeps it sweet and chewy. Pastel sprinkles or nonpareils are pure festive joy for the sprinkle lovers (and kids!) at your table.
- Extra whipped cream, for topping: Because more clouds are always better. Pipe it, dollop it, spread it—make it pretty!
Let’s Build Some Magic: Step-by-Step
Ready? Let’s do this! Clear a little space, put on some happy music, and let’s create something wonderful.
- The Foundation: First, grab your chosen pie crust. If you’re using a pastry crust you baked yourself, make sure it’s completely cooled. A warm crust will melt our creamy filling, and we want distinct, beautiful layers. Place it on the serving plate you plan to use—it’s much harder to move once filled!
- Make the Filling Base: In a medium mixing bowl, pour in the COLD milk. Sprinkle the entire box of pudding mix over the milk. Now, grab your whisk or a handheld mixer. Here’s my pro tip: start whisking slowly to incorporate the powder without sending up a cloud of it, then go to town! Whisk vigorously for about 2 minutes, scraping the sides and bottom of the bowl. You’re done when it’s thick, smooth, and leaves distinct trails from the whisk. This isn’t the time to be gentle—we need to activate that thickening power.
- Fold in the Fluff: Got your whipped topping or freshly whipped cream ready? Add it to the bowl with the thickened pudding. Now, switch to a large rubber spatula. We’re going to fold, not stir. Why? We want to keep all that lovely air in the whipped cream to make the filling light as a spring breeze. Gently cut down through the center, sweep along the bottom, and fold over the top. Rotate the bowl and repeat until no white streaks remain. You should have a gloriously fluffy, pale, and creamy mixture.
- Fill & Smooth: Scoop all that creamy goodness into your waiting pie crust. Use the spatula to spread it evenly, making gentle swoops and swirls. I like to make the center slightly higher for a gorgeous, domed look.
- The Patient Chill: This is the hardest part! Carefully transfer the pie to the refrigerator. Let it chill, uncovered, for at least 2 hours, but 4 or even overnight is better. This sets the filling perfectly so you get clean, beautiful slices. Little Chef Hack: If you’re in a hurry, you can pop it in the freezer for 45-60 minutes. Just keep an eye on it so it doesn’t freeze solid!
- The Festive Finish: Just before serving, it’s decoration time! Pipe or dollop on your extra whipped cream. Then, shower the top with your toasted coconut, pastel sprinkles, or even a mix of both. For a real “wow” factor, add a few mini chocolate eggs or jelly beans around the edge. It’s your edible spring garden—have fun with it!
How to Serve Your Easter Masterpiece
Presentation is half the fun! For picture-perfect slices, dip your sharp knife in hot water and wipe it dry between each cut. This gives you those stunning, clean edges.
Serve this pie on its own for a sublime, simple treat. Or, elevate it into a full dessert experience: place a slice on a pastel-colored plate and add a few fresh raspberries or strawberry slices on the side. The tart berries cut through the sweetness beautifully. A little drizzle of raspberry or mango coulis would be absolutely restaurant-worthy.
For your holiday table, place the whole pie on a cake stand surrounded by sprigs of fresh mint or edible flowers. It instantly becomes the centerpiece. And remember, this pie is best served cold, straight from the fridge, so keep it chilled until the very moment you’re ready to dig in!
Make It Your Own: Delicious Twists & Swaps
The beauty of this recipe is its versatility. Here are a few of my favorite ways to play with it:
- Lemon Berry Bliss: Use lemon pudding mix for a zingy, bright flavor. Fold in ½ cup of finely crushed fresh raspberries or strawberries into the filling along with the whipped cream. Top with lemon zest and more berries.
- Chocolate Bunny’s Dream: Swap in chocolate fudge pudding mix. Fold in ½ cup of mini chocolate chips. Top with chocolate shavings, whipped cream, and maybe even a few chocolate-covered espresso beans for the adults.
- Piña Colada Party: Stick with coconut cream pudding and fold in ½ cup of well-drained crushed pineapple. Top with toasted coconut and a maraschino cherry on each slice. Instant vacation vibes!
- Lighter & Brighter: Use sugar-free pudding mix, fat-free milk, and light whipped topping. It’s still deliciously creamy but a bit lighter on the calories.
- Crunchy Candy Crackle: For a fun texture, mix ½ cup of chopped whopper’s robin eggs or pastel-colored M&Ms into the filling. It adds a fantastic candy-coated crunch in every bite.
Emily’s Kitchen Notes & Stories
Over the years, this recipe has seen some… experiments. Let’s just say I once learned the hard way that instant pudding and *canned* coconut cream are NOT the same thing. The result was a soup that never set. We drank it out of mugs and called it a “pudding smoothie.” Disaster averted with laughter!
I’ve also evolved from just using a spoon to smooth the top. Now, I love using an offset spatula or even the back of a large spoon warmed slightly under hot water to get that flawless, glossy surface. It’s the little things!
This pie has been to more potlucks, spring brunches, and “just because” gatherings than I can count. It never fails to bring smiles, and it’s almost always the first dessert to disappear. That’s the highest compliment in my book.
Your Questions, Answered!
Q: My filling is runny! What did I do wrong?
A: Don’t worry! This usually means 1) The milk wasn’t cold enough, 2) You didn’t whisk the pudding and milk for the full 2 minutes, or 3) It just needs more time. Pop it back in the fridge for another hour. If it’s still too soft, you can carefully stir in a little more whipped topping to help firm it up.
Q: Can I make this pie ahead of time?
A: Absolutely! That’s one of its best features. Make it up to 24 hours in advance. Just wait to add the final whipped cream and decorations until 1-2 hours before serving so they look fresh.
Q: I don’t like coconut. What else can I use?
A> The toppings are your playground! Try: crushed shortbread cookies, chopped toasted nuts (like pecans or almonds), a dusting of graham cracker crumbs, fresh fruit, or even a simple drizzle of melted chocolate or caramel.
Q: Can I use a different crust?
A> Of course! A pretzel crust (for sweet/salty vibes), an Oreo crust, or even a gluten-free graham cracker crust all work wonderfully. Just make sure any baked crust is fully cooled before filling.
Nutritional Information (Approximate)
Please note: The following is an estimated nutritional breakdown per slice, based on using a graham cracker crust, whole milk, and whipped topping. Values will vary with substitutions.
- Calories: ~300
- Total Fat: 17g
- Saturated Fat: 10g
- Carbohydrates: 34g
- Fiber: 1g
- Sugars: 22g
- Protein: 4g
This dessert is a treat, meant to be enjoyed as part of your celebration. The joy and connection it brings to your table are just as important as the ingredients! For specific dietary needs, utilize the sugar-free, fat-free, or gluten-free swaps mentioned in the variations.
Let’s Celebrate Spring, Together
And there you have it, my friend—your guide to the easiest, creamiest, most celebratory Easter pie around. I hope making it brings you as much happiness as eating it will.
Remember, cooking isn’t about perfection. It’s about the messy, joyful, delicious journey. If your whipped topping isn’t perfectly folded or your sprinkles land more on the counter than the pie, you’re doing it right. You’re creating something with love, and that’s the most important ingredient of all.
I’d love to see your beautiful creations! Tag me @TastyChow on social media so I can cheer you on. From my kitchen to yours, have the most wonderful, delicious, and love-filled Easter.
Now, go grab a fork… and let’s chow down!
— Emily 🐣