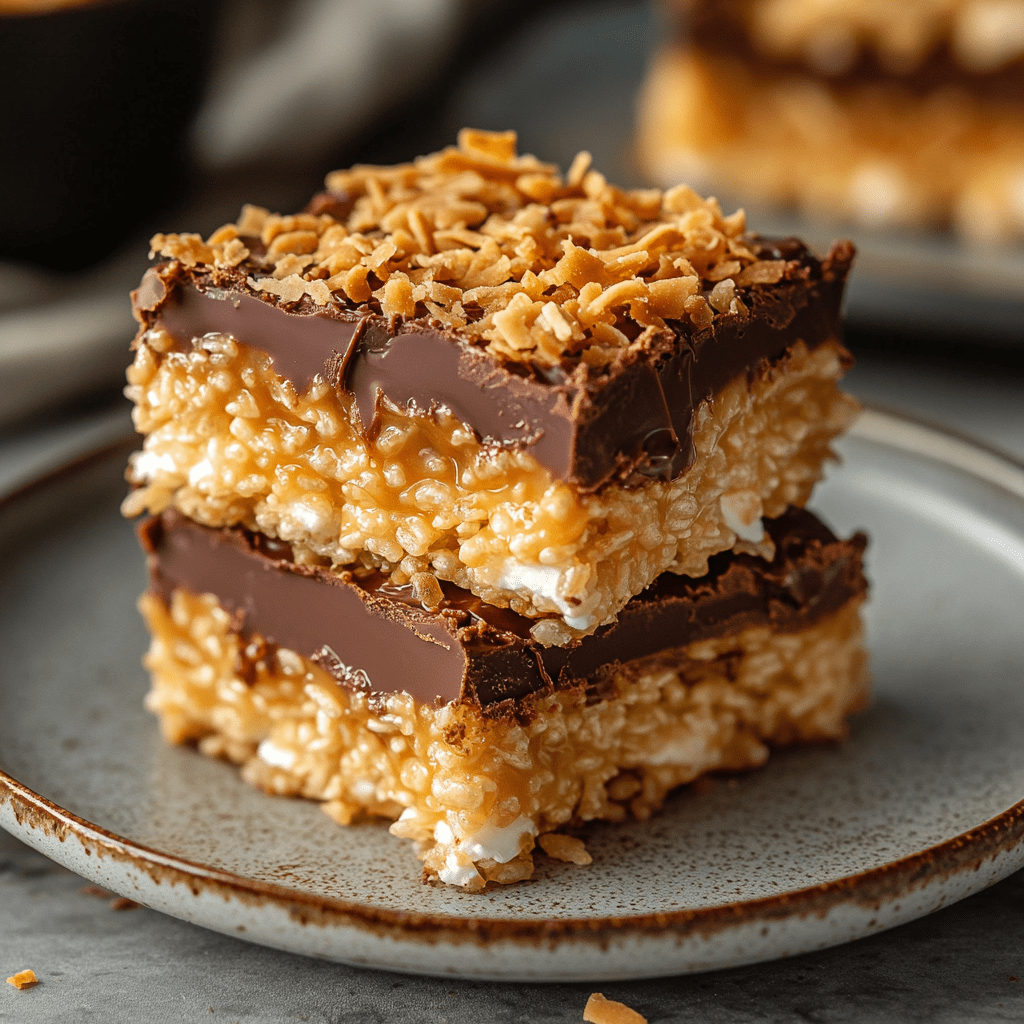
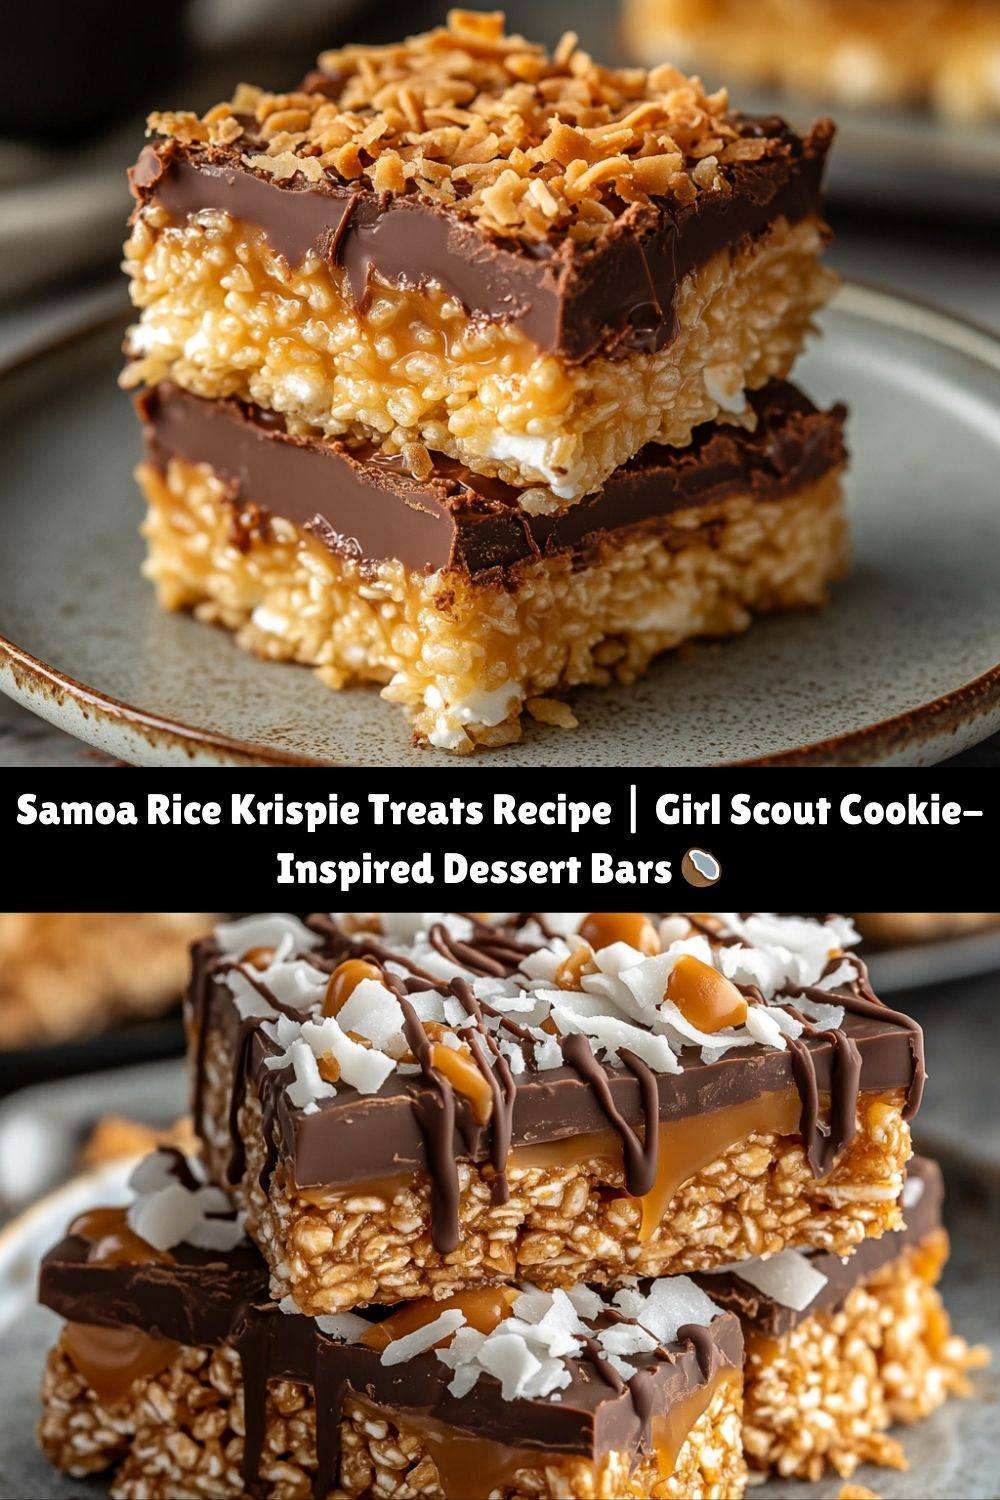
Samoa Rice Krispie Treats: Your New Favorite Cookie-Bar Hybrid 🥥✨
Hey there, fellow foodie! Picture this: the crackle of crispy cereal, the buttery sweetness of caramel, the crunch of toasted coconut, and a drizzle of dark chocolate that ties it all together. If your taste buds just did a happy dance, you’re in the right place. Today, we’re turning the iconic Girl Scout Samoa cookie into a *Rice Krispie treat* that’s so good, it’ll make your inner child (and your adult self) swoon. 🍫
Now, I know what you’re thinking—*“Rice Krispie treats? Isn’t that just marshmallows and cereal?”* Oh, my friend, we’re leveling up. Imagine those classic treats getting a tropical vacation: toasted coconut for that beachy vibe, gooey caramel for indulgence, and chocolate because… well, do we need a reason? These bars are perfect for bake sales, movie nights, or when you need a quick dessert that *looks* like you slaved over it. Spoiler: You didn’t. (And I won’t tell.)
I’ve been obsessed with this recipe ever since my aunt and I accidentally invented it during a chaotic “cookie swap” night. We ran out of shortbread, grabbed Rice Krispies instead, and *boom*—magic happened. Let’s recreate that magic in your kitchen, shall we?
The Time My Aunt and I Accidentally Invented Dessert Gold 🍯
Okay, storytime. When I was 12, my aunt Marie (the queen of chaotic baking) hosted our annual Girl Scout cookie swap. But here’s the twist: we were *supposed* to make homemade versions of the cookies. Aunt Marie, bless her, forgot to buy shortbread for the Samoa base. Cue panic! But then she grinned, pulled out a box of Rice Krispies, and said, “Let’s get weird.”
We melted marshmallows on her ancient stovetop, tossed in cereal, and pressed it into a pan like our lives depended on it. Then, we raided her pantry for caramel candies, shredded coconut, and chocolate chips. The result? A sticky, crunchy, caramel-coated masterpiece that had our entire family begging for the recipe. To this day, Aunt Marie swears it was divine intervention. I say it was desperation + creativity. Either way, it’s a core memory—and now, it’s yours too.
What You’ll Need (+ Why Each Ingredient Matters!)
- 6 cups Rice Krispies cereal: The crispy backbone! Use fresh cereal for maximum crunch. Gluten-free? Swap in your favorite GF crispy rice cereal.
- 1 (10 oz) bag mini marshmallows: They melt faster than regular ones, giving you that perfect gooey texture. Vegan? Use Dandies marshmallows!
- 3 tbsp butter: Unsalted is best here—it lets you control the saltiness. For a dairy-free version, coconut oil works wonders.
- 1 ½ cups sweetened shredded coconut, toasted: Toasting is *non-negotiable*. It amps up the nutty flavor and adds texture. No sweetened coconut? Toss unsweetened with 1 tbsp sugar before toasting.
- 1 ½ cups soft caramels, unwrapped: Kraft caramels are my go-to, but if you’re feeling fancy, homemade caramel sauce works too (just reduce it slightly).
- 2 tbsp heavy cream: Makes the caramel silky. Out of cream? Whole milk or coconut milk can sub in a pinch.
- 1 ½ cups semi-sweet chocolate chips: The richer, the better! Dark chocolate or milk chocolate are delicious alternatives.
Let’s Make Magic: Step-by-Step Guide 🧑🍳
- Toast that coconut! Spread it on a baking sheet and bake at 350°F for 5–7 minutes, stirring often, until golden. *Chef’s hack:* Do this first—it’ll fill your kitchen with a heavenly aroma.
- Melt the marshmallows: In a large pot, melt butter over low heat. Add marshmallows and stir constantly until smooth. *Low and slow* is key here—no one likes burnt ‘mallows!
- Mix in the cereal: Remove the pot from heat and fold in Rice Krispies until fully coated. *Pro tip:* Grease your spatula (or hands!) with cooking spray to prevent sticking.
- Press into the pan: Transfer the mixture to a greased 9×13-inch pan. Use a piece of parchment paper to press it down evenly. This ensures no rogue cereal bits poke through your caramel layer later!
- Make the caramel-coconut layer: In a saucepan, combine caramels and heavy cream over medium-low heat. Stir until smooth, then mix in toasted coconut. Pour this over the Rice Krispie base and spread gently. *Warning:* Resist eating this by the spoonful.
- Drizzle the chocolate: Melt chocolate chips (microwave in 30-second bursts or use a double boiler) and drizzle over the top with a fork or piping bag. For drama, add a sprinkle of flaky salt!
- Let it set: Allow the bars to cool at room temp for 30 minutes—or pop them in the fridge for 15 if you’re impatient. Slice into squares and watch them disappear.
How to Serve These Beauties 🎉
Let’s be honest: these Samoa Rice Krispie Treats are snackable straight from the cutting board. But when it comes to presentation—especially for parties, potlucks, or showing off to your book club—you deserve some sweet style.
Start with slicing. Use a sharp, greased knife to cut clean, even squares. Wipe the blade between slices to keep things neat—bonus points if you chill the pan for 10 minutes before cutting to firm up the caramel layer.
Next: the display. Stack your treats on a pretty cake stand or wooden board for a rustic vibe. Drizzle extra chocolate on top and sprinkle a few toasted coconut flakes just before serving to hint at the flavor explosion inside. If you’re packing them up, wrap each square in parchment paper and tie with twine—hello, bake sale rockstar!
Pair them with drinks that balance their richness: a cold glass of milk, coconut iced coffee, or even a salted caramel latte. For kids’ parties, add them to dessert trays with fruit kabobs and mini chocolate chip cookies. For grown-up gatherings? Serve alongside espresso shots or tiny scoops of vanilla bean ice cream.
Hosting a DIY dessert bar? Let guests build their own treat towers—stack a square on a scoop of ice cream, add whipped cream, drizzle with chocolate or caramel sauce, and top with a cherry. It’s like a sundae, but way more exciting.
Whether you serve them solo, stacked, or sundae-style, these bars are guaranteed to steal the show—and possibly your guests’ hearts. Just make sure to stash one away for yourself. You’ve earned it. 🥥🍫
Mix It Up: 5 Delicious Twists 🌈
- Gluten-Free: Use certified GF crispy rice cereal and check caramel labels.
- Vegan: Swap in vegan marshmallows, coconut oil, and dairy-free chocolate.
- Nutty Crunch: Add ½ cup chopped toasted pecans to the caramel layer.
- Salty-Sweet: Sprinkle flaky sea salt over the chocolate before it sets.
- Chocolate Lover’s: Swap the cereal for Cocoa Krispies!
Chef’s Secrets & Bloopers 🤫
Fun fact: The first time I made these, I accidentally used *rice Chex* instead of Rice Krispies. The result was… interesting. (Think caramel-coated hockey pucks.) Lesson learned: Stick to crispy rice! Over the years, I’ve tweaked the caramel-to-coconut ratio and learned that a little extra chocolate never hurt anyone. Oh, and if your caramel seizes up? Add a splash of cream and keep stirring—it’ll come back to life!
FAQs: Your Questions, Answered 🔍
Q: Can I use store-bought caramel sauce instead of caramels?
A: Absolutely! Use 1 cup of thick caramel sauce (like Torani) and skip the heavy cream. Stir in coconut and spread it on.
Q: Why did my marshmallow layer turn hard?
A: You might’ve overcooked the marshmallows. Keep the heat low, and remove the pot from the burner as soon as they’re melted.
Q: How do I store these bars?
A: Keep them in an airtight container at room temp for up to 3 days, or refrigerate for a week (if they last that long!).
Q: Can I freeze them?
A: Yes! Wrap individual bars in plastic wrap and freeze for up to 2 months. Thaw at room temp before serving.
Nutritional Info (Per Bar) 📊
Calories: ~240 | Fat: 10g | Carbs: 34g | Protein: 2g
🍫 Final Thoughts: A Cookie-Inspired Classic with a Twist
Samoa Rice Krispie Treats are more than just dessert—they’re a joyful mashup of childhood memories and kitchen creativity. Whether you’re reliving your Girl Scout days, impressing friends with a bake sale showstopper, or simply answering the call of your sweet tooth, these bars deliver every time.
They’re crunchy, gooey, chocolatey, and loaded with caramel-kissed coconut—the ultimate flavor trifecta. And the best part? They’re easy enough to make on a whim but special enough to spark “who made these?!” at any gathering.
So grab your apron, turn up the fun, and enjoy every messy, magical bite. ✨