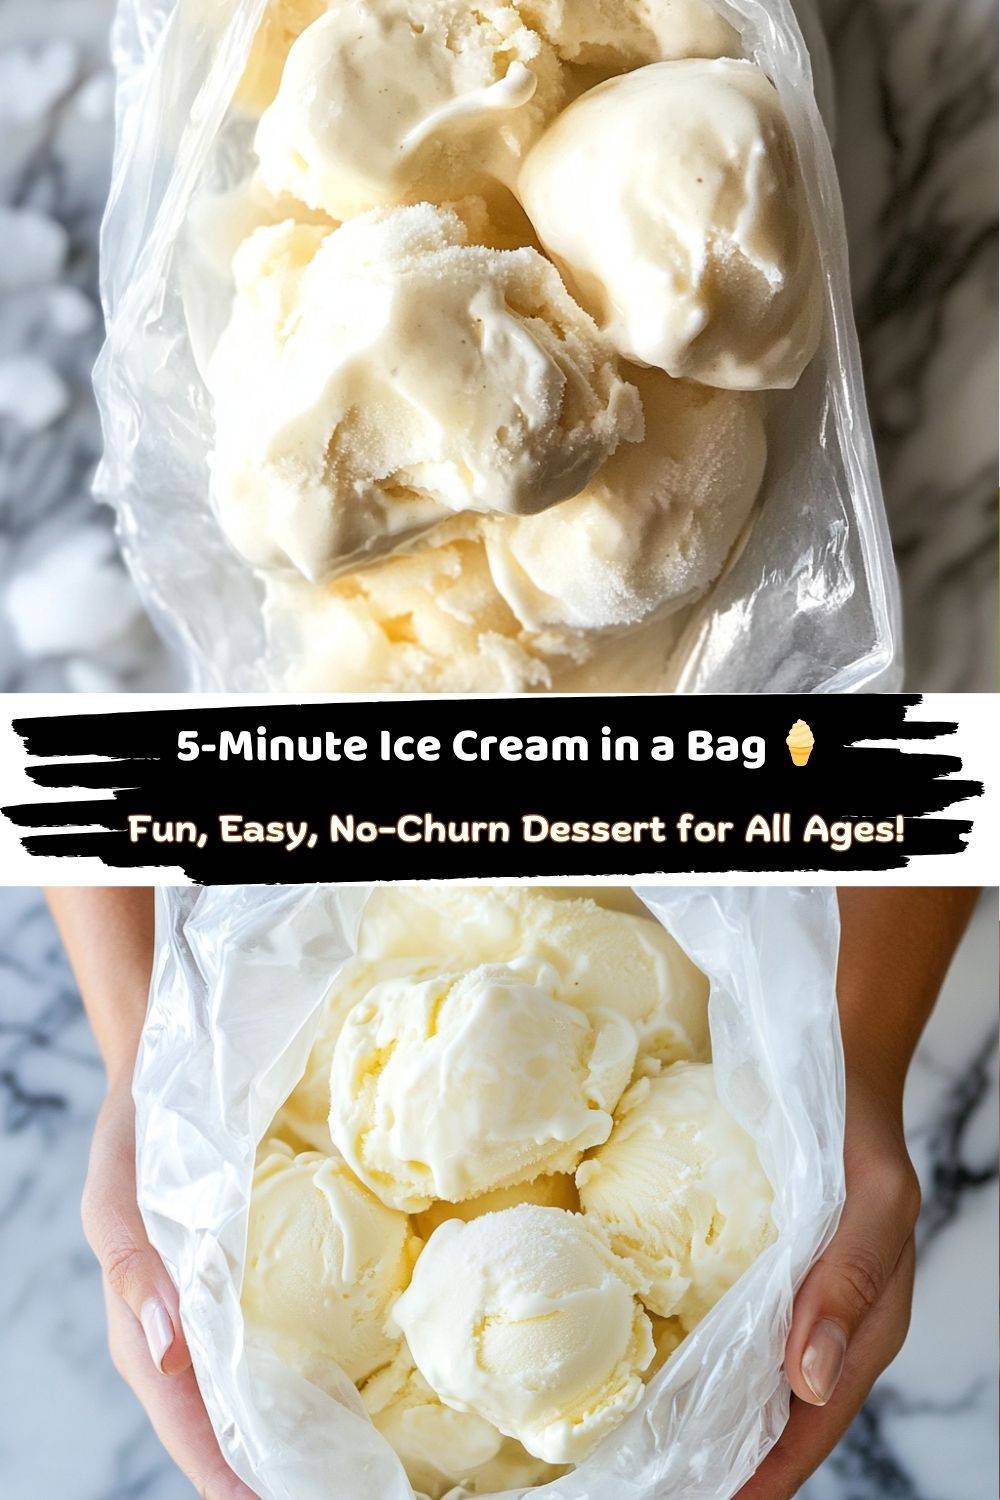
🕔 5-Minute Ice Cream in a Bag: Whip Up Magic (and Smiles!) in No Time
Hey there, foodie friends! Chef Emily here, ready to spill the beans on one of my all-time favorite kitchen hacks: 5-minute ice cream in a bag. Yep, you read that right—creamy, dreamy ice cream, ready faster than you can binge a TikTok recipe reel. No fancy machines, no patience required, just pure, shake-it-up fun. 🍦
Picture this: It’s a sweltering summer afternoon, the kids (or grandkids!) are bouncing off the walls, and you’re craving something cold and sweet. Enter this magical little recipe. All you need are a few pantry staples, two zipper bags, and some good old-fashioned enthusiasm. In less time than it takes to defrost store-bought ice cream, you’ll be scooping up velvety vanilla goodness—and creating a core memory while you’re at it. Trust me, the first time that liquid transforms into ice cream right before your eyes? Pure kitchen wizardry. ✨
But here’s the real secret ingredient: joy. This isn’t just dessert—it’s a science experiment, a shoulder workout, and a family bonding session rolled into one. So grab your quirkiest apron, rally your mini sous-chefs, and let’s make some magic!
Why This Recipe Melts My Heart (Before the Ice Cream Does!)
Let’s rewind to 2018. My then-5-year-old granddaughter Lila, sporting a unicorn swimsuit and mismatched Crocs, demanded we make “shakey-shake ice cream” during a heatwave. We improvised with what we had—whole milk instead of cream, kosher salt nicked from a pretzel recipe—and crossed our fingers. What followed was pure chaos: ice chunks flying, giggles echoing, and eventually… success! When Lila licked that first drippy spoonful, her eyes went saucer-wide. “Mama Emily,” she whispered, “we’re scientists AND chefs!” 🥼👩🍳
That messy kitchen moment became our tradition. Now, every visit starts with Lila racing to the freezer shouting, “Ice cream time!” We’ve upgraded to neon-colored bags and added rainbow sprinkles, but the magic remains. It’s proof that the best recipes aren’t about perfection—they’re about sticky fingers, shared laughter, and the glorious mess of making memories.
🥶 Your Ice Cream Arsenal: Simple Ingredients, Big Flavor
- 1 cup half-and-half – The Goldilocks of dairy! Not too heavy (like cream), not too light (like milk). Chef’s swap: Whole milk works, or go dairy-free with coconut milk.
- 2 tbsp granulated sugar – Sweetens without grittiness. For deeper flavor, try brown sugar or maple syrup.
- 1/2 tsp vanilla extract – The MVP of flavor town. Almond extract? Divine. Bourbon vanilla? Yes, chef!
- Ice – About 4 cups? We’re not measuring—just fill that bag!
- 1/3 cup salt – Rock salt works best, but kosher salt saves grocery trips. Pro tip: Table salt’s too fine—it’ll make your ice melt faster.
- 2 zip-top bags – 1 quart (small), 1 gallon (large). Double-bag if you’re a cautious chef!
👩🍳 Shake It Till You Make It: Your Foolproof Ice Cream Roadmap
Step 1: Mix the magic base
Grab your small bag (quart size) and pour in the half-and-half. Add sugar and vanilla—no need to whisk! Squeeze out excess air and double-check that seal. (Learned this the hard way mid-shake. Spoiler: Salty ice cream isn’t trending for a reason.)
Step 2: Create your icy cocoon
Fill the gallon bag halfway with ice—crushed works faster, but cubes are fine. Sprinkle salt over the top like you’re seasoning a steak. The salt lowers the ice’s melting point, creating an extra-cold environment. Science + dessert = winning!
Step 3: Nestle and shake!
Place the small bag inside the ice-filled large bag. Seal tightly—press out air to prevent icy explosions. Now, channel your inner maraca player! Shake vigorously for 5-7 minutes. Too cold? Use oven mitts or wrap the bag in a kitchen towel. Pro tip: Blast “Ice Ice Baby” and make it a dance party!
Step 4: The big reveal
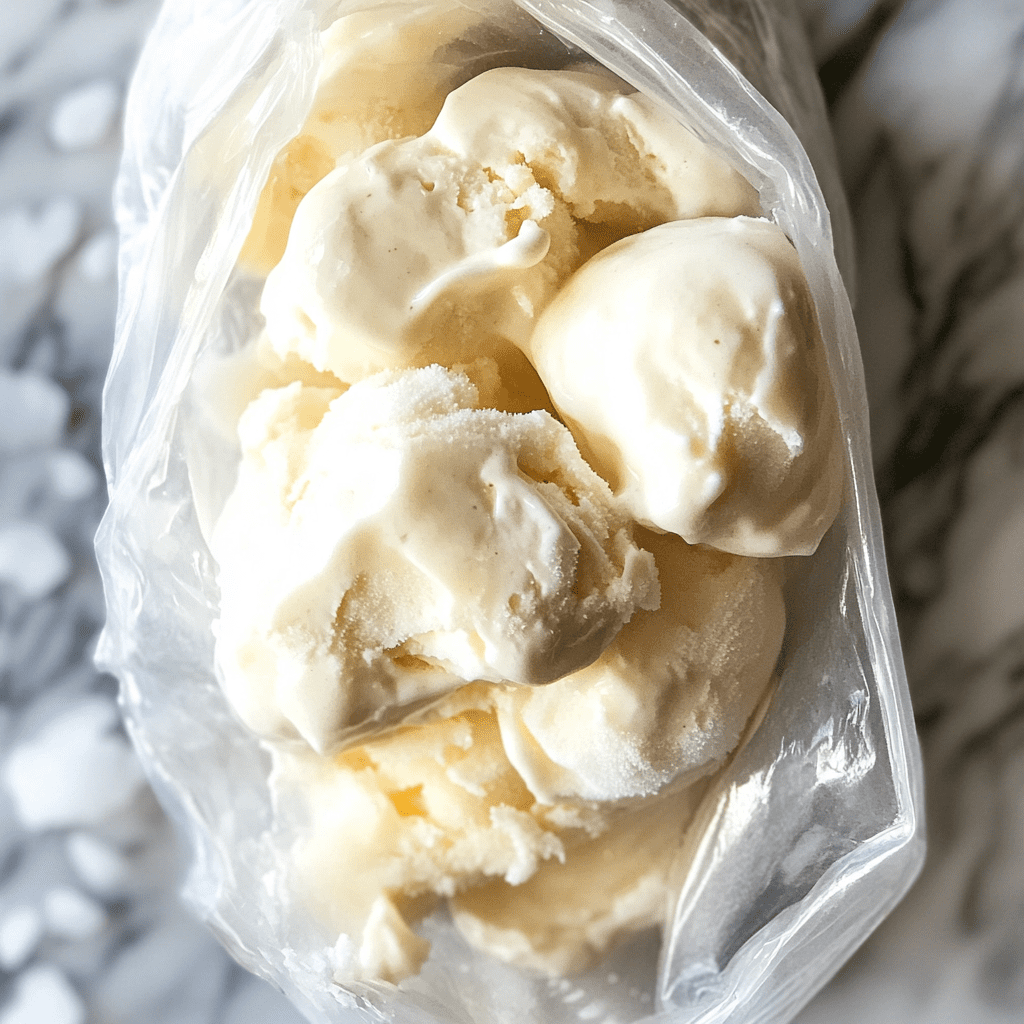
After 5 minutes, peek carefully. You want a soft-serve consistency. If it’s still soupy, shake another 1-2 minutes. Once perfect, rinse the small bag under cold water—salt residue is sneaky! Snip a corner and squeeze into bowls, or grab spoons and dig in straight from the bag. Zero judgment here!
🍨 Serving Up the Fun: Beyond the Bag
Turn this into a sundae bar! Set out toppings: crushed Oreos, rainbow sprinkles, fresh berries. For adults, a drizzle of espresso or bourbon kicks it up a notch. Serving kids? Let them “paint” their ice cream with edible food coloring—it’s messy, but the ‘Gram will love it!
🌟 Mix It Up: 5 Flavor Twists to Try Tonight
- Chocolate Lover’s: Add 2 tbsp cocoa powder to the base
- Fruity Swirl: Mash in strawberries or mango post-shake
- Cookie Monster: Crush 2 Oreos into the bag before shaking
- Vegan Vibes: Use coconut milk and maple syrup
- Salted Caramel: Swirl in caramel sauce + flaky sea salt
👨🍳 Chef ’s Insider Scoop
Over the years, we’ve had some… creative adaptations. Once, we used snow instead of ice (do not recommend—it melts too fast!). Another time, my nephew added blue food coloring and declared it “Frozen Elsa Cream.” The recipe’s beauty is its flexibility—as long as you’ve got that salt-ice combo, you’re golden. Pro tip: Make individual portions by dividing the base into snack-sized bags. Fewer arguments, more shaking!
❓ Ice Cream SOS: Your Questions, Answered
Q: Mine’s still liquid after 7 minutes! Help!
A: Check your bag seal—air leaks slow freezing. Add more salt to the ice, and keep shaking!
Q: Can I use something besides salt?
A: Unfortunately, no—salt’s crucial for lowering the ice temperature. But rock salt is cheap at hardware stores!
Q: How do I make it creamier?
A: Up the fat content! Use heavy cream or add 1 tbsp cream cheese to the base.
📊 Nutrition Breakdown (Per Serving)
Calories: 150 | Fat: 8g | Carbs: 15g | Protein: 3g
Note: Values approximate. For lower sugar, try Swerve or monk fruit sweetener.
Final Thoughts: Big Joy in a Little Bag 🍦
At the end of the day, this recipe isn’t really about ice cream. It’s about the squeals of delight when the bag starts to firm up. It’s about sticky hands, sugar highs, and the sound of ice clinking while laughter bounces off kitchen walls. It’s about slowing down long enough to shake, smile, and share something sweet—whether with kids, grandkids, or your own inner child.
Sure, you could buy a pint. But where’s the fun in that?
There’s a kind of magic in watching everyday ingredients transform with just a bit of science and silliness. And the best part? It’s repeatable. You can make this recipe 100 times and still catch that little spark—that “wow, I made this!” moment—that never gets old.
So next time it’s too hot to bake or you need a rainy day pick-me-up, grab those zip-top bags and make a little culinary chaos. You’ll end up with more than dessert—you’ll create a memory worth freezing forever.
Until next time, stay cool, shake often, and don’t forget to dance while you mix. 🎶🍨💃