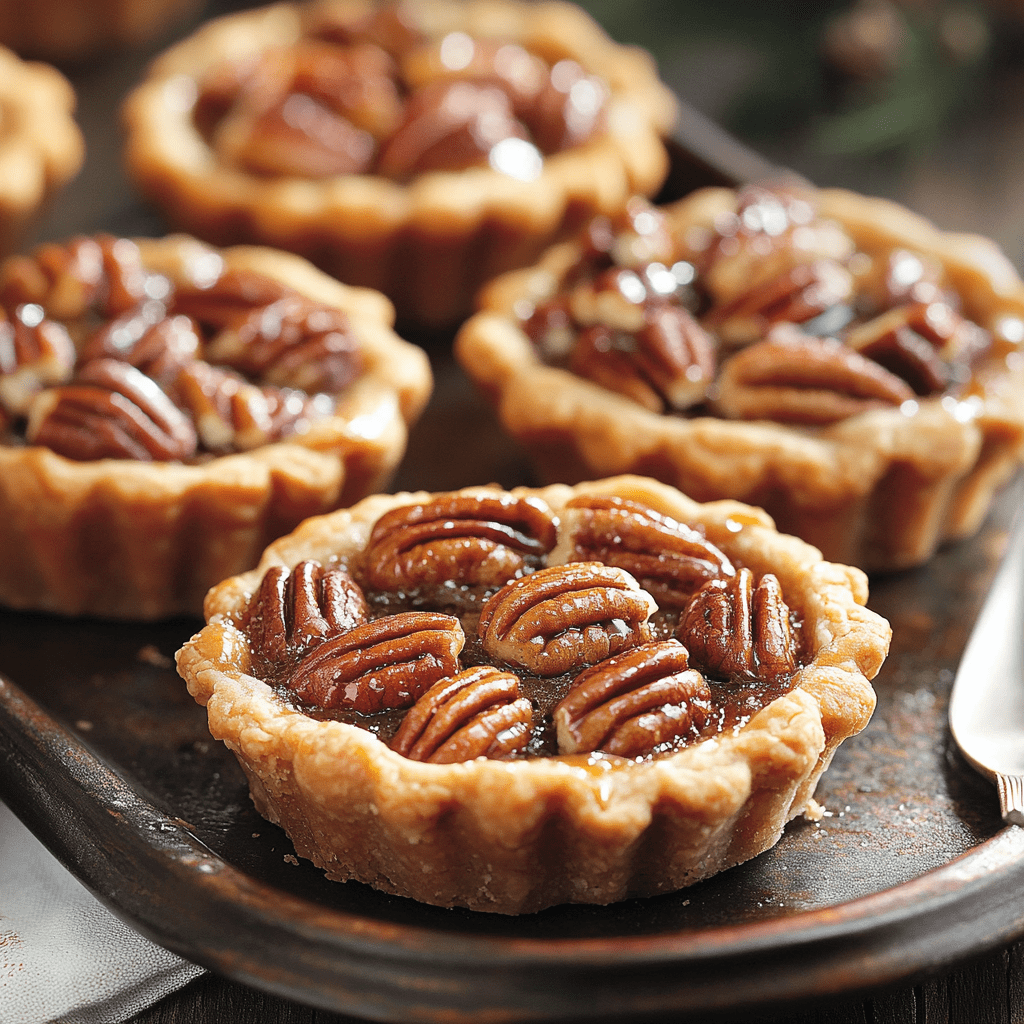
Little Bites of Southern Sunshine: Mini Pecan Pies
Hey there, my fellow flavor adventurers! 👋 Chef Emily here, apron dusted with flour and heart full of excitement because today? We’re making pure edible happiness – Mini Pecan Pies! Imagine all the gooey, nutty, caramel-kissed joy of a classic Southern pecan pie, but perfectly portioned into adorable, pop-in-your-mouth bites. No fork required, just sticky fingers and big smiles. Whether you’re wrangling a crowd at Thanksgiving, surprising coworkers on a Tuesday, or just treating yourself (zero judgment here!), these minis are your golden ticket. They’re easier than wrestling a full-sized pie crust, bake in a flash, and deliver that soul-warming combo of buttery crust and sweet, toasty pecans that feels like a hug from Grandma. Ready to make your kitchen smell like a cozy bakery? Let’s get our mini pie party started!
The Tin-Foil Treasures of My Childhood
Every December, like clockwork, my grandma’s kitchen transformed into a pecan pie wonderland. But the *real* magic wasn’t on the dessert table – it was in the humble tinfoil-covered tins she’d stack by the back door. Inside? Rows of these very Mini Pecan Pies, still warm, destined for neighbors, the mailman, Mr. Henderson at the hardware store… anyone who crossed her path! I was her official “taste tester” (a prestigious title earned by hovering relentlessly near the oven). My tiny fingers would sneak a still-too-hot mini pie, burning my tongue but not caring one bit because that burst of sweet, sticky filling and the flaky, buttery crunch was pure bliss. Making these now isn’t just baking; it’s weaving a thread back to her sunny kitchen, that worn wooden spoon, and the powerful lesson that sometimes, the sweetest things come in the smallest packages – meant to be shared (or occasionally, stealthily devoured by a flour-covered kid).
Print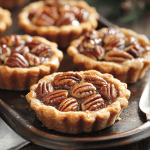
Mini Pecan Pie
- Total Time: 25 minutes
- Yield: 4 1x
Description
This creamy rice pudding tastes like a warm hug from Grandma’s kitchen. It’s the kind of dessert she’d serve with a wink, saying “Just a little something sweet.” The aroma of vanilla and warm milk still makes me smile. Whether you eat it warm or chilled, this pudding is a timeless comfort that’s simple, soothing, and unforgettable.
Ingredients
1½ cups cooked rice
2 cups milk, divided
¼ tsp salt
⅔ cup golden raisins (optional)
1 egg, beaten
⅓ cup white sugar
1 tbsp butter
½ tsp vanilla extract
Instructions
In a saucepan, combine cooked rice, 1½ cups milk, and salt. Cook over medium heat until thick and creamy, about 15 minutes.
Stir in raisins, if using.
In a bowl, whisk together egg and remaining ½ cup milk. Slowly stir into the hot rice mixture.
Add sugar and continue cooking 2-3 more minutes, stirring constantly, until thickened.
Remove from heat; stir in butter and vanilla.
Serve warm or chilled—both are delicious!
Notes
Simple and soul-soothing—this rice pudding is the dessert your spoon will keep going back for.
- Prep Time: 5 minutes
- Cook Time: 20 minutes
Nutrition
- Calories: 210 per serving
- Fat: 6 per serving
- Carbohydrates: 35 per serving
- Protein: 6 per serving
Your Mini Pie Toolkit: Simple Ingredients, Big Flavor
Gather ’round, friends! Here’s everything you need to create these little pockets of joy. Don’t be fooled by the short list – each ingredient plays a starring role!
- Salted Butter (2½ tbsp for crust + 1 tbsp melted for filling): Our flavor foundation! Salted butter adds that perfect savory balance against the sweet filling. Chef’s Tip: Use it softened for the crust (poke it – it should yield easily) and melted for the filling. Unsalted works too – just add a tiny pinch more salt to the crust.
- Sugar (2 tbsp for crust + ¼ cup for filling): Sweetness and structure! Granulated white sugar is our workhorse here.
- All-Purpose Flour (¼ cup): The backbone of our simple, press-in crust. No rolling pin required!
- Cornstarch (1 tbsp): Our secret weapon for an extra tender, melt-in-your-mouth crust texture. Don’t skip it!
- Salt (⅛ tsp for crust + ⅛ tsp for filling): The flavor enhancer! It makes the sweet notes sing louder. Trust me.
- Corn Syrup (¼ cup): The key to that classic, gooey-smooth pecan pie filling. Light or dark both work – dark gives a deeper caramel hint. Pure maple syrup can sub in a pinch, but the texture will be slightly different.
- Large Egg (1): The binder that sets our filling into luscious perfection. Make sure it’s at room temperature for smoother mixing!
- Vanilla Extract (½ tsp): The aromatic soul! Pure extract is best for that warm, complex background note.
- Pecan Halves (⅓ cup): The glorious crown! Use fresh, plump halves for the prettiest presentation. Chopped pecans work too, but halves make them extra special. Chef’s Insight: Toast them lightly beforehand for an even deeper, nuttier flavor explosion!
Let’s Build Some Mini Magic: Step-by-Step
Okay, team! Preheat that oven to 350°F (175°C) – let’s get these mini wonders baking! Grab your mini muffin tin (no need to grease it, the butter in the crust handles that!).
- Make the Dreamy Crust: In a small bowl, toss together the softened butter (2½ tbsp), sugar (2 tbsp), flour (¼ cup), cornstarch (1 tbsp), and salt (⅛ tsp). Use a fork, your impeccably clean fingers, or even a small spatula to mash and mix until it forms a cohesive, slightly crumbly dough. It’ll come together! Chef Hack: If it seems too dry, add a few drops of ice water (literally drops!). Too sticky? A tiny sprinkle more flour.
- Press It In: Divide the dough into 6 equal portions. Press each portion firmly and evenly into the bottom and up the sides of a mini muffin cup. Aim for about 1/8-inch thickness. Pro Tip: A small tart tamper, the end of a narrow spice jar, or even your thumb works great! Don’t stress perfection, rustic is charming!
- Whip Up the Liquid Gold (Filling!): In another bowl, whisk together the corn syrup (¼ cup), room temperature egg, sugar (¼ cup), salt (⅛ tsp), melted butter (1 tbsp), and vanilla extract (½ tsp) until it’s completely smooth and glossy. No streaks! Chef’s Note: Whisk vigorously for about 1 minute – you’re incorporating air for a lovely texture.
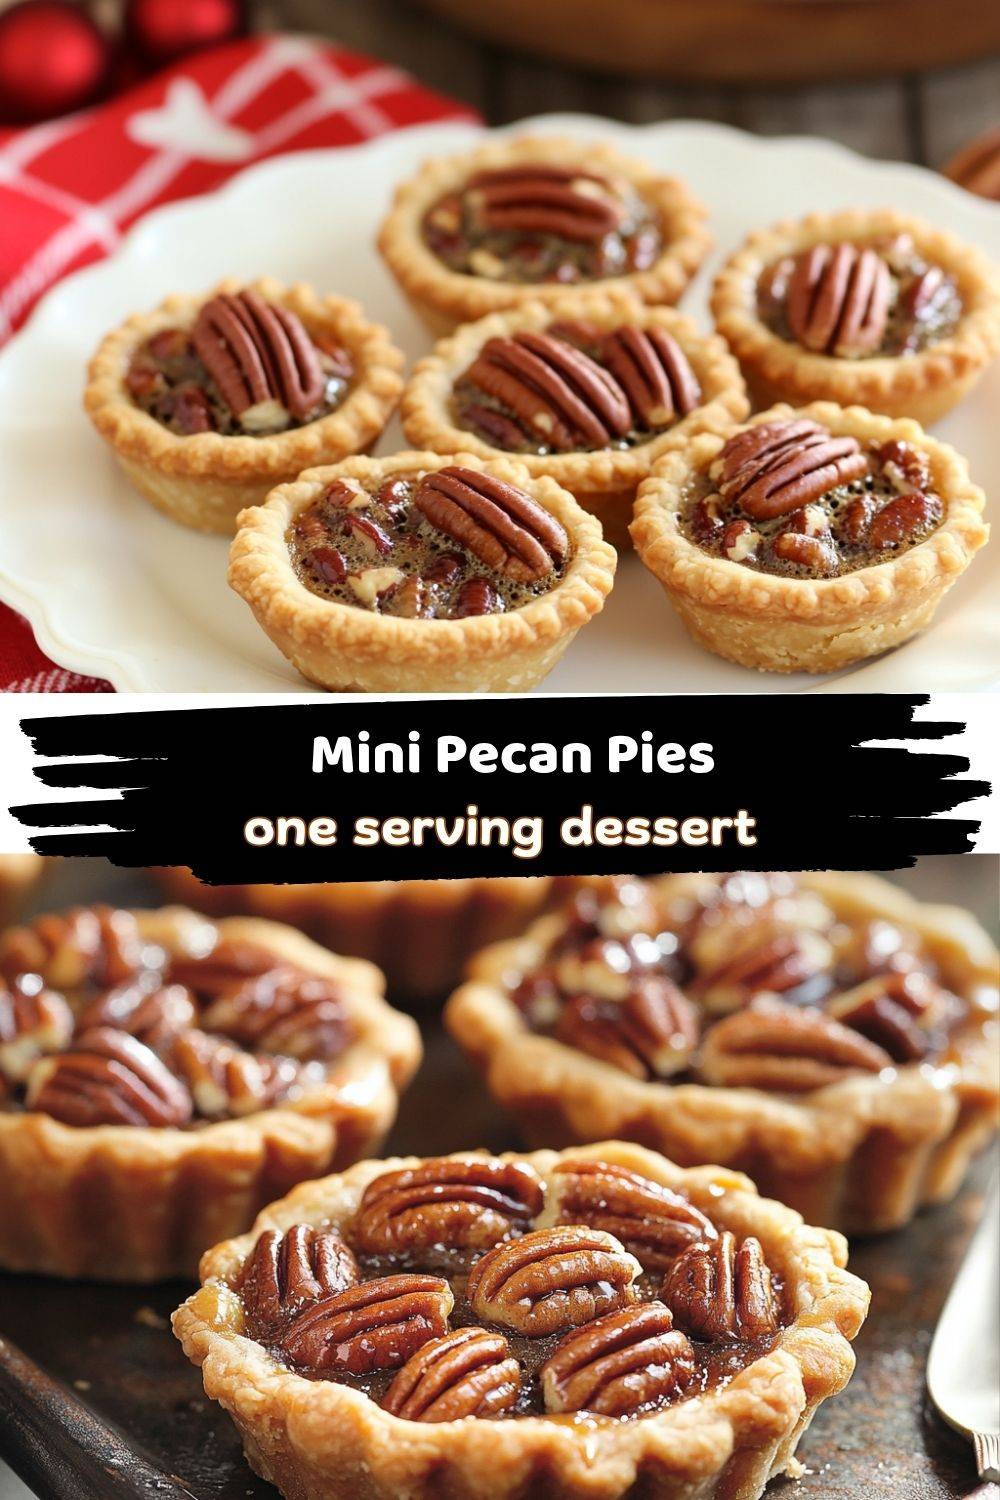
- Fill ‘Er Up & Crown with Pecans: Carefully spoon the filling into your prepared crusts, filling them almost to the top (leave a tiny smidge of space – they puff slightly!). Now, artfully place 2-3 pecan halves (or a small pile of chopped) on top of each filling pool. Gently press them down so they nestle in.
- Bake to Golden Perfection: Slide that tin into your preheated oven. Bake for 20-25 minutes. Watch for the magic: the filling should look puffed and set around the edges but still have a slight, gentle jiggle in the very center when you nudge the pan, and the crust edges will be lightly golden. Critical Tip: Overbaking leads to tough filling! Better slightly under than over.
- The Patience Test (Cooling!): This is HARD, I know! But resist! Let the mini pies cool COMPLETELY in the muffin tin on a wire rack. This allows the filling to fully set and the crust to firm up, making removal a breeze (about 30-45 mins). Trying to remove them warm is a recipe for crumbly disaster. Use a small offset spatula or butter knife to gently coax them out.
How to Serve These Adorable Bites
Presentation is part of the fun! Arrange these little gems on a pretty plate or rustic wooden board. A light dusting of powdered sugar looks like a snowy dream. A tiny dollop of barely-sweetened whipped cream or a drizzle of warm caramel sauce takes them over the top for dessert. For a brunch twist? Serve them alongside coffee or a cold glass of milk. The best part? No plates needed – just fingers and happy smiles! They’re perfect for potlucks, cookie swaps, or just lining up on your counter for “quality control” testing.
Mix It Up! Fun Mini Pecan Pie Twists
Got an adventurous spirit? Let’s play!
- Bourbon Bliss: Add ½ – 1 tsp of good bourbon to the filling with the vanilla. Hello, grown-up sophistication!
- Chocolate Chip Surprise: Sprinkle a few mini chocolate chips into the bottom of each crust before adding the filling and pecans. Because chocolate + pecans = heaven.
- Maple Kiss: Substitute the corn syrup with pure maple syrup for a deeper, autumnal flavor. Divine!
- Salty-Sweet Sensation: Sprinkle a tiny pinch of flaky sea salt (like Maldon) over the pies right after they come out of the oven.
- Gluten-Free Friend: Swap the all-purpose flour for a 1:1 gluten-free baking blend. Ensure cornstarch is GF too!
From My Messy Apron to Yours: Chef’s Notes
Oh, the evolution of this recipe! My grandma’s original version used lard in the crust (divine, but not always handy!). Over countless batches (and a few hilarious filling-overflow incidents that welded pies to the tin!), I landed on this simpler press-in crust. It’s forgiving and foolproof. The cornstarch? That was a happy accident when I ran low on flour one frantic holiday morning – best texture upgrade ever! Remember the time I tried using whole wheat flour for a “healthier” twist? Let’s just say… stick to the plan, friends. The filling might look *too* liquidy when you pour it – don’t panic! It sets beautifully as it cools. These minis are my go-to “I need a hug in food form” treat, and sharing them always brings back that warm, tin-foil-wrapped feeling from Grandma’s kitchen.
Your Mini Pie Questions, Answered!
Let’s tackle those common kitchen quandaries:
- Q: My filling bubbled over and made a mess! Help!
A: Oops, the volcano effect! This usually means you overfilled the cups. Next time, leave a tiny bit more space (like 1/16th of an inch) below the rim. Also, ensure your oven rack is in the middle position – too close to the bottom can make filling boil faster. - Q: The filling is still super liquidy after cooling. Did I underbake?
A: It should be set but still gloriously gooey. If it’s truly runny (like syrup), it likely needed another minute or two. The center jiggle should be slight, not sloshy. Pop them back in for 2-3 minute intervals until it sets more. Remember, carryover heat keeps cooking them slightly out of the oven! - Q: My crust crumbled when I tried to take the pies out!
A: The #1 culprit is impatience! They MUST cool completely in the tin. Also, ensure you pressed the crust firmly and evenly into the cups – no thin spots. Using a small offset spatula or butter knife to gently loosen all around helps too. If all else fails? Eat them straight from the tin with a spoon – still delicious! - Q: Can I make these ahead of time?
A: Absolutely! They are fantastic make-ahead treats. Bake, cool completely, then store airtight at room temperature for up to 2 days, or refrigerate for up to 5 days. The texture is best at room temp, so pull refrigerated ones out an hour before serving.
Nutritional Info (Per Mini Pie)
Calories: ~180 | Fat: 11g | Protein: 2g | Carbs: 18g
(Remember, these are estimates and can vary based on specific ingredients used.)
Prep Time: 15 mins | Cook Time: 25 mins | Serves: 6 mini pies
Final Thoughts: Little Pies, Big Love
At the end of the day, these Mini Pecan Pies aren’t just about the perfect ratio of buttery crust to gooey filling or the satisfying crunch of toasted pecans—they’re about connection. Whether you’re recreating Grandma’s tinfoil-wrapped generosity, surprising a friend with a sweet “just because” gift, or sneaking one (or three) straight from the pan while they’re still warm, these little bites carry big heart.
They prove that the most memorable desserts don’t need to be complicated—just made with care and shared with joy. So go ahead, lick that caramel drizzle off your thumb, stack these golden gems on a vintage plate, and watch as they disappear faster than you can say “pass the pecans!” Because happiness? It comes in mini form.
Now, who’s ready to bake a batch and spread some edible sunshine? 🥧✨
“Life’s too short for stingy portions and unbuttered crusts. Go mini, but go mighty!” —Chef Emily