Spooky Halloween Sugar Cookies: Your New Boo-tiful Baking Tradition! 🎃👻
Hey there, cookie monsters and Halloween enthusiasts! 👋 Emily here from Tasty Chow, your fellow messy-apron-wearer and flavor fanatic. Is there anything more magical than that first crisp autumn breeze carrying the scent of buttery cookies? I swear, October turns my kitchen into a mad scientist’s lab – but instead of potions, we’re brewing up batches of joy with sprinkles and rolling pins!
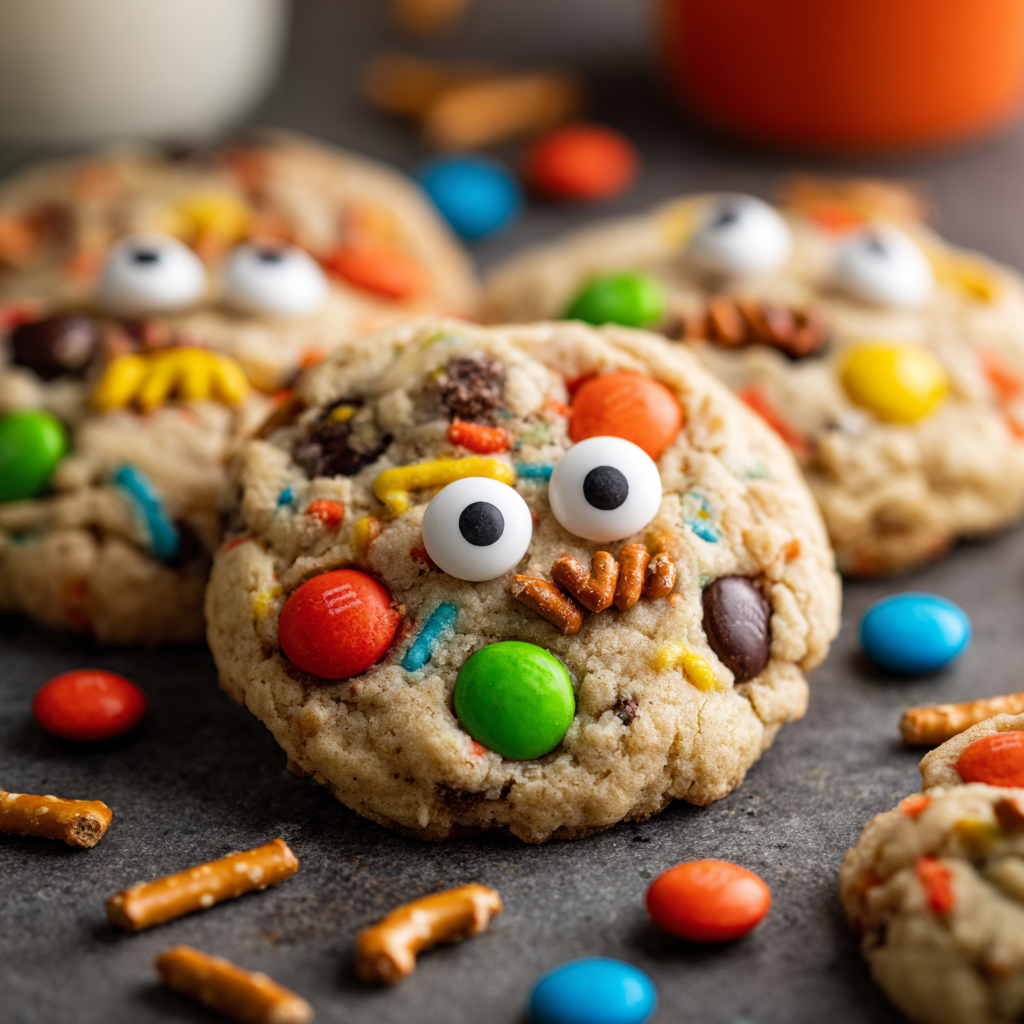
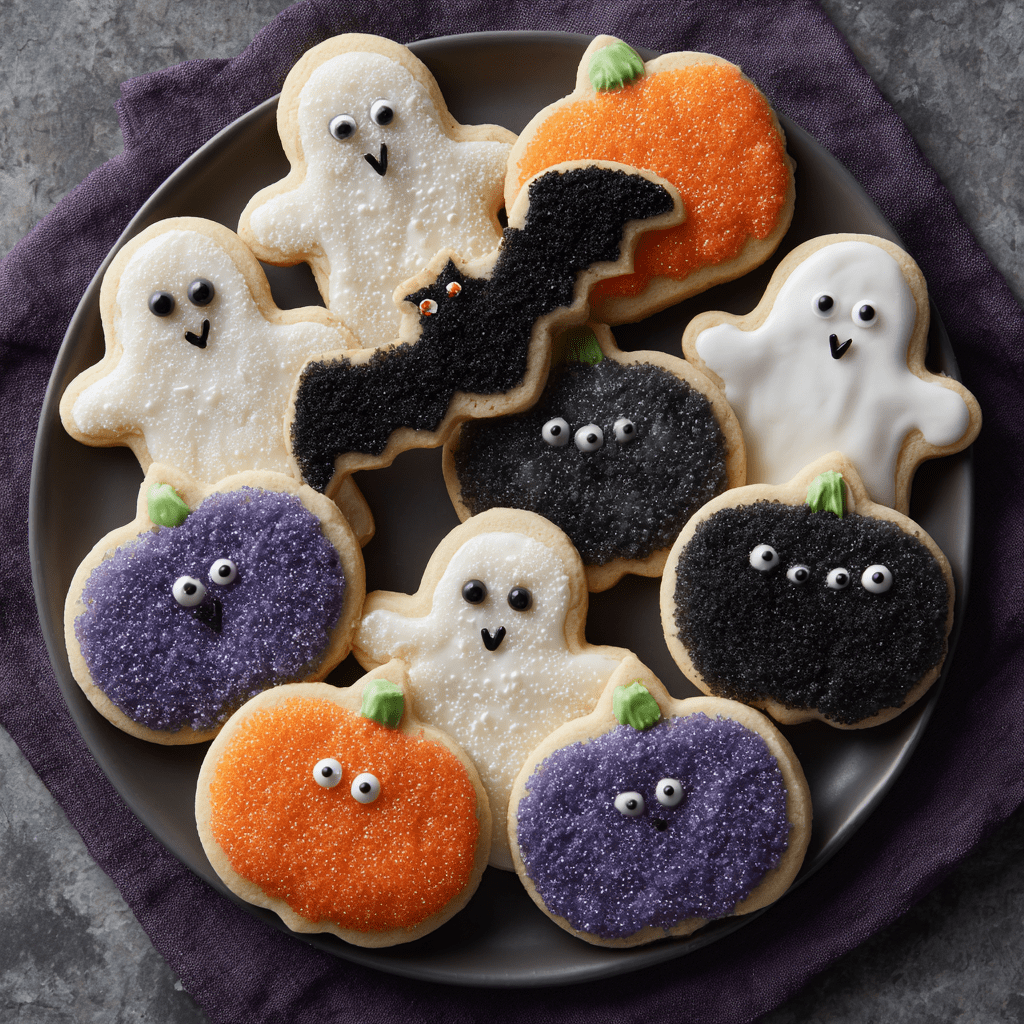
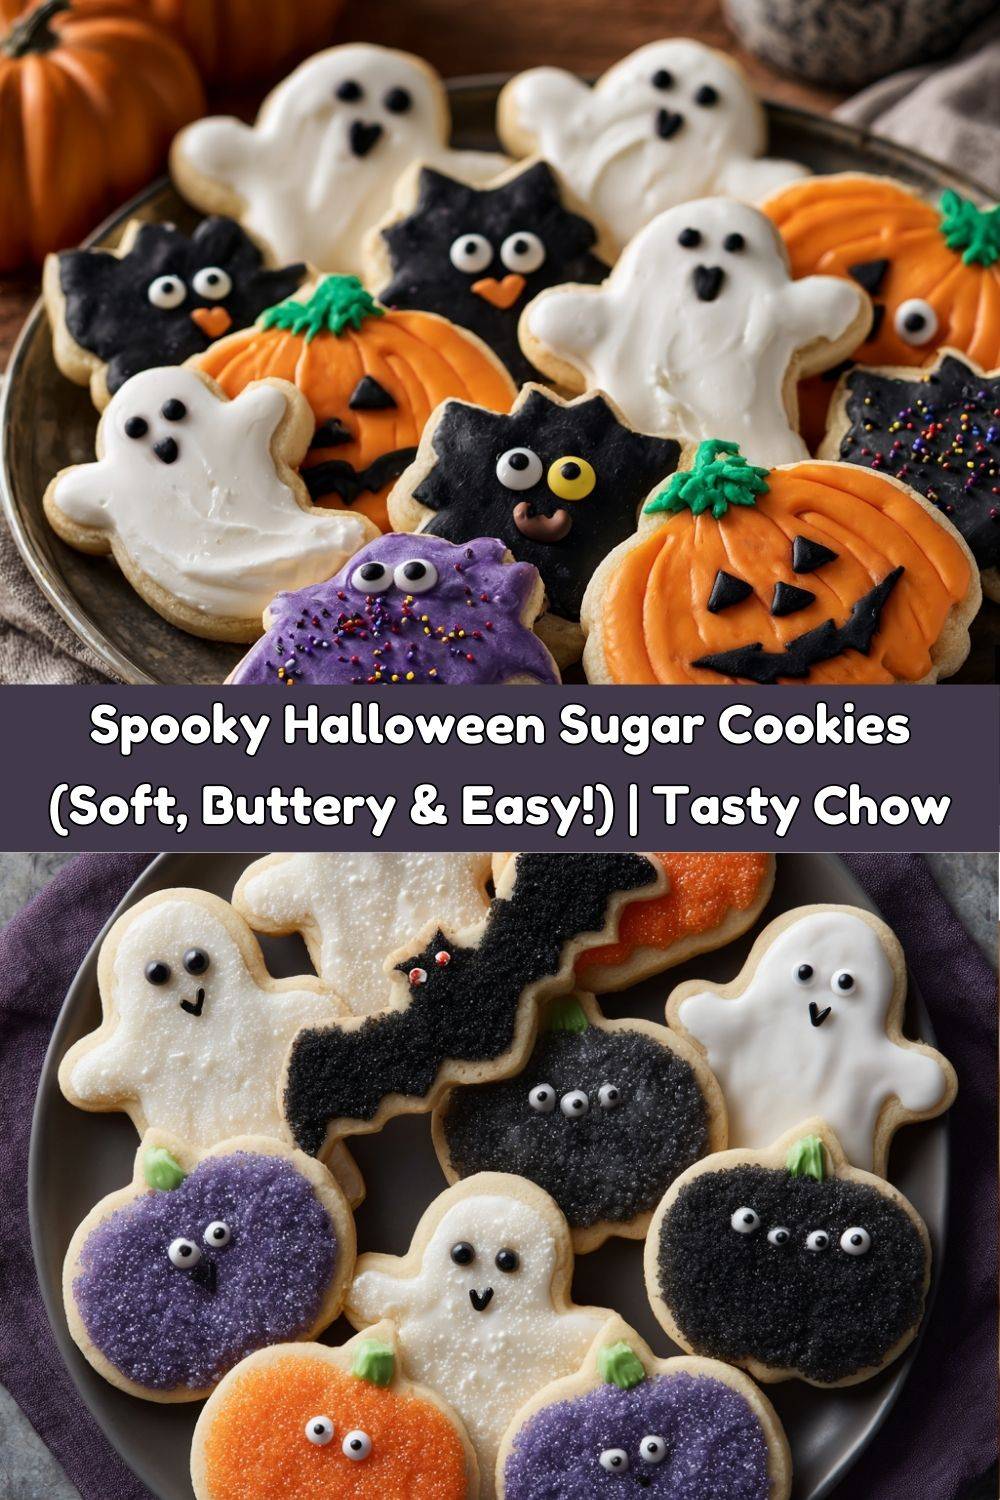
Today, we’re making my Spooky Halloween Sugar Cookies – the ultimate edible craft project that tastes as incredible as it looks. These aren’t those cardboard-like sugar cookies that leave you thirsty for a lake. Nope! We’re baking tender, buttery rounds with a hint of warm spice (my sneaky secret weapon) that hold their shape like little edible canvases. Ghosts that float off the plate, pumpkins with personality, bats that are actually adorable – we’re making them all!
Whether you’re hosting a monster mash, packing lunchbox surprises, or just embracing the cozy-creepy vibes with a horror movie marathon, these cookies are your edible jack-o’-lanterns. They’re sturdy enough for tiny decorators but melt-in-your-mouth delicious. So grab your favorite Halloween mug (mine’s covered in cartoon ghosts), put on that “Spooky Vibes Only” playlist, and let’s bake some memories that are scary good! 🎃👻
Grandma’s Spoon & My First Cookie Catastrophe
Picture this: Seven-year-old me, standing on a wobbly step stool in Grandma June’s kitchen, practically vibrating with excitement. It was my first official Halloween baking session. Grandma handed me her ancient wooden rolling pin – the one stained with decades of pie crusts and cookie dough. “Now Emmy,” she said, flour dusting her apron like ghostly ectoplasm, “Cookie magic happens when you bake with love… and don’t eat all the sprinkles before decorating.”
We were making simple pumpkins and ghosts. Well, Grandma made elegant ones. Mine? Let’s just say my ghosts looked more like grumpy clouds, and one pumpkin resembled a squashed tomato! I got overzealous with the orange icing, creating a sugary landslide. But when I proudly presented my lopsided creations to my family? You’d think I’d sculpted Michelangelo’s David in dough! That moment – the smell of cinnamon, Grandma’s chuckle, the sticky-fingered triumph – is baked into my soul. Now, every October, I channel Grandma June’s patience (and try *really* hard not to eat all the sprinkles first). These cookies aren’t just treats; they’re edible love letters to those messy, magical kitchen moments.
🧪 Your Halloween Cookie Potion Ingredients
Makes ~36 Spooktacular Cookies
Gather these pantry heroes and let’s conjure some cookie magic! Don’t sweat substitutions – baking should be fun, not stressful. I’ve got your back.
- 1 cup (226g) unsalted butter, softened – This is your flavor foundation! Chef’s Tip: SOFTENED, not melted. Leave it out for 1-2 hours. Pinch test: It should yield gently. Sub with vegan butter sticks for dairy-free, but avoid tub spreads (too much water).
- 1 cup (200g) granulated sugar – Sweetness and structure. Chef’s Twist: Swap ¼ cup with brown sugar for extra chew and caramel notes if you like!
- 1 large egg – The binder! Bring it to room temp with the butter for smoother mixing. Cold eggs can make the dough curdle slightly.
- 1 ½ tsp vanilla extract – Pure vanilla is best here. Feeling fancy? Add ½ tsp almond extract for a mysterious depth (perfect for ghosts!).
- 2 ¾ cups (330g) all-purpose flour – Measure correctly! Spoon flour into the cup and level it off. Gluten-Free? Use a 1:1 GF blend with xanthan gum.
- ½ tsp baking powder – Lifts the cookies just enough for a soft bite without puffing them out of shape.
- ½ tsp salt – Balances the sweetness and makes flavors POP. Use fine sea salt.
- ½ tsp cinnamon (My Secret Weapon!) – Adds a warm, cozy hug to your cookies. It’s subtle but game-changing!
- ⅛ tsp nutmeg (Optional Depth Booster) – Just a whisper! Freshly grated is heavenly. Skip if you’re not a nutmeg fan.
For Decorating Your Mini Monsters:
- Halloween cookie cutters – Ghosts, bats, pumpkins, cats, tombstones – the spookier, the better! No cutters? Use a knife to carve simple shapes or clean jar lids for circles (mini moons!).
- Royal Icing (Black, White, Orange, Purple) – The glue for your spooky art! Chef’s Hack: Use store-bought for ease, or whip up a batch with powdered sugar, meringue powder, and water. Thicken for outlines, thin for flooding.
- Candy Eyes, Sprinkles & Edible Glitter – Personality central! Raid the baking aisle. Colored sugar, bat-shaped sprinkles, even crushed Oreos for “dirt” on tombstones!
👻 Baking Magic: Step-by-Step Spookification
Follow these steps, and you’ll have picture-perfect (and delicious!) Halloween cookies. My key? Patience + Chilling = Sharp Shapes!
- Cream Butter & Sugar Like a Boss: “In a large bowl, beat the softened butter and granulated sugar together for a full 3-4 minutes with an electric mixer on medium-high. Why so long? This incorporates air, making your cookies light, not dense. It should look pale, fluffy, and almost like whipped cream. Scrape the bowl halfway! This step is non-negotiable for perfect texture.”
- Egg & Vanilla Party: “Beat in the egg and vanilla extract just until combined. Don’t overbeat after adding the egg, or cookies can get tough. If the mixture looks slightly curdled (cold egg syndrome!), don’t panic! Adding the flour will fix it.”
- Whisk the Dry Spell (Ingredients!): “In a separate bowl, whisk together the flour, baking powder, salt, cinnamon, and nutmeg (if using). Whisking ensures even distribution – no one wants a salty bite! Flour Power Tip: Sifting isn’t mandatory if you whisk really well.”
- Gradually Unite Wet & Dry: “With the mixer on low, gradually add the dry ingredients to the wet ingredients. Mix just until no dry streaks remain and a soft dough forms. Overmixing = tough cookies! It might look crumbly at first; keep mixing gently. If it seems too dry, add 1 tsp milk. Too sticky? Add 1 tbsp flour.”
- Divide, Flatten & Chillax: “Divide the dough in half. Flatten each half into a 1-inch thick disc. Wrap tightly in plastic wrap. Chill for at least 1 hour (up to 2 days). Chilling is KEY! It firms the butter back up, preventing spread, and makes rolling SO much easier. Trust me, skip this and you’ll get blobby ghosts!”
- Preheat & Prep: “Preheat oven to 350°F (175°C). Line baking sheets with parchment paper. No parchment? Silicone mats work, or lightly grease the pan.”
- Roll & Cut (The Fun Part!): “Lightly flour your work surface and rolling pin. Roll one dough disc out to about ¼-inch thickness. Pro Hack: Roll between two sheets of lightly floured parchment to prevent sticking and avoid adding too much extra flour (which dries cookies). Cut shapes close together. Dip cutters in flour to prevent sticking!”
- Chill Again (Yes, Really!): “Place cut shapes onto the prepared baking sheet. Pop the sheet into the freezer for 10 minutes (or fridge for 15). This second chill is the secret weapon for sharp edges! It resolidifies the butter before baking.”
- Bake to Golden Perfection: “Bake for 8-10 minutes. Rotate the pan halfway through. Watch closely! They’re done when the edges look just set and very lightly golden. The centers might still look slightly soft – they’ll firm up! Overbaking kills the soft bite. Bake one test sheet first if unsure.”
- Cool Completely – Patience, Padawan: “Let cookies cool on the baking sheet for 5 minutes (they’re fragile when hot!). Then, transfer them gently to a wire rack to cool completely, about 1 hour. DO NOT DECORATE WARM COOKIES! Icing will melt into a spooky puddle.”
- Unleash Your Inner Picasso: “Decorate with royal icing, candy eyes, sprinkles, and glitter! Use piping bags with small tips or ziplock bags with a tiny corner snipped off. Let icing set completely (several hours or overnight) before stacking. Cue the monster mash!”
🎃 Serving Up the Spooky Spectacle
Presentation is half the Halloween fun! Pile these cookies high on a creepy cake stand or a rustic wooden board lined with parchment. Tuck in some fake spiderwebs or autumn leaves for ambiance. For individual scares, wrap ghosts in cellophane bags tied with black ribbon – perfect party favors! Pair them with hot apple cider (spiked for the grown-ups!), a steaming mug of pumpkin spice latte, or a glass of cold milk for maximum dunking pleasure. Watching kids (or adults!) carefully select their favorite monster is pure joy. Let them be the centerpiece of your spooky spread!
⚡ Ghoulishly Good Variations
Don’t be afraid to experiment! Here are some spine-tingling twists:
- Chocolate Graveyard: Swap ¼ cup flour for unsweetened cocoa powder in the dough. Decorate with white icing “RIP” tombstones and crushed chocolate cookie “dirt.”
- Zombie Bites: Add green food gel to the icing for zombies! Use red icing for “blood” splatters. Skip the eyes for extra creep factor.
- Ginger-Spice Skeletons: Add 1 tsp ground ginger and ¼ tsp cloves to the dry ingredients for a warming kick. Perfect for bone-shaped cookies!
- Vegan Vampires: Use vegan butter, a flax egg (1 tbsp ground flax + 3 tbsp water, let sit 5 mins), and plant-based milk if needed. Decorate with vegan icing and candies.
- Gluten-Free Ghouls: Use a reliable 1:1 gluten-free flour blend (like Bob’s Red Mill or King Arthur) and ensure all decorations are GF.
👩🍳 Emily’s Spooky Scribbles & Kitchen Confessions
This recipe has evolved from my Grandma’s basic cutouts! The cinnamon/nutmeg twist came after a happy accident – I grabbed the wrong spice jar while distracted by my cat attacking a rolling pin (true story!). Now it’s non-negotiable. The double chill? Learned that the hard way after a batch of bats morphed into indistinguishable blobs one frantic Halloween eve. My biggest tip? Embrace the imperfect cookies! That ghost with one giant eye? A cyclops! The cracked pumpkin? Vintage charm! The year my dog stole a bat-shaped cookie off the cooling rack mid-photo shoot… well, that became his Halloween costume (Captain Cookie Thief!). Baking is about joy, not perfection. Laugh, make a mess, lick the spoon, and savor the sweet (and slightly spooky) memories you’re creating.
❓ Ghoul-ash of Questions? We’ve Got Answers!
Q: My dough is super sticky! Help!
A: Don’t panic! First, ensure you measured the flour correctly (spoon & level!). Chill the dough longer – sometimes it just needs more firming up. When rolling, use plenty of flour on your surface and pin, or try the parchment roll method. If it’s truly unmanageable, gently knead in 1-2 tbsp more flour until just workable.
Q: Why did my cookies spread into shapeless blobs?
A: This is almost always a temperature issue! Likely culprits: Butter was too soft/melted, dough wasn’t chilled long enough (that double chill is crucial!), or the baking sheet was still warm when you added the next batch. Ensure butter is softened but cool, chill dough discs fully, chill cut shapes, and use cool baking sheets.
Q: My royal icing is too runny/thick. How do I fix it?
A: Runny icing? Add more sifted powdered sugar, a tablespoon at a time. Too thick? Add tiny amounts of water (like ½ tsp at a time) and mix thoroughly. Aim for “outline” consistency: A ribbon of icing should hold its shape for about 10 seconds before melting back into itself.
Q: Can I freeze these cookies?
A: Absolutely! Freeze undecorated baked cookies for up to 2 months in airtight containers. Thaw before decorating. You can also freeze the dough discs for up to 3 months; thaw overnight in the fridge before rolling. Decorated cookies freeze okay, but icing colors might bleed slightly.

Spooky Halloween Sugar Cookies
- Total Time: ~1.5 hrs
- Yield: 36 Cookies 1x
Description
Classic buttery sugar cookies with a soft bite and festive flair—perfect for ghosts, pumpkins, and bats! Add warming spices and candy eyes for a fun, flavorful twist that’s scary good.
Ingredients
For the cookies:
1 cup (226g) unsalted butter, softened
1 cup (200g) granulated sugar
1 large egg
1 ½ tsp vanilla extract
2 ¾ cups (330g) all-purpose flour
½ tsp baking powder
½ tsp salt
½ tsp cinnamon (my twist – adds warm flavor)
⅛ tsp nutmeg (my twist – optional for depth)
For decoration:
Halloween cookie cutters (ghost, bat, pumpkin, etc.)
Royal icing (black, white, orange, purple)
Candy eyes, sprinkles, or edible glitter
Instructions
In a large bowl, cream butter and sugar until light and fluffy.
Beat in egg and vanilla.
In a separate bowl, whisk together flour, baking powder, salt, cinnamon, and nutmeg.
Gradually mix dry ingredients into the wet until a soft dough forms.
Divide dough in half, flatten into discs, and chill for 1 hour.
Preheat oven to 350°F (175°C). Line baking sheets with parchment.
Roll dough to ¼-inch thickness on a floured surface. Cut out shapes.
Transfer to baking sheet and chill again for 10 mins (helps shapes hold).
Bake for 8–10 minutes until edges are just golden. Cool completely.
Decorate with royal icing, candy eyes, and sprinkles. Let set.
- Prep Time: 20 minutes
- Chill Time: 1 hour
- Cook Time: 10 minutes
Nutrition
- Calories: 140kcal / Cookie
- Sugar: 9g / Cookie
- Sodium: 40mg/ Cookie
- Fat: 6g / Cookie
- Saturated Fat: 3.5g / Cookie
- Carbohydrates: 19g/ Cookie
- Protein: 1g / Cookie
🧾 Bite-Sized Nutrition (Approximate per Cookie)
Calories: 140kcal | Fat: 6g | Saturated Fat: 3.5g | Carbohydrates: 19g | Sugar: 9g | Protein: 1g | Sodium: 40mg
Note: Nutritional info is an estimate and will vary based on specific ingredients used and decoration amounts.
Final Thoughts
If Halloween had a flavor, it would taste like these cookies: buttery, warm-spiced, and a little bit mischievous. From Grandma June’s rolling pin wisdom to your kitchen today, consider this your annual excuse to play with icing, make a happy mess, and turn imperfect shapes into perfectly sweet memories. Don’t skip the double-chill (sharp edges = decorating bliss), queue up your favorite spooky playlist, and let each cookie tell its own little ghost story. Whether you’re baking with littles, hosting a monster mash, or treating yourself after a scary-good movie night, these cutouts are your new October tradition. Now grab the sprinkles—your boo-tiful cookie lab is open! 🎃👻