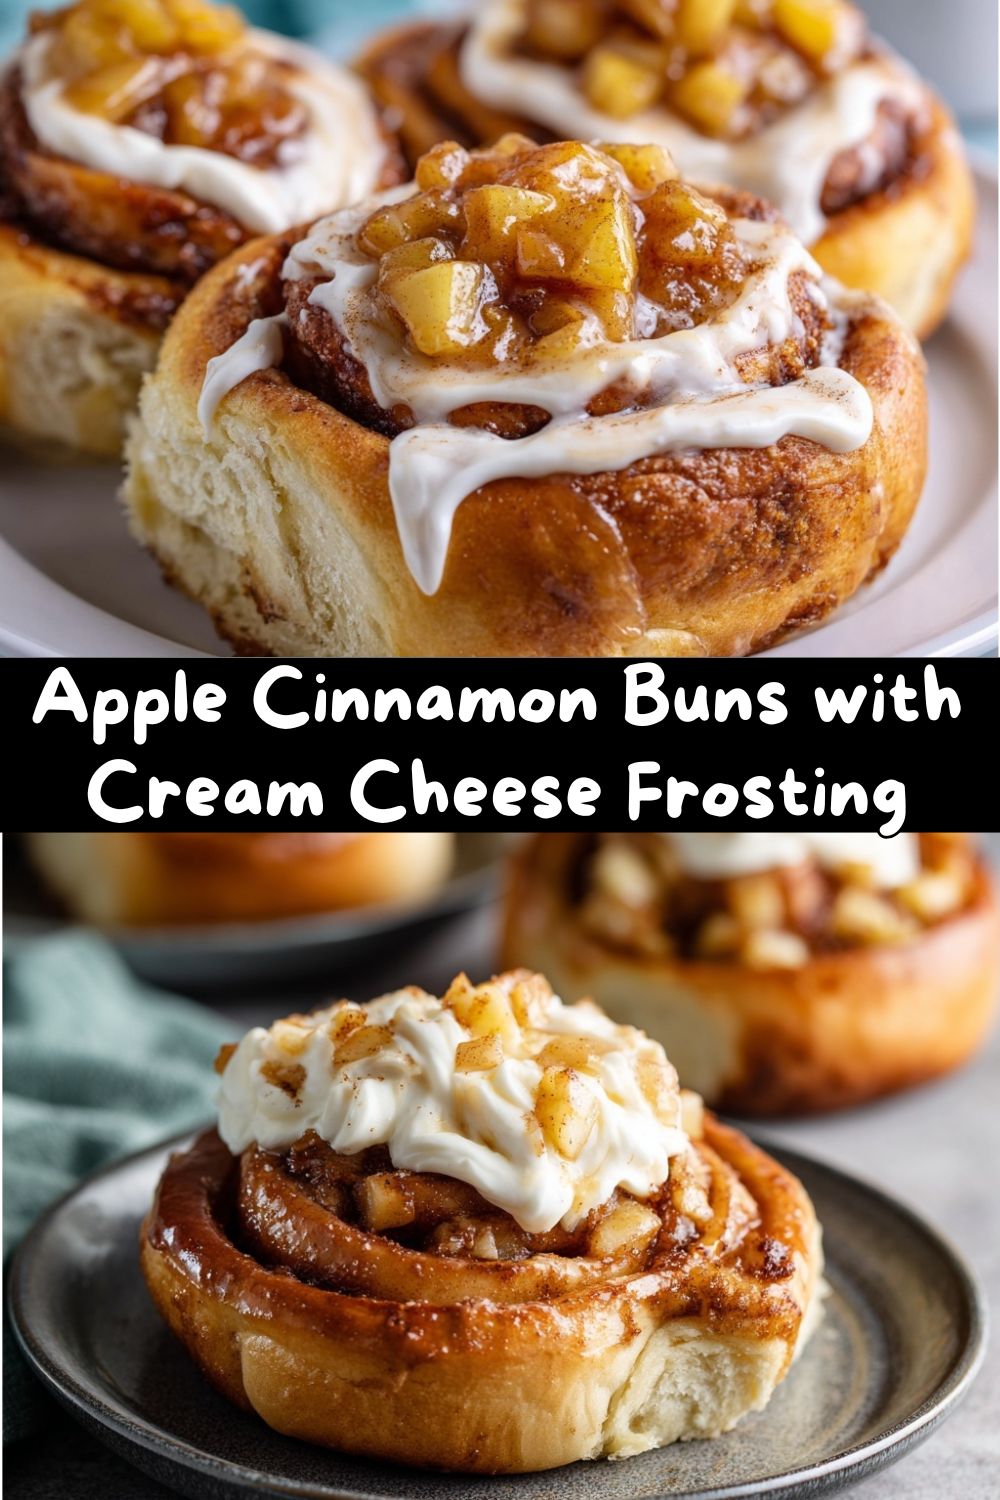
Apple Cinnamon Buns with Cream Cheese Frosting – Your New Fall Obsession
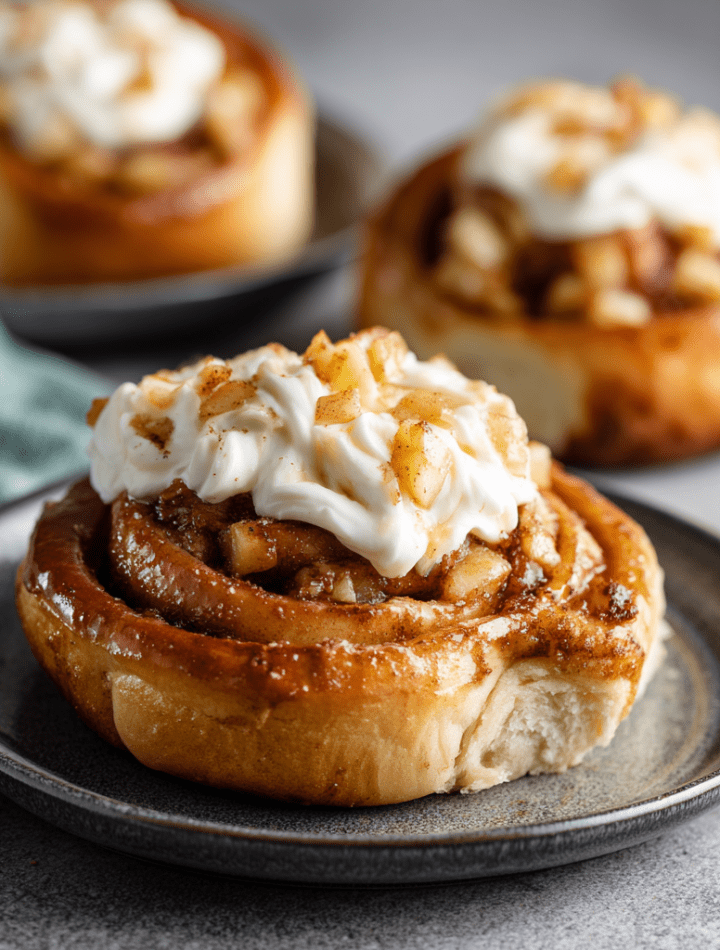
Today, we’re not just making cinnamon rolls. We’re creating Apple Cinnamon Buns – a hybrid of your favorite gooey breakfast pastry and the soul-warming essence of apple pie. These are the buns of your daydreams: impossibly soft, filled with a crackly cinnamon-sugar swirl, dotted with tender spiced apples, and smothered in a tangy, luscious cream cheese frosting that melts into every nook and cranny.
I know baking with yeast can feel a little intimidating, but I promise, we’re in this together. I’ve packed this guide with all my favorite chef hacks and encouragements. This recipe is a labor of love, yes, but it’s also a seriously fun kitchen project that ends with you being the absolute hero of your household. So, tie on that apron (the messy one is always the best), and let’s make a memory—and an unforgettable breakfast.
The Story Behind the Bun: Grandma’s Apron & My Aha Moment
This recipe has roots. Deep, delicious roots in my Grandma Marion’s kitchen. She was the queen of the “kitchen sink” bake—throwing in a little of this, a handful of that, and creating pure magic. Her classic cinnamon rolls were legendary at church potlucks. But she’d always wink and say, “The recipe’s not done ‘til you make it your own, Em.”
Years later, during my first fall in culinary school, I was drowning in a sea of perfect, but frankly, kind of stuffy, French pastries. I was homesick. I missed the unpretentious, heart-on-a-plate kind of baking. One rainy Sunday, I decided to tackle her roll recipe, but I had a bag of gorgeous Honeycrisp apples staring me down. On a whim, I sautéed them with butter and cinnamon and swirled them right into the filling. The moment I pulled that pan out of the oven, the entire dorm floor came sniffing around. That was my “aha!” moment. This was my “own” twist. It was cozy, it was bold, and it tasted like home and ambition all at once. Every time I make these, I think of her worn wooden spoon and that wink.
Gathering Your Cozy-Making Ingredients
Here’s everything you’ll need to create this masterpiece. I’ve added my little chef notes next to each one because knowledge is power (and fluffier buns!).
For the Dough (The Cloud Foundation):
- 1 cup warm milk (about 110°F): The cozy bath for our yeast. Pro Tip: “Warm” should feel like pleasant bathwater on your wrist—too hot and you’ll kill the yeast! No whole milk? 2% works great.
- 2¼ tsp active dry yeast (1 standard packet): Our magical leavening fairy. Make sure your packet isn’t expired for the best rise.
- ¼ cup granulated sugar: Just a bit to feed the yeast and add a hint of sweetness to the dough itself.
- 1 large egg + 1 egg yolk: The whole egg gives structure, the extra yolk is our secret weapon for an incredibly tender, rich crumb. Save the extra white for an egg wash on something else!
- ¼ cup (4 tbsp) unsalted butter, melted: Flavor and softness! I use unsalted to control the salt level in the dough.
- 3 cups all-purpose flour, plus more for dusting: The workhorse. I often use unbleached. We may need a touch more or less depending on humidity—the dough should be tacky but not stick to your clean hands.
- ½ tsp fine sea salt: The flavor booster. It balances all the sweetness and strengthens the gluten.
For the Cinnamon-Sugar Filling (The Heart of the Swirl):
- ½ cup packed light brown sugar: The molasses notes in brown sugar create a deeper, almost caramel-like flavor compared to white sugar. Dark brown sugar works too for an even richer taste.
- 2 tbsp ground cinnamon: Do not skimp! This is the time for high-quality cinnamon. Its warm, spicy aroma is non-negotiable.
- ¼ cup (4 tbsp) unsalted butter, softened: Softened to room temperature so it spreads like a dream without tearing the dough.
For the Apple Topping (The Star of the Show):
- 2 medium baking apples (like Granny Smith, Honeycrisp, or Braeburn): You want an apple that holds its shape when cooked. Peeled and diced into small, bite-sized pieces.
- 2 tbsp unsalted butter: For sautéing and adding richness.
- 2 tbsp brown sugar: To help the apples caramelize beautifully.
- ½ tsp ground cinnamon: To tie the apple flavor back to the filling.
- A big splash of fresh lemon juice (about 1 tsp): This brightens the flavor and prevents the apples from browning too much as you dice them.
For the Cream Cheese Frosting (The Velvety Crown):
- 4 oz full-fat brick cream cheese, softened: Full-fat is essential for the best texture and flavor. Let it sit out for a good 30-60 minutes.
- ¼ cup (4 tbsp) unsalted butter, softened: Same deal—room temp is key for a lump-free frosting.
- 1 cup powdered sugar, sifted: Sifting avoids lumps and creates a silky-smooth frosting.
- ½ tsp pure vanilla extract: The finishing touch. It adds a beautiful depth of flavor.
Let’s Get Baking: Step-by-Step to Bun Bliss
Follow these steps, read my commentary (that’s where the gold is!), and you’ll have perfect buns. I believe in you!
- Wake Up the Yeast: In the bowl of your stand mixer (or a large mixing bowl), combine the warm milk and yeast. Give it a quick stir and let it sit for 5-10 minutes. You’re looking for a foamy, frothy layer on top—this is called “proofing” and it tells you your yeast is alive and ready to work! Chef’s Whisper: If it doesn’t foam, your yeast might be old or your liquid was too hot/cold. Start over before adding other ingredients.
- Make the Dough: To the yeast mixture, add the sugar, the whole egg, the extra yolk, and the melted butter. Whisk it all together until combined. Fit your mixer with the dough hook attachment. Add the 3 cups of flour and the salt. Mix on low speed until the flour is incorporated, then increase to medium speed and knead for 5-7 minutes. The dough should pull away from the sides of the bowl and be slightly tacky to the touch. If it’s very sticky, add a tablespoon of flour at a time. No mixer? No problem! Use a wooden spoon and then turn the shaggy dough out onto a floured surface. Knead by hand for 8-10 minutes until smooth and elastic. It’s a great arm workout!
- The First Rise (Let it Nap!): Shape the dough into a ball. Place it in a lightly oiled bowl, turning it once to coat. Cover the bowl with a clean kitchen towel or plastic wrap and let it rise in a warm, draft-free spot for 1 to 1.5 hours, or until doubled in size. My favorite trick? I turn my oven on to the “warm” setting for 1 minute, then turn it OFF and place the covered bowl inside. It’s the perfect proofing box!
- Roll & Fill (The Fun Part!): While the dough rises, mix your brown sugar and cinnamon for the filling in a small bowl. Also, grease a 9×13 inch baking dish. Once the dough has doubled, punch it down (so satisfying!) and turn it out onto a lightly floured surface. Roll it into a roughly 10×14 inch rectangle. Spread the ¼ cup of softened butter evenly over the entire surface, leaving a tiny border. Sprinkle the cinnamon-sugar mixture all over the butter, pressing it in gently with your hands.
- Roll, Slice, and Rise Again: Starting from the long side closest to you, tightly roll the dough into a log. Pinch the seam to seal. Using a sharp serrated knife or unflavored dental floss (my go-to hack for clean cuts!), slice the log into 9-12 even rolls. Place them cut-side up in your prepared baking dish. Cover again and let them rise for 30-45 minutes until puffy. They won’t quite double this time, but they’ll get noticeably bigger.
- Bake to Golden Perfection: Preheat your oven to 350°F (175°C). Once the rolls are puffy, bake them for 25-30 minutes, until they’re a deep, beautiful golden brown on top. Don’t underbake! The center should sound hollow if you tap it lightly.
- Make the Apple Topping & Frosting: While the buns bake, make the apple compote. Melt butter in a skillet over medium heat. Add diced apples, brown sugar, cinnamon, and lemon juice. Cook, stirring occasionally, for 8-10 minutes until the apples are tender and the sauce is slightly syrupy. Set aside. For the frosting, beat the softened cream cheese and butter together until completely smooth. Beat in the sifted powdered sugar and vanilla until creamy.
- The Grand Finale – Assemble! As soon as the buns come out of the oven, let them cool in the pan for just 5 minutes. Then, spread the cream cheese frosting generously over the warm buns—it will get all melty and glorious. Finally, spoon the warm apple topping over each bun, letting it sink into the frosting. Serve immediately for peak gooeyness!
How to Serve These Beauties
Presentation is part of the joy! I like to serve these right from the baking dish, family-style, with a big pot of strong coffee or hot apple cider on the side. The communal feel is just so cozy. For a prettier plate, you can use a spatula to lift individual buns onto plates, making sure to get all the extra apple bits and frosting from the pan. A little extra dusting of cinnamon on top never hurt anybody. These are rich, so one bun is usually perfect, but… I won’t judge if you go back for seconds. They’re best the day they’re made, but trust me, they rarely last that long.
Make It Your Own: Delicious Twists & Swaps
Love this base recipe? Here’s how to play with it!
- Nutty Crumble Twist: Add ½ cup of chopped toasted pecans or walnuts to the cinnamon-sugar filling. You can also sprinkle a streusel (mix ¼ cup flour, 2 tbsp brown sugar, 2 tbsp cold butter, pinch of cinnamon) over the buns before baking.
- Maple Bacon Dream: Cook 4 slices of bacon until crispy, crumble, and add to the apple topping. Swap the vanilla in the frosting for 2 tbsp of pure maple syrup.
- Gluten-Free Friendly: Use a 1:1 gluten-free all-purpose flour blend (like Bob’s Red Mill) for the dough. The texture will be slightly more delicate but still delicious.
- Dairy-Free Delight: Use plant-based milk (oat or almond work well), vegan butter sticks, and vegan cream cheese. The results are fantastic!
- Pear-Ginger Variation: Swap the apples for ripe diced pears and add 1 tsp of freshly grated ginger to the sauté. A game-changer for a more sophisticated flavor.
Emily’s Chef Notes & Kitchen Confessions
This recipe has evolved over countless Sunday mornings. I once, in a sleepy haze, used paprika instead of cinnamon in the filling. Let’s just say spicy cinnamon rolls are… an acquired taste! My husband still teases me about it. I’ve learned to label my spice jars clearly. Another time, I was out of milk and used vanilla almond milk—it added a subtle sweetness that was actually amazing. Baking is an adventure! Don’t be afraid of the dough. It’s forgiving. The biggest lesson? Always make the apple topping while the buns bake. Trying to do it all at the end leads to frantic, hungry people in your kitchen. Ask me how I know.
Your Questions, Answered (FAQs)
Q: My dough didn’t rise. What went wrong?
A: The most common culprits are old/expired yeast or liquid that was too hot (which kills yeast) or too cold (which puts it to sleep). Ensure your milk is just warm to the touch (110°F) and check the expiration date on your yeast packet. Also, make sure your rising spot is warm and draft-free!
Q: Can I make these the night before?
A: Absolutely! Prepare the recipe through slicing the rolls and placing them in the greased pan. Instead of letting them rise at room temp, cover the pan tightly with plastic wrap and refrigerate overnight. In the morning, take them out, let them sit at room temp for 30-60 minutes while your oven preheats, then bake as directed. You can also prep the apple compote and frosting the night before and
store them covered in the fridge. Gently rewarm the apple topping before spooning it over the freshly baked, frosted buns.
Q: Can I freeze Apple Cinnamon Buns?
A: Yes! Bake the rolls completely without frosting, let them cool, then wrap tightly and freeze for up to 2 months. Thaw overnight in the fridge, warm in a 300°F oven until soft, then frost and add the apple topping. They’ll taste bakery-fresh.
Q: My rolls baked too dark on top but felt underdone in the middle—help!
A: This usually means your oven runs hot. Next time, loosely tent the pan with foil halfway through baking. For this batch, cover with foil and bake an extra 5–8 minutes until the centers are fully set.
Q: Can I double this recipe?
A: Absolutely—and honestly, it’s encouraged 😄 Use two 9×13 pans or one large roasting pan, and rotate them halfway through baking for even color.
The Final Bite 🍎✨
These Apple Cinnamon Buns with Cream Cheese Frosting are everything I love about fall baking wrapped up in one glorious pan: cozy, generous, a little indulgent, and made for sharing. They’re the kind of recipe that slows a morning down, fills the kitchen with laughter and cinnamon-sugar perfume, and makes people linger at the table just a little longer.
Whether you bake them for a holiday morning, a weekend brunch, or just because the air feels crisp and your soul needs something warm—know this: you didn’t just make breakfast. You made a moment.
So pour the coffee, scrape every last bit of frosting from the pan, and don’t forget Grandma Marion’s wisdom—the recipe’s not done until you make it your own.
Happy baking, friend. 🍂🧡