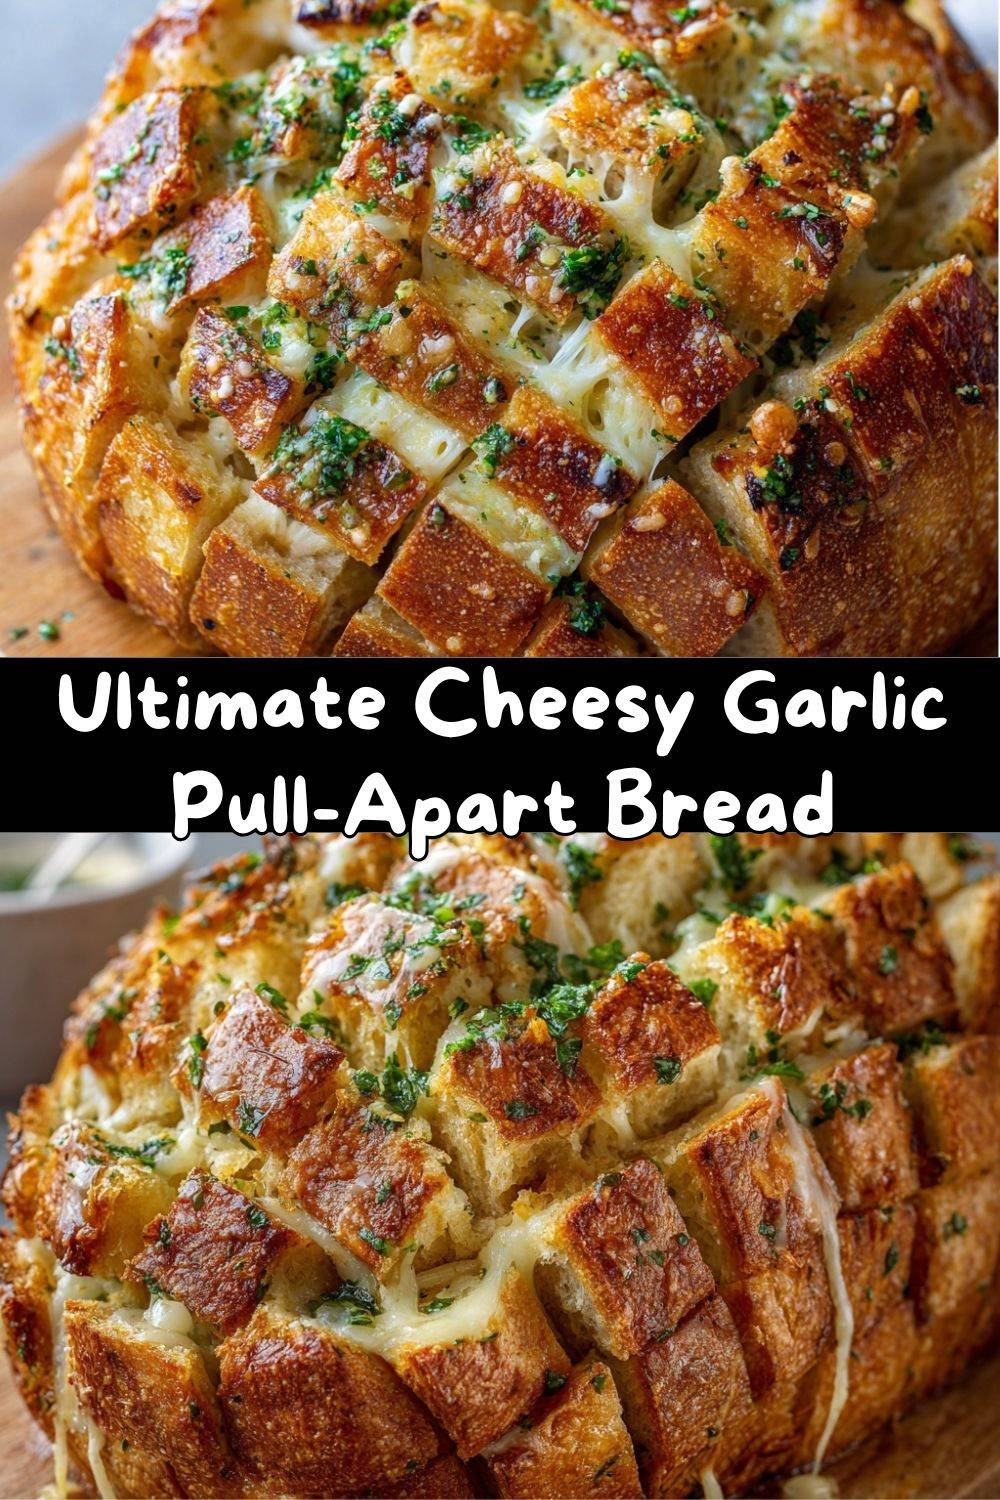
Let’s Get This Party Started: Your New Favorite Appetizer is Here!
Hey there, friends! Emily here from Tasty Chow, coming at you from my flour-dusted kitchen counter. Raise your hand if the mere mention of “cheesy,” “garlic,” and “bread” in the same sentence makes your stomach do a little happy dance. I see you! And let me tell you, we are about to become best kitchen buddies because today, we’re diving headfirst into the glorious, gooey, pull-apart world of Cheesy Garlic Pull-Apart Bread.
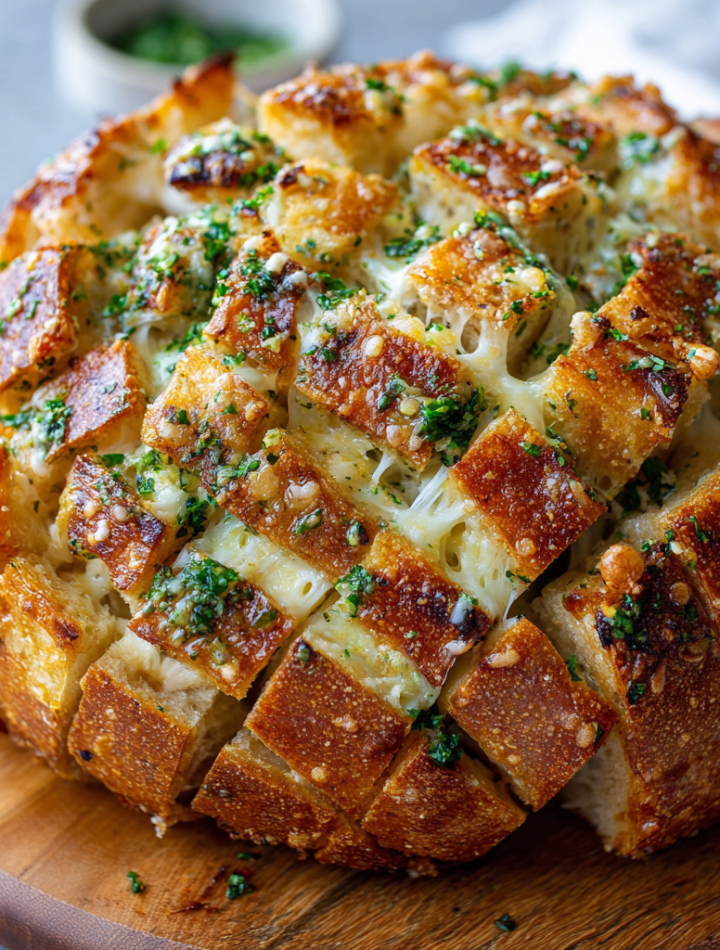
This isn’t just a recipe; it’s an experience. Imagine a crusty, rustic loaf, transformed into a warm, fragrant centerpiece. Each piece you tear away is dripping with savory garlic butter and oozing with molten, stretchy cheese. It’s the ultimate shareable food for game day, movie night, or “just because it’s Tuesday and we deserve something amazing.” The beauty of it? It looks incredibly impressive but is secretly one of the easiest things you’ll ever make. We’re talking 10 minutes of hands-on time for maximum crowd-pleasing glory. So, tie on that apron, grab your favorite serrated knife, and let’s make a memory—and a seriously delicious mess.
The Slice That Started It All: A Garlicky Love Story
My love affair with this bread began in the most unlikely place: a crowded, noisy sports bar. I was in culinary school, deep in the complexities of sauces and pastry, and my friends dragged me out for a much-needed break. We ordered a “cheesy garlic loaf” as a table snack. When it arrived, steaming and fragrant, we all just stared for a second. Then, the great tearing commenced. Laughter, cheese strings stretching comically between our fingers, the unanimous “OH MY GOSH, you have to try this!”—it was pure, unadulterated food joy.
On the drive home, my chef-brain was whirring. “I can make this better,” I thought. “I can use real fresh garlic, a blend of cheeses, and my grandma’s trick for the perfect butter soak.” I raced into my tiny apartment kitchen and got to work. The first version was good. The tenth version (sorry, roommates, for all the carbs!) was legendary. It became my signature dish for every potluck and gathering. It’s the recipe I get requested more than any fancy dessert. It’s not about perfection; it’s about that shared moment of pulling apart warmth and goodness with the people you love. That’s the heart of Tasty Chow, right there on a bread board.
Gathering Your Flavor Arsenal: What You’ll Need
Here’s the beautiful part—the ingredient list is short, sweet, and powerful. Quality matters here, but I’ve also got all the swaps and secrets for you!
- 1 round sourdough or crusty Italian bread loaf – This is your canvas! A sturdy, crusty loaf with a soft interior is key. It holds up to the butter and cheese without getting soggy. Chef’s Insight: No round loaf? A rustic French baguette works beautifully too! Just adjust baking time down slightly.
- 1 ½ cups shredded mozzarella cheese – The king of meltiness. It gives you those iconic, Instagram-worthy cheese pulls. Pro Tip: For the love of all things cheesy, shred your own! Pre-shredded bags contain anti-caking agents that can make the melt less smooth. Trust me on this—it’s a game-changer.
- ½ cup unsalted butter, melted – Unsalted lets you control the salt level. This is the golden glue that carries all the garlicky goodness into every nook and cranny.
- 3 cloves garlic, finely minced – Fresh is non-negotiable here, friends. The pre-minced jarred stuff just doesn’t give the same vibrant, pungent kick. Substitution Tip: In a pinch, ¾ teaspoon of high-quality garlic powder can work, but fresh is best!
- 2 tablespoons chopped fresh parsley – This adds a pop of color and a fresh, herby note that cuts through the richness. If you only have dried, use 2 teaspoons.
- ¼ teaspoon salt – This enhances all the other flavors. Taste your butter mixture before pouring; you can always add a pinch more.
- Optional: Crushed red pepper flakes or Italian seasoning – Want a little heat? A pinch of red pepper flakes in the butter is magic. A sprinkle of Italian seasoning adds an herby depth.
Let’s Build Some Magic: Step-by-Step Instructions
Ready? Let’s transform that simple loaf into a masterpiece. Follow these steps, and don’t skip my little chef hacks in the commentary—they make all the difference!
- Preheat and Prep: Fire up your oven to 375°F (190°C). Line a baking sheet with foil or parchment for easy cleanup (because melted cheese is delicious but not fun to scrub).
- The Art of the Grid Cut: Place your loaf on a stable cutting board. Using a serrated knife, start cutting a 1-inch grid pattern into the bread. Here’s the crucial hack: DO NOT cut all the way through the bottom crust! You want the loaf to stay connected at the base, like a beautiful, cutable bouquet of bread. Slice deep, about ¾ of the way down. Take your time—this is the only tricky part, and it’s not tricky at all!
- Make the Liquid Gold: In a small bowl, combine the melted butter, your finely minced garlic, chopped parsley, and salt. Give it a whisk. Smell that? That’s the scent of happiness. Chef’s Tip: Let this mixture sit for 5 minutes if you have time. It lets the garlic flavor infuse into the butter even more.
- The Great Cheese Stuff: Gently pry open the cuts in your bread loaf. Don’t be shy! Now, stuff those crevices generously with your freshly shredded mozzarella. Push it down into the gaps. Think of it as tucking the bread into a cheesy, cozy bed.
- The Butter Baptism: Slowly and deliberately, pour or brush the garlic butter mixture all over the top of the loaf. Use a spoon or a pastry brush to really coax it down into every single cheesy crack. You want every piece to be kissed by that garlic butter.
- Bake to Bubbly Perfection: Wrap the entire loaf loosely in aluminum foil. This first stage steams the bread, warming it through and letting the butter and cheese start their melty magic. Bake for 15 minutes.
- The Grand Reveal: Carefully remove the pan from the oven (steam is hot!). Unwrap the foil. Ahhh, it’s already gorgeous. Now, return it to the oven, uncovered, for 10-15 more minutes. This is where the magic happens: the top gets golden and crisp, and the cheese becomes a bubbling, irresistible lava. It’s done when the top is toasty and the cheese is fully melted.
- The Most Important Step: Let it rest for about 5 minutes on the pan. I know, it’s torture. But this allows the cheese to set just slightly so it’s gooey, not runny, when you pull it. Then, transfer to a board or platter, and let the pulling commence!
How to Serve This Showstopper
Presentation is part of the fun! I love placing the warm, fragrant loaf right in the center of a big wooden cutting board or a vibrant ceramic platter. Scatter a few extra parsley leaves around for a fresh touch. Place a small bowl of warmed marinara sauce or a zesty ranch dressing for dipping right alongside it. For a real “wow” factor, sprinkle a little extra chopped parsley and a pinch of red pepper flakes over the top right before serving.
This is finger food at its finest, so skip the fancy plates. Just set out some napkins—lots of them—and let everyone gather ’round. It’s the perfect centerpiece for a spread of salads, soups (try it with tomato soup!), or grilled meats. Watch it disappear and bask in the compliments.
Mix It Up! 5 Delicious Twists on the Classic
Once you’ve mastered the basic blueprint, the world is your cheesy oyster! Here are some of my favorite ways to riff on this recipe:
- The Everything Bagel: Swap the garlic butter for a mix of melted butter, everything bagel seasoning, and minced dried onion. Use a mix of mozzarella and cream cheese cubes. Unreal.
- Spinach & Artichoke Dip Bread: Add ½ cup chopped thawed & squeezed spinach and ¼ cup chopped marinated artichoke hearts to your cheese mix. A sprinkle of parmesan on top takes it home.
- Pizza Party: Mix a tablespoon of tomato paste into your garlic butter. Stuff with a combo of mozzarella and mini pepperoni slices or diced salami. Finish with a sprinkle of dried oregano.
- Herb & Roasted Garlic: Roast a head of garlic beforehand and squeeze the sweet, soft cloves into your melted butter instead of using fresh minced garlic. Use fresh rosemary or thyme with the parsley.
- Breakfast Bread: Perfect for brunch! Use cubed sharp cheddar cheese. Add ¼ cup cooked, crumbled bacon or diced ham to the cheese stuffing. Serve with a side of scrambled eggs.
From My Kitchen to Yours: Chef Emily’s Notes
This recipe has seen many iterations in my kitchen! The biggest lesson learned was during a big family reunion. I was rushing and sliced the loaf all the way through. When I poured the butter on, it just pooled at the bottom of the pan, and the loaf fell apart. Lesson: That uncut bottom crust is your structural superhero! It holds everything together. Also, I once used a very soft sandwich bread loaf… let’s just say it turned into more of a cheesy garlic bread pudding (which was still eaten, but not the goal!). A crusty exterior is non-negotiable for the perfect pull-apart texture. This recipe is forgiving, but those two tips are golden.
Your Questions, Answered!
Q: Can I make this ahead of time?
A: Absolutely! You can assemble the bread completely—cut, stuff, butter, and all—wrap it tightly in foil, and refrigerate for up to 24 hours. When you’re ready, bake straight from the fridge, adding maybe 5 extra minutes to the covered baking time. Perfect for stress-free entertaining!
Q: My cheese isn’t melting well. What happened?
A> This almost always comes back to the cheese. Pre-shredded cheese has coatings that hinder melting. For the dreamiest, ooziest results, buy a block and shred it yourself. Also, make sure your pieces/cubes aren’t too large to melt evenly in the bake time.
Q: The top is browning too fast during the uncovered bake!
A: Ovens vary! If your top is getting too dark but the cheese isn’t fully melted, simply lay a loose piece of foil over the top (a “tent”) for the last few minutes of baking. This will shield it while the interior finishes.
Q: Can I use other cheeses?
A> Please do! Mozzarella is the MVP for stretch, but mixing in some sharp cheddar, provolone, Monterey Jack, or even a few small chunks of brie or gouda creates incredible flavor depth. Just keep one rule: most of the cheese should be a good melter.
A Quick Note on Nutrition
Friends, let’s be real: this is a celebration appetizer, a treat, a shareable moment of joy. I’m all about balance, so I enjoy this as part of a fun gathering, not an everyday meal. The provided nutritional information is an estimate per serving (assuming 8 servings from one loaf) based on the standard ingredients. Using part-skim mozzarella can reduce fat slightly, and choosing a whole-grain crusty bread can add a bit of fiber. But the soul of this dish is its indulgent, comforting nature. Savor it, share it, and enjoy every single cheesy, garlicky bite without guilt. Life’s too short for bad bread!
Final Thoughts: Go Forth and Pull Apart!
Well, my fellow flavor-chasers, we’ve done it! You are now armed with the knowledge to create the most epic, conversation-starting, deliciously messy appetizer ever. This Cheesy Garlic Pull-Apart Bread is more than a recipe; it’s a tool for making memories. It’s about the laughter around the table, the shared “mmmm” sounds, and the simple pleasure of tearing into something warm and made with love.
I can’t wait for you to try it. Tag me @TastyChow when you make it so I can see your beautiful creations! Now, go preheat that oven, and let’s make something delicious together.
With a full heart and a hungry belly,
— Emily 🧀✨