🍒 Cherry Cheesecake Cups: A Bite-Sized Trip Down Memory Lane 🥄
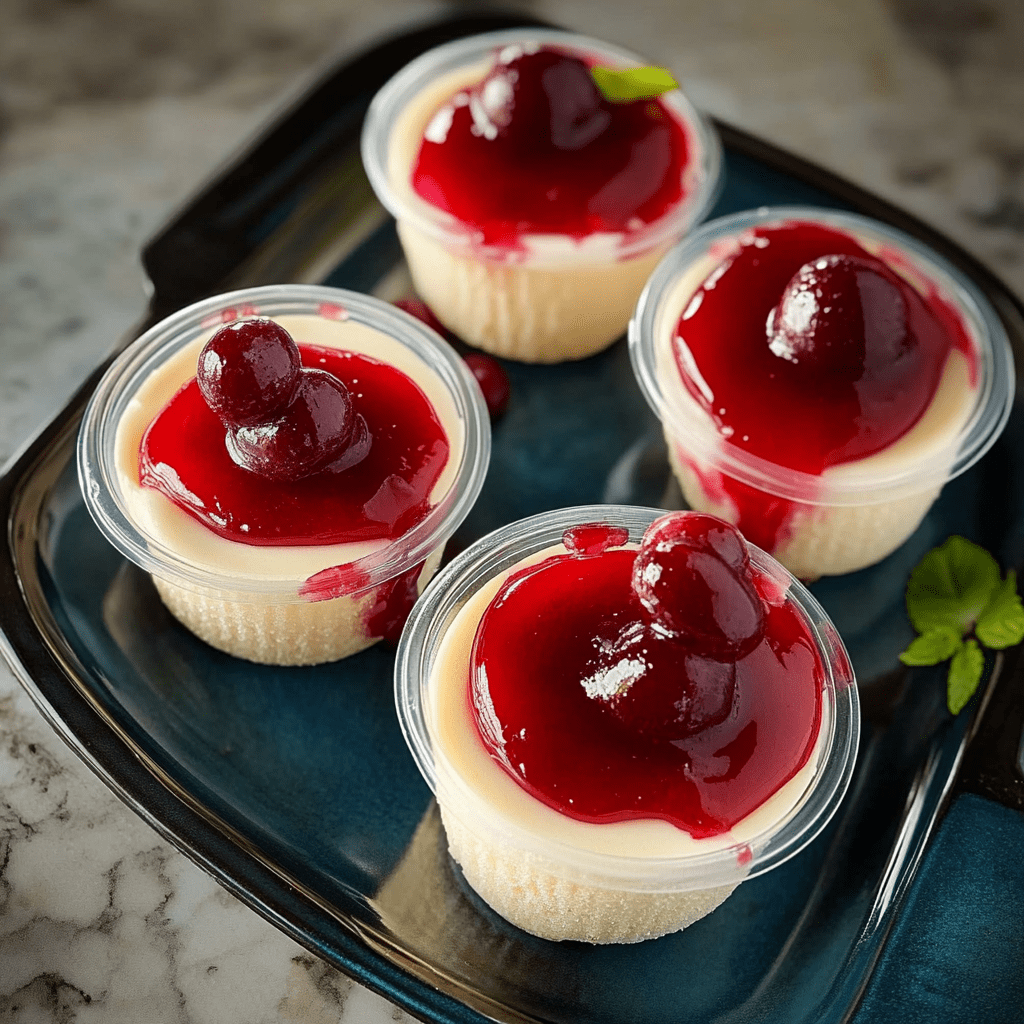
Hey there, fellow dessert lovers! Let me ask you something: do you have a food memory that instantly teleports you back to childhood? For me, it’s my grandma’s no-bake cherry cheesecake cups. Picture this: velvety cheesecake filling, a tangy cherry swirl, and a buttery graham cracker crunch—all in a cute little cup you can devour in three glorious bites. No oven, no fancy tools, just pure joy in every spoonful. 🥰
Grandma called these her “magic cups” because they’d disappear faster than a plate of warm cookies. She’d whip them up for birthdays, holidays, or just because someone needed a pick-me-up. And guess what? They’re *still* my secret weapon when I crave nostalgia or need a crowd-pleaser that won’t keep me chained to the kitchen. Today, I’m sharing her recipe (with a tiny modern twist!) so you can bring that same magic to your table. Ready to make dessert dreams come true? Let’s dive in! 👩🍳
👵 Grandma’s Kitchen: Where Love (and Cherry Sauce) Flowed Freely
Let me set the scene: It’s 1998. I’m eight years old, rocking mismatched socks and a *serious* sweet tooth. Grandma’s kitchen smells like vanilla and freshly opened cherry pie filling—the kind in the blue can with the pull-tab lid. She’s humming along to Patsy Cline while layering cheesecake mix into those iconic red plastic cups she saved from pudding packs. Me? I’m perched on a wobbly stool, “supervising” (read: sneaking graham cracker crumbs).
“Patience girl,” she’d say, swatting my sneaky fingers. “Good things come to those who wait… and don’t spoil their supper.” Spoiler: I never waited. I’d swipe a cup straight from the fridge, cherries dripping down my chin, and Grandma would pretend not to notice. 😉 Those cups weren’t just dessert—they were love letters in edible form. And now, every time I make them, I swear I can hear her laugh echoing in my kitchen.
✨ What You’ll Need: Simple Ingredients, Big Flavors
Gather these pantry staples (no last-minute grocery runs required!):
- 1 box Jell-O Cheesecake Mix – The MVP! This mix gives that classic diner-style cheesecake flavor in minutes. Chef’s Hack: Swap with sugar-free Jell-O mix or homemade filling (see Variations).
- 2 cups cold milk – Whole milk = extra creaminess, but almond or oat milk work too!
- 1 can cherry pie filling – Go for the “extra cherries” kind! Or, simmer fresh cherries with sugar and lemon juice for a homemade twist.
- Graham cracker crumbs (optional) – Adds crunch! Use gluten-free crumbs or crush Biscoff cookies for a caramel kick.
- Small plastic cups with lids – Mason jars or wine glasses work for fancy vibes. 😎
👩🍳 Let’s Get Layering: Your Foolproof Blueprint
Step 1: Whip Up the Cheesecake Filling
Grab a big bowl and whisk the Jell-O mix with cold milk for 3–4 minutes. Want it fluffier? Use a hand mixer! Grandma swore by her trusty wire whisk, though. (“Elbow grease adds love!”) Pro Tip: Let the mix sit for 5 minutes to thicken slightly—it’ll hold layers better.
Step 2: Crunchy Bottom? Yes, Please! (Optional)
Sprinkle 1–2 tsp graham crumbs into each cup. Tap the cup gently on the counter to settle them. No crumbs? No problem! Skip straight to the creamy layer.
Step 3: Pipe or Pour the Filling
Transfer the cheesecake mix to a piping bag (or zip-top bag with the corner snipped). Pipe into cups, leaving ½ inch at the top. Why pipe? It keeps the sides clean for that Instagram-worthy look! 🎂
Step 4: Cherry Bomb Time!
Spoon 1–2 tbsp cherry pie filling over each cup. Swirl gently with a toothpick for a marbled effect. Grandma always said, “More cherries = more happiness.” Words to live by.
Step 5: Chill Out ❄️
Cover cups and refrigerate for at least 1 hour (2 is better). They’ll firm up as they chill. Resist sneaking a taste—I dare you!
Serving Suggestions: From Family Fun to Fancy Vibes
These Cherry Cheesecake Cups are already bursting with creamy nostalgia and cherry-swirled charm, but let’s take your presentation game from “cute dessert” to “crowd-pleasing showstopper.” Whether you’re hosting a backyard barbecue, baby shower, holiday potluck, or just treating yourself to a Tuesday night treat, here’s how to make these mini cups shine even brighter:
1. Mini Dessert Bar Magic
Hosting a crowd? Turn your cheesecake cups into the star of a mini dessert bar!
-
Set out the pre-filled cups on a tiered stand or rustic wooden tray.
-
Surround them with bowls of toppings: crushed graham crackers, mini chocolate chips, sprinkles, whipped cream, and fresh fruit.
-
Let guests build their own over-the-top creation. It’s interactive, fun, and everyone walks away smiling (and sticky).
Pro tip: Add tiny chalkboard signs with “Top Me!” or “Choose Your Cherry Adventure.”
2. Tea Party Chic
Planning a brunch or afternoon tea? These cups slide effortlessly into a fancy spread.
-
Serve in small vintage teacups or glass ramekins.
-
Add a delicate swirl of whipped cream and a fresh cherry on top.
-
Plate each cup with a tiny spoon and a shortbread cookie on the side.
Chef’s Touch: Tie a ribbon around the base of each cup for an extra dose of charm.
3. Kid-Friendly Party Treats
These are a total win with little ones, especially when sprinkles are involved.
-
Use colorful plastic cups with lids for easy transport.
-
Add rainbow or star-shaped sprinkles, gummy cherries, or mini marshmallows on top.
-
Slide a fun party straw or swirl stick into each cup for a whimsical finishing touch.
Bonus idea: Let the kiddos help assemble their own—just expect a few sticky fingers!
4. Holiday-Ready Layers
Lean into the season and match the cups to your celebration.
-
Valentine’s Day: Add heart sprinkles or pipe a chocolate drizzle heart on top.
-
Fourth of July: Use cherry and blueberry pie filling for red-white-blue layers.
-
Christmas: Add crushed peppermint over the cherry topping or tint whipped cream with green food coloring for a festive swirl.
Presentation idea: Arrange the cups in the shape of a wreath or star on a platter!
5. Elevated Dinner Party Delight
Want to make these mini cups feel gourmet?
-
Serve them in mini wine glasses or stemmed cocktail glasses.
-
Top with dark chocolate curls or a drizzle of cherry liqueur for adults.
-
Garnish with edible flowers, mint leaves, or a dusting of powdered sugar.
Pro move: Place each glass on a small dessert plate with a cloth napkin and silver spoon for extra elegance.
🔄 Mix It Up: 5 Delicious Twists
- Chocolate Lover’s: Swap graham crumbs for crushed Oreos. Top with chocolate shavings.
- Berry Bliss: Use blueberry or strawberry pie filling. Fresh berries work too!
- Vegan Vibes: Use coconut milk and dairy-free cream cheese in the filling.
- Lemon Zing: Add 1 tsp lemon zest to the cheesecake mix. Top with lemon curd.
- Parfait Party: Layer with granola and yogurt for a breakfast treat!
📝 Chef’s Extra Crumbles of Wisdom
Fun fact: Grandma originally used a homemade filling, but when Jell-O mixes hit the scene in the ‘90s, she declared them “a miracle.” I once tried impressing her with a from-scratch version—she took one bite and said, “Tastes just like the box!” 😂 Lesson learned: Sometimes shortcuts taste like love too. Over the years, I’ve added my own flair (hello, bourbon cherries!), but the soul of the recipe remains. Oh, and if your layers get messy? Call it “rustic” and lean into it. Imperfections taste delicious.
❓ FAQs: Your Questions, Answered!
Q: Can I make these ahead?
A: Absolutely! They keep for 3 days in the fridge. Add toppings just before serving.
Q: My filling is runny. Help!
A: Did you use warm milk? Always use cold milk. If it’s too thin, chill for an extra hour.
Q: Can I freeze them?
A: Freeze without toppings for up to 1 month. Thaw overnight in the fridge.
Q: No cherry pie filling?
A: Jam works! Heat 1 cup jam with 1 tbsp cornstarch to thicken, then cool.
📊 Nutrition Per Cup (approx.):
Calories: 190 | Fat: 8g | Carbs: 24g | Protein: 3g
Final Thoughts: A Spoonful of Nostalgia, a Cup Full of Joy
There’s something undeniably magical about desserts that don’t just satisfy your sweet tooth—they bring you home. These Cherry Cheesecake Cups are more than just a treat; they’re little time machines filled with laughter, sticky fingers, and the kind of comfort that only lives in cherished memories.
From Grandma’s red plastic pudding cups to your modern mason jars or party trays, this recipe is proof that simple ingredients and a whole lot of love can make something unforgettable. Whether you’re whipping up a batch for your kid’s birthday, sharing them at a potluck, or sneaking one from the fridge after everyone’s asleep (been there!), these cups are here for every moment worth celebrating.
So don’t stress about making them perfect. Let the layers get a little swirly. Let the cherries drip down the side. Because just like Grandma always said—“more cherries, more happiness.” 💕
Make them your own, share them often, and most importantly—savor every spoonful. Here’s to old traditions, new memories, and desserts that keep our hearts just as full as our bellies.
Until next bite,
📌 Save This Recipe!
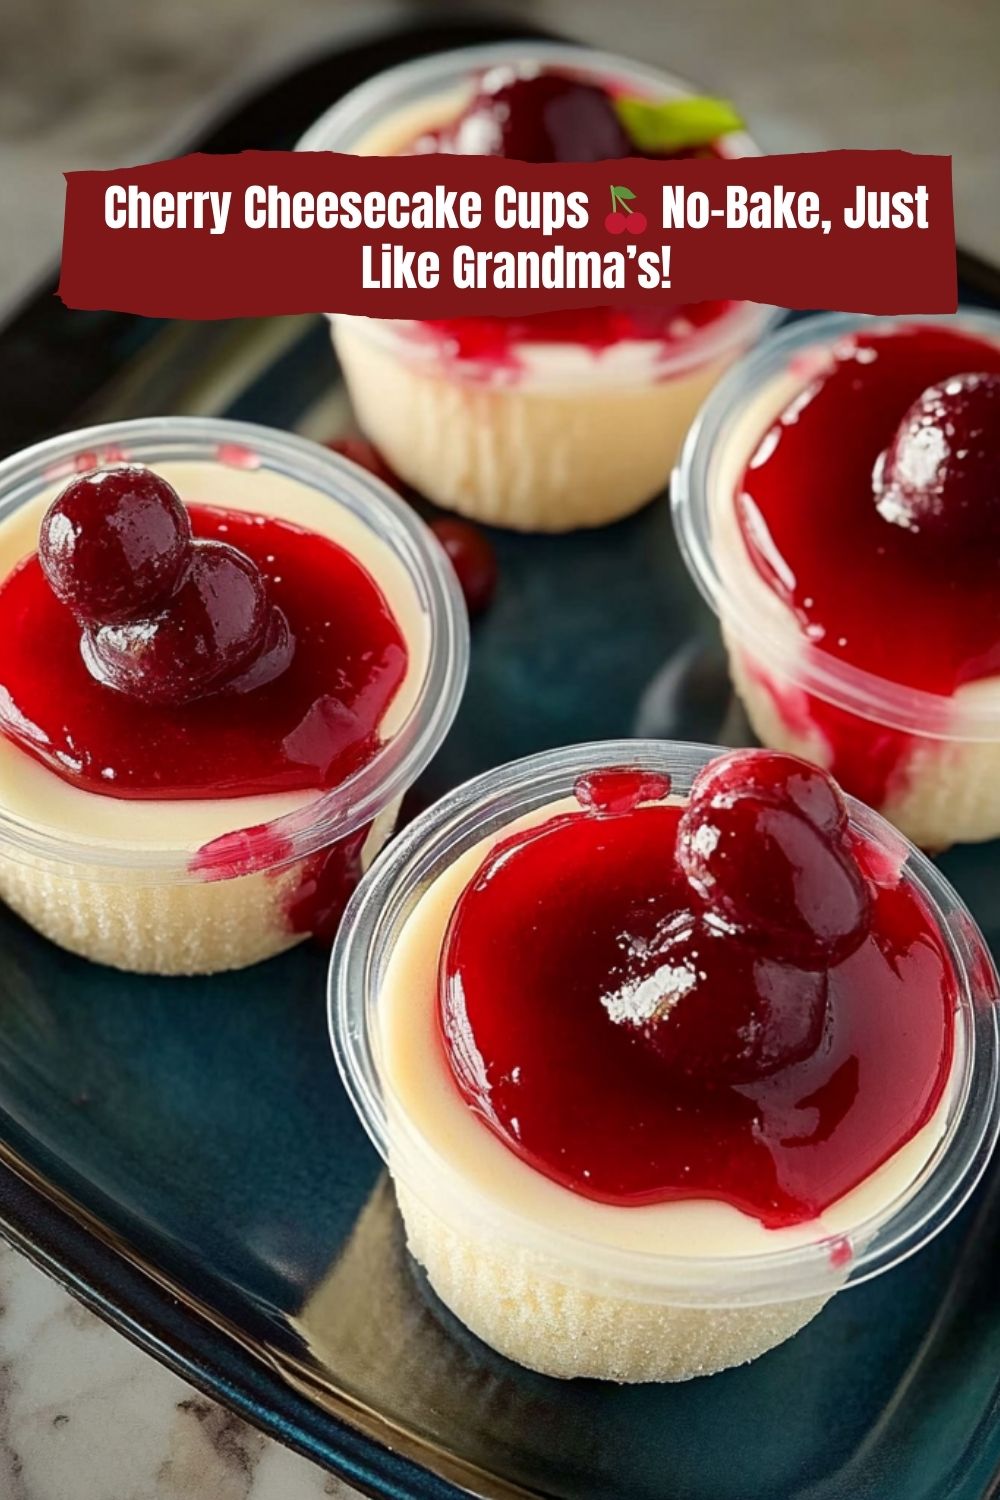
Pin Title: “Cherry Cheesecake Cups 🍒 No-Bake, Just Like Grandma’s!”
Pin Description: “Whip up these nostalgic no-bake cherry cheesecake cups in 10 minutes! Creamy Jell-O cheesecake filling, sweet cherry topping, and optional graham cracker crust. Perfect for parties, holidays, or a quick dessert fix. Includes gluten-free and vegan options, step-by-step photos, and fun variations. #NoBakeDessert #CheesecakeCups #EasyDessert #CherryCheesecake #NostalgicRecipes”