Chocolate-Dipped Strawberry Rice Krispie Treats: Sweet, No-Bake Dessert Fun
Hey friends! Emily here, apron already smudged with chocolate and probably a bit of strawberry dust. If you’re looking for a dessert that feels like a party, tastes like nostalgia, and requires exactly zero oven time, you have landed in the right kitchen corner. Today, we’re giving the classic Rice Krispie treat a delicious glow-up with the magical, tangy punch of strawberries and a luxurious dip of silky chocolate.
Picture this: the iconic crispy, gooey, marshmallow-y base you know and love, now speckled with brilliant red flecks of fruity flavor, and then one edge dunked into a pool of rich, dark or dreamy white chocolate. It’s the perfect marriage of simplicity and a little “wow” factor. These bars are my secret weapon for last-minute potlucks, sweet lunchbox surprises, or when you just need a kitchen project that’s more fun than fuss. They’re whimsical, they’re irresistible, and they’re about to become your new favorite no-bake treat. So, grab your biggest saucepan and let’s make some magic happen—no fancy skills required, just a love for all things sweet and crunchy.
The Story Behind the Sprinkle: A Valentine’s Day Kitchen Rescue
This recipe was born from a minor kitchen disaster that turned into a major “aha!” moment. Years ago, I was planning an elaborate, multi-layer pink velvet cake for a Valentine’s Day party. Long story short, the layers decided to live their best crumbly lives and refused to stack. With guests arriving in an hour, I was in full-on panic mode.
I looked at the wreckage, then at the boxes of cereal and bags of marshmallows I kept for my nephew. In a flash of inspiration (or desperation!), I thought, “What if I make Rice Krispie treats… but fancy?” I crushed up the bag of freeze-dried strawberries I’d bought for a garnish, melted some chocolate for dipping, and in 40 minutes flat, I had a platter of adorable, pink-speckled, chocolate-dipped squares. They were the hit of the party! Everyone thought they were a clever, intentional masterpiece. That day taught me that sometimes the best recipes come from happy accidents and that a little creativity can turn pantry staples into something spectacular. Now, I make them every February—not out of necessity, but out of pure love.
Gathering Your Sweet Supplies
Here’s everything you’ll need to create these berry blissful bars. The beauty lies in the quality of these simple ingredients!
- 3 tablespoons unsalted butter – This is our rich, creamy foundation. Using unsalted lets you control the sweetness. Chef’s Insight: For a deeper flavor, try browning the butter first! It adds a wonderful, nutty dimension.
- 1 (10 oz) bag mini marshmallows – Minis melt faster and more evenly than the big ones. Sub Tip: For a vegan version, seek out vegan marshmallows—they work like a charm!
- 6 cups Rice Krispies cereal – The iconic “snap, crackle, pop” is non-negotiable here for that perfect texture.
- 1 cup freeze-dried strawberries, crushed – This is the STAR! Freeze-dried fruit packs an intense, true strawberry flavor without adding any moisture that would make our treats soggy. Pro Hack: Crush them in a bag with a rolling pin for a mix of fine powder and little chunks for texture.
- 1 teaspoon vanilla extract – A splash of vanilla rounds out all the sweet flavors. Use the real stuff if you can!
- 6 oz dark, milk, or white chocolate, melted (for dipping) – Choose your adventure! Dark chocolate balances the sweetness beautifully, while white chocolate is a stunning, creamy contrast. Chef’s Pick: I love using high-quality chocolate chips or a bar I’ve chopped myself for smoother melting.
- Optional: extra crushed strawberries or sprinkles for garnish – This is where you get to play and make them pretty. A little sprinkle while the chocolate is wet adds professional flair.
Let’s Get Making: Step-by-Step Fun
Ready? Let’s turn these ingredients into edible joy. I’ll walk you through every step with my favorite kitchen hacks.
- Prep Your Pan: Lightly grease a 9×13-inch baking pan with butter or line it with parchment paper, leaving a little overhang on the sides. This is your golden ticket to easy removal later. Do this first—trust me, you don’t want to be scrambling when your marshmallow mixture is ready!
- Melt & Meld: In a large saucepan (bigger is better here!), melt the 3 tablespoons of butter over medium-low heat. Once it’s just melted and bubbling slightly, add the entire bag of mini marshmallows.
Chef’s Tip: Keep the heat medium-low and stir constantly with a sturdy silicone spatula. We want slow, even melting to avoid scorching. Patience makes for the smoothest, creamiest base.
- Infuse the Flavor: Once the marshmallows are completely smooth and look like a glorious, glossy cloud, remove the pan from the heat immediately. Quickly stir in the vanilla extract and the cup of crushed freeze-dried strawberries. The mixture will instantly turn a gorgeous pale pink and smell like a strawberry field.
- The Big Fold: Now, dump in all 6 cups of Rice Krispies cereal. Using a gentle folding motion, mix until every single cereal piece is lovingly coated in the pink marshmallow mixture. Try to work efficiently before it starts to set.
Chef’s Hack: Lightly grease your spatula and your hands with butter or cooking spray. This prevents the incredibly sticky mixture from turning you into a human Rice Krispie treat!
- Press & Perfect: Transfer the mixture to your prepared pan. Using your buttered hands or the bottom of a greased measuring cup, press it into an even layer. Don’t press too hard—we want them chewy, not dense! Let them cool completely at room temperature. (Resist the urge to speed-cool in the fridge, as it can make the chocolate sweat later.)
- Slice & Dip: Once completely cool, use a sharp knife to cut into squares. Now, for the fancy part! Melt your chosen chocolate in a microwave-safe bowl in 20-second bursts, stirring between each, until smooth. Dip one corner or half of each square into the chocolate, let the excess drip off, and place on a parchment-lined tray.
Pro Move: For super-neat drips, tap your wrist gently with your other hand after dipping to shake off excess chocolate.
- Garnish & Set: Immediately after dipping, sprinkle with your chosen garnishes while the chocolate is still wet. Then, let them sit until the chocolate is fully set. You can speed this up with a 10-minute chill in the fridge.
How to Serve These Sweet Squares
Presentation is part of the fun! I love piling these treats high on a rustic wooden board or a pastel-colored platter. They look incredible arranged in a staggered pattern, showing off both the chocolate-dipped and the speckled sides. For a party, you can even place each one in a colorful mini cupcake liner—it keeps fingers clean and looks adorable. They pair perfectly with a glass of cold milk, a mug of hot coffee, or even a glass of bubbly prosecco for a grown-up dessert moment. They’re the ultimate shareable treat, so be prepared for them to disappear fast!
Get Creative: Recipe Variations
Once you’ve mastered the basic formula, the flavor world is your oyster! Here are a few of my favorite twists:
- Chocolate Berry Blast: Swap out 1 cup of the Rice Krispies for Cocoa Krispies. Use dark chocolate for dipping and garnish with crushed raspberries.
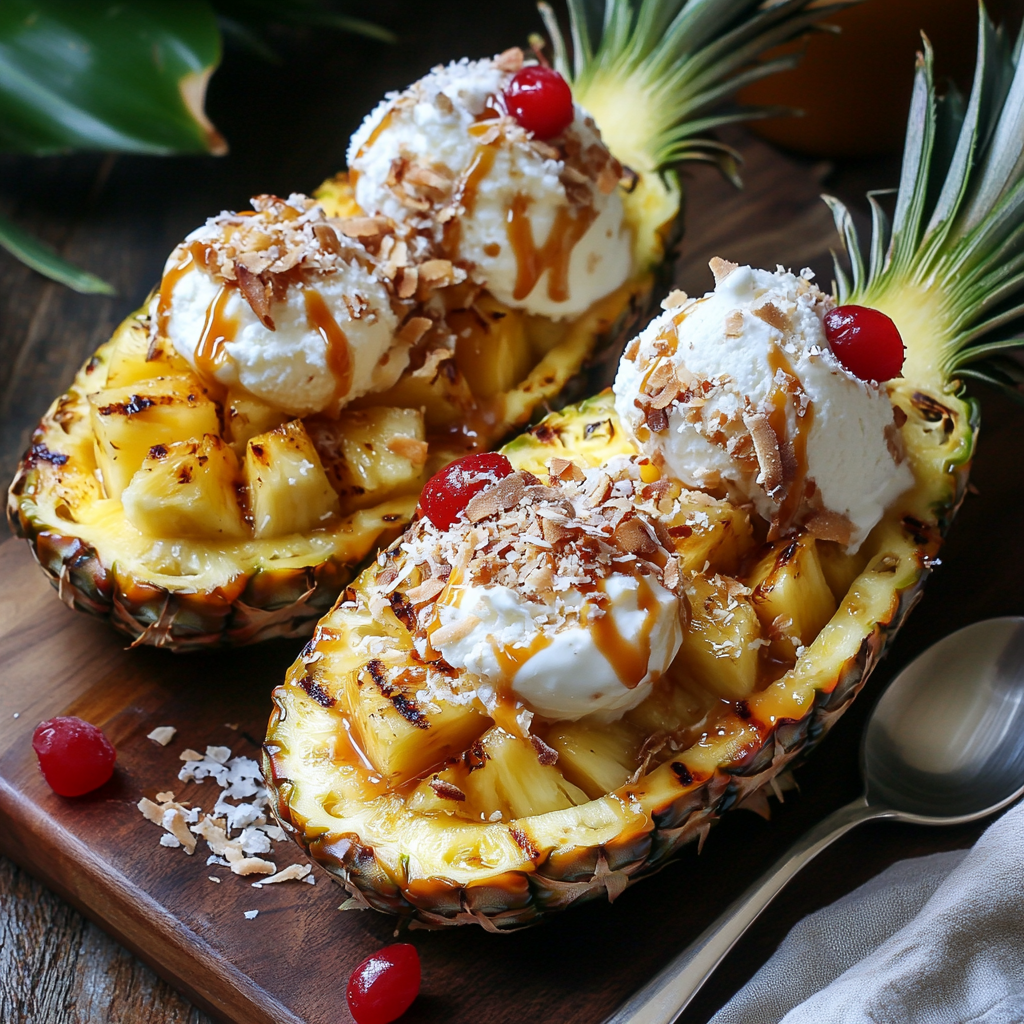
- Tropical Escape: Use freeze-dried mango or pineapple instead of strawberries. Dip in white chocolate and sprinkle with toasted coconut flakes.
- Cookies & Cream: Fold in ½ cup of crushed Oreo pieces with the cereal. Dip in white chocolate and dust with extra Oreo crumbs.
- Peanut Butter Lover’s: Swirl ¼ cup of creamy peanut butter into the melted marshmallow mixture. Dip in milk chocolate and drizzle with more peanut butter.
- “Everything” Garnish Bar: Set up a station with melted dark, milk, and white chocolate, and little bowls of sprinkles, crushed nuts, sea salt, and mini chocolate chips. Let everyone dip and decorate their own square!
Chef Emily’s Notes from My Kitchen to Yours
This recipe has evolved from my panic-mode original into a true staple. I’ve made them for baby showers (with pastel sprinkles), 4th of July (with red, white, and blue decor), and just because-Tuesday afternoons. The biggest lesson? Don’t skip the freeze-dried fruit—it’s the flavor hero. Fresh or frozen berries will add too much liquid and create a soggy, sad treat. Also, I’ve learned that a sharp, non-serrated knife run under hot water makes the cleanest cuts through the set treats. Most importantly, have fun with it! Cooking should be joyful, and these little squares are pure, uncomplicated joy in edible form.
FAQs & Troubleshooting
My treats turned out really hard. What happened?
This usually means the marshmallows were cooked too long or over too high heat. They can become stiff and chewy when overcooked. Next time, keep the heat to medium-low and remove the pan from the heat as soon as the last marshmallow fluff melts.
Can I use something other than freeze-dried strawberries?
Freeze-dried is key for flavor without moisture! But yes, you can use any freeze-dried fruit with great success—raspberries, mangoes, peaches, even bananas! Just make sure it’s “freeze-dried” and not just “dried.”
My chocolate isn’t setting/dipping neatly. Help!
If your chocolate is too thick, add a tiny teaspoon of coconut oil to the melted chocolate to thin it for smoother dipping. If it won’t set, your treats might have been too warm when dipped. Ensure they are fully cooled to room temperature first. A quick chill in the fridge will fix set-up issues.
How far ahead can I make these?
They are best enjoyed within 2-3 days. Store them in a single layer (or between layers of parchment) in an airtight container at room temperature. Avoid the fridge for long-term storage, as it can alter the texture of the cereal.
Nutritional Info (Approximate, Per Square)
Remember, this is a treat meant to be savored for its joy factor! This info is an estimate based on the recipe making 20 squares and using dark chocolate for dipping.
- Calories: ~150
- Fat: 5g
- Carbohydrates: 26g
- Protein: 1g
The freeze-dried strawberries add a tiny boost of vitamin C and fiber compared to the classic version. For a lighter option, you can use a light butter alternative and reduce the amount of chocolate for dipping.
Final Thoughts: Share the Sweetness
And there you have it, my friends—the recipe for guaranteed smiles. These Chocolate-Dipped Strawberry Rice Krispie Treats are proof that a little creativity can transform the simplest things into something special. They’re a reminder that time in the kitchen doesn’t have to be complicated to be rewarding. I hope you make them, share them, and maybe even create your own happy accident that leads to a new family favorite. Thank you for letting me share my kitchen story with you. Now, go make something delicious—and don’t forget to send me a picture! I love seeing your creations.
With love and a full belly,
Emily 🍓✨