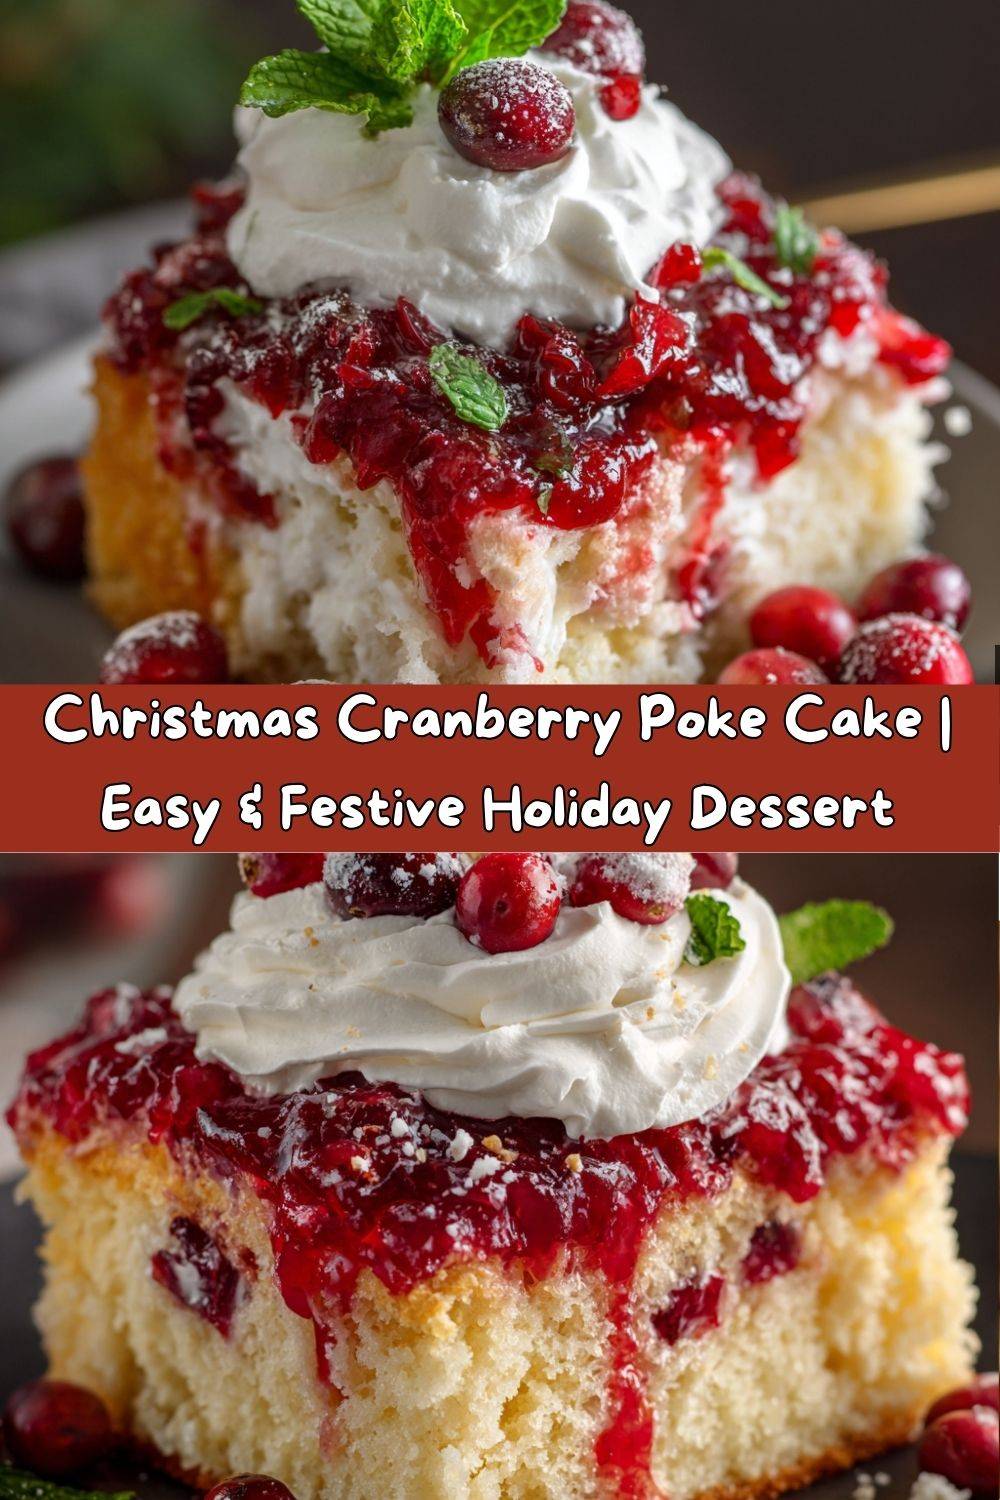
Your New Favorite Holiday Showstopper: Christmas Cranberry Poke Cake
Hey there, my festive friend! Chef Emily here, waving from my kitchen that currently smells like a glorious mix of vanilla, citrus, and sweet, tart cranberries. Is there anything better than the buzz of holiday baking? The oven is warm, the music is jazzy, and the promise of something delicious is hanging in the air. If you’re looking for a dessert that’s equal parts stunning, simple, and bursting with that iconic Christmas flavor, you have absolutely come to the right place.
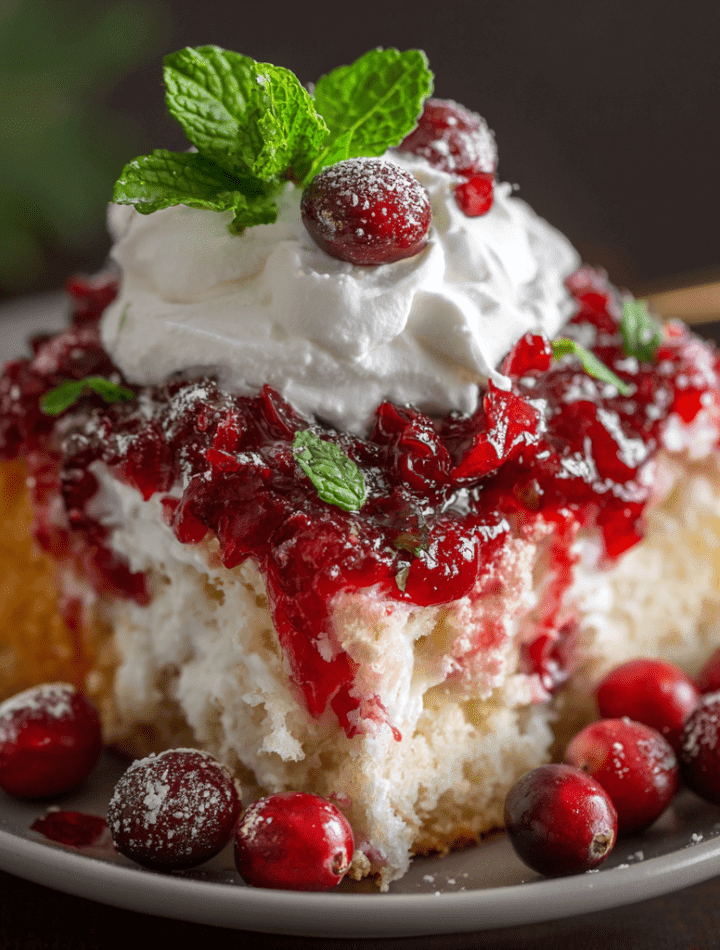
Today, we’re making a Christmas Cranberry Poke Cake that is going to steal the show at your holiday table. Imagine this: a cloud-like, fluffy white cake, still warm from the oven, gets poked all over with little wells of opportunity. Then, we pour a vibrant, jewel-toned, homemade cranberry sauce right over the top, letting it seep deep into every single nook and cranny. After a quick chill in the fridge, we slather it with a billowy blanket of sweet whipped cream and finish it with sparkling sugared cranberries that look like edible rubies. It’s moist, it’s tangy, it’s sweet, and it’s a total make-ahead dream. This isn’t just a cake; it’s a experience. So, tie on your favorite festive apron, and let’s make some magic together!
A Poke Cake and a Wooden Spoon: My Grandma’s Kitchen
This recipe always takes me right back to my Grandma Dot’s kitchen. She was the queen of “doctored-up” box mixes and making something spectacular out of seemingly simple ingredients. I remember one particularly chaotic Christmas Eve, she was trying to make a traditional cranberry sauce but got distracted by a group of carolers at the door. She ended up simmering it a little too long, and it became this wonderfully thick, syrupy concoction. Not one to waste a single thing, she looked at her freshly baked vanilla cake, gave a mischievous wink, and grabbed the handle of her trusty wooden spoon. “We’re just going to poke a few holes, dear,” she said. She poured that reduced sauce over the top, and what emerged from the fridge an hour later was pure genius. It was my first-ever poke cake, and I’ve been obsessed with the method (and the memory) ever since. This cake is my tribute to her—a little bit retro, a whole lot of smart, and packed with so much love.
Gathering Your festive Ingredients
Here’s everything you’ll need to create this holiday masterpiece. Don’t be shy with substitutions—cooking is all about making a recipe work for you!
For the Cake:
- 1 box white cake mix – This is our fantastic shortcut! I love a good from-scratch cake, but during the busy holidays, a quality box mix is a lifesaver. It creates a neutral, fluffy base that’s perfect for soaking up all that cranberry goodness. Chef’s Tip: Look for a “whites” or “soft white” mix for the purest color.
- Ingredients as listed on the box – This is typically water, oil, and 3 egg whites. Using just the whites (instead of whole eggs) keeps the cake beautifully light and bright, letting the cranberry color shine through without any yellow tint.
For the Cranberry Sauce Topping:
- 2 cups fresh or frozen cranberries – Fresh are fantastic if you can find them, but frozen work absolutely perfectly here—and they’re available year-round! No need to thaw.
- ½ cup granulated sugar – This balances the intense tartness of the cranberries. You can adjust this to your taste; if you love a real pucker, drop it to ⅓ cup.
- ½ cup water – The simple base for our simple syrup.
- 1 teaspoon orange zest (optional, but highly recommended) – This is my secret weapon! The citrus oil in the zest adds a incredible layer of brightness that cuts through the richness and makes the cranberry flavor pop even more.
For the Whipped Topping & Garnish:
- 2 cups whipped topping (like Cool Whip) or 2 cups heavy cream + ¼ cup powdered sugar + ½ tsp vanilla extract – Cool Whip is stable and easy, but if you’re a purist (like me most days!), making your own stabilized whipped cream is divine. I’ll give you tips in the instructions!
- Sugared cranberries, white chocolate shavings, mint leaves – This is where you get to play! The garnish is what makes this cake a total centerpiece. Sugared cranberries are surprisingly easy and add a gorgeous, frosty look and a fun pop of flavor.
Let’s Bake: Step-by-Step Instructions
Alright, team! Let’s get mixing. Follow these steps, and you’ll have a flawless cake. I’ve packed this section with all my best kitchen hacks to ensure your success.
Step 1: Bake the Cake
Preheat your oven to the temperature specified on your cake mix box (usually 350°F/175°C). Grease and flour a 9×13-inch baking pan, or line it with parchment paper for super easy removal later. Prepare the cake batter exactly as the box directs, using the egg whites, water, and oil. Chef’s Hack: For an even richer flavor, substitute the water called for on the box with whole milk, and use melted butter instead of oil. It’s a game-changer! Pour the batter into your prepared pan and bake for the recommended time, or until a toothpick inserted into the center comes out clean. Set the cake on a wire rack and let it cool for exactly 10 minutes. You want it to be warm, not scorching hot, for the next step.
Step 2: Create the Cranberry Magic
While the cake is baking, make your cranberry sauce. It’s so simple! In a medium saucepan, combine the cranberries, sugar, water, and orange zest. Bring it to a simmer over medium heat. Let it cook for 10-12 minutes, stirring occasionally. You’ll hear the cranberries start to pop and burst—that’s the good stuff! The mixture will thicken to a lovely, jam-like consistency. Remove it from the heat and let it cool for about 5 minutes. It should still be warm and pourable.
Step 3: The Big Poke!
Now for the fun part! Take the handle of a wooden spoon (my tool of choice) or the bottom of a thin whisk. Poke holes all over the surface of the warm cake. Don’t be shy—poke right down to the bottom of the pan! Space them about an inch apart. This creates a network of tunnels for our cranberry sauce to flow through. Chef’s Tip: Wiggle the spoon handle just a little to widen the holes slightly. This prevents the gorgeous sauce from just sitting on top.
Step 4: Infuse with Flavor
Slowly and evenly, pour the warm cranberry sauce over the entire surface of the cake. Use the back of your spoon to gently spread the sauce and help push it down into the holes. Take your time with this—you want every single hole to get some of that tart, juicy goodness. This is the step that transforms a simple cake into something spectacularly moist and flavorful.
Step 5: The Chill Factor
This is the hardest part: waiting! Pop the cake, uncovered, into the refrigerator for at least 1 hour. This allows the cake to fully cool and the flavors to meld together beautifully. You can even do this a day ahead—just cover it tightly with plastic wrap after it’s chilled.
Step 6: Top it Off
If you’re using Cool Whip, simply spread it evenly over the completely cooled cake. If you’re making homemade whipped cream, pour your cold heavy cream into a chilled bowl. Add the powdered sugar and vanilla. Whip with a hand mixer or stand mixer until stiff peaks form. Be careful not to over-whip! Spread it luxuriously over the cake.
Step 7: Garnish and Shine
Now, unleash your inner artist! Scatter over your sugared cranberries, sprinkle with white chocolate shavings, and add a few mint leaves for a beautiful pop of green. Your masterpiece is complete!
How to Serve This Holiday Beauty
Presentation is everything, especially during the holidays! For serving, I love to use a sharp knife dipped in hot water and wiped dry between each cut. This gives you those stunning, clean slices where you can see the beautiful red cranberry infusion against the white cake and cream.
Plate each slice on a simple white or festive holiday plate. A little dusting of powdered sugar right before serving adds a lovely “snowy” effect. This cake is rich, so a smaller slice is often perfect alongside a cup of coffee after a big holiday meal. It’s the ultimate light-yet-indulgent finish to your festive feast!
Get Creative: Recipe Variations
Feel like mixing it up? Here are a few of my favorite twists on this classic:
- Lemon Zest Twist: Swap the orange zest in the cranberry sauce for lemon zest. The lemon-cranberry combo is a classic for a reason—it’s incredibly refreshing and bright!
- Coconut Dream: Use a coconut cake mix instead of white cake. Top the finished cake with toasted coconut flakes along with the whipped cream. It’s a tropical holiday getaway on a plate!
- Cream Cheese Swirl: Before baking, dollop 8 oz of softened cream cheese mixed with ¼ cup of sugar over the cake batter in the pan. Swirl it in with a knife for a gorgeous marbled effect and a rich, tangy surprise.
- Boozy Berry: For an adults-only version, add a tablespoon of orange liqueur (like Cointreau) or Chambord to the cranberry sauce after it’s off the heat.
- Ginger Spark: Add ½ teaspoon of ground ginger or a tablespoon of finely minced crystallized ginger to the cranberry sauce as it cooks. It adds a warm, spicy kick that screams holidays.
Chef Emily’s Notes
This recipe has evolved so much from my Grandma Dot’s original “happy accident.” I’ve made it for probably a dozen Christmas potlucks, and it never fails to earn recipe requests. One year, I was in such a hurry that I poked the holes with a fork instead of a spoon. The holes were too small, and the sauce pooled on top, making the first few slices a bit soggy. It was still delicious, but I learned my lesson: go big with your pokes! The beauty of this cake is its simplicity and its stunning visual impact. Don’t stress about it being perfect. The drips and rustic swirls of cranberry are part of its charm. It’s made with love, and that’s what everyone will taste first.
FAQs & Troubleshooting
Q: My cake turned out soggy. What happened?
A: The most common culprit is poking the holes when the cake is too hot. If the cake is fresh out of the oven, it’s too delicate and can collapse. Let it cool for that crucial 10 minutes first. Also, ensure your holes are wide enough (use a wooden spoon handle) to allow the sauce to drain down, rather than pool on the surface.
Q: Can I make this cake completely ahead of time?
A: Absolutely! You can bake the cake, poke the holes, and add the cranberry sauce up to 24 hours in advance. Keep it covered in the fridge. Add the whipped topping and garnishes within a few hours of serving to keep everything looking fresh and beautiful.
Q: The cranberry sauce is too tart for my family. How can I fix it?
A: No problem! Taste your sauce after the cranberries have burst. You can stir in an extra tablespoon or two of sugar until it dissolves. Remember, the cake and whipped cream are sweet, so a slightly tart sauce provides a lovely balance, but it should ultimately suit your taste.
Q: Can I use canned cranberry sauce?
A: You can, but I highly recommend the homemade version. Jellied canned sauce won’t seep into the holes properly, and the whole-berry version often has less flavor. The 10-minute homemade sauce is far superior and makes all the difference!
Nutritional Information*
*Please note: This is an estimated nutritional breakdown based on the specific ingredients listed and using the cake mix preparation instructions. It will vary based on the brands you use and any substitutions.
Yield: 12-15 servings
Serving Size: 1 slice
Approximate values per serving:
Calories: 280 | Total Fat: 10g | Saturated Fat: 4g | Trans Fat: 0g | Cholesterol: 5mg | Sodium: 250mg | Total Carbohydrates: 42g | Dietary Fiber: 1g | Sugars: 28g | Protein: 3g
This dessert is a treat, but it’s lighter than many traditional holiday cakes. Using egg whites instead of whole eggs and a whipped topping helps keep the fat content lower. The cranberries also provide a boost of vitamin C and antioxidants!
Final Thoughts
Well, my friend, there you have it! My all-time favorite, fuss-free, showstopping Christmas dessert. This Cranberry Poke Cake is more than just a recipe; it’s a feeling. It’s the joy of creating something beautiful, the nostalgia of family traditions, and the simple pleasure of sharing something delicious with people you love.
I hope this recipe brings as much warmth and happiness to your holiday table as it has to mine. Remember, the best ingredient you can ever add is a heaping spoonful of joy. So don’t worry if it’s not perfect. Just have fun in the kitchen, and enjoy every single bite.
From my kitchen to yours, Merry Christmas and Happy Baking!
With love and a sprinkle of sugar,
Emily