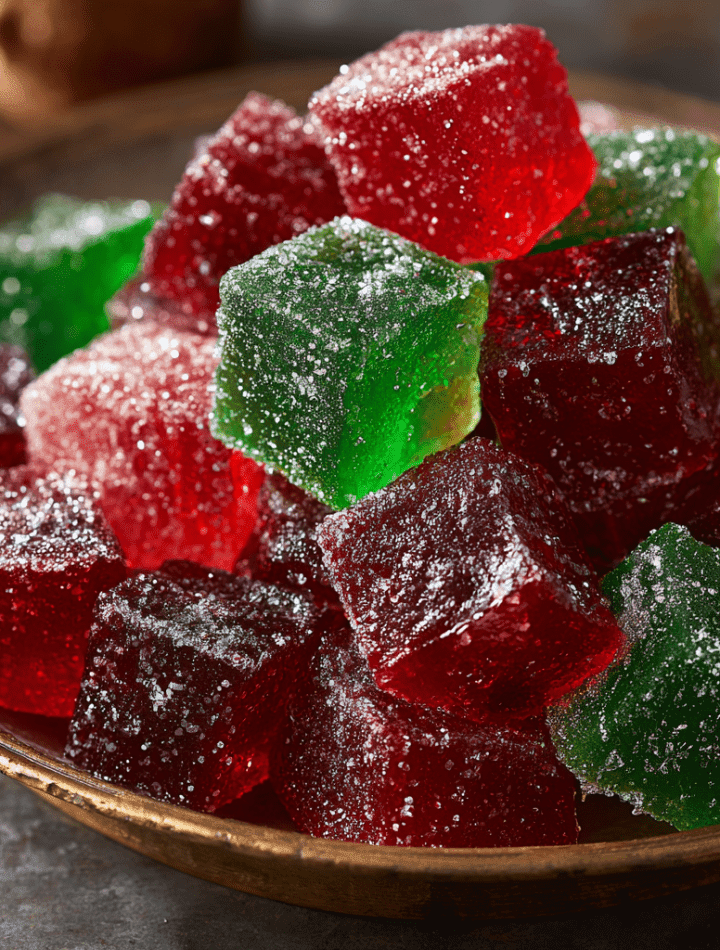
Homemade Christmas Gumdrops: A Festive, Chewy Candy Adventure!
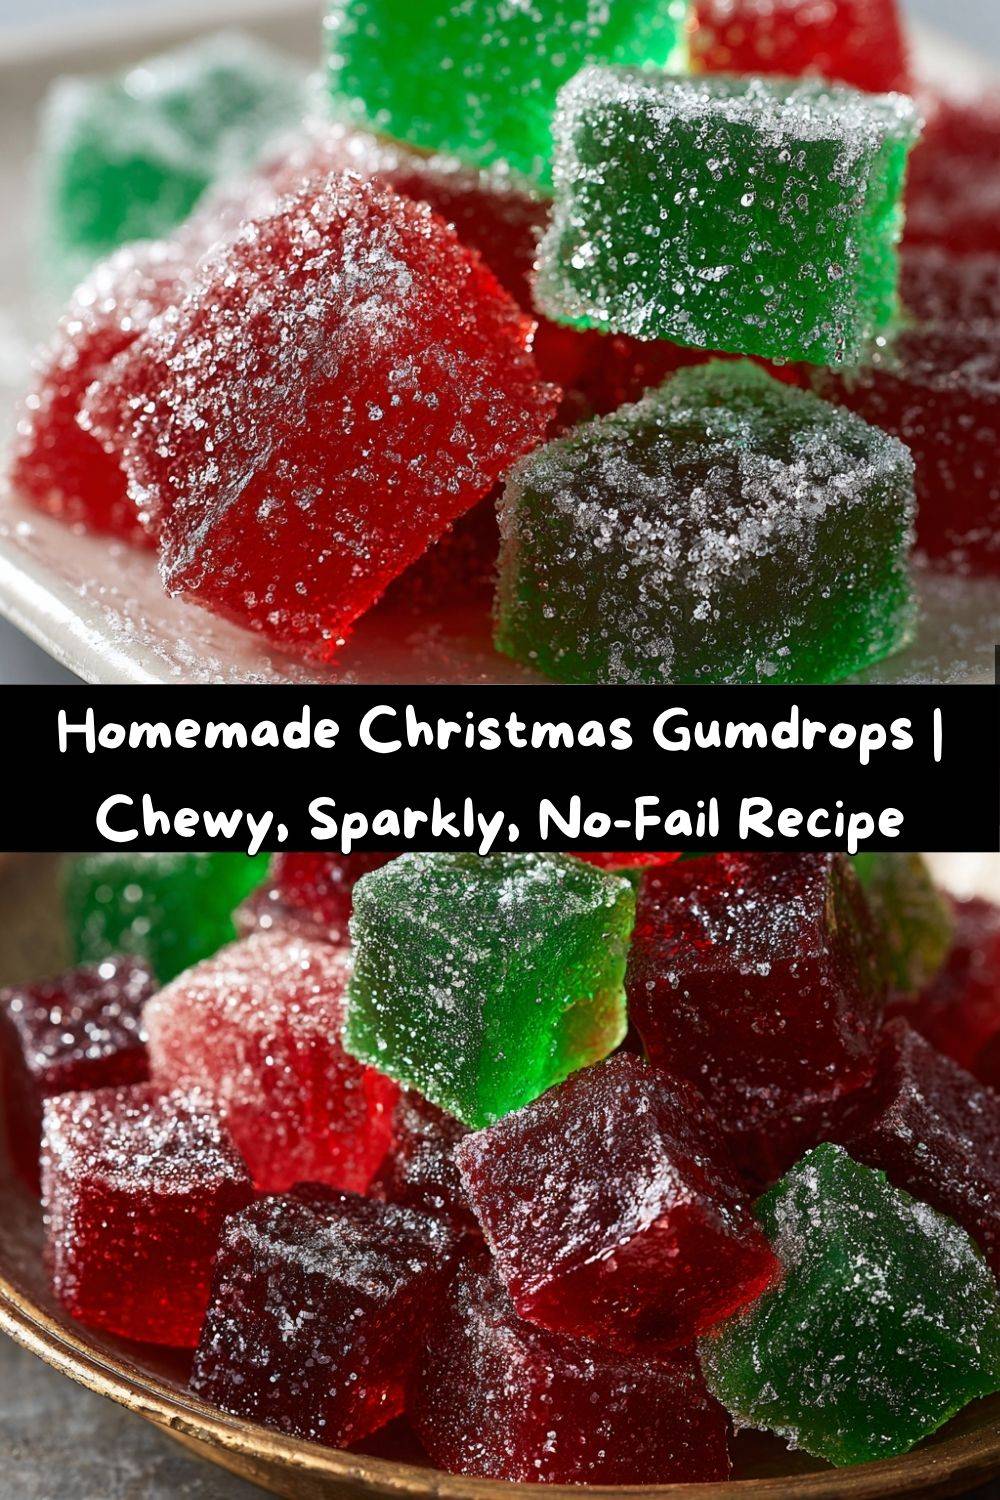
Hey there, my fellow holiday baker! Is there anything that screams “Christmas magic” quite like a jar of sparkling, jewel-toned gumdrops? I’m talking about those cheerful little chews that look like they were plucked straight from a gingerbread house roof. Every time I see them, I’m instantly transported back to being a kid, wide-eyed and mesmerized by the candy displays at Christmastime.
But here’s a little secret I’ve discovered in my years of culinary chaos: store-bought gumdrops have nothing on the homemade version. I know, I know—making candy from scratch can sound a little intimidating. You might be picturing candy thermometers and sugar crystals and a whole lot of stress. But what if I told you we could create the most incredibly chewy, bursting-with-fruit-flavor gumdrops using a method that’s almost… easy?
That’s the magic of this recipe. We’re using a brilliant combo of Jell-O and unflavored gelatin to create that perfect, nostalgic chew, and unsweetened applesauce for a touch of natural fruitiness and the most wonderful texture. The result is a candy that’s softer, fresher, and infinitely more delicious than anything you’ll find in a plastic bag. Plus, the process is just plain fun. It’s a fantastic project to do with kids (or just with your own inner child), and the final product—piles of red and green sparkly gems—is pure holiday joy. So, tie on your favorite festive apron, put on some Christmas tunes, and let’s make some magic happen. We’re about to create a homemade candy that’s perfect for gifting, grazing, and making your holiday table absolutely shine.
A Spoonful of Sugar (and a Whole Lot of Love)
My love affair with these gumdrops started not in a fancy pastry kitchen, but in my Grandma Dot’s wonderfully chaotic kitchen. Every December, she’d declare it “Candy Week.” The air would grow thick with the scent of melting chocolate, peanut butter fudge, and peppermint. But my favorite day was always Gumdrop Day.
I’d pull a chair up to the counter, my chin just barely clearing the Formica, and watch her work her magic. She didn’t have a fancy stand mixer or a digital thermometer. She had a big, weathered saucepan, a wooden spoon stained with decades of Christmases past, and an uncanny ability to just *know* when the mixture was ready. My job was the best one: coating the sticky, freshly cut squares in a mountain of granulated sugar until they twinkled like fallen stars. We’d always sneak a few warm, soft pieces before they had fully set, our fingers sticky and our hearts full. That ritual, that shared creation, is what the holidays taste like to me. This recipe is my homage to her—a little updated, but with all the same heart.
Gathering Your Gumdrop Goodies
Here’s the beautiful part: the ingredient list is short, sweet, and probably mostly in your pantry already! Let’s break it down so you know exactly why each component is a star player in our candy-making adventure.
- 5 cups granulated sugar, divided: We use a portion of this sugar to cook *with* the gelatin, which is essential for the structure and sweetness. The rest is for rolling! This final sugar coat gives the gumdrops their classic crunchy-then-chewy texture and keeps them from sticking together. Chef’s Insight: For a super-sparkly finish, you can replace the rolling sugar with sanding sugar. It holds its shine better and adds a delightful crunch.
- 2 ⅔ cups unsweetened applesauce: This is the secret weapon! The applesauce provides natural fruit pectin and moisture, giving the gumdrops a wonderfully soft and tender chew without any weird ingredients. It also mellows out the sweetness perfectly. Substitution Tip: You can use sweetened applesauce in a pinch, but your gumdrops will be significantly sweeter.
- 6 oz cherry (red) flavored gelatin & 6 oz lime (green) flavored gelatin: This is where the vibrant color and bold fruit flavor come from! Using the 6-ounce boxes gives us a much more intense flavor than the smaller ones. Flavor Twist: Feel free to play with other festive combinations! Strawberry and lime, raspberry and lemon, or even orange and black cherry for a non-traditional but gorgeous look.
- 4 envelopes unflavored gelatin (such as Knox): This is what gives our gumdrops their signature bouncy, chewy texture. The flavored Jell-O provides some structure, but the unflavored gelatin is the workhorse that makes them set up firm enough to cut and hold their shape.
- Optional Twists (1 tsp peppermint or vanilla extract, 1 tsp citrus zest, a pinch of citric acid): This is where you become a candy artist! A dash of peppermint extract in the cherry batch makes them taste like candy canes. Lemon zest in the lime gelatin adds a bright, fresh zing. A pinch of citric acid (found in the canning aisle) mixed into the rolling sugar gives a delightful tangy-sweet kick, like a gourmet sour patch kid.
Let’s Make Some Gumdrops! Your Step-by-Step Guide
Don’t let the word “candy” scare you. We’re taking it one simple, fun step at a time. I’ll be right here with you, sharing all my best tips to ensure gumdrop success!
- Prep Your Pans: Line two 9×9-inch square baking pans with parchment paper, letting the edges hang over the sides, or with plastic wrap. This isn’t just a suggestion—it’s your golden ticket to easily lifting the entire slab of set gelatin out of the pan. Give the lining a very light spritz with cooking spray for absolute non-stick insurance. Chef’s Hack: Use binder clips to clip the parchment paper to the sides of the pan while you pour. It keeps it from sliding around and makes for a smoother surface.
- Create the First Color Batch: In a medium saucepan, combine 1 ⅓ cups of the sugar, 1 ⅓ cups of the applesauce, one 6-oz package of flavored gelatin (let’s start with cherry!), and 2 envelopes of the unflavored gelatin. Here’s a pro tip: whisk these together while they’re still cold and unheated. This helps the gelatin granules start to “bloom” and dissolve evenly, preventing any clumpy surprises later.
- Cook with Care: Place the saucepan over medium heat. Now, your mission is to stir. And stir. And stir some more. I like to use a flat-bottomed wooden spoon or silicone spatula to make sure I’m scraping the entire bottom of the pan. We’re trying to dissolve all the sugar and gelatin without letting it scorch. You’ll see it go from grainy to smooth and then…
- The Simmer is Key: Once the mixture comes to a lively bubble, immediately lower the heat to a gentle simmer. This is not a rolling boil! We’re going to let it bubble happily for a full 25 minutes, stirring it every few minutes to prevent a skin from forming. Why so long? This slow cooking is what cooks out the raw gelatin taste and concentrates the flavors, giving you that perfect, firm-yet-chewy texture. It will darken slightly in color and thicken a bit—that’s exactly what we want!
- Add Your Flavor Boost: Take the pan off the heat. Now is the time to stir in any of your optional twists! A teaspoon of peppermint extract? A teaspoon of fresh orange zest? Go for it! Stir it in quickly and thoroughly.
- Pour and Repeat: Carefully pour the hot mixture into one of your prepared pans. It will be very liquid, but don’t worry, the magic is happening! Now, wash that saucepan and repeat steps 2-5 with the remaining ingredients to create your second color (the lovely lime green!).
- The Patience Game (The Hardest Part!): Let both pans cool completely on the counter until they’re at room temperature. Then, and only then, slide them into the refrigerator, uncovered. They need to chill for at least 4 hours, but I’m a huge fan of letting them go overnight. This slow, cool set makes for the best, most consistent texture.
- Cut and Coat! The fun part! Once the slabs are firm to the touch (like a giant, flavorful Jell-O jiggler), use the parchment paper sling to lift them out of the pans. Use a pizza cutter or a sharp knife lightly coated with cooking spray to cut them into small cubes. For extra holiday fun, dip mini cookie cutters (stars, trees, bells!) in hot water and press them into the slab. Now, toss those beautiful little gems in the remaining sugar until they’re fully coated. For a tangy twist, mix a pinch of citric acid into your sugar first.
- Final Dry: Spread the sugar-coated gumdrops in a single layer on a baking sheet or parchment paper and let them dry out for 1-2 hours. This final step gives them that perfect, non-sticky exterior. And then… you’re done!
How to Serve Your Sparkling Creations
You’ve just created edible holiday confetti, and the serving possibilities are endless! Here are a few of my favorite ways to show them off:
The Classic Candy Jar: Pile them high in a clear glass apothecary jar or a festive holiday bowl. It’s an instant centerpiece that adds a pop of color and joy to any room.
The Ultimate Gift from the Kitchen: This is my go-to! Fill clear cellophane bags with a mix of red and green gumdrops, tie them with a gorgeous ribbon or baker’s twine, and attach a cute gift tag. It’s a heartfelt, handmade gift that teachers, neighbors, and friends will absolutely adore.
The Dessert Tray Superstar: Scatter these chewy gems around a plate of Christmas cookies, use them to decorate the top of a yule log cake, or even skewer them with marshmallows and strawberries for a festive fruit kabob.
Get the Kids Involved: Set up a “decorate your own gingerbread house” station and provide these homemade gumdrops as the prime roofing and pathway material. They taste infinitely better than the store-bought kits!
Get Creative! Fun Flavor Twists & Swaps
Once you’ve mastered the basic recipe, the holiday flavor world is your oyster! Here are some ways to mix it up:
- The “Fruit Punch” Medley: Instead of doing two separate colors, combine one 3-oz package each of strawberry, orange, and lime gelatin with the total amount of applesauce and unflavored gelatin. Cook it all together for a multi-colored, tropical-inspired batch!
- Spiced Cranberry Orange: Use orange gelatin and add ½ teaspoon of cinnamon and a pinch of cloves to the mixture while cooking. For an extra flavor boost, use sweetened cranberry sauce (pureed smooth) instead of half the applesauce.
- Creamsicle Dream: Use orange gelatin and add that teaspoon of vanilla extract. The result is a creamy, dreamy gumdrop that tastes just like the classic frozen treat.
- Sugar-Free Swap: You can make a sugar-free version! Use sugar-free Jell-O and replace the granulated sugar with a granulated sugar substitute like Swerve or Lakanto Monk Fruit that measures 1:1 like sugar. The texture will be slightly different but still delicious.
- Sparkle & Shine: Instead of rolling in plain sugar, mix your rolling sugar with edible glitter or use coarse sanding sugar for a spectacular, sparkling finish that’s perfect for a New Year’ Eve party.
Emily’s Kitchen Confidential
This recipe has evolved so much since my Grandma Dot’s days. I’ve learned a few things the hard way (like the time I tried to rush the chilling process by putting the hot pan directly in the fridge—don’t do it! You’ll warm up your fridge and potentially create condensation), so you don’t have to!
The biggest game-changer for me was realizing I could use cookie cutters. The first time I did it, I felt like a candy genius. My kitchen looked like a holiday workshop explosion, with gumdrop stars and trees covering every surface. It’s a little more work, but so worth it for the “wow” factor. Also, a little confession: I am firmly Team Peppermint-Cherry. That flavor combo just *is* Christmas to me. What will your signature twist be?
Your Gumdrop Questions, Answered!
Q: My gumdrops are still sticky even after rolling in sugar. What happened?
A: This usually means they needed a longer drying time! The 1-2 hour dry time is a guideline. If your kitchen is humid, it might take longer. Just let them sit out, tossing them in a bit more sugar every so often, until they feel dry to the touch. You can also let the uncut slab sit, uncovered, in the fridge for an extra 12 hours before cutting to help them firm up even more.
Q: Can I use a different size pan?
A: Absolutely! A 9×9 pan gives you a nice, thick gumdrop. If you use a 9×13 pan, your gumdrop slab will be thinner, and you’ll get more pieces that are a bit softer. The cooking time remains the same. Just keep an eye on the thickness you prefer.
Q: How long do these homemade gumdrops last, and how should I store them?
A: Stored in an airtight container at room temperature with layers separated by parchment paper, they’ll stay fresh and delicious for about 2-3 weeks. They might start to lose their perfect texture after that, but I doubt they’ll last that long!
Q: I’m worried about the mixture sticking to my pan. Any extra tips?
A: Besides the parchment paper, make sure you’re using a heavy-bottomed saucepan for even heating. And that initial whisking while cold is key! If you’re still nervous, a light coating of cooking spray on the saucepan *before* adding the ingredients can help, but it’s usually not necessary if you stir consistently.
A Quick Note on Nutrition
Let’s be real—these are a holiday treat, a celebration in candy form! While they’re made with simple ingredients, they are a sweet indulgence. Each gumdrop contains about 35 calories and 8-9 grams of sugar. Because we’re using unsweetened applesauce, there’s a tiny bit of natural fruit goodness in there, but these are best enjoyed in moderation as part of your festive fun.
The great thing about making them yourself is that you control the ingredients. You can opt for sugar-free gelatin if you’re monitoring sugar intake, and you know there are no artificial preservatives or unknown additives. It’s a pure, from-scratch candy that makes gifting and sharing extra special.
You Did It! Now, Share the Sweetness.
Look at you, you magnificent candy maker! You’ve just created something truly special. These gumdrops are more than just a sweet treat; they’re a little packet of holiday spirit, a memory you made with your own two hands.
I hope you feel incredibly proud pulling these sparkling jewels out of your own kitchen. I hope you have as much fun making them as I do, and I really hope you leave a comment below telling me what flavor combination you tried!