Coconut Bunny Cake – The Adorable Easter Dessert That’s All About Fluffy Fun!
Hey there, friend! Emily here, apron on and ready to talk about one of my absolute favorite things: a dessert that’s equal parts delicious and downright adorable. If your heart does a little happy-squeak at the thought of a festive, whimsical cake that tastes like a springtime cloud, you are in for a treat. Today, we’re making a Coconut Bunny Cake that’s going to be the superstar of your Easter table, your spring brunch, or honestly, any Tuesday that needs a dose of cute.
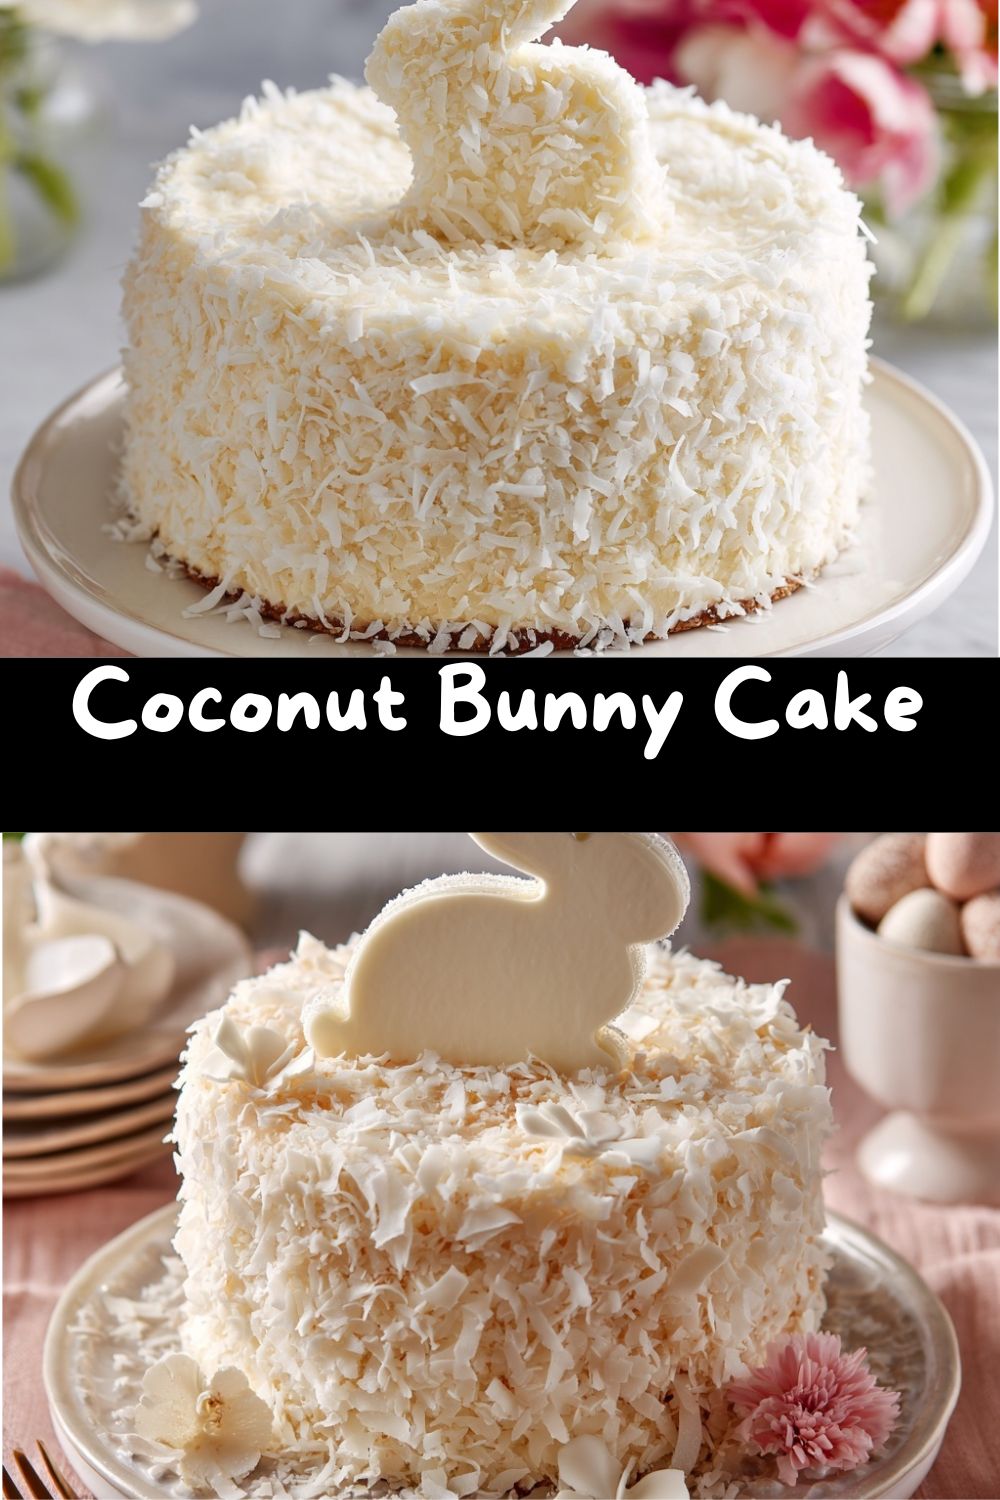
This isn’t just a cake; it’s a memory-maker. Picture this: a wonderfully moist, tender vanilla cake with the subtle, tropical whisper of coconut, all hugged by a tangy, luscious cream cheese frosting. Then, we give it the full bunny treatment with a blanket of sweet, fluffy shredded coconut that looks just like the softest fur. To top it all off? A sweet little bunny silhouette that makes everyone go, “Aww!” before they even take a bite.
I promise you, this isn’t a fussy, hours-long project. It’s a joy to make, and I’m walking you through every single step. Whether you’re a seasoned baker or this is your first time trying a layer cake, we’re in this together. So, tie on your favorite apron (the one with the stains that tell stories), preheat that oven, and let’s create some edible magic that’s truly made with love.
The Story Behind the Fluffy Bunny: My Grandma’s Coconut Obsession
This cake always takes me back to my grandma’s linoleum-tiled kitchen, a place that permanently smelled like sugar and comfort. She wasn’t a fancy chef, but she was a generous one. Every Easter, without fail, she’d make her famous coconut cake. Not a bunny shape—hers was a simple, towering layer cake that looked like it had been caught in the most delicious snowstorm.
My job, from the time I could stand on a stool, was to “help with the fur.” She’d frost the cake, then hand me a big bowl of shredded coconut and let me gently pat it all over the sides and top. I’d be covered in coconut flakes, frosting smudged on my cheek, feeling like the most important sous-chef in the world. That act of patting on the coconut, making something beautiful with my own two messy little hands, is where my love for food as an experience, not just a meal, truly began. This bunny cake is my ode to her—taking that same simple joy of a coconut-covered cake and adding a dash of my own playful spirit with that sweet bunny topper. It’s nostalgia, baked right in.
Gathering Your Flock of Ingredients
Let’s gather our flock! Most of these are pantry staples, but a few special players make this cake shine. Here’s what you need, plus my little chef-y notes to set you up for success.
- 2½ cups all-purpose flour: The trusty foundation. Spoon and level it into your measuring cup to avoid a dense cake. For a slightly lighter crumb, you can swap ½ cup with cake flour.
- 2½ tsp baking powder: Our leavening superstar! Make sure it’s fresh (give it a sniff—it should be odorless, not musty) for that perfect rise.
- ½ tsp salt: The flavor enhancer. It’s not enough to make things salty, but just right to make the vanilla and coconut sing.
- ¾ cup unsalted butter, softened: “Softened” is key! Leave it out for an hour, or give it 10-second bursts in the microwave. It should yield gently to a finger press. This creams up with the sugar to create a light, airy base.
- 1½ cups granulated sugar: Sweetness and structure. Creaming it with the butter creates tiny air pockets that help the cake rise.
- 4 large eggs: Best at room temperature! They incorporate more evenly. Pop them in a bowl of warm water for 5 minutes if you forgot to take them out.
- 1 tbsp vanilla extract: Don’t skimp! This is where big flavor lives. Use pure vanilla if you can—it makes a world of difference.
- 1 cup coconut milk (or whole milk): The secret whisper of coconut! Canned, full-fat coconut milk gives the most flavor. Give the can a good shake before opening. Whole milk works perfectly if you’re not a coconut fiend.
- 1 cup sweetened shredded coconut (optional, for inside): This is for texture lovers! Fold it into the batter for little chewy, coconutty surprises in every slice. If you prefer a totally smooth crumb, just leave it out.
For the Frosting & Topping:
- 8 oz cream cheese & ½ cup butter: Both MUST be softened to room temp. Trying to beat cold blocks is a workout no one needs. This combo is magic—tangy, rich, and spreads like a dream.
- 3½ cups powdered sugar: Sift it if it’s lumpy! This prevents gritty frosting and makes mixing a breeze.
- 1½ cups sweetened shredded coconut (for coating): This is our “bunny fur!” Sweetened flakes are perfect here—they’re moister and cling better than unsweetened.
- Bunny silhouette topper: Get creative! Use a paper cut-out, a store-bought cake topper, or even a clean, flat cookie cutter as a stencil.
Let’s Bake This Bunny! Step-by-Step with Chef Emily
Alright, team. Oven on? Aprons tied? Let’s do this. Follow these steps, and you’ll have a cake that’s as fun to make as it is to eat.
- Prep & Preheat: First things first. Crank that oven to 350°F (175°C). Now, grease your two 8-inch round cake pans with butter or baking spray. For an extra insurance policy against sticking, line the bottoms with a circle of parchment paper. A little flour dusted over the grease seals the deal. Set them aside.
- Mix the Dry Team: In a medium bowl, grab your whisk and give the flour, baking powder, and salt a good, airy whisk. We’re not just mixing; we’re aerating and making sure our leavening is evenly distributed. No one wants a baking powder pocket! Set this bowl aside.
- Creaming is Key: In your large mixing bowl, beat the softened butter and granulated sugar together on medium-high speed. Here’s my hack: let this go for a good 3-4 minutes. You want it to be very pale yellow, fluffy, and almost creamy. Stop the mixer and scrape down the sides halfway through. This step builds the cake’s structure, so don’t rush it!
- Egg-cellent Addition: With the mixer on medium, add your eggs one at a time. Let each egg fully incorporate into that fluffy butter-sugar mixture before adding the next. This prevents the batter from breaking (looking curdled). After the last egg, beat in that glorious tablespoon of vanilla.
- The Gentle Merge: Reduce your mixer speed to low. We’re going to add the dry and wet ingredients in turns. Add about one-third of the flour mixture, mix until just combined, then half of the coconut milk. Repeat: flour, the rest of the milk, then the final third of flour. Stop mixing the *moment* the last streaks of flour disappear. Overmixing is the enemy of a tender cake!
- Fold in the Fun: If you’re using that optional cup of shredded coconut inside the cake, now’s the time. Use a rubber spatula to gently fold it into the batter until it’s evenly distributed.
- Bake to Golden Perfection: Divide the batter evenly between your prepared pans. Smooth the tops with your spatula. Slide them into the oven, preferably on the same rack, and bake for 25-30 minutes. You’ll know they’re done when the tops are springy to the touch, the edges just pull away from the pan, and a toothpick inserted in the center comes out clean with maybe a crumb or two.
- The Patience Stage – Cooling: This is crucial! Let the cakes cool in their pans on a wire rack for 10 minutes. Then, run a knife around the edge, invert them onto the rack, and peel off the parchment paper. Let them cool completely, completely, COMPLETELY before you even think about frosting. I sometimes make the cakes a day ahead and wrap them tightly once cool. A cold cake is much easier to frost!
- Make the Dreamy Frosting: In a clean bowl, beat the softened cream cheese and butter together until completely smooth and creamy. Gradually add the sifted powdered sugar, about a cup at a time, on low speed (unless you want a powdered sugar snowstorm in your kitchen!). Once it’s all in, add the vanilla and beat on medium for another minute until it’s fluffy and dreamy.
- Frost & Create the “Fur”: Place one cake layer on your serving plate. Spread a generous layer of frosting on top. Place the second layer on top. Now, frost the entire outside of the cake with a thin “crumb coat”—a first layer that catches any loose crumbs. Pop it in the fridge for 15 minutes to set. Then, add your final, thick, beautiful layer of frosting. Now, for the magic: gently take handfuls of shredded coconut and press them all over the frosted cake until it’s covered in adorable, fluffy “fur.”
- The Grand Finale – Bunny Topper: Carefully place your bunny silhouette right in the center of the cake. If you’re using a cookie cutter as a stencil, place it on the cake and sprinkle colored sugar or contrasting coconut inside the shape, then lift it away to reveal the bunny!
Serving Your Masterpiece: The Wow Factor
Presenting this cake is half the fun! I love using a simple, clean cake stand to let it shine. For a real springtime vibe, scatter a few pastel-colored jelly beans, edible flowers, or even little sugar eggs around the base of the cake plate. When it’s time to slice, use a sharp, thin-bladed knife. Run it under hot water and wipe it dry between cuts for the cleanest, most beautiful slices that show off those perfect layers. Serve it up with a big pot of coffee for brunch or a glass of cold milk for the kids. Watch the smiles appear—that’s the best part of the recipe.
Make It Your Own! Fun Recipe Twists
Love the idea but want to mix it up? Here are a few of my favorite spins on this fluffy classic:
- Citrus Sunshine: Add the zest of one lemon or two limes to the cake batter and substitute 2 tablespoons of the milk with fresh lemon/lime juice. For the frosting, add a teaspoon of the same zest. It’s incredibly fresh and bright!
- Tropical Escape: Fold ½ cup of finely chopped dried pineapple or mango into the batter with the coconut. Toast the coconut for the outside coating for a deeper, nuttier flavor and golden color.
- Chocolate Coconut Twist: Swap out ½ cup of the flour for unsweetened cocoa powder to make a chocolate coconut cake. A chocolate cream cheese frosting (add ¼ cup cocoa powder with the powdered sugar) under that coconut fur is divine.
- Dairy-Free Delight: Use vegan butter sticks, full-fat canned coconut milk in the cake, and a store-bought dairy-free cream cheese for the frosting. Check your shredded coconut to ensure it’s processed in a nut/dairy-free facility.
- “Carrot Patch” Bunny: Add 1 tsp cinnamon and ½ tsp nutmeg to the dry ingredients. Fold 1 cup of finely grated carrots (squeezed very dry in a towel) into the batter. You’ve got a carrot-cake bunny hybrid!
Emily’s Kitchen Notes & Stories
This recipe has seen some things in my kitchen! The first time I made it, I was so excited I tried to frost the warm cakes. Let’s just say I ended up with a delicious coconut-vanilla trifle instead of a layer cake. Lesson learned: patience is a baker’s secret weapon. Over the years, I’ve found that toasting the coconut for the topping adds a amazing depth of flavor, but my kids insist the pure white “snowy” look is the best. I always let them choose. The beauty of this cake is in its flexibility and the sheer joy it brings. Don’t stress if your frosting isn’t bakery-smooth under the coconut—the coconut covers a multitude of sins and makes everyone look like a pro!
Your Questions, Answered!
Q: My cake layers domed in the middle. What happened?
A: No worries! This is common. Your oven might run a bit hot, causing the edges to set too fast while the center still rises. You can try an “oven strip” (a damp towel wrapped around the pan) or simply slice the dome off the cooled cake layer with a serrated knife to create a flat surface for stacking. Bonus: baker’s snack!
Q: Can I make this ahead of time?
A: Absolutely! You can bake the layers, let them cool completely, wrap them tightly in plastic wrap, and freeze for up to a month. Thaw in the fridge overnight. You can also frost and decorate the cake the day before. Keep it covered in a cake carrier in the fridge. Let it sit at room temperature for 30-60 minutes before serving for the best flavor and texture.
Q: My frosting is too runny/too thick. Help!
A: Cream cheese frosting is temperature-sensitive. If it’s runny, your ingredients were likely too warm. Pop the whole bowl in the fridge for 20-30 minutes, then beat again. If it’s too thick, add a teaspoon of milk or coconut milk at a time while beating until it reaches a spreadable consistency.
Q: I don’t have 8-inch pans. Can I use 9-inch?
A: Yes! Your layers will be slightly thinner. Start checking for doneness around 20-22 minutes. You could also use this batter to make 24 cupcakes—bake for 18-20 minutes and decorate each with a swirl of frosting, coconut, and a mini bunny topper!
Nutritional Information (Per Slice, serves 12)
Here’s a general nutritional breakdown. Remember, this is a celebratory treat meant to be enjoyed with joy!
- Calories: ~430
- Total Fat: 25g
- Saturated Fat: 17g
- Cholesterol: 95mg
- Sodium: 220mg
- Total Carbohydrates: 48 g
Dietary Fiber: 1g
Sugars: 34g
Protein: 5g
Values are approximate and will vary based on exact ingredients and portion size.
Final Thoughts: A Cake That Makes Everyone Smile
This Coconut Bunny Cake is more than a dessert—it’s a moment of joy, right in the middle of your table. It’s the kind of cake that gets kids excited, makes adults nostalgic, and somehow disappears faster than anything else on the dessert spread. It’s fluffy, cozy, playful, and full of heart—exactly what spring baking should be.
I love how forgiving this cake is. The coconut hides every little frosting wobble. The bunny topper turns simple layers into something magical. And every slice tastes like comfort, celebration, and a little bit of childhood wrapped up in one sweet bite.
So whether you’re making this for Easter Sunday, a spring birthday, or just because you need something cheerful and fun, I hope it brings laughter into your kitchen and smiles around your table. Bake it with joy, decorate it with love, and don’t forget to sneak a forkful straight from the fridge later—baker’s privilege.
From my kitchen to yours,
happy spring, happy baking, and happy memories.
With love,
Emily 🐰🥥🤍