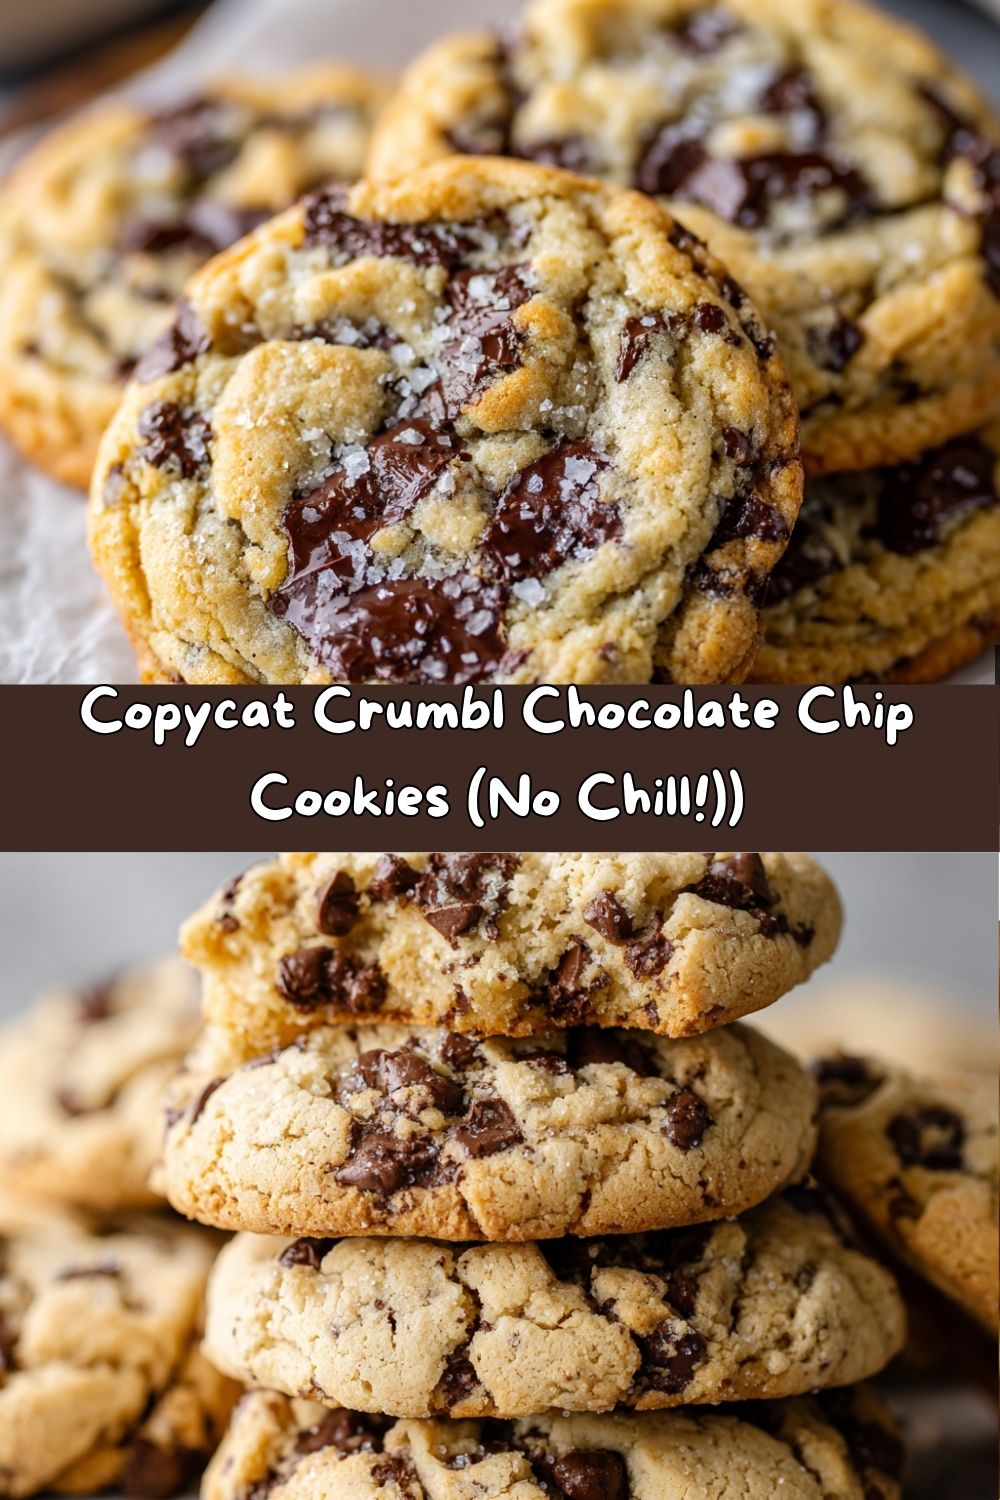
Copycat Crumbl Chocolate Chip Cookies: The Ultimate Bakery-Style Treat
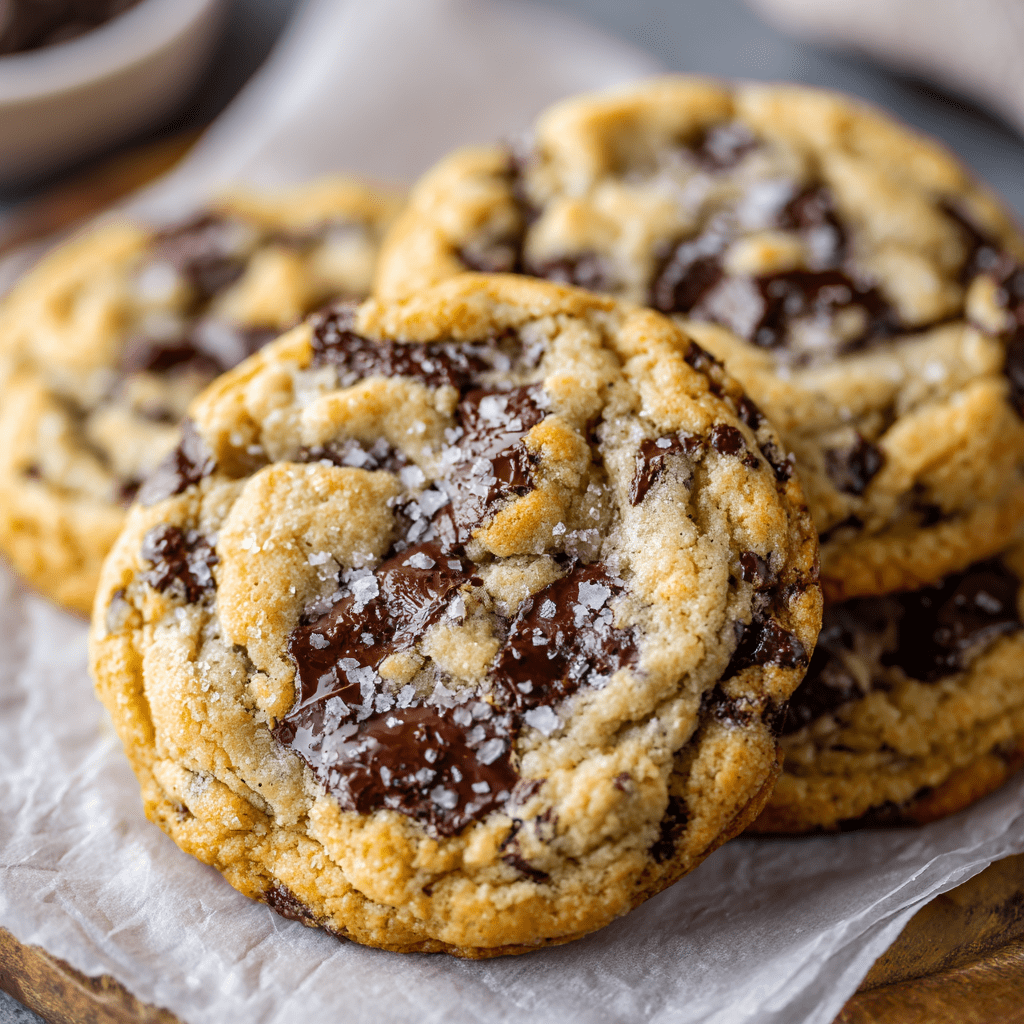
Hey there, fellow cookie monster! 👋 Let’s be real for a second. Is there anything in this world that can pull you out of a bad mood, celebrate a tiny win, or make a boring Tuesday feel like a special occasion faster than a truly epic chocolate chip cookie? I’m not talking about those thin, sad, crispy things. I’m talking about the main event. The heavyweight champion of cookies. The kind that’s thick, soft-baked, and overflowing with pools of melted chocolate, with edges that are just golden enough to give you that perfect textural contrast.
You know exactly the ones I mean. The famous Crumbl cookies that have taken over our social media feeds and have us lining up around the block. That cookie is a masterpiece of comfort and joy. But what if I told you that you don’t have to leave your house (or change out of your pajamas) to experience that magic? What if you could create that iconic, bakery-style experience right in your own kitchen, filling your home with that unmistakable, soul-warming aroma of butter and sugar?
Well, my friend, pull up a stool and grab your favorite mixing bowl, because that’s exactly what we’re doing today. We’re cracking the code. I’ve spent weeks (and more than a few batches of cookies) perfecting this recipe, and I’m so excited to share it with you. This is my copycat version of the famous Crumbl Chocolate Chip Cookie, and it delivers on every single promise: golden edges, gloriously gooey centers, and so many melty chocolate chips in every single bite. And the best part? No chilling required. That’s right. We’re about 15 minutes away from mixing and 10 minutes away from baking your new favorite cookie. Let’s make something delicious!
The Cookie That Started It All
This recipe takes me right back to my grandma’s kitchen. She wasn’t a fancy pastry chef—she was a “a little of this, a handful of that” kind of cook, the best kind in my opinion. Her chocolate chip cookies were legendary in our family. They were always giant, always slightly underbaked in the very best way, and they required two hands and a glass of cold milk to eat properly.
I remember one summer afternoon, I must have been about ten, and I was determined to make them all by myself. I gathered the ingredients, standing on a step-stool to reach the counter, and I went for it. I creamed the butter and sugar with her old hand mixer until my arms ached, I “accidentally” sampled way too much of the raw dough, and I proudly placed a dozen uneven dough blobs onto a baking sheet. When they came out of the oven, puffed and golden, I was beaming. They weren’t perfect, but they were mine. That feeling of accomplishment, of creating something from scratch that brought so much simple joy, is a feeling I chase every day in my kitchen. This Crumbl copycat recipe is my grown-up, perfected homage to my grandma’s giant, love-filled cookies. It’s that same spirit of homemade joy, just with a few chef secrets thrown in to make them absolutely irresistible.
Gathering Your Cookie Squad: The Ingredients
Baking is a science, but it’s a delicious one. Each ingredient here plays a specific role in creating that perfect thick-and-chewy texture. Here’s exactly what you’ll need and why it’s important:
- 1 cup (2 sticks) unsalted butter, room temp: This is non-negotiable! Room temp butter (soft enough that you can leave an indent with your finger, but not melted or oily) creams together with the sugar to create tiny air pockets. Those pockets are what give the cookie its structure and that lovely, slightly-cakey crumb. Using salted butter? Just reduce the added kosher salt by about ¼ tsp.
- 1¼ cups light brown sugar, packed: Pack that brown sugar firmly into your measuring cup! The molasses in brown sugar is the secret weapon for chewiness and that deep, caramel-like flavor. It also adds moisture.
- ½ cup granulated sugar: The white sugar helps create those perfectly crisp, golden edges we all love.
- 2 large eggs: Always use large eggs for baking. They bind everything together and add richness. Make sure they’re at room temperature to emulsify properly with the butter and sugar!
- 1 Tbsp vanilla extract: Yes, a full tablespoon! This seems like a lot, but trust me, it makes a huge difference in the depth of flavor. It adds a warm, aromatic base that makes the chocolate taste even more chocolatey.
- 3 cups all-purpose flour: The foundation of our cookie. Spoon and level your flour when measuring—don’t scoop directly from the bag with the measuring cup! Scooping packs the flour in and can lead to dry, dense cookies.
- 1 Tbsp cornstarch: Here’s one of our secret chef hacks! Cornstarch is a magical ingredient for softness. It gives the cookies that incredibly soft, pillowy, and slightly cake-like texture that makes them so irresistible.
- 1 tsp baking soda: Our leavening agent. It helps the cookies rise and spread just the right amount.
- 1¼ tsp kosher salt: If you’re using table salt, reduce this to ¾ tsp. Salt is crucial for balancing all the sweetness and making the chocolate flavor pop. Don’t skip it!
- 2–2¼ cups milk chocolate chips: Crumbl famously uses milk chocolate, and it’s the perfect sweet counterpart to the cookie dough. I recommend a good quality chocolate chip for the best melt. Guittard and Ghirardelli are my go-to brands. Feel free to use a mix of chips and chunks!
Let’s Get Baking: Step-by-Step Instructions
Okay, team! Aprons on, preheat that oven, and let’s make some magic. Follow these steps closely for cookie perfection.
- Preheat and Prep: Preheat your oven to 375°F (190°C). This is a bit hotter than most cookie recipes, but it’s key for getting those golden edges while keeping the center soft. Line your baking sheets with parchment paper. Chef’s Tip: Don’t grease the pan! Parchment paper is your best friend here. It prevents sticking without causing the cookies to spread too much.
- Creaming is Key: In the bowl of a stand mixer fitted with the paddle attachment (or a large bowl with a hand mixer), cream together the room temperature butter, packed brown sugar, and granulated sugar on medium-high speed for a full 3 minutes. This step is SO important. You want the mixture to become light, pale, and super fluffy. This incorporates air, which is the first step to a perfect texture.
- Combine the Wet Stuff: Scrape down the sides of the bowl with a spatula. Add the eggs, vanilla extract, baking soda, salt, and cornstarch. Mix on medium speed for another 1-2 minutes until everything is completely combined and smooth. It should look like a beautiful, glossy batter. Chef’s Hack: Adding the baking soda and salt here, instead of with the flour, helps it distribute more evenly throughout the dough.
- Bring in the Flour: Turn your mixer down to its lowest speed. Gradually add the all-purpose flour, mixing until just combined. Be careful not to overmix! As soon as you no longer see streaks of white flour, stop. Overmixing develops gluten and leads to tough cookies.
- The Main Event: Chocolate! Remove the bowl from the mixer. Pour in those glorious milk chocolate chips. Use a sturdy spatula or wooden spoon to fold them in by hand until they’re evenly distributed. This ensures you don’t break the chips or overwork the dough.
- The Secret Scoop Technique: This is the trick for that perfect bakery-style look! Use a large cookie scoop or a ⅓-cup measuring cup to portion out huge balls of dough. Now, here’s the magic: tear each dough ball in half. Rotate the two halves so the rough, torn sides are facing up, and then smush them back together into one tall, craggy dough ball. Placing this on the baking sheet with the rough edges up gives you those beautiful, textured tops with perfect cracks and crevices.
- Bake to Perfection: Place 4-6 dough balls on your prepared baking sheet, leaving at least 3 inches between them—they will spread! Bake for 10-11 minutes. They will look puffy and slightly underbaked in the middle, and the edges will be just set and lightly golden. Chef’s Tip: For super gooey centers, lean towards 10 minutes. For a slightly more set center, go for 11. Do not overbake!
- The Waiting Game (The Hardest Part): As soon as you pull them out, bang the baking sheet on your stove top once or twice. This deflates them slightly and creates those nice wrinkles. Let the cookies cool on the hot baking sheet for a full 5 minutes before carefully transferring them to a wire rack to cool completely. This allows them to set up without becoming rock hard.
How to Serve These glorious Cookies
Okay, let’s be honest: you’re probably going to eat one straight off the baking sheet while it’s still warm enough to melt the chocolate on your fingers (a truly sacred experience). But for serving, I love to pile them high on a rustic wooden board or a simple plate. A glass of ice-cold milk is an absolute must. For the ultimate indulgence, serve one slightly warm with a small scoop of vanilla bean ice cream on top, letting it melt into all the nooks and crannies. It’s not just a cookie; it’s a whole mood.
Make It Your Own: Recipe Variations
Love the base recipe? Let’s get creative! Here are a few of my favorite twists:
- Sea Salt Dark Chocolate: Swap the milk chocolate chips for dark chocolate chunks and sprinkle the tops with a little flaky sea salt right when they come out of the oven. Sweet, salty, and sophisticated.
- Peanut Butter Paradise: Replace 1 cup of the chocolate chips with peanut butter chips. You could even swirl in a few tablespoons of creamy peanut butter into the dough itself.
- Kitchen Sink Cookies: Go wild! Use a mix of milk chocolate chips, semi-sweet chips, and throw in a handful of toasted pecans or walnuts for crunch.
- White Chocolate Macadamia: A classic combo! Use white chocolate chips and add ¾ cup of chopped, roasted macadamia nuts.
- M&M Funfetti: Perfect for a birthday! Swap the chocolate chips for a cup of M&Ms and a cup of semi-sweet chips for a colorful, festive cookie.
Chef Emily’s Notes
This recipe has evolved from many, many batches of cookies. The first time I tried to make them, I used melted butter (a classic mistake!) and ended up with cookie pancakes. Delicious, but not exactly the thick, proud cookies we were going for. The room-temperature butter and the cornstarch were the game-changers that finally gave me that perfect texture.
Another funny story: I once, in a frantic baking session, forgot to add the granulated sugar. I only realized it after the cookies were in the oven. They came out… blonde and sad. We still ate them, of course, but it was a powerful lesson in the importance of each ingredient! Baking is a fun experiment, and even the “mistakes” are usually still pretty tasty. The most important ingredient is always the joy you put into it.
FAQs & Troubleshooting
Q: My cookies spread too much and became flat. What happened?
A: This is usually caused by butter that is too warm or melted. Ensure your butter is at true room temperature—cool to the touch, not warm or greasy. Also, double-check that your baking soda is fresh! Old leavening agents lose their power.
Q: My cookies are cakey and puffy, not gooey. Why?
A: You might have over-measured your flour. Remember to spoon the flour into your measuring cup and level it off with a knife. Don’t scoop the measuring cup directly into the flour bag, as this packs it down. Also, make sure you’re not overbaking them. They should look slightly underdone when you take them out.
Q: Can I chill this dough even though it says not to?
A: You absolutely can! While the recipe is designed for no chill-time for instant gratification, chilling the shaped dough balls for 1-2 hours (or even overnight) will result in an even thicker, chewier cookie with more complex flavor as the ingredients have time to meld. You may need to add a minute to the bake time if baking from cold.
Q: How do I store these to keep them soft?
A: Once completely cool, store them in an airtight container at room temperature with a piece of plain white bread tossed in. The cookies will absorb the moisture from the bread and stay soft for days! (Just remember to change out the bread piece if it gets hard).
Nutritional Information
Per Cookie (approximate, based on 12 cookies): 450 calories | 45g carbs | 22g fat | 5g protein | 30g sugar
Prep Time: 15 mins | Bake Time: 10–11 mins | Yield: ~12 jumbo cookies
Print
Copycat Crumbl Chocolate Chip Cookies
- Total Time: 20 minutes
- Yield: 12 large cookies 1x
Description
These cookies deliver that iconic bakery-style experience: golden edges, gooey centers, and melty chocolate in every bite. No chilling required—just mix, scoop, and bake!
Ingredients
1 cup butter, room temp
1¼ cups light brown sugar, packed
½ cup granulated sugar
2 large eggs
1 Tbsp vanilla extract
3 cups all-purpose flour
1 Tbsp cornstarch
1 tsp baking soda
1¼ tsp kosher salt
2–2¼ cups milk chocolate chips
Instructions
Preheat oven to 375°F (190°C) and line baking sheets with parchment.
Cream butter and sugars for 3 minutes until fluffy.
Add eggs, vanilla, baking soda, salt, and cornstarch. Mix until combined.
Stir in flour on low speed, then fold in chocolate chips.
Scoop large ⅓-cup dough balls. Split in half, rotate, and press back together with rough edges facing up.
Bake 10–11 minutes until edges are lightly golden. Let cool on the sheet for 5 minutes, then transfer to a wire rack.
- Prep Time: 15 minutes
- Cook Time: 11
Nutrition
- Calories: 450 Per Cookie
- Sugar: 30g Per Cookie
- Fat: 22g Per Cookie
- Carbohydrates: 45g Per Cookie
- Protein: 5g Per Cookie
Final Thoughts: A Cookie Worth Every Bite
And there you have it—thick, gooey, bakery-style chocolate chip cookies that rival the famous Crumbl version. These cookies are everything a cookie should be: golden at the edges, soft in the middle, and overflowing with melty chocolate. They’re proof that with just a few chef hacks—like room-temperature butter, a little cornstarch, and a clever scooping trick—you can recreate bakery magic in your own kitchen.
The best part? They’re quick, easy, and require zero chilling time, which means instant gratification whenever the craving strikes. Whether you’re baking a batch for a party, gifting them to a friend, or just sneaking one warm from the tray with a glass of milk, these cookies deliver pure joy in every bite.
So preheat that oven, pull out your mixing bowl, and treat yourself. After all, life’s too short for small cookies. Bake them big, bake them gooey, and savor every delicious moment.