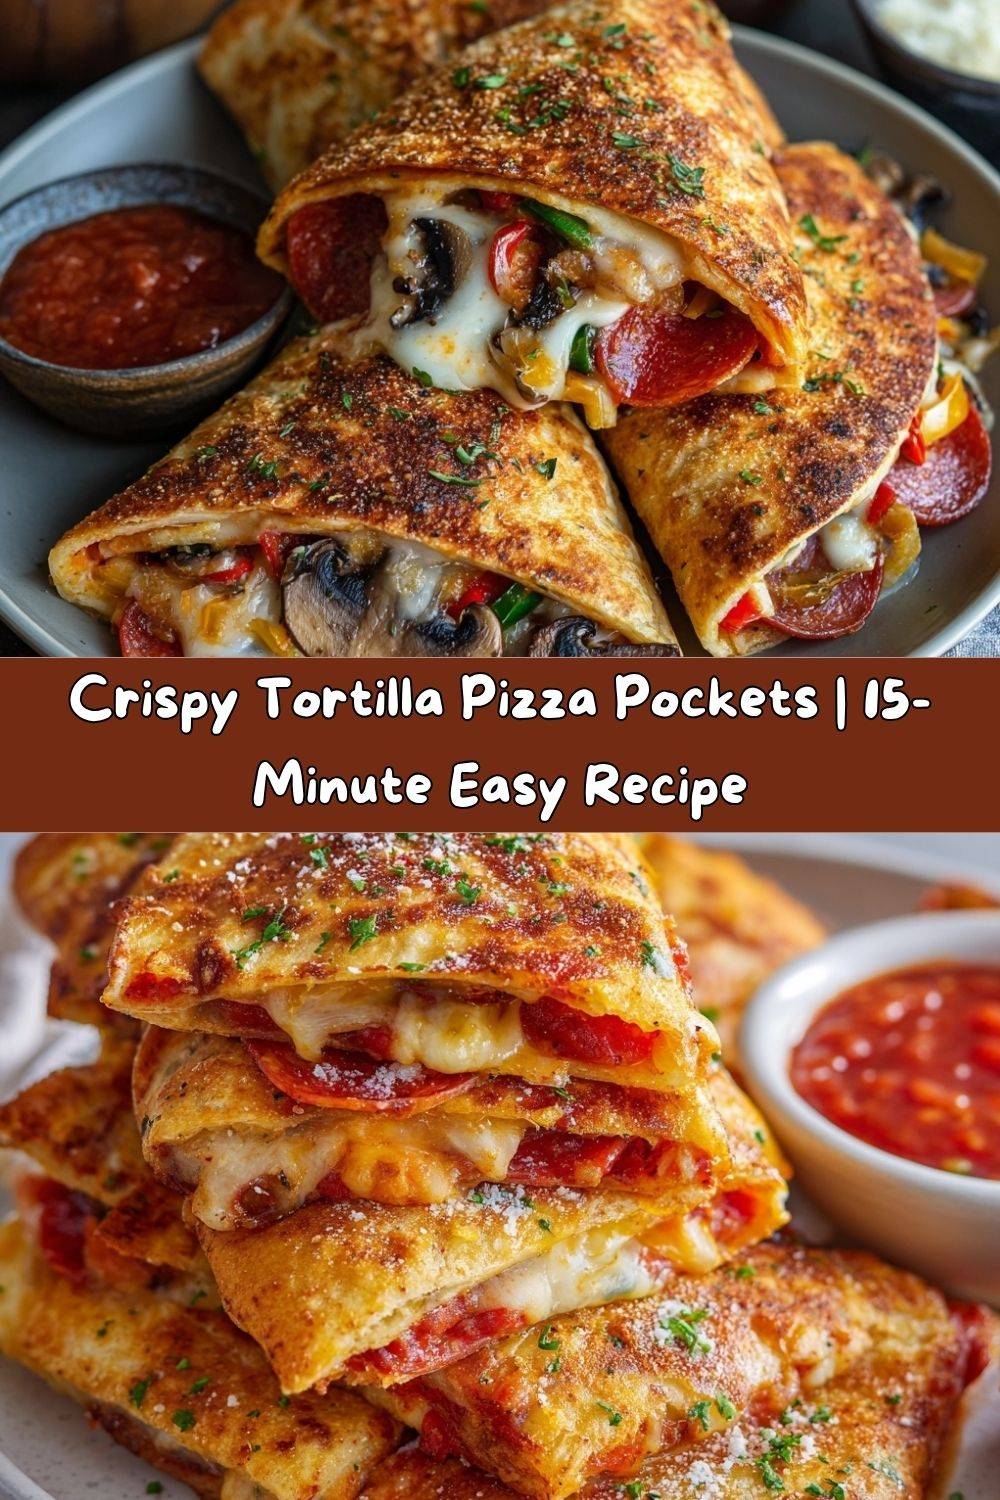
Crispy Tortilla Pizza Pockets: Your New Favorite 15-Minute Meal!
Hey there, friend! Let’s be real for a second. Are you, right now, maybe dreaming of a hot, cheesy, utterly satisfying slice of pizza? But then that little voice in your head chimes in about the delivery wait time, the cost, or the fact that you’re just too cozy in your sweatpants to deal with anything complicated?
I see you. I’ve been you, more times than I can count. That’s exactly why I’m practically bursting to share this recipe with you today. Forget everything you know about pizza-making being a whole production. We’re throwing the rulebook out the kitchen window and making something even more fun, fast, and fantastically delicious: Crispy Tortilla Pizza Pockets.
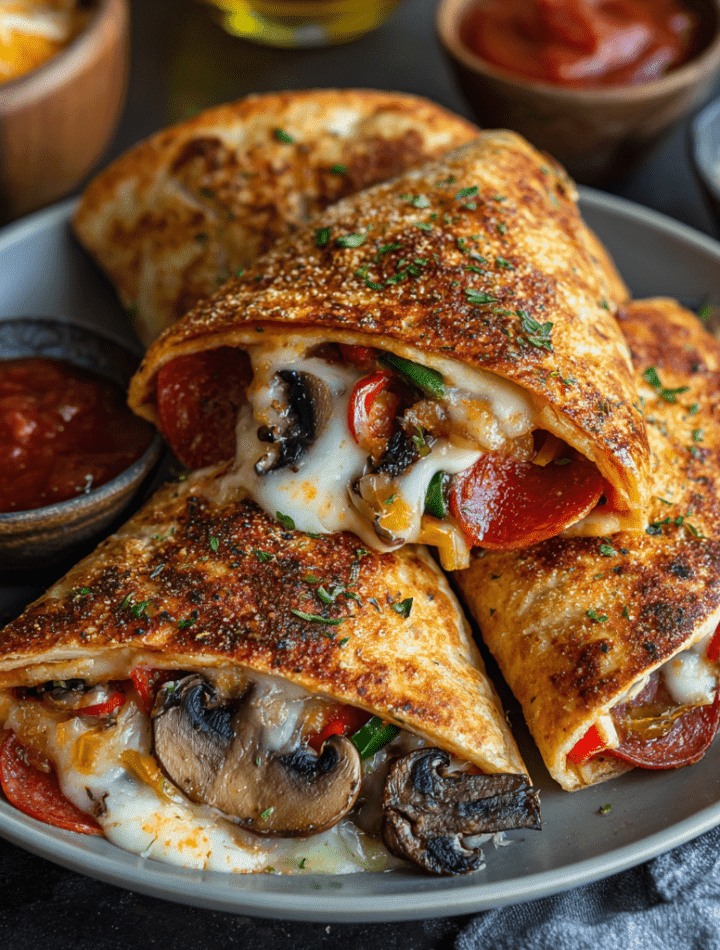
Imagine this: a soft flour tortilla, stuffed to the brim with melty mozzarella, zesty pizza sauce, and all your favorite toppings. Then, it’s pan-fried until the outside is shatteringly crisp and golden, and the inside is a glorious, steamy, cheesy wonderland. It’s a handheld piece of heaven that comes together in less than 20 minutes, uses simple ingredients, and is guaranteed to make everyone at your table do a little happy dance.
Whether you need a quick lunch, a killer after-school snack, a genius party appetizer, or a “I-deserve-this” treat, these pizza pockets are your answer. So, tie on your apron (embrace the mess, it’s half the fun!), and let’s make something incredibly tasty together.
The Happy Accident That Started It All
This recipe, like so many of the best things in life, was born from a happy little kitchen accident. Picture a much younger me, home from culinary school for the weekend, tasked with making a “fun lunch” for my little cousins. The request was pizza. The problem? We had no pizza dough, and I was far too proud to admit defeat.
My eyes scanned the fridge and landed on a half-used package of flour tortillas. A lightbulb went off. What if I treated them like a calzone? We slathered on sauce, piled on cheese and pepperoni, folded them over, and pan-fried them in a little olive oil. The result was pure magic. The tortillas puffed up and turned into this beautifully crisp shell, and the cheese melted into a perfect, gooey river. The kids were silent—the highest compliment a chef can receive—and then immediately demanded more. That messy, improvisational lunch became a family legend, and it’s a story I love because it proves that the best cooking isn’t about being perfect; it’s about being creative and having fun with what you’ve got.
Gathering Your Pizza Pocket Toolkit
Here’s everything you’ll need to create these crispy miracles. The beauty is in the customization, so think of this list as a fantastic starting point!
- 8 large flour tortillas (soft taco size): The vessel for our joy! I like the soft taco size because they’re the perfect handheld portion. Chef’s Insight: Slightly warming them for 10-15 seconds in the microwave makes them incredibly pliable and less likely to tear when you fold them.
- 2 cups pizza sauce: This is the flavor foundation. Use your favorite jarred brand for ultimate ease, or go all out with a simple homemade sauce. Substitution Tip: No pizza sauce? Marinara or even a simple crushed tomato base with a pinch of oregano and salt works beautifully.
- 4 cups shredded mozzarella cheese: The star of the gooey show! I highly recommend shredding a block of low-moisture mozzarella yourself. Chef’s Hack: Pre-shredded cheese is coated to prevent clumping, which can sometimes make the melt less smooth. Freshly shredded is always silkier!
- 1 cup sliced pepperoni: A classic for a reason! The little cups of grease that form when they cook are tiny flavor bombs.
- 1 cup chopped bell peppers (any color): For a pop of color and sweet crunch. I love using a mix of red and green for visual appeal.
- 1 cup sliced mushrooms: They add a wonderful, savory, earthy depth. Pro Tip: If you have an extra minute, sauté them first to drive off excess water and concentrate their flavor.
- ½ cup cooked crumbled sausage (optional twist): This is my husband’s favorite addition. A little cooked Italian sausage takes these pockets to a whole new level of heartiness.
- ½ cup sliced black olives (optional twist): For that briny, salty kick that cuts through the richness of the cheese.
- ½ cup grated Parmesan cheese: The flavor booster! This adds a salty, nutty dimension that makes the filling extra special.
- 2 teaspoons Italian seasoning: The aromatic soul of the pizza. Rub it between your fingers as you sprinkle it to wake up the oils and make it even more fragrant.
- 1 teaspoon garlic powder: For that underlying, savory warmth we all love. Onion powder is a great addition here, too!
- 4 tablespoons olive oil (for brushing): Our key to a golden-brown, crispy-crunchy exterior. Brushing it on ensures an even, delicious fry without making them greasy.
Let’s Build Some Magic: Your Step-by-Step Guide
Ready to see how quickly these come together? Follow these steps, and you’ll be a Tortilla Pizza Pocket pro in no time.
- Prep Your Station: Before you start, get your large non-stick skillet on the stove and turn the heat to medium. We want it to be perfectly preheated by the time our pockets are assembled. Lay out all your fillings in an assembly line. This “mise en place” (a fancy term for “everything in its place”) makes the process smooth and fun. Chef’s Tip: If your tortillas are feeling a bit stiff, give the stack a quick 15-second zap in the microwave under a damp paper towel. They’ll become soft and flexible, ready for folding!
- Sauce It Up: Take one tortilla and spread 2-3 tablespoons of pizza sauce over one half of it, leaving a clean border around the edge. This border is crucial—it’s our glue! If sauce gets all the way to the edge, it will seep out and prevent a good seal. Less is more here; too much sauce leads to a soggy pocket.
- The Art of the Fill: Now for the fun part! Sprinkle a generous handful of mozzarella cheese over the sauced half. This cheesy base acts as a delicious glue for your toppings. Then, artfully arrange your pepperoni, bell peppers, mushrooms, sausage, and olives. Top it all off with a final sprinkle of Parmesan cheese, and don’t forget a good pinch of Italian seasoning and a dusting of garlic powder. Chef’s Hack: Always start and end with cheese. It creates the best melt and helps hold everything together.
- The Perfect Fold: Carefully fold the bare half of the tortilla over the loaded half, creating a perfect semi-circle. Now, press down firmly all around the edges, especially the curved side. You can use the palm of your hand to really seal the deal. A well-pressed edge is your best defense against cheesy escapees during cooking!
- Brush & Crisp: Use a pastry brush (or your fingers) to lightly brush the top of the pocket with olive oil. This will be the side that hits the pan first. Carefully place the pocket, oil-side-down, into your preheated skillet. Now, brush the top side with more oil. Listen for that satisfying sizzle! Chef’s Commentary: That sound is the promise of crispiness. It’s a beautiful thing.
- Pan-Fry to Perfection: Cook for 3-4 minutes, until the bottom is beautifully golden brown and crisp. You can peek by lifting a corner. Then, with a confident flip, cook the other side for another 3-4 minutes. The tortilla should be puffed in spots and a deep, golden brown, and you might even see a little cheese trying to peek out the sides. That’s when you know it’s ready.
- The Crucial Rest: This might be the hardest step, but it’s so important! Transfer your gorgeous, crispy pizza pockets to a cutting board and let them rest for 2-3 minutes. Why? This allows the molten lava-hot cheese to set just slightly, so when you bite into it or cut it in half, you get a perfect, gooey pull instead of a scalding cheese explosion. Patience is a virtue, especially when it comes to hot cheese!
How to Serve Your Masterpiece
You’ve created something amazing, so let’s serve it with style! These pockets are fantastic all on their own, but a little flair never hurt.
For a full meal, I love serving two pockets per person alongside a simple, bright arugula salad tossed with a lemony vinaigrette. The peppery arugula and acidic dressing cut through the richness of the pizza pockets perfectly. They’re also divine with a side of marinara or ranch dressing for dipping—because you can never have too much sauce, right?
For a party or game-day spread, slice each pocket into three or four wedges before serving. They become the ultimate finger food, perfect for grabbing and dipping. Arrange them on a platter with small bowls of marinara, ranch, and even a spicy sriracha mayo for dipping. Watch them disappear in minutes!
Mix It Up! Endless Flavor Twists
The real magic of this recipe is its adaptability. Once you’ve mastered the basic technique, the flavor world is your oyster! Here are a few of my favorite twists:
- Hawaiian Bliss: Swap the pepperoni for diced ham and chopped pineapple tidbits (drained well!). The sweet and salty combo is a classic for a reason.
- Veggie Lover’s Dream: Load it up with sautéed spinach, roasted red peppers, artichoke hearts, and red onion. A sprinkle of feta cheese along with the mozzarella is a game-changer here.
- BBQ Chicken: Replace the pizza sauce with your favorite BBQ sauce. Use a mix of shredded cooked chicken, red onion, and mozzarella. A little fresh cilantro after cooking is *chef’s kiss*.
- Breakfast-for-Dinner Pocket: Scrambled eggs, cooked crumbled bacon or sausage, and a mix of cheddar and mozzarella cheese. Serve with a side of salsa for dipping. Yes, please!
- Spicy Supreme: Kick up the heat by using spicy Italian sausage, sliced jalapeños, and a sprinkle of red pepper flakes inside the pocket.
Chef Emily’s Kitchen Notes
This recipe has evolved so much since that first chaotic lunch with my cousins. I’ve learned that a light hand with the sauce is the secret to a crisp, not-soggy pocket. I’ve also found that while they are best eaten fresh, you can absolutely assemble them a few hours ahead of time. Just keep them in the fridge on a parchment-lined tray, covered with plastic wrap, until you’re ready to fry.
One of my favorite kitchen memories is of my grandma trying one of these for the first time. She took a bite, closed her eyes, and said, “Well, isn’t that clever?” in that tone that means “this is absolutely delicious.” It’s a recipe that brings smiles, and that, to me, is the whole point of cooking.
Your Questions, Answered!
Let’s tackle some common questions to make sure your pizza pocket journey is flawless.
Q: My cheese keeps leaking out while cooking! What am I doing wrong?
A: Ah, the great cheese escape! This usually happens for one of two reasons: 1) You’re overfilling the pocket. Remember, we want a good seal. 2) You didn’t leave a sufficient sauce-free border around the edge. Make sure you have a clean half-inch rim to press together. Also, pressing firmly around the edges is key!
Q: Can I bake these instead of pan-frying?
A: You can! For a slightly less crispy but still delicious result, brush them with oil and bake on a parchment-lined baking sheet at 400°F (200°C) for about 10-12 minutes, flipping halfway through. They won’t get *quite* as golden and crisp as the pan-fried version, but they’re still wonderful.
Q: Can I make these with corn tortillas or gluten-free tortillas?
A: Corn tortillas are generally too small and brittle to fold without cracking. For gluten-free, use the largest, most pliable gluten-free flour tortillas you can find. Warm them up very well to maximize flexibility before filling and folding.
Q: Why did my tortilla burn before the cheese melted?
A: Your heat was likely too high! We’re aiming for a medium heat. This gives the tortilla time to crisp and turn golden brown while the heat slowly penetrates to melt all that glorious cheese inside. If you notice it browning too fast, just lower the heat a notch.
A Quick Note on Nutrition
I believe all food fits into a happy, balanced life! These Tortilla Pizza Packs are a fun, indulgent treat. The nutritional info below is a rough estimate based on the specific ingredients listed and can vary widely based on the brands you use and your customizations.
To lighten them up, you can use low-fat cheese, whole wheat tortillas, and load up on veggie toppings. Using a light brushing of oil instead of a heavy pour in the pan also helps. Remember, it’s all about balance! Enjoy one or two of these cheesy delights with a big side salad, and you’ve got a meal that’s both satisfying and joyful.
Approximate Nutritional Info (per pocket): Calories: ~420 | Fat: 24g | Saturated Fat: 9g | Carbs: 32g | Sugar: 4g | Protein: 18g | Sodium: 870mg | Fiber: 2g
Your New Go-To Recipe Awaits
And there you have it! Your complete guide to making the crispiest, cheesiest, most irresistible Tortilla Pizza Pockets right in your own kitchen. This isn’t just a recipe; it’s a passport to easy, joyful eating. It’s a reminder that the best meals don’t have to be complicated—they just have to be made with a little bit of love (and a whole lot of cheese).
I really hope you and your loved ones adore this recipe as much as my family and I do. It’s a staple in my kitchen for a reason. So give it a try, get creative with your fillings, and most importantly, have fun with it!
I’d love to hear how yours turn out! Tag me on social @TastyChow or leave a comment below with your favorite filling combinations. Happy cooking, my friend!
— Emily