Your New Secret Weapon for the Best Breakfast Ever
Hey there, friend! Let’s talk about one of life’s simple, glorious pleasures: a hot, fluffy stack of pancakes or a perfectly crisp, golden waffle on a lazy weekend morning. That smell wafting through the house is pure happiness, isn’t it? It’s the official scent of slow days, sticky maple syrup, and gathering everyone around the table.
But here’s the thing. As much as I adore a from-scratch breakfast, sometimes life gets busy. The morning rush hits, the kids are hungry now, and the last thing you want to do is pull out five different canisters and measuring spoons. I’ve been there, standing in my messy apron, dreaming of a simpler way.
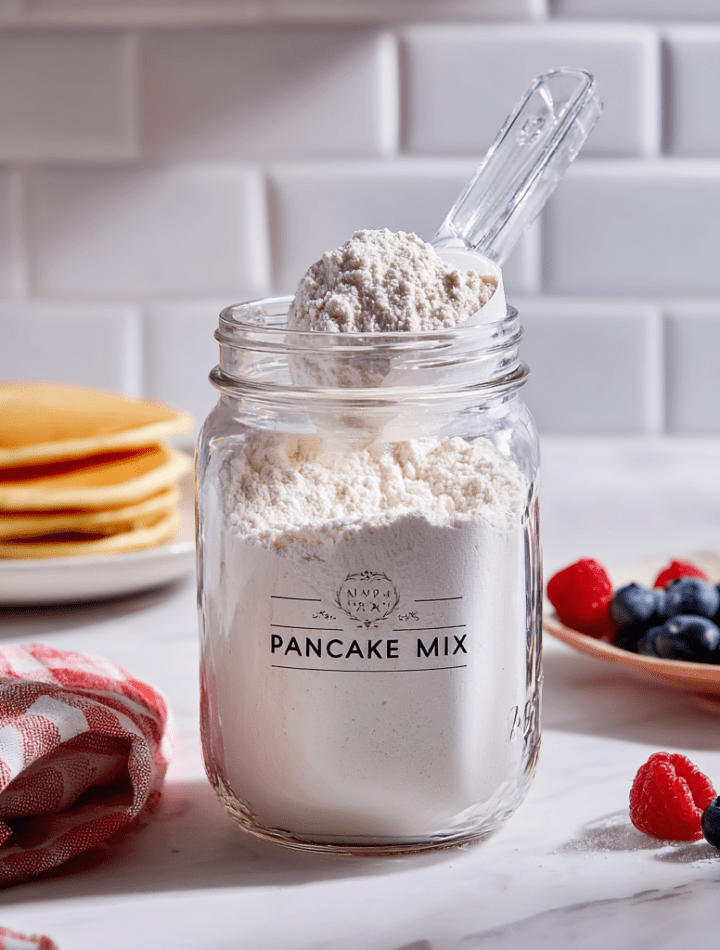
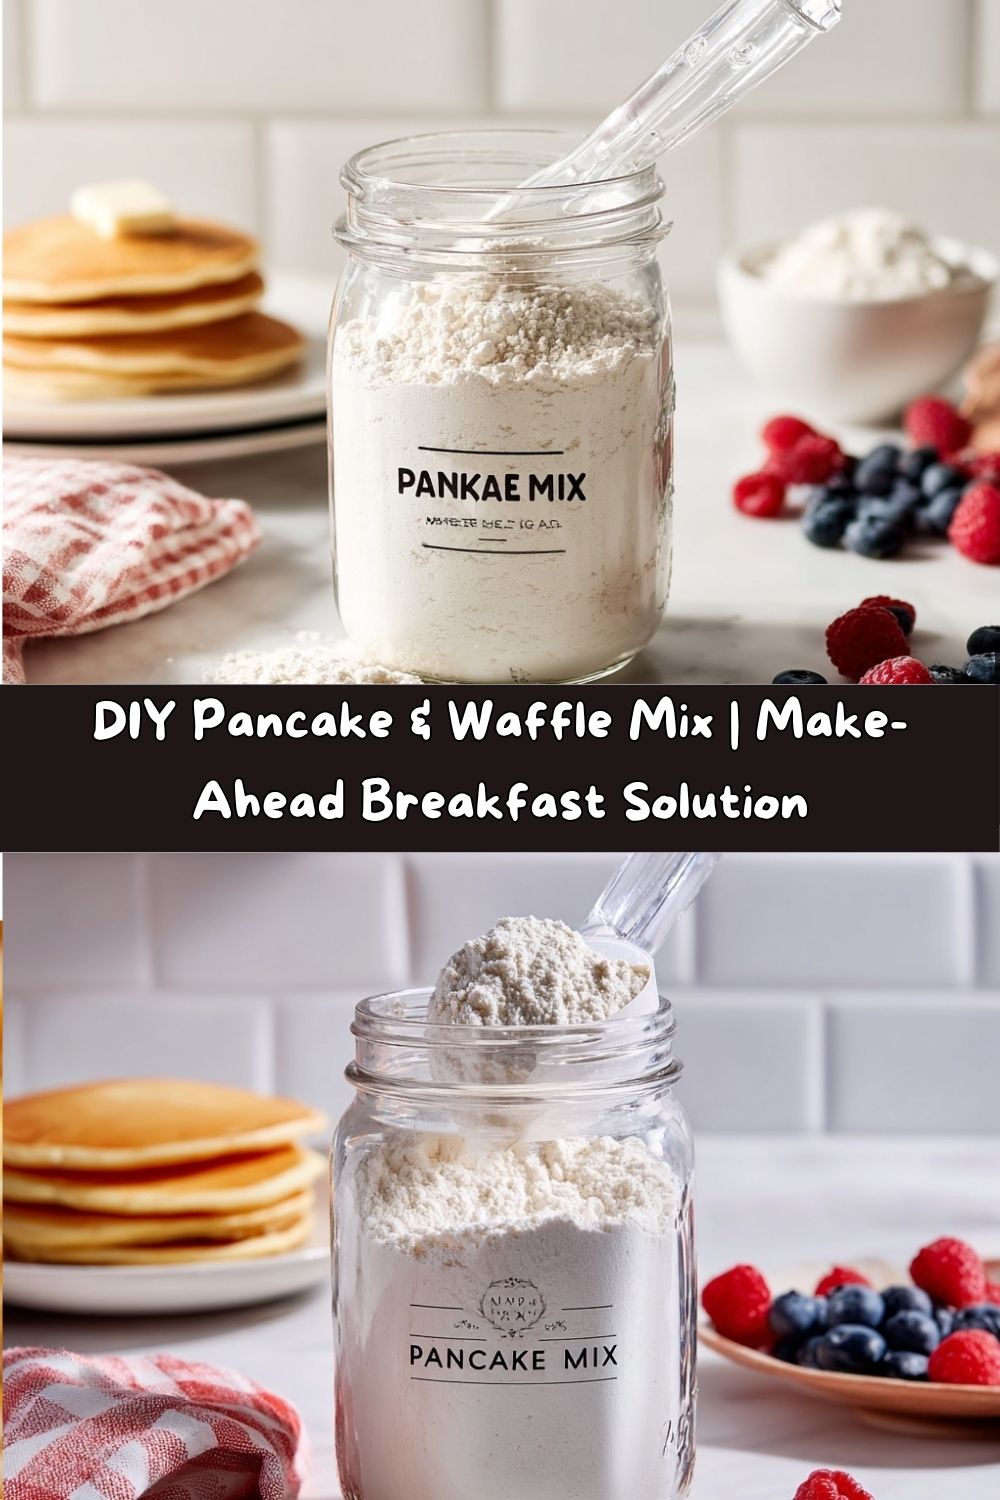
That’s exactly why I’m so excited to share my ultimate DIY Pancake & Waffle Mix with you today. This isn’t just a recipe; it’s a little jar of freedom for your pantry. We’re making a big batch of the dry ingredients all at once, so on those busy mornings, you can just grab a scoop, add a few wet ingredients, and have a restaurant-quality breakfast on the table in minutes. It’s budget-friendly, ridiculously easy, and tastes a million times better than anything from a box. Ready to make your mornings magical? Let’s get mixing!
A Sunday Morning Tradition: My Grandma’s Wooden Spoon
This recipe has its roots in my grandma’s kitchen. Every single Sunday, without fail, the sound of her trusty wooden spoon clinking against her big yellow mixing bowl was my alarm clock. She never used a boxed mix. Her “recipe” was a little of this, a pinch of that, all stored in her head and perfected over decades.
I’d pull up a chair, my little chin just peeking over the countertop, and watch her work her magic. She’d let me stir, always with the gentle reminder, “Just ’til it comes together, Emmy. A few lumps are just fine.” She taught me that the secret to fluffy pancakes wasn’t just in the ingredients, but in the love and the confidence you mix in. That big batch she made wasn’t just for one morning; she always had a little extra dry mix tucked away in a repurposed coffee tin for surprise guests or a quick Tuesday night “breakfast-for-dinner.” This DIY mix is my homage to her—a way to bottle up that Sunday feeling and have it ready for you anytime the craving strikes.
Gathering Your Pantry Staples
The beauty of this mix is in its simplicity. These are ingredients you probably already have on hand! Let’s break them down.
For the Big Batch Dry Mix (Makes about 13 cups)
- 10 cups All-Purpose Flour: This is our base. It gives our pancakes and waffles their structure. For a slightly heartier flavor, you can swap in 2 cups of whole wheat flour for 2 cups of the all-purpose.
- 2 ½ cups Dry Milk Powder: This is our secret weapon! It enriches the flavor and adds a lovely tenderness without needing fresh milk in the final batter. It’s what makes this mix so versatile.
- ½ cup Granulated Sugar: Just the right amount for a hint of sweetness and to help with that beautiful golden-brown color when it cooks.
- ¼ cup Baking Powder: Yes, a whole quarter cup! This is our primary leavening agent, and it’s crucial for getting that signature lift and fluffiness. Make sure yours is fresh for the best results.
- 2 tablespoons Salt: I know it seems like a lot, but trust me. Salt is essential for balancing all the flavors and making the sweetness pop. Don’t skip it!
To Make One Batch of Pancakes or Waffles
- 2 cups of your DIY Dry Mix: The star of the show!
- 1 cup Water: Simple and effective. The dry milk powder will reconstitute, giving you a rich batter.
- 1 large Egg: This adds richness, structure, and helps bind everything together.
- 2 tbsp Oil or Melted Butter: I’m Team Melted Butter for that irresistible, buttery flavor in pancakes. Pro-Tip for Waffles: Use 3 tablespoons of oil or butter. The extra fat is the key to getting waffles that are crispy on the outside and tender on the inside, and it helps them release from the iron like a dream.
Let’s Make Some Magic: Your Foolproof Steps
Okay, the fun part! Let’s walk through this together. I’ll be right here with my chef’s tips to guide you every step of the way.
- Make the Master Mix: Find the biggest bowl you own. Seriously, go big. Add all of your dry mix ingredients—the flour, dry milk, sugar, baking powder, and salt. Now, take a whisk and give it a really good, thorough whisking. We need to make sure that baking powder and salt are evenly distributed throughout the flour. No one wants a salty pocket in their pancake! Once it’s perfectly homogenous, carefully transfer your beautiful master mix into a large, airtight container. I use a big glass jar, but a plastic container with a tight lid works great too. Store it in a cool, dry place, and it will be your breakfast bestie for up to 3 months.
- Mix the Batter (The Right Way!): When you’re ready to cook, grab a medium mixing bowl and measure out 2 cups of your master mix. In a separate bowl or a large liquid measuring cup, whisk together your wet ingredients: the water, egg, and oil or melted butter. Now, pour the wet ingredients into the dry ingredients. Here comes the most important chef hack I can give you: MIX UNTIL *JUST* COMBINED. Use a gentle hand and stir with a spatula until you no longer see dry pockets of flour. The batter will be lumpy. I promise, this is perfect! Overmixing develops the gluten in the flour, which leads to tough, chewy pancakes. We want tender and fluffy. Embrace the lumps!
- Cook to Perfection:
- For Pancakes: Heat a griddle or a non-stick skillet over medium heat. I like to test if it’s ready by flicking a few drops of water on it—if they sizzle and dance, you’re good to go. Lightly grease with butter or oil. Pour about ¼ cup of batter for each pancake. Now, be patient! Don’t flip them until you see little bubbles forming on the surface and the edges look set, about 1-2 minutes. Flip once, and cook for another minute or so on the other side until golden brown.
- For Waffles: Preheat your waffle iron according to its instructions. Because we added that extra tablespoon of fat, the batter might be a bit thinner, which is ideal. Lightly grease the iron, pour in the recommended amount of batter (don’t overfill!), close the lid, and let it work its magic. Resist the urge to peek! Steam is your friend here, helping to cook the waffle evenly. It’s done when the steam mostly subsides and the waffle is deep golden and crisp.
Let’s Get Fancy: Serving Your Masterpiece
This is where you can really shine! A stack of plain pancakes is wonderful, but let’s talk about turning breakfast into an event.
For the classic approach, you can’t beat a generous pat of softened butter melting into all the nooks and crannies, followed by a cascade of warm, pure maple syrup. But why stop there?
I love setting up a “Breakfast Bar” when we have guests. I put out little bowls of toppings like fresh berries (blueberries and sliced strawberries are a must), sliced bananas, a handful of chocolate chips for the kids (and let’s be real, for me too), a dollop of whipped cream, and even a sprinkle of chopped nuts for some crunch. For a fancy twist, try a drizzle of salted caramel sauce or a spoonful of lemon curd with fresh raspberries. Let everyone build their own perfect plate!
Make It Your Own: Endless Flavor Twists
The true beauty of this mix is its versatility. Once you have the base, the flavor world is your oyster! Here are a few of my favorite ways to mix it up.
- Blueberry Bliss: This is a classic for a reason. After you pour the batter onto the griddle or into the waffle iron, immediately sprinkle a handful of fresh or frozen blueberries over the top. This prevents them from sinking and bleeding too much color into the whole batch.
- Chocolate Chip Celebration: Fold a half cup of semi-sweet or milk chocolate chips into the batter right before cooking. It’s an instant mood-lifter.
- Funfetti Fiesta: For birthdays or just because! Fold in ¼ cup of rainbow sprinkles into the batter. It brings so much joy to the table.
- Cinnamon Roll Swirl: Whisk one teaspoon of ground cinnamon into your 2 cups of dry mix before adding the wet ingredients. It fills the whole kitchen with the most comforting aroma.
- Lemon Poppy Seed Brightness: Add the zest of one lemon and one tablespoon of poppy seeds to the batter. It’s refreshing, light, and feels incredibly elegant.
Chef Emily’s Kitchen Notes
This recipe has evolved so much since my first scribbled version on a stained notecard. I initially tried it without the dry milk, but it lacked that depth of flavor. Adding it was a game-changer! One time, I was out of baking powder and tried to use baking soda… let’s just say we ended up with flat, metallic-tasting hockey pucks that even the dog turned his nose up at. Lesson learned the hard way! Now, I always, always check the freshness of my leavening agents. This mix has become such a staple in my kitchen that I often double the batch and give it away in cute mason jars as housewarming or holiday gifts. It’s a gift of a relaxed morning, and who doesn’t want that?
Your Questions, Answered!
Over the years, I’ve gotten a lot of questions about this mix. Here are the ones I hear most often.
- My pancakes are flat and dense. What happened? The most common culprit is old baking powder! It loses its potency over time. To test it, stir half a teaspoon into a cup of hot water. If it doesn’t bubble vigorously, it’s time for a new can. The second culprit is overmixing. Remember, lumps are your friend!
- Can I make this mix gluten-free? Absolutely! I’ve had great success by swapping the all-purpose flour for a 1:1 gluten-free all-purpose flour blend. Just make sure your blend contains a binder like xanthan gum.
- Why do you use water instead of milk in the final batter? Because we have dry milk powder in the mix, adding water is all we need! It simplifies the process and means you don’t have to have fresh milk on hand. If you prefer, you can absolutely use 1 cup of fresh milk instead of the water, and just omit the dry milk powder from the master mix. Both ways work beautifully.
- Can I make the batter the night before? I don’t recommend it. The baking powder will start to activate and lose its oomph, resulting in less-fluffy results. It’s truly so fast to mix up in the morning that it’s best done fresh!
Nutritional Information (A Quick Note!)
Hey, I’m all about balance! While I firmly believe in enjoying indulgent breakfasts, I also like to know what I’m eating. This is an approximate breakdown for one serving (based on the recipe making 6 pancakes). Remember, toppings will change this!
Each serving provides a good source of energy from the carbs, a bit of protein from the egg and milk powder to keep you full, and a little fat for satiety. To lighten it up, you can use a sugar substitute, use a whole wheat blend for extra fiber, and top with fresh fruit instead of syrup. But my personal philosophy? On a slow Sunday, go for the real maple syrup and enjoy every single, delicious bite.
Your New Breakfast Routine Awaits
And there you have it! Your ticket to effortless, delicious breakfasts for months to come. This DIY Pancake & Waffle Mix is more than just a convenience; it’s a little promise to yourself for easier, cozier mornings. It’s the power to whip up something special on a random Tuesday, or to feed a crowd on a holiday morning without any stress.
I hope this recipe becomes a beloved staple in your kitchen, just like it is in mine. It’s a little piece of my grandma’s wisdom and my own kitchen experiments, all bundled up and passed to you. Now, I’d love to hear from you! What’s your favorite add-in? Did your family go crazy for the cinnamon version? Tag me on social @TastyChow so I can see your beautiful creations!
Now, go forth and make something delicious. Your pantry is about to become the most popular spot in the kitchen.
With love and a full plate,
Emily