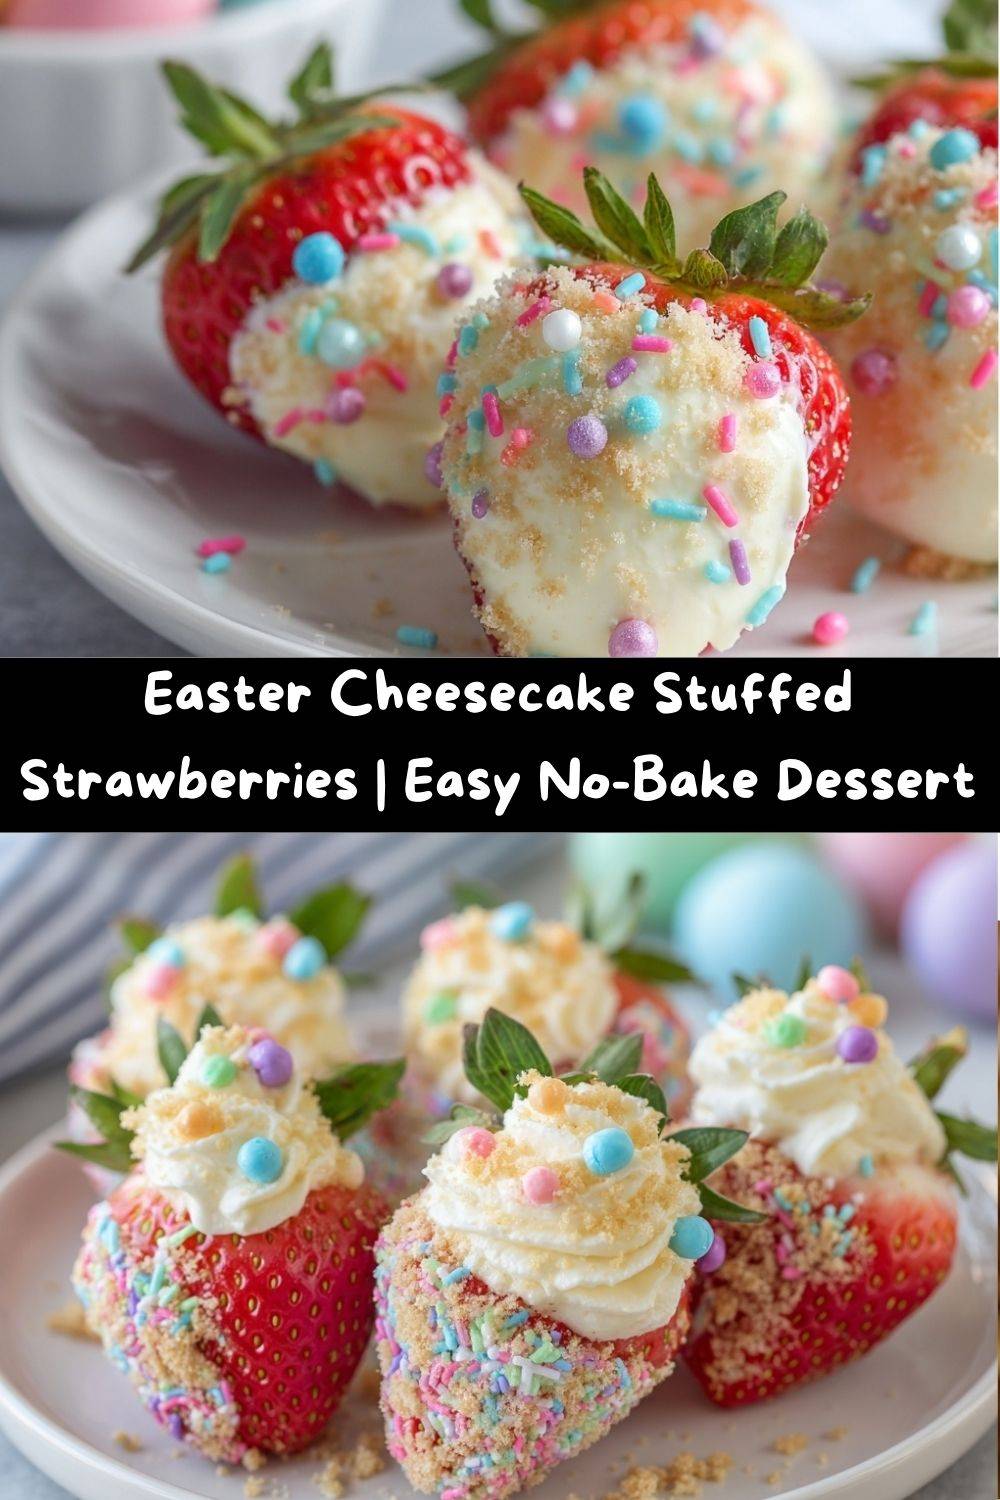
Easter Cheesecake-Stuffed Strawberries: Your New Favorite Spring Dessert
Hey there, my fellow flavor-chaser! Emily here, from my flour-dusted kitchen to yours. Can you feel it? That little spark of spring in the air? The birds are chirping a bit louder, the sun is hanging around a little longer, and my brain has officially switched from cozy stews to all things bright, fresh, and celebratory.
And nothing says “celebration” quite like Easter. Whether you’re hosting a big, bustling brunch, a laid-back egg hunt in the backyard, or just treating yourself to a delicious weekend, the pressure to make something impressive—yet secretly easy—is real. I see you. You want a dessert that makes people’s eyes light up, but you don’t want to spend your whole Saturday chained to the oven.
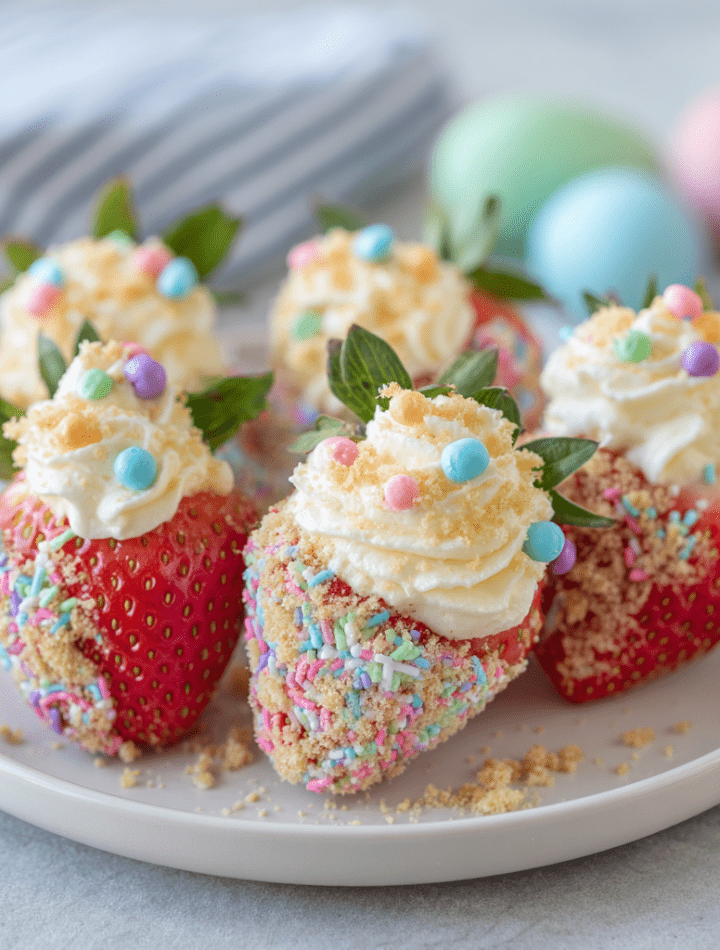
That’s exactly why I’m head-over-apron-strings in love with these Easter Cheesecake-Stuffed Strawberries. Imagine this: plump, juicy strawberries, hollowed out and filled with a cloud of creamy, vanilla-kissed cheesecake filling, then crowned with a sprinkle of something playful and pastel. They’re like tiny, edible Easter baskets! They look like you fussed for hours, but the secret is they come together in minutes with zero baking required. They’re light, refreshing, and the perfect sweet bite after a big meal. So, grab your favorite mixing bowl and let’s make something deliciously simple together!
The Strawberry Lesson from Grandma Dot
This recipe always takes me right back to my Grandma Dot’s linoleum kitchen floor. Easter at her house was an event. There was the spiral-cut ham, the scalloped potatoes that formed a perfect golden crust, and the inevitable, slightly lopsided coconut cake. But my favorite job was always strawberry duty.
Grandma would hand me a colander of just-rinsed berries and a tiny paring knife. “Now, Em,” she’d say, her hands busy with a pie crust, “you gotta be gentle. Find the happy spot right under the leaves and give it a little twist.” We’d hull strawberries for her famous shortcake, and I’d sneak at least three for every one that made it to the bowl. She never minded. To her, food was love, and a little strawberry juice on your chin was proof you were doing it right.
These stuffed strawberries are my modern, playful twist on that memory. They capture that same spirit of simple, hands-on joy. It’s not about perfection; it’s about the fun of creating something pretty and delicious with your own two hands. Every time I pipe that creamy filling, I think of her, and I know she’d absolutely adore these festive little bites.
Gathering Your Sunshine Ingredients
Here’s the beautiful part: you only need a handful of simple ingredients to create this edible magic. Let’s break them down, because knowing your ingredients is the first step to kitchen confidence!
- 1 lb fresh strawberries, large and firm: This is your edible cup! Look for berries that are bright red, fragrant, and have a nice, sturdy shape. They should stand up proudly on their own. Avoid any that are soft, bruised, or have white shoulders. The firmer they are, the easier they are to hollow out.
- 8 oz cream cheese, softened: The heart of our “cheesecake” filling. Pro-Tip: Take this out of the fridge at least 30 minutes before you start. Room-temperature cream cheese blends into a silky-smooth dream without any pesky lumps. Full-fat is my go-to for the richest flavor, but reduced-fat works in a pinch.
- ¼ cup powdered sugar: This sweetens our filling and helps give it structure. I love powdered sugar here because it dissolves instantly, unlike granulated sugar which can stay gritty. If you want a less sweet filling, you can start with 2 tablespoons and add more to taste.
- ½ tsp pure vanilla extract: The flavor booster! A good vanilla adds a warm, bakery-style depth that makes the filling taste truly special. If you have vanilla bean paste, a tiny dab would be heavenly.
- Optional: 2 tbsp graham cracker crumbs: This is our “crust” element! A tiny sprinkle on top of the filling adds that classic cheesecake texture and a hint of honeyed warmth. Don’t have graham crackers? Crushed vanilla wafers, Biscoff cookies, or even a sprinkle of crushed nuts would be delicious.
- Easter sprinkles, crushed mini eggs, or pastel sanding sugar for topping: This is where the party starts! Raid the baking aisle for pastel jimmies, pretty nonpareils, or delicate sanding sugar. Crushing a few Cadbury Mini Eggs or Robin’s Eggs with a rolling pin creates a gorgeous, textured topping that screams “Easter!”. Let your inner artist play here.
Let’s Build Some Berry Magic: Step-by-Step
Ready? Apron on, music up, let’s get stuffing! This process is so satisfying—it’s like a little kitchen craft project.
- Prep Your Berries: Give your strawberries a gentle rinse under cool water and pat them completely dry with a clean kitchen towel or paper towels. Any extra water will make the filling slide right out. Slice off the green tops (the hull) straight across. Now, take a small paring knife (a teaspoon with a pointed tip also works!) and carefully carve out a cone-shaped hollow in the top of each berry. Don’t go all the way through the bottom! You’re creating a little well for the filling. I like to give the berry a little wiggle on the cutting board to make sure it has a flat base to stand on.
- Whip Up the Dreamy Filling: In a medium bowl, combine your softened cream cheese, powdered sugar, and vanilla extract. Using a hand mixer (or some serious elbow grease with a spatula), beat everything together on medium speed until it’s completely smooth, creamy, and slightly fluffy. This should take about 1-2 minutes. Chef’s Hack: Scrape down the sides of the bowl halfway through to ensure no lumps are hiding. Your filling should be thick enough to hold a peak when you lift the beaters.
- Pipe It Pretty (The Easy Way!): Spoon your luxurious filling into a piping bag fitted with a star or round tip for a fancy touch. No piping bag? No problem! This is a no-stress zone. Simply spoon the filling into a zip-top plastic bag, push it down into one corner, and snip a small (about ¼-inch) piece off that corner. Instant DIY piping bag! I use this trick almost daily.
- Fill & Decorate: Now for the fun part! Pipe the cheesecake filling into each strawberry hollow, swirling it slightly or piping a little rosette on top. Don’t be shy—fill them right up to the top! Immediately after piping each one, add your toppings. If you wait until the end, the filling sets a bit and the sprinkles won’t stick as well. A light sprinkle of graham cracker crumbs followed by a pinch of pastel sprinkles is my gold-standard combo.
- The Chill Factor: Carefully transfer your beautiful, decorated strawberries to a plate or baking sheet and pop them in the refrigerator for at least 30 minutes. This chill time is crucial—it firms up the filling, making them neat to eat, and lets all the flavors cozy up together.
How to Serve These Little Gems
Presentation is half the fun with these cuties! For a casual gathering, you can arrange them on a simple platter or even in a festive Easter basket (lined with parchment paper, of course!).
If you want to really wow your guests, create a tiered “display.” Use a cake stand or place a small bowl upside down on a plate and arrange strawberries around it. You can even nestle them among some fresh mint sprigs or edible flowers for a gorgeous, garden-fresh look. They’re finger food perfection, so just set them out and watch them disappear. I promise, they’ll be the first thing to go on your dessert table!
Mix It Up! Delicious Variations to Try
Once you master the basic recipe, the flavor world is your oyster! Here are a few of my favorite twists:
- Lemon Zest Delight: Add the zest of one small lemon to the cream cheese filling. The bright, citrusy pop is incredibly refreshing and screams spring.
- Chocolate Drizzle Fancy: After chilling, drizzle the strawberries with melted white or dark chocolate. Let the chocolate set for a truly decadent, bakery-style treat.
- Berry Swirl: Fold 2 tablespoons of seedless raspberry or strawberry jam into the filling for a pretty pink swirl and a double-berry flavor explosion.
- “Naked” & Elegant: Skip the sprinkles and roll the filled tops in finely chopped pistachios, toasted coconut, or cocoa powder for a more sophisticated, adult-friendly look.
- Dairy-Free Swap: Use your favorite plant-based cream cheese and ensure your toppings are vegan-friendly. It works like a charm!
Chef Emily’s Kitchen Notes
This recipe is a living, breathing thing in my kitchen. It started as a last-minute “what can I make with what’s in the fridge?” potluck save, and has evolved into my spring signature. I’ve learned a few things along the way: First, if your berries are on the smaller side, just slice them in half horizontally and pipe a little dollop of filling on top—they become adorable cheesecake strawberry bites! Second, the filling can be made up to two days ahead and kept in a sealed container in the fridge. Just give it a quick stir before piping. And my final, most important note? Always make a few extra, because the cook (that’s you!) deserves to taste-test straight from the fridge. Trust me on that one.
Your Questions, Answered!
Q: Can I make these ahead of time?
A: Absolutely! You can assemble them up to 4-6 hours ahead. Store them in a single layer on a plate covered loosely with plastic wrap in the fridge. For best texture and to prevent the berries from getting soggy, I don’t recommend making them more than a day in advance.
Q: My filling is too runny! What happened?
A> This usually means the cream cheese wasn’t quite firm enough or there was a bit of moisture on the strawberries. The fix is easy: just pop the whole bowl of filling into the fridge for 15-20 minutes to firm up before piping. You can also add a tiny bit more powdered sugar to help thicken it.
Q: How do I hull a strawberry without a fancy tool?
A: My Grandma Dot’s method is still the best! Take a standard drinking straw. Push it through the bottom tip of the strawberry up through the green leaves. It will cleanly pop the hull right out! It’s a fantastic kitchen hack.
Q: Can I use frozen strawberries?
A> I wouldn’t recommend it for this recipe. Frozen berries become too soft and watery when thawed, and they won’t hold their shape for stuffing. Fresh is definitely the way to go here.
Nutritional Info (Because Knowledge is Power!)
Here’s a quick peek at what’s in one of these delightful stuffed strawberries (approximate, based on using full-fat cream cheese and without extra toppings):
- Calories: 55
- Carbohydrates: 5g
- Protein: 1g
- Fat: 3.5g
- Saturated Fat: 2g
- Sugar: 4g
- Sodium: 20mg
Remember, these are a treat! Compared to a slice of traditional cheesecake, they offer portion control and a boost of vitamin C from the fresh fruit. It’s all about balance, my friend. Enjoying a few of these beauties is a wonderful way to satisfy your sweet tooth with a lighter touch.
Final Thoughts from My Kitchen to Yours
And there you have it! My foolproof, festive, and fantastically easy recipe for Easter Cheesecake-Stuffed Strawberries. This is what Tasty Chow is all about: recipes that bring joy without the stress. Food that feels like a celebration, whether you’re feeding a crowd or just treating yourself on a sunny afternoon.
I hope these little bites add a splash of color and a whole lot of happiness to your Easter table. Most of all, I hope you have as much fun making them as I do. Now, I’d love to hear from you! Did you try the lemon zest version? Did your kids go crazy for the crushed mini egg topping? Tag me on social @TastyChow so I can see your gorgeous creations!
Until next time, keep your spoons ready and your hearts hungry.
— Emily 🍓