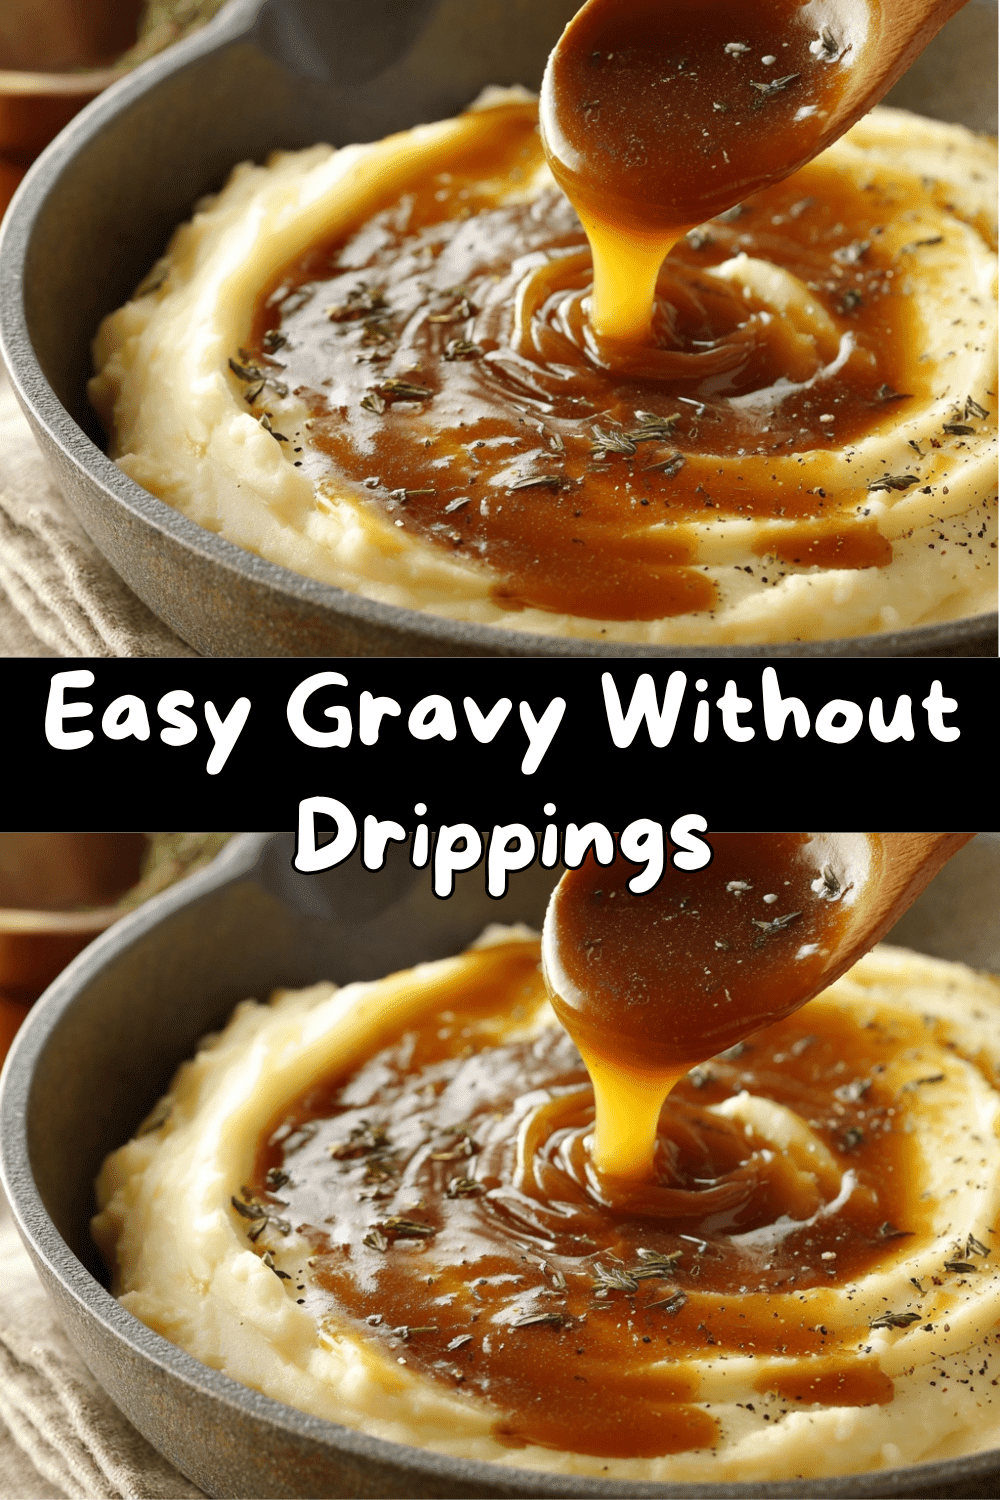
The Gravy Savior: Your No-Fuss, No-Drippings Secret Weapon
Hey friends, Emily here! Let’s talk about a universal truth: gravy makes everything better. It’s the silky, savory river that turns a good plate of food into a legendary one. But here’s the other universal truth: sometimes, you just don’t have those precious pan drippings. Maybe you’re whipping up a quick weeknight meatloaf, maybe the Thanksgiving turkey… didn’t cooperate in the drippings department (we’ve all been there), or maybe you’re going fully vegetarian. The panic is real. You’re staring at a mountain of fluffy mashed potatoes and thinking, “It’s just not going to be the same.”
I’m here to hug you through the screen and tell you it’s MORE than okay. In fact, what if I told you that some of the most luxurious, flavorful, and foolproof gravy I’ve ever made starts with just five simple pantry staples and a clean saucepan? No roast required. This is the gravy I make when I need a hero, fast. It’s rich, it’s deeply savory, and it comes together in about 10 minutes flat. It’s the culinary equivalent of a trusty little black dress—always appropriate, endlessly adaptable, and it makes you look like a total rockstar. So, grab your favorite whisk (and maybe that apron, because I promise things are about to get deliciously cozy), and let’s make a gravy that’s going to become your new kitchen bestie.
My Gravy Epiphany: A Tale of Turkey Day Terror
I have to confess, my love for this no-drippings gravy was born from a minor kitchen catastrophe. Picture it: My first Thanksgiving hosting the whole Walker clan. I was 24, fresh out of culinary school, and determined to prove myself. The turkey was (somehow) perfect, the sides were piled high, and then… I went to make the gravy. In my nervous frenzy, I’d let the drippings in the roasting pan go a bit too far. Let’s just say “deep, fond flavor” had tipped over into “slightly acrid, burnt sadness.” My heart sank. Grandma was eyeing the potatoes with a look that said, “Child, where’s the sauce?”
In pure panic, I grabbed the butter, flour, and a box of broth I had stashed for emergency stuffing moisture. I whipped up a quick roux, whispered a little prayer, and poured. What emerged from that saucepan was nothing short of a miracle. It was smooth, it was hearty, and it tasted like comfort itself. I seasoned it boldly, poured it into my grandmother’s gravy boat, and held my breath. She took a bite of turkey draped in it, looked at me, and winked. “Now this,” she said, “is how you make gravy for a crowd.” That was the day I learned that perfection isn’t about following rules—it’s about making something delicious with what you have, and sharing it with love. This recipe is that kitchen-saving hug, passed on to you.
Your Gravy Dream Team: Just 5 Ingredients
Here’s the beautiful part: you likely have everything you need already. This isn’t about fancy ingredients; it’s about technique and trust.
- 4 tbsp Unsalted Butter: This is our flavor foundation and fat for the roux. Using unsalted lets you control the seasoning perfectly. Chef’s Insight: Good butter matters here! Its rich, creamy flavor is the soul of the gravy. For a dairy-free version, a high-quality plant-based butter works wonders.
- 4 tbsp All-Purpose Flour: Our thickening agent. When cooked with the butter, it loses its raw taste and creates the body of our gravy. Substitution Tip: To make this gluten-free, use a 1:1 gluten-free flour blend. I’ve had great success with brands that contain a mix of rice and tapioca flours.
- 2 cups Low-Sodium Chicken, Beef, or Veggie Broth: The liquid gold! Low-sodium is key—you can always add salt, but you can’t take it away. Flavor Boost: This is where you customize! Chicken broth is classic and versatile. Beef broth gives a deeper, richer color and flavor (perfect for red meats). Vegetable broth keeps it 100% vegetarian/vegan. For the BEST flavor, use a quality boxed broth or your own homemade stock.
- ½ tsp Onion Powder: Our secret weapon for instant depth. It melds seamlessly into the gravy, providing a sweet, savory backbone without any chunks. Why not fresh? Fresh onion can sometimes make the texture grainy or add too much moisture; the powder is pure, concentrated flavor.
- Salt and Black Pepper to Taste: The finishers. Don’t be shy! Gravy needs seasoning. I always use freshly cracked black pepper for its bright, aromatic kick.
Let’s Make Some Magic: Your Foolproof Gravy Steps
Ready? This is where the alchemy happens. Ten minutes from now, you’ll have a pitcher of liquid deliciousness.
- The Roux (The Heart of the Matter): Melt your butter in a medium saucepan over medium heat. Once it’s just melted and bubbling slightly, sprinkle in the flour all at once. Immediately start whisking! You’re creating a paste called a roux. Cook this, whisking constantly, for about 2-3 minutes. Chef’s Hack: You’re not just mixing—you’re toasting the flour in the butter. Watch as it turns from pale yellow to a lovely golden, sandy color and smells wonderfully nutty. This step cooks out the raw flour taste and is non-negotiable for flavor. A flat whisk is my go-to for getting into the corners of the pan.
- Incorporating the Broth (No Lumps Allowed!): Here’s the only “tricky” part, but I have total faith in you. Take your broth and slowly, and I mean slowly, start pouring it into the roux while whisking like your mashed potatoes depend on it. Start with just a few tablespoons, whisking until completely smooth. Then add a little more. This gradual addition is the absolute key to silky, lump-free gravy. Once about half the broth is incorporated and you have a very thick paste, you can pour in the rest of the broth in a steady stream, whisking the whole time.
- Season & Simmer (Let the Flavors Marry): Now, whisk in the onion powder, a good pinch of salt, and several cracks of black pepper. Bring the whole mixture to a gentle simmer. Let it bubble happily for 3-5 minutes, whisking occasionally. You’ll see it transform before your eyes—thickening, glossing up, and becoming perfectly gravy-like. Pro Tip: The simmering time allows the flour to fully expand and thicken the gravy, so don’t rush it. If it gets too thick, just whisk in a splash more broth or even hot water.
- The Final Taste Test (The Most Important Step): Remove the gravy from the heat. Dip a clean spoon in, let it cool for a second, and taste. This is your moment! Does it need more salt? Another crack of pepper? Adjust until it sings to you. Remember, it should be seasoned a touch more aggressively than you think, as it’ll be poured over other food.
How to Serve It: Let the Gravy Flow!
You did it! Now, for the best part—the grand unveiling.
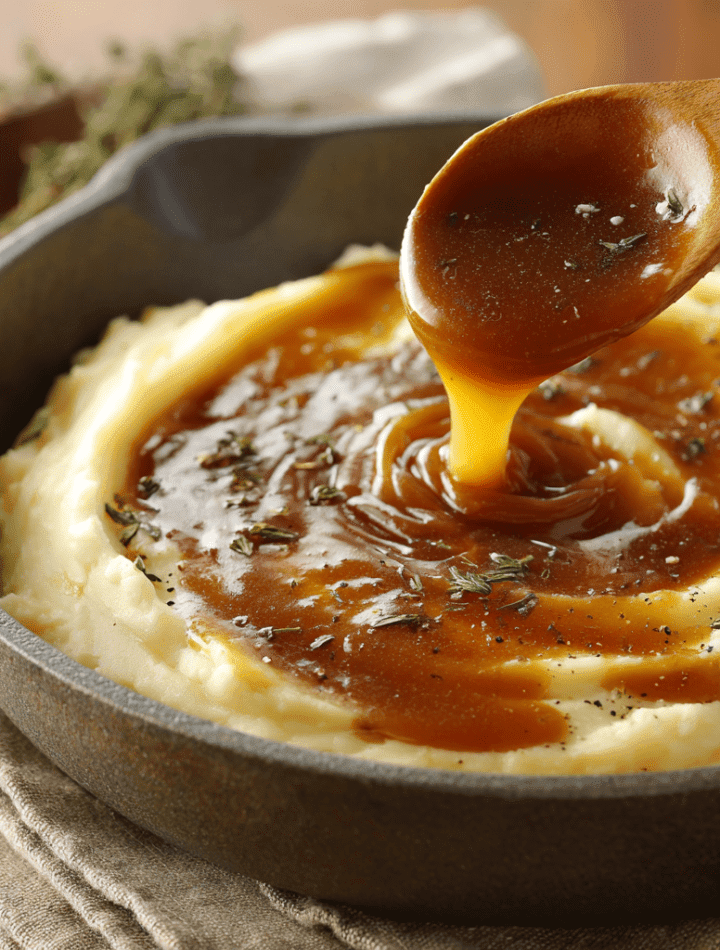
For maximum comfort-food effect, serve this gravy piping hot. I love using a small gravy boat or even a sturdy glass measuring cup with a spout for easy pouring. If you’re feeling fancy, a small ladle works too. This gravy is a born companion. Of course, drown those creamy mashed potatoes. But let’s think bigger! Smother a fluffy biscuit or a pile of crispy roasted potatoes. It’s the perfect blanket for sliced turkey, meatloaf, pork chops, or even a hearty lentil loaf. Don’t forget the veggies—it’s incredible over roasted Brussels sprouts, green bean casserole, or a simple baked potato. For a next-level weekend breakfast, make a “Gravy Poutine” with crispy fries, cheese curds, and a fried egg on top. Trust me. Garnish the gravy boat itself with a fresh sprig of thyme or rosemary for a beautiful, aromatic touch.
Make It Your Own: 5 Delicious Twists
The base recipe is a flawless classic, but the fun begins when you start playing. Here are some of my favorite riffs:
- Mushroom & Thyme Gravy: Before making the roux, sauté 1 cup of finely chopped mushrooms (cremini are perfect) in the butter until golden. Remove them, make your roux in the same buttery mushroom-infused pan, then add the mushrooms back with the broth. Add 1 tsp of fresh thyme leaves for an earthy, incredible vegetarian option.
- “Almost Pan Drippings” Gravy: Add 1 tablespoon of soy sauce or Worcestershire sauce (check for anchovies if vegetarian) and a pinch of smoked paprika to the broth. It adds a crazy-deep, savory, almost meaty flavor that mimics those roasted drippings beautifully.
- Herb & White Wine Gravy: Perfect for chicken or pork. After the roux is golden, add ¼ cup of dry white wine and let it simmer for 1 minute until it reduces slightly. Then add your chicken broth. Finish by stirring in 2 tablespoons of fresh chopped parsley and chives.
- Creamy Onion Gravy: Stir in ¼ cup of heavy cream or full-fat coconut milk at the very end, after you’ve taken the gravy off the heat. It adds a luxurious, velvety richness that’s divine on sausages and mash.
- Spicy “Kickin’” Gravy: Add ½ tsp of garlic powder with the onion powder, and finish with a few dashes of your favorite hot sauce or a pinch of cayenne pepper. Amazing on fried chicken or breakfast biscuits.
Emily’s Kitchen Notes: The Gravy Chronicles
Over the years, this recipe has become my kitchen security blanket. I’ve made it in rental cabins with only a fork to whisk with (challenging, but doable!), and I’ve quadrupled it for a wedding rehearsal dinner. It scales up perfectly. One funny evolution: I used to be so nervous about lumps that I’d sometimes undercook the roux, which gave the gravy a faintly floury taste. My grandma, in her infinite wisdom, said, “Cook it until you think it’s done, then give it 30 more seconds. Listen to the nutty smell.” She was right. That extra half-minute of toasting is the difference between good gravy and great gravy. Also, a reader once told me she uses this as a base for her pot pie filling, and my mind was blown. Genius! So don’t be afraid to let this simple method inspire you beyond the Thanksgiving table.
Your Gravy Questions, Answered!
Q: Help! I have lumps. Can I save it?
A: DO NOT PANIC. Lumps are almost always fixable. The easiest method is to simply pour the gravy through a fine-mesh sieve into another pot, pressing the lumps through with a spatula or the back of a spoon. For stubborn lumps, an immersion blender or a regular blender (be careful with hot liquids—vent the lid and cover with a towel) will make it silky smooth in seconds.
Q: My gravy is too thin / too thick. What do I do?
A: Too thin? Let it simmer a bit longer to reduce. If you’re in a rush, make a “slurry”: mix 1 tablespoon of cornstarch with 2 tablespoons of cold water or broth until smooth. Whisk this into the simmering gravy and cook for 1-2 minutes until thickened. Too thick? This is an easy fix! Just whisk in more broth, milk, or even hot water, a few tablespoons at a time, until it reaches your perfect consistency.
Q: Can I make this gravy ahead of time?
A: Absolutely! Let it cool completely, then store it in an airtight container in the fridge for up to 3 days. When you reheat it, do so gently over low heat, whisking often. It will thicken in the fridge, so have some warm broth or water on hand to thin it back out to serving consistency.
Q: Is it really as good as gravy from drippings?
A> I’ll be honest—it’s different, but it is absolutely just as delicious in its own right. Drippings gravy has specific roasted, caramelized notes. This gravy is pure, unadulterated savory richness. It’s consistently flavorful and foolproof, and most people won’t know the difference unless you tell them!
Nutritional Information (A Quick Note!)
While we’re here for the flavor and comfort, I know many of you like to have the facts. This information is for the base recipe using low-sodium chicken broth and is an estimate per ½ cup serving:
- Calories: ~110 kcal
- Fat: 8g
- Carbohydrates: 7g
- Protein: 2g
Dietary Notes: This recipe is naturally vegetarian if you use vegetable broth. To make it vegan, use plant-based butter and veggie broth. For a gluten-free version, simply swap the all-purpose flour for your favorite 1:1 gluten-free flour blend. As always, these numbers can vary based on the specific brands of ingredients you use.
Final Thoughts: Your Gravy Confidence Awaits
So there you have it, my friend—your passport to gravy freedom. No more stressing over drippings, no more packets of powdered mystery. Just real, simple ingredients coming together to create something magical. I hope this recipe finds its way into your regular rotation, from Tuesday night chicken to your most festive holiday table. Remember, cooking is about joy, not perfection. If you have a lump or you think you added too much pepper, you’re still making something from scratch with your own two hands, and that’s a beautiful thing.
Now, I’d love to hear from you! Did you try a fun variation? Did this save your dinner? Tag me @TastyChow on social media or leave a comment below. Sharing our kitchen wins (and even the funny flops) is what makes this community so special.
Until next time, keep your whisks ready and your hearts full. Happy cooking!
— Emily 🧡