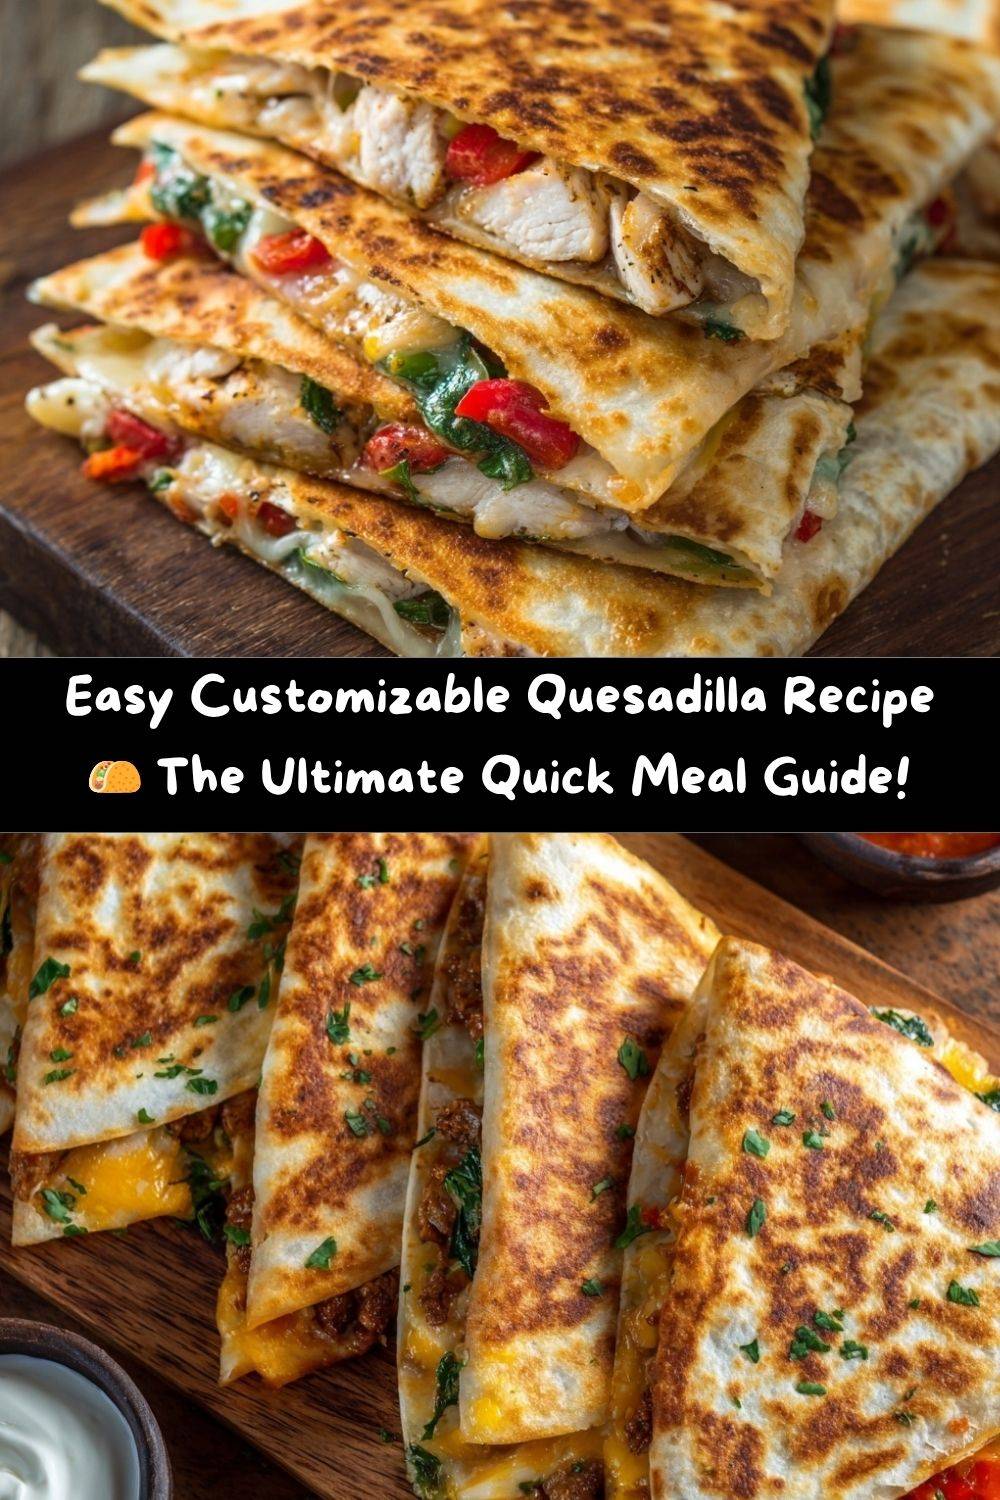
Your New Favorite Meal is Just a Fold Away!
Hey there, friend! Let’s talk about one of the greatest culinary inventions of all time. No, I’m not talking about a fancy soufflé or a 10-hour braised short rib (though those are pretty great, too). I’m talking about the humble, the mighty, the absolutely perfect quesadilla. 🎉
If your stomach has ever growled at 2 p.m. on a Tuesday, or your family has ever looked at you with that “what’s for dinner?” stare when the fridge seems tragically empty, this recipe is about to become your new best friend. Quesadillas are the ultimate “use what you’ve got” meal. They’re crispy on the outside, gloriously melty on the inside, and endlessly, joyfully customizable.
Think of them as a blank canvas for your culinary creativity. Got some leftover chicken from last night? A few lonely bell peppers hanging out in the produce drawer? A can of beans that’s been patiently waiting its turn? They all have a home inside a warm, toasty tortilla. This isn’t just a recipe; it’s a permission slip to play with your food, to clean out the fridge with flair, and to create a meal that’s ready in minutes but feels like a hug on a plate. So, grab your favorite skillet and let’s make something delicious together!
The Messy, Cheesy Beginning of My Love Affair
My love for quesadillas started long before culinary school, in my grandma’s cozy, yellow-tiled kitchen. She was a wizard with leftovers, a woman who believed no morsel of food should go to waste. I’ll never forget the first time I saw her take a few shreds of leftover pot roast, a handful of cheese, and a slightly sad-looking onion and transform them into a golden, bubbling masterpiece.
She’d let me be her “sous-chef,” which mostly meant I was in charge of sprinkling the cheese. I’d watch, utterly mesmerized, as she’d press the tortilla down with her trusty, worn-out spatula. The sizzle was the opening act, but the real show was the peek inside. That moment when she’d lift a corner to check the melt-factor, releasing a cloud of cheesy, beefy steam that smelled like pure joy. We’d eat them straight off the griddle, burning the roofs of our mouths because we just couldn’t wait. It was in that messy, cheesy, happy kitchen that I learned a powerful lesson: the best food isn’t always the fanciest. It’s the food made with love, a little ingenuity, and the willingness to get a bit of cheese on your chin.
Gathering Your Quesadilla Dream Team
Here’s the beautiful part: the ingredient list is more of a suggestion than a rule. This is your foundation—the non-negotiables for that perfect crispy-melty experience. The rest is up to you and your fridge!
- 4 Flour Tortillas (8-inch): I like the medium-sized ones—they’re the perfect canvas and easy to flip. Chef’s Insight: If you have a little extra time, warm them slightly in a dry skillet first. It makes them more pliable and less likely to tear when you fold!
- 1 ½ cups Shredded Cheese: This is your glue! I’m a huge fan of a Monterey Jack and sharp cheddar combo. Jack is the melty maestro, and cheddar brings the flavor. Substitution Tip: Pre-shredded bags are convenient, but if you have a spare minute, shredding your own cheese from a block gives you a much creamier melt (no anti-caking agents!).
- 1 tbsp Butter or Oil: For that gorgeous, golden-brown toast. Chef’s Insight: Butter gives you incredible flavor, while a neutral oil like avocado or canola has a higher smoke point. You can’t go wrong with either!
Your Mix & Match Fillings Bar!
Pick your favorites and go wild!
- Proteins: Shredded cooked chicken, seasoned ground beef or turkey, blackened shrimp, or carnitas.
- Veggies: Sautéed mushrooms, bell peppers, onions, corn, or spinach (wilt it first so it doesn’t make your quesadilla soggy!).
- Flavor Bombs: Black or pinto beans, sliced jalapeños (pickled for a tangy kick!), avocado slices (add these after cooking for creaminess), or a sprinkle of cumin, chili powder, or taco seasoning.
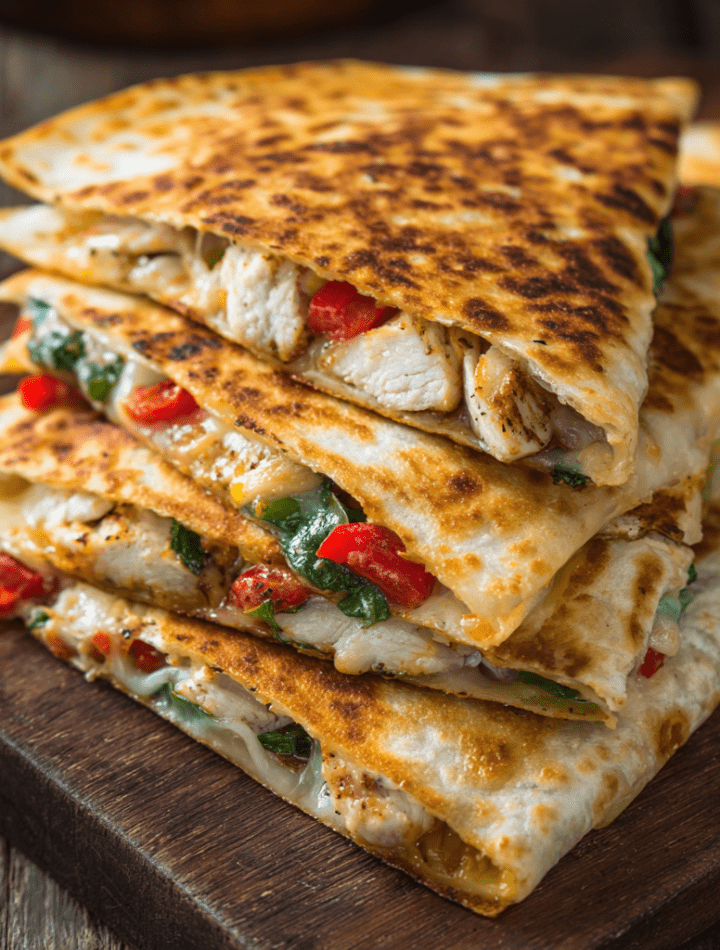
Let’s Build the Perfect, Golden Quesadilla!
Ready for the magic? It’s so simple, but a few little tricks will take your quesadilla game from “good” to “OH MY GOSH, HOW DID YOU MAKE THIS?!” level.
- Heat Your Skillet: Place a large non-stick or cast-iron skillet over medium heat. Let it get properly warm for a minute or two. Chef’s Hack: A properly pre-heated skillet is the secret to a crispy tortilla, not a steamed one! You can test it by flicking a tiny drop of water on it—if it sizzles, you’re good to go.
- Add Your Fat: Add about ¾ of a teaspoon of your butter or oil and swirl it around to coat the bottom of the pan.
- Lay the Foundation: Place one tortilla in the skillet. Now, let’s build! Sprinkle a light layer of cheese over one-half of the tortilla only. This first cheese layer acts as a delicious “glue” for your other fillings. Chef’s Insight: Don’t overfill! This is the golden rule. A scant ½ to ¾ cup of total filling per quesadilla is perfect. Too much, and the cheese can’t seal the deal, and your fillings will tumble out.
- Pile on the Goodies: Now, add your chosen protein and veggies on top of that initial cheese layer. Then, top everything with another generous sprinkle of cheese. This top cheese layer will melt down and fuse everything together from the top, creating that perfect, cohesive cheesy pocket.
- The Big Fold: Using a spatula, carefully lift the bare half of the tortilla and fold it over the filled half, creating a perfect half-moon. Press down gently with your spatula. Hear that sizzle? That’s the sound of success.
- Toast to Perfection: Cook for 2-3 minutes, until the bottom is a beautiful golden brown. Now, for the flip! Slide your spatula underneath, confidently lift, and flip that beautiful half-moon over. Cook for another 2-3 minutes until the second side is equally golden and the cheese you can see bubbling at the edges is fully melted.
- Rest and Slice: Transfer your masterpiece to a cutting board and let it rest for just a minute before slicing. Chef’s Hack: This brief rest allows the molten cheese to set slightly, so when you cut into wedges, it doesn’t all ooze out immediately. Use a sharp knife or a pizza cutter to slice it into 2 or 3 wedges.
How to Serve Your Quesadilla with Style
Okay, you could absolutely just eat this straight off the cutting board (no judgment from me, I’ve been there!). But if you want to make it feel like a real event, a few simple sides can turn your quick meal into a fiesta.
I love serving my quesadilla wedges on a big, colorful platter with little bowls of toppings and dips for everyone to customize their own bite. It’s fun, interactive, and makes dinner feel special.
- The Classic Trio: A big dollop of cool sour cream (or Greek yogurt!), a spoonful of zesty salsa, and a generous scoop of chunky guacamole. It’s a perfect textural and temperature contrast to the hot, crispy quesadilla.
- For a Fancy Touch: Drizzle a little crema or chipotle aioli over the top and sprinkle with fresh chopped cilantro and a squeeze of lime juice. The brightness cuts through the richness beautifully.
- Keep it Simple: Sometimes, all you need is a side of quick-pickled red onions or a simple salad of shredded lettuce and diced tomatoes with a lime vinaigrette to round out the meal.
5 Fun Ways to Shake Up Your Quesadilla!
Once you’ve mastered the basic formula, the world is your oyster… or, well, your quesadilla! Here are a few of my favorite themed variations to keep things exciting.
- The “BBQ Chicken” Twist: Swap the taco seasoning for shredded cooked chicken tossed in your favorite BBQ sauce. Use a Colby Jack cheese blend and add some thinly sliced red onion and fresh corn (canned or frozen and thawed works great!).
- The “Everything But the Kitchen Sink” Veggie: Sauté a mix of bell peppers, onions, zucchini, and black beans with cumin and chili powder. Use a pepper jack cheese for a little kick. Perfect for Meatless Monday!
- The “Buffalo Chicken” Blue Cheese: Toss shredded chicken in buffalo sauce. Use a mozzarella and cheddar blend and crumble some tangy blue cheese inside. Serve with a side of ranch dressing for dipping. Game day, anyone?
- The “Breakfast-for-Dinner” Quesadilla: Scramble a couple of eggs and use them as your base! Add cooked breakfast sausage or bacon, and cheese. A little diced potato or hash brown is a fantastic addition for heartiness.
- The “Pizza” Quesadilla: Spread a thin layer of pizza sauce on the tortilla, then top with shredded mozzarella and pepperoni slices. Fold, cook, and dip in marinara. It’s a 5-minute pizza that will make everyone smile.
A Few More Thoughts From My Kitchen to Yours
This recipe has evolved so much from my grandma’s simple leftover special. I’ve made thousands of quesadillas—for hungry friends after a long day, for my kids’ playdates, and for myself when I needed a quick, comforting bite. One of my funniest kitchen fails was trying to make a “gourmet” quesadilla stuffed with far too many wet ingredients. Let’s just say it turned into a cheesy soup inside a tortilla bowl. A delicious mess, but a mess nonetheless! That’s how I learned the “less is more” filling rule the hard way.
The beauty of this dish is that it’s forgiving. Even if it breaks a little when you flip it, or a bit of cheese escapes and gets crispy in the pan (my favorite part, honestly!), it’s still going to be absolutely delicious. Cooking should be fun, not stressful. So, don’t be afraid to experiment and make it your own!
Your Quesadilla Questions, Answered!
Over the years, I’ve gotten a lot of questions about quesadillas. Here are the ones that pop up most often!
Q: My quesadilla is soggy! What am I doing wrong?
A: The two most common culprits are too much filling and not enough heat. Make sure your skillet is properly pre-heated to medium heat—you want a sizzle when the tortilla hits the pan. Also, if you’re using veggies like zucchini or mushrooms, be sure to sauté them first to cook off their excess moisture.
Q: Can I make these ahead of time?
A: You can! Cook them, let them cool completely, then store them in an airtight container in the fridge for up to 3 days. Re-crisp them in a skillet over medium heat or in a 350°F oven for about 10 minutes. The microwave will make them soft and rubbery, so I don’t recommend it.
Q: My cheese isn’t melting before the tortilla burns. Help!
A: This usually means your heat is too high. Lower it to medium-low and cook a little longer. Also, make sure your cheese is shredded finely, not in big chunks, as it will melt much faster. And a lid on the skillet for the first minute of cooking can help trap heat and melt the cheese more efficiently.
Q: Can I use corn tortillas?
A: Absolutely! Corn tortillas have a great flavor. The key is to warm them first (I wrap a stack in a damp paper towel and microwave for 30 seconds) to make them pliable. They can be a bit more fragile than flour tortillas, so be gentle when flipping.
A Quick Note on Nutrition
I’m all about balance and enjoying the food you eat! Because this recipe is so customizable, the nutritional info can vary wildly. The base recipe (one 8-inch quesadilla made with two tortillas, 1.5 cups of cheese split between them, and 1 tbsp of butter) provides a good source of protein and calcium from the cheese, and carbohydrates from the tortilla for energy.
To lighten it up, you can use low-fat cheese, whole wheat or carb-balance tortillas, and cooking spray instead of butter. Loading it up with veggies like spinach, bell peppers, and mushrooms is a fantastic way to add fiber, vitamins, and minerals. Adding a protein like chicken or beans will also make it more filling. Think of it as a framework you can build to fit your dietary needs and cravings!
Approximate Base-Only Nutrition (per serving of 1 full quesadilla): Calories: ~560, Carbs: ~40g, Protein: ~20g, Fat: ~36g. (Remember, this is without any extra fillings!)
Go Forth and Create Something Delicious!
And there you have it! Your complete guide to creating the most incredible, easy, and customizable quesadillas right in your own kitchen. I hope this post has inspired you to see that packet of tortillas in your fridge not as a simple wrapper, but as a passport to a quick, delicious, and deeply satisfying meal.
This is the kind of recipe that builds confidence in the kitchen. It teaches you about textures, flavors, and the pure joy of creating something with your own two hands. So the next time you’re staring into the abyss of your refrigerator, wondering what on earth to make, remember the power of the fold. Grab some cheese, get a little creative, and make a meal that’s sure to bring a smile to your face.
With love and a fully stocked cheese drawer,
Emily 😊