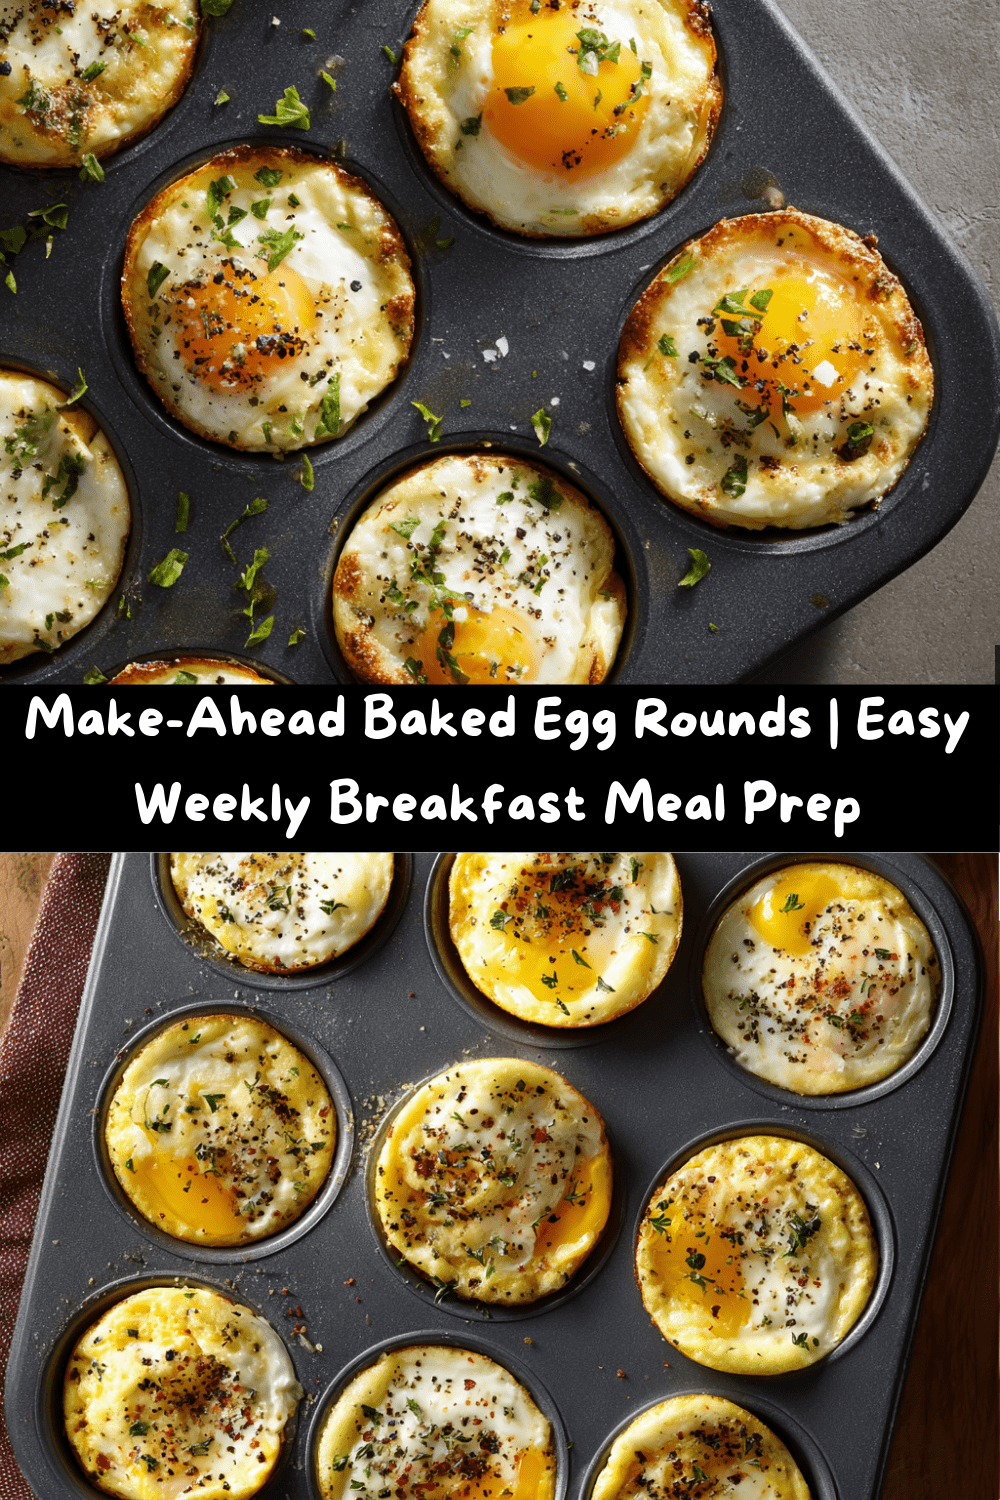
Your Weekly Breakfast Savior: The Easiest Baked Egg Rounds Ever
Hey there, friend! Let’s be real for a second. How many of your mornings start with a frantic race against the clock, a hungry stomach, and the siren call of a drive-thru or a sad, skipped meal? I’ve been there more times than I’d like to admit. Before I perfected my weekly meal prep routine, my mornings were a chaotic blur of spilled coffee and breakfast FOMO.
But what if I told you that the secret to a calm, collected, and deliciously fueled morning is hiding in your fridge right now? And it involves one of the most humble, powerful ingredients in your kitchen: the egg.
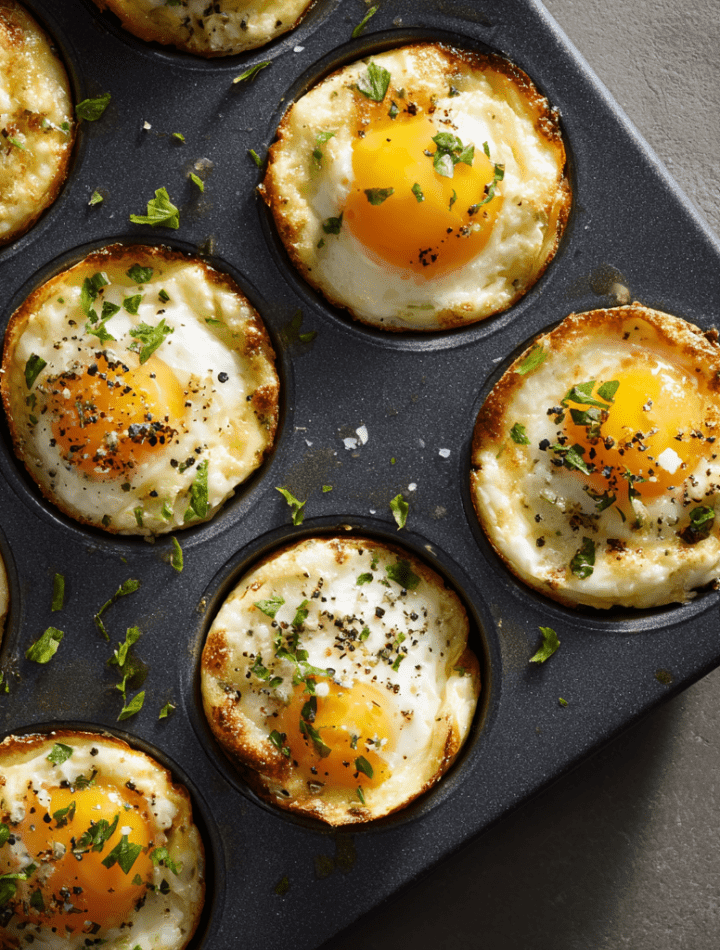
These Baked Egg Rounds are my absolute game-changer. They’re not just eggs baked in a muffin tin (though that’s the simple genius of it!). They’re little pucks of golden, protein-packed potential waiting to transform your week. They reheat in seconds, they’re endlessly customizable, and they’re the ultimate foundation for a breakfast that actually makes you feel like you’ve got your life together. So, grab your favorite muffin pan, and let’s make your mornings smoother—one perfectly baked egg at a time.
My Grandma’s “Sunday Spoilers”
This recipe always takes me back to my grandma’s warm, always-bustling kitchen. Sundays were for big family breakfasts after church. The air was thick with the smell of sizzling bacon, buttery toast, and my grandma’s famous “Spoilers.”
That’s what we called them because they’d “spoil” our appetite for the rest of the massive spread she’d made! She’d bake these simple, savory egg cups in her well-seasoned cast-iron muffin pan, always keeping a few plain ones just for me because I was a picky eater. She’d slide one onto my plate with a wink, and it felt like a secret, just-for-me treat.
She wasn’t thinking about meal prep or macros; she was thinking about feeding her family with love and efficiency. That’s the spirit I bring to this recipe. It’s not about fancy techniques—it’s about smart, heartfelt cooking that brings a little joy and a lot of ease to your busy life, just like Grandma did.
Gathering Your Breakfast Dream Team
Here’s the beautiful part: the ingredient list is gloriously short. This is a template, a blank canvas for your culinary creativity!
- Large Eggs: The star of the show! I like to use the best quality I can afford—vital farm eggs or organic ones truly make a difference with richer, brighter yolks. Chef’s Insight: Let your eggs sit on the counter for 10-15 minutes before baking. Room temperature eggs cook more evenly and are less likely to create a rubbery texture.
- Olive Oil: For greasing the pan. This ensures your golden rounds pop out effortlessly. Substitution Tip: Avocado oil, melted butter, or even a quick spritz of cooking spray will work perfectly here. If you’re using a silicone mold, you can often get away with no grease at all!
- Kosher Salt & Freshly Cracked Black Pepper: The essential flavor boosters. Chef’s Insight: I always season after I crack the egg into the mold. Salting eggs too early can sometimes break down the proteins and make them watery. A sprinkle on top right before baking is the way to go!
That’s it! Seriously! But keep scrolling, because we’re going to talk about all the incredible mix-ins and toppings you can add to make these your own.
Let’s Get Baking: Your Foolproof Guide
Follow these simple steps, and you’ll have a week’s worth of breakfast ready before your favorite podcast finishes an episode.
- Preheat & Prep: Fire up your oven to 350°F (175°C). If your oven runs cool or you’re using a convection setting, 375°F (190°C) is perfect for a slightly quicker, golden bake. While it’s heating, grab your muffin tin or silicone molds. Using a pastry brush or your finger, lightly grease each cup with your oil of choice. This is the most crucial step for easy release! Don’t skip it.
- The Crackdown: Now, carefully crack one beautiful egg into each prepared cup. Go slow to avoid breaking the yolk if you want that classic sunny-side-up look. Pro Tip: Crack each egg into a small bowl or ramekin first, then slide it into the muffin cup. This prevents any rogue shell fragments from ruining your perfect round and makes transferring much cleaner!
- Season Simply: This is where you start basic. Give each egg a generous pinch of kosher salt and a few grinds of fresh black pepper. Even if you’re adding other mix-ins, this base seasoning is key.
- Bake to Perfection: Slide your tray into the preheated oven. Now, set a timer! For a fully set white and a yolk that’s cooked through but still tender (what I call “jammy”), 15-17 minutes is the sweet spot. If you’re a runny yolk fanatic, start checking at 12 minutes. The eggs will continue to cook a bit from residual heat once out of the oven, so pull them when they look *almost* done to your liking.
- The Cool Down: Remove the pan from the oven and let the egg rounds cool in the pan for at least 5 minutes. This allows them to firm up and makes them infinitely easier to remove. Use a small offset spatula or a butter knife to gently loosen the edges and pop them out.
- Store for Success: Once completely cool, transfer your egg rounds to an airtight container. I like to separate layers with parchment paper to prevent sticking. They’ll keep happily in your fridge for up to 5 days, ready for action.
How to Serve Your Weekly Wins
The fun really starts now! Reheating is a breeze: just pop one or two on a microwave-safe plate for 30-45 seconds, or warm them in a toaster oven or air fryer at 350°F for about 3-4 minutes for a crisper edge.
Now, build your breakfast masterpiece:
- The Classic: Slide an egg round onto a toasted English muffin, add a slice of cheddar cheese and a piece of Canadian bacon for a homemade McMuffin that’s a million times better.
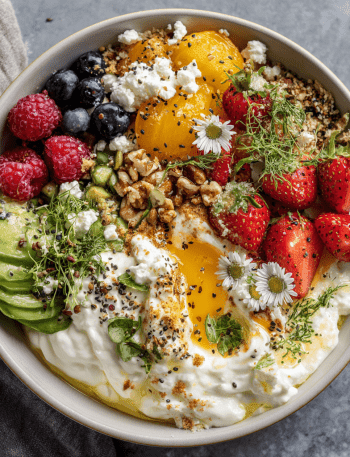
- The Power Bowl: Chop an egg round and toss it into a bowl with sautéed spinach, quinoa, avocado, and a drizzle of hot sauce for a serious power-up.
- The Salad Smasher: Chop one up and scatter it over a fresh green salad at lunchtime for an instant protein boost that makes your salad actually satisfying.
- The Straight-Up Snack: Grab one cold from the fridge, sprinkle with everything bagel seasoning, and enjoy it as a quick, healthy snack. No shame in the simple game!
Mix It Up! 5 Flavor-Packed Variations
Don’t let simplicity become boring! Here are some of my favorite ways to jazz up the basic formula. Add these mix-ins before baking right on top of the egg.
- The Everything Bagel: A pinch of shredded cheddar cheese, a sprinkle of everything bagel seasoning, and a few thin slices of green onion. Instant flavor bomb!
- Mediterranean Sunrise: Crumbled feta cheese, a few chopped sun-dried tomatoes, and a teaspoon of chopped fresh oregano or basil.
- Green Goddess: A handful of fresh spinach (chopped fine), a tablespoon of chopped artichoke hearts, and a sprinkle of grated Parmesan.
- Spicy Southwest: A tablespoon of black beans (rinsed and dried), a few pieces of diced jalapeño, and a little monterey jack cheese. Top with salsa after reheating!
- Dairy-Free & Paleo: Skip the cheese! Instead, add nutritional yeast for a cheesy flavor, and mix in diced mushrooms, caramelized onions, and compliant chopped bacon.
Emily’s Kitchen Notes
I’ve made thousands of these over the years, and let me tell you, I’ve had my share of kitchen “oops” moments. There was the one time I was filming a reel and got so distracted by the camera I completely forgot to grease the pan. Let’s just say we had “scrambled egg muffin tin mess” instead of perfect rounds! A little olive oil is your best friend, I promise.
This recipe has evolved from my grandma’s simple version to my ultimate weekly prep hack. I love that it’s a recipe that truly grows with you. Start with the basic salt and pepper, then get brave and start experimenting. It’s a fantastic way to use up little bits of leftover veggies, cheese, or ham from last night’s dinner. Waste not, want not!
Your Questions, Answered!
Q: Can I freeze baked egg rounds?
A: You can, but with a caveat! The whites can become a bit rubbery upon thawing. If you do freeze them, let them cool completely, wrap each one individually in plastic wrap, and store in a freezer bag for up to 2 months. Thaw in the fridge overnight and reheat gently.
Q: Why did my eggs get watery?
A: This is usually due to two things: 1) Salting the eggs too early before baking, or 2) Using add-ins with high water content (like fresh tomatoes or zucchini). If using watery veggies, sauté them first to cook off the excess moisture!
Q: My egg stuck to the pan! How do I prevent this?
A: Grease, grease, grease! Ensure every nook and cranny of the muffin cup is coated. Silicone molds are also a fantastic non-stick option. Letting the eggs cool before removal is also non-negotiable.
Q: Can I scramble the eggs in the cup instead?
A: Absolutely! For a more uniform, sandwich-friendly option, you can whisk all your eggs and seasonings (and any add-ins) in a large bowl, then pour the mixture evenly into the greased cups. The baking time will be similar.

Egg Rounds for the Week
- Total Time: 20 minutes
- Yield: 1
Description
Need a quick, no-fuss breakfast that keeps up with your busy life? These baked egg rounds are the ultimate grab-and-go protein boost. Whether you’re feeding a family of six or just stocking your own fridge, this easy prep will save your mornings and fuel your day. Let’s make your week smoother—one egg at a time.
Ingredients
Eggs (as many as you like)
Olive oil (for greasing)
Salt
Black pepper
Instructions
Preheat oven to 350°F (or 375°F if using convection).
Lightly grease silicone molds or a muffin tin with olive oil.
Crack one egg into each mold.
Sprinkle with salt and pepper.
Bake for 17 minutes for set yolks. For a softer, runny yolk, reduce baking time slightly.
Let cool, then store in an airtight container in the fridge.
- Prep Time: 5 minutes
- Cook Time: 15 minutes
Nutrition
- Calories: 70 / Egg
- Fat: 5g / Egg
- Protein: 6g / Egg
Nutritional Powerhouse
Let’s talk about why these are such a win beyond convenience. Eggs are nature’s multivitamin! One large egg round (made with just egg, oil, salt, and pepper) contains approximately:
- Calories: ~70
- Protein: ~6g (The hero nutrient that keeps you full and focused all morning!)
- Fat: ~5g (Healthy fats for brain health and sustained energy)
- Carbs: 0g
Plus, a host of essential vitamins and minerals like Vitamin D (crucial for immune health), Choline (amazing for brain function), and Lutein (great for eye health).
By controlling what you add, you’re in complete charge of making this a lean, clean meal or a more indulgent one. It’s the perfect building block for any nutritional goal.
You’ve Got This!
And there you have it! Your secret weapon against chaotic mornings is now fully armed and ready. This isn’t just a recipe; it’s a permission slip to give yourself a little grace during the week. It’s a promise of a good morning, ready and waiting for you in the fridge.
I hope you and your family love these baked egg rounds as much as I do. They’ve saved my sanity on more than one occasion, and I’d love to hear how you make them your own. Tag me on Instagram @tastychow when you make them and show me your creations!
Now go forth, prep like a boss, and conquer your week. Happy cooking!
With love and a perfectly baked egg,
Emily