French Butter Cake: Your New Favorite Slice of Heaven
Hey there, friend! Let’s talk about cake. Not just any cake, but the kind of cake that makes you close your eyes and hum after the first bite. The kind that feels like a warm, buttery hug from the inside out. I’m talking about French Butter Cake, and trust me, this one is a game-changer.
If you’ve ever walked past a French patisserie, nose pressed against the glass, marveling at the impossibly perfect pastries, this cake is your ticket to that feeling right in your own kitchen. It’s not fussy. It doesn’t require any fancy piping skills or a degree in pastry arts. What it does require is a love for deep, nutty, caramelized flavors and a texture that’s somehow both dense and meltingly tender at the same time.
This French Butter Cake, or *Gâteau au Beurre*, is pure dessert luxury. We’re taking simple, pantry-staple ingredients and performing a little bit of kitchen magic. The secret? We’re browning the butter. This one simple step transforms ordinary melted butter into a fragrant, toasty, nutty elixir that infuses every single crumb with a flavor so profound, you’ll wonder where it’s been all your life. The top caramelizes into a delicate, crackly sugar crust, while the inside stays impossibly moist with an almost custard-like crumb.
So, tie on your favorite apron (the messy one with the stains of past kitchen victories is highly encouraged), and let’s make something truly delicious together. This is more than a recipe; it’s an experience. And I’m so excited to share it with you.
A Sunday in Grandma’s Kitchen: Where the Love Began
My love affair with simple, butter-forward cakes didn’t start in culinary school. It started in my Grandma Eleanor’s kitchen on a lazy Sunday afternoon. The air was always thick with the scent of coffee and something baking. She wasn’t a French chef; she was a home cook from the Midwest who believed butter was its own food group.
She had a version of this cake she called her “Sunshine Cake.” It was a simple, one-bowl wonder she’d whip up for unexpected guests or just because it was Tuesday. I remember standing on a stool, watching her melt butter in a cast-iron skillet until it foamed and turned a beautiful golden color. She’d let me dip a piece of bread in it, and my eyes would go wide at the rich, nutty taste. “That’s the secret, Em,” she’d whisper with a wink. “You gotta make the butter sing.”
She was browning butter before it was a trendy internet hashtag. That lesson—that a little extra care with one ingredient can elevate the entire dish—stuck with me more than any complicated technique I later learned. This cake is an homage to her, to that warm kitchen, and to the powerful, delicious memories we create with food. Every time I make it, the smell takes me right back there.
Gathering Your Ingredients: A Symphony of Simplicity
Here’s the beautiful part: this stunning cake is made with ingredients you probably already have. But each one plays a starring role, so let’s break it down. Getting everything to room temperature is my number one chef hack here—it ensures a smooth, emulsified batter that bakes up perfectly.
For the Cake:
- 1 cup (226g) unsalted butter, plus extra for greasing: Using unsalted butter lets you control the salt level. We’re browning this, and those toasty milk solids are the soul of the cake! Chef’s Insight: I always use a light-colored saucepan for browning so I can easily see the color change.
- 1¼ cups (250g) granulated sugar, divided: Don’t be fooled by the division! Most sweetens the cake, but that last ¼ cup is for creating that iconic, crackly, caramelized top crust.
- 4 large eggs, room temperature: Room temp eggs incorporate much more easily into the batter, preventing overmixing. Quick Tip: To quickly bring eggs to room temp, place them in a bowl of warm water for 5-10 minutes.
- 2½ tsp vanilla extract: This might seem like a lot, but vanilla is the perfect partner to brown butter. It adds a warm, floral depth. For a real treat, try using vanilla bean paste!
- 1¼ cups (156g) cake flour: Cake flour has a lower protein content than all-purpose, which gives us that delicate, tender, melt-in-your-mouth crumb. Substitution: No cake flour? For every 1 cup of all-purpose flour, take out 2 tablespoons and replace it with 2 tablespoons of cornstarch. Sift it together well!
- 1½ tsp baking powder: Our leavening agent, giving the cake its gentle rise.
- ½ tsp salt: Crucial for balancing the sweetness and making all the flavors pop. Don’t skip it!
- ½ cup sour cream, room temperature: This is the magic ingredient for unbelievable moisture and a slight tang that cuts through the richness. Substitution: Plain, full-fat Greek yogurt works beautifully here too.
- 2 tbsp whole milk: A splash of milk brings the batter to the perfect pourable consistency.
For Finishing & Serving:
- 2 tbsp granulated sugar (for topping): This is for that signature sugary crust!
- Powdered sugar (optional, for dusting): For a pretty, snowy finish.
- Fresh berries or mint for garnish: A pop of color and fresh flavor to complement the richness.
Let’s Bake! Your Step-by-Step Guide to Brown Butter Bliss
Ready to make some magic? Follow these steps, and you’ll be a brown butter convert in no time. I’ve packed this section with all my favorite chef hacks to ensure your success.
- Brown the Butter (The Game Changer!): Place your butter in a light-colored saucepan or skillet over medium heat. Let it melt, then continue to cook, swirling the pan occasionally. It will foam and sputter – that’s the water cooking off! Keep a watchful eye. You’ll see golden brown bits start to form at the bottom, and the butter will smell incredibly nutty and fragrant. This whole process can take 5-8 minutes. The second it reaches this stage, take it off the heat and immediately pour it into a heatproof bowl to stop the cooking. Chef’s Tip: I like to scrape all those beautiful brown bits from the bottom of the pan—that’s pure flavor gold! Let it cool for about 10-15 minutes. You want it warm, not hot.
- Prep and Preheat: While the butter cools, preheat your oven to 350°F (175°C). Generously grease a 9-inch round cake pan with butter, then line the bottom with a circle of parchment paper. This guarantees a flawless release every single time.
- Build the Batter: In a large mixing bowl, whisk the cooled brown butter and 1 cup of the granulated sugar together until combined. It might look a little separated, and that’s okay! Add your room temperature eggs one at a time, whisking well after each addition until the mixture is smooth and slightly thickened. Whisk in the vanilla extract. Chef’s Hack: This initial whisking incorporates air, helping with the cake’s structure.
- Bring It All Together: Switch to a spatula. Sift the cake flour, baking powder, and salt right into the bowl. Gently fold the dry ingredients into the wet ingredients until just a few streaks of flour remain. Don’t overmix! Now, add the room temperature sour cream and milk, folding gently until the batter is smooth, luxurious, and perfectly uniform.
- Pan and Sugar Topping: Pour the beautiful batter into your prepared pan and smooth the top. Now, for the pièce de résistance: take the remaining ¼ cup of granulated sugar and sprinkle it evenly over the entire surface. This will create that divine, crackly, caramelized crust as it bakes.
- Bake to Perfection: Bake for 35-40 minutes. You’re looking for a beautifully golden top, and the edges of the cake will be pulling slightly away from the pan. The real test? A toothpick inserted into the center should come out with a few moist crumbs attached, but not wet batter. Chef’s Note: Because of all the butter, this cake can brown quickly. If it’s getting too dark, you can tent it loosely with foil for the last 10 minutes of baking.
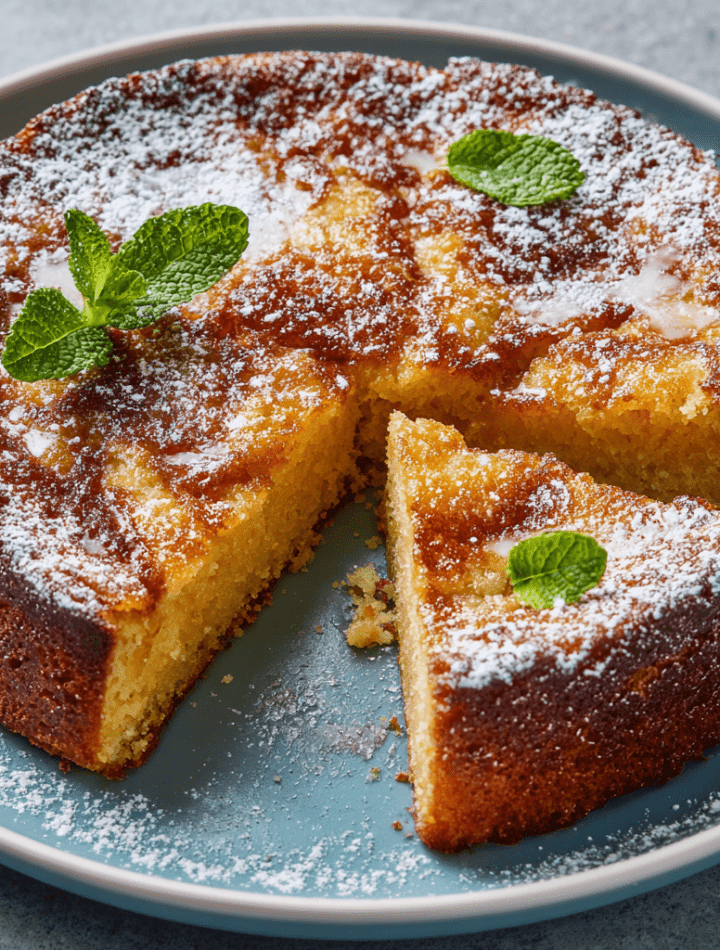
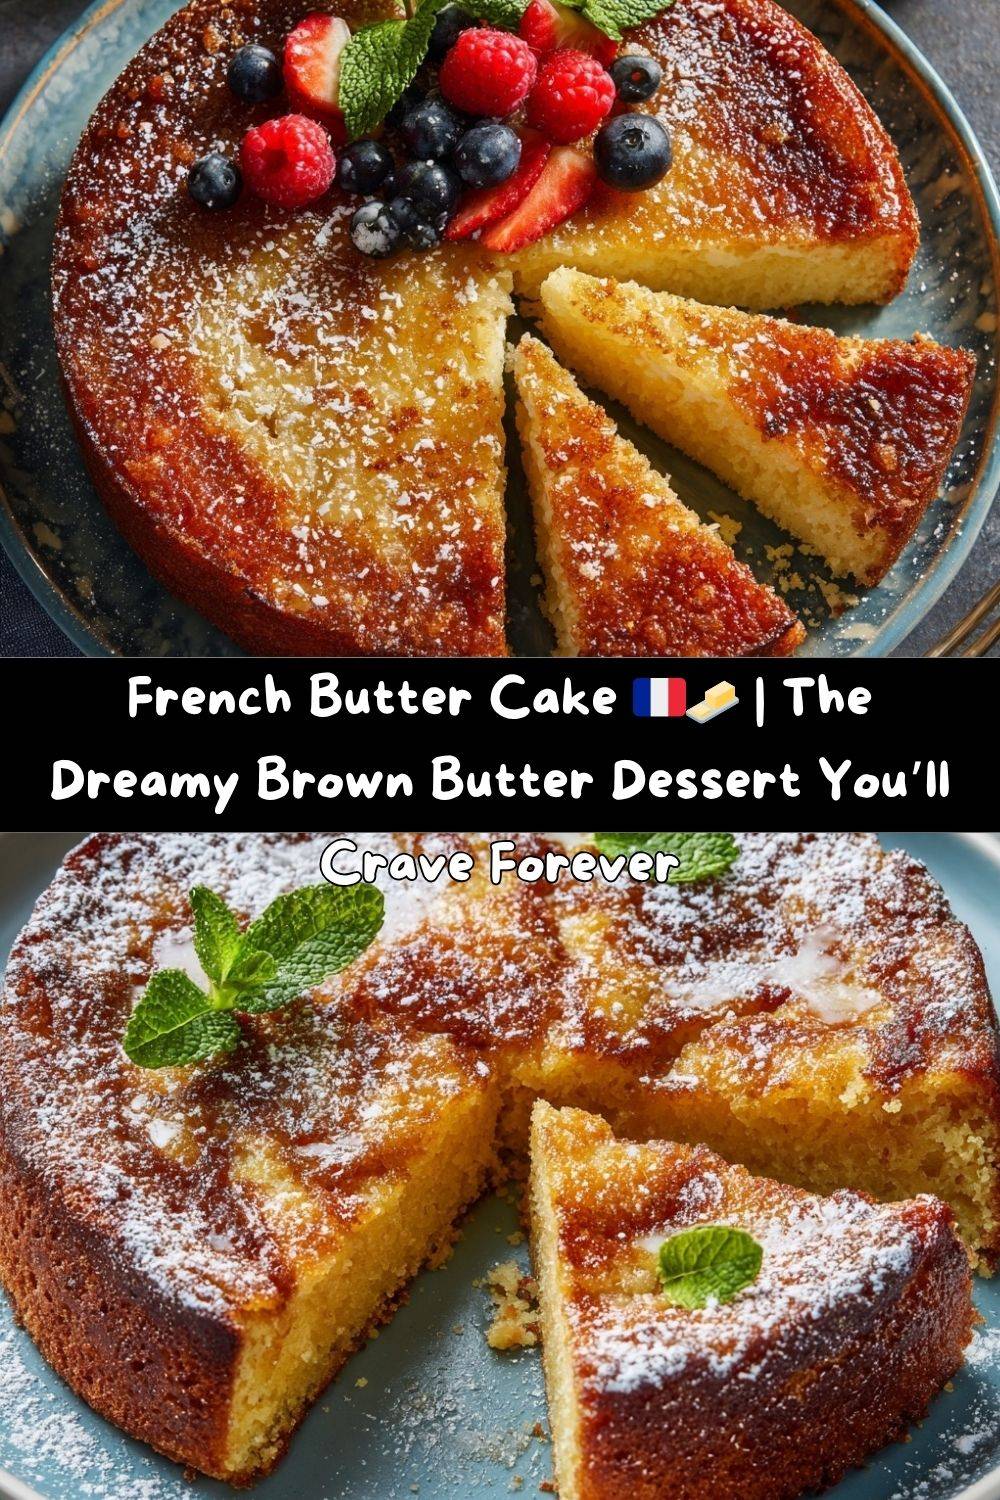
- The All-Important Cool Down: This is a test of your willpower! Let the cake cool in the pan on a wire rack for at least 15-20 minutes. It’s very tender when hot. After it’s settled, run a knife around the edge, invert it onto the rack, remove the parchment paper, and then flip it right-side-up to cool completely. This prevents the sugary top from sticking.
How to Serve Your Masterpiece
This cake is stunning all on its own, but a little flair never hurt! Here’s how I love to serve it:
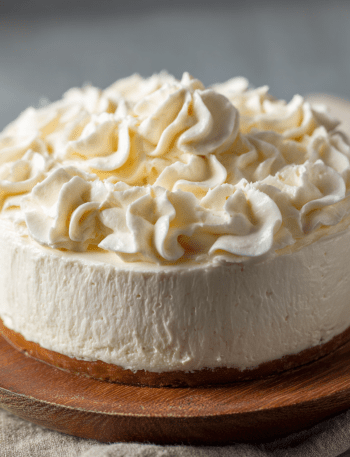
Once the cake is completely cool (or just slightly warm, I won’t judge), you can give it a elegant dusting of powdered sugar. I like to place a doily on top before dusting for a pretty pattern. For serving, a simple wedge on a plate is perfect. The contrast of the crisp, sugary top and the soft, velvety interior is everything.
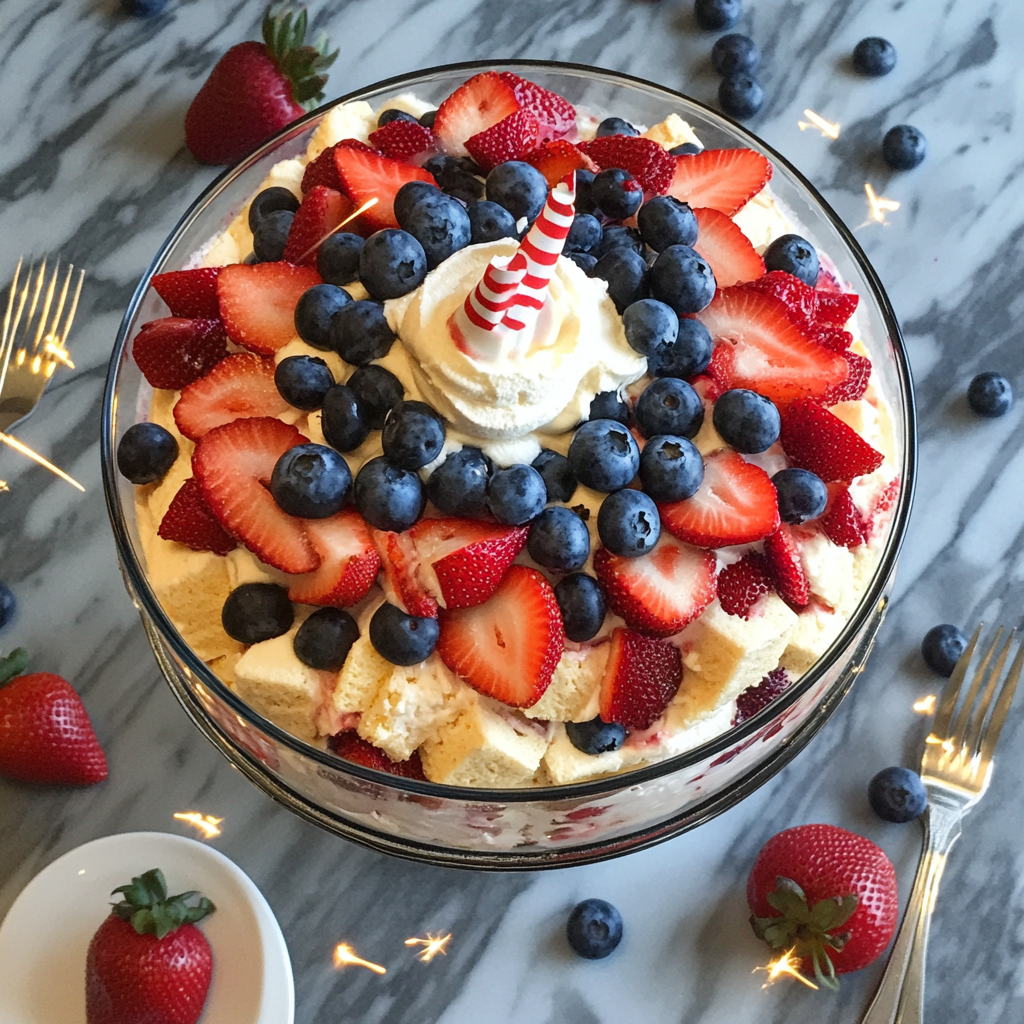
For a truly show-stopping dessert, add a handful of fresh raspberries or strawberries on the side. The bright, tart berries cut through the richness of the cake beautifully. A dollop of lightly sweetened whipped cream or a scoop of high-quality vanilla bean ice cream turns it into a restaurant-quality dessert. And for the ultimate indulgence? Drizzle each slice with a little warm salted caramel sauce. You’re welcome.
Get Creative! Fun Flavor Twists & Swaps
Once you’ve mastered the classic, the world is your oyster! Here are a few of my favorite ways to play with this versatile recipe:
- Lemon Zest Delight: Add the zest of one large lemon to the batter with the vanilla. The bright, citrusy notes are incredible with the brown butter.
- Almond Brown Butter Bliss: Substitute ½ teaspoon of the vanilla with almond extract. Fold in ½ cup of sliced almonds into the batter and sprinkle a few more on top with the sugar for extra crunch.
- Spiced Chai Version: Whisk 1 teaspoon of cinnamon, ½ teaspoon of cardamom, and a pinch of black pepper into your dry ingredients. It’s warm, cozy, and utterly divine.
- Gluten-Free Friendly: Use a 1:1 gluten-free baking flour blend in place of the cake flour. I’ve had great success with this swap!
- Brown Butter & Bourbon: For a grown-up twist, replace 1 tablespoon of the milk with bourbon. It adds a wonderful, deep complexity.
Chef Emily’s Notebook: A Few Parting Thoughts
This recipe has evolved in my kitchen over the years. I initially made it with just melted butter, but the first time I tried it with brown butter, it was a revelation. The entire character of the cake changed—it went from simply delicious to deeply memorable.
I’ll never forget the time I was filming a video for this cake and, in my excitement, I poured the hot brown butter directly into the bowl with the eggs and sugar without letting it cool. Let’s just say I made sweet, buttery scrambled eggs instead of cake batter! It was a hilarious (and slightly heartbreaking) mess. So learn from my mistake: let that butter cool!
This cake is incredibly forgiving and has become my go-to for potlucks, birthdays, and “I just need cake” Tuesdays. It’s a testament to the power of a few good ingredients treated with love and a little bit of chef-know-how.
Your Questions, Answered!
I’ve gotten a lot of questions about this cake over the years. Here are the most common ones to help you bake with confidence!
Q: My butter burned! What do I do?
A: Oh, I’ve been there! Butter can go from perfectly browned to burnt in seconds. If it smells acrid and the bits are black, it’s best to start over. Burnt butter will make the whole cake taste bitter. The key is medium heat, patience, and a light-colored pan so you can see the color change.
Q: Why is my cake dense/gummy in the middle?
A: This usually points to two things: 1) The batter was overmixed after the flour was added, which develops gluten and makes it tough. Fold gently! Or 2) The cake needed a few more minutes in the oven. Oven temperatures can vary, so trust the toothpick test—moist crumbs are good, wet batter is not.
Q: Can I make this in a different pan?
A: Absolutely! A 9-inch springform pan works wonderfully. You can also use an 8×8 square baking pan; the baking time may be slightly longer. For mini loaves, start checking for doneness at around 25-30 minutes.
Q: How should I store leftovers?
A: Keep any leftover cake (ha! leftovers!) in an airtight container at room temperature for up to 3 days. For longer storage, it freezes beautifully. Wrap individual slices or the whole cake tightly in plastic wrap and then foil. It will keep for up to 3 months. Thaw at room temperature.
Nutritional Information
I’m a firm believer that joy is an essential nutrient, and this cake is packed with it! That said, for those who are curious, here’s a general breakdown. Please note that this is an estimate and can vary based on specific ingredients used.
Per Serving (assuming 10 slices):
Calories: ~350 kcal | Total Fat: 22g | Saturated Fat: 13g | Cholesterol: 120mg | Sodium: 180mg | Total Carbohydrates: 33g | Dietary Fiber: 0g | Sugars: 21g | Protein: 5g
This is a rich, decadent treat meant to be savored. The beauty of baking it at home is that you control the ingredients and the portion size. Pair a slice with a cup of coffee for an afternoon pick-me-up or serve it as the grand finale to a special meal. Remember, it’s all about balance and enjoying the delicious things in life!
Final Thoughts from My Kitchen to Yours
Well, my friend, we’ve reached the end of our buttery journey. I hope you feel inspired and empowered to bake this incredible French Butter Cake. It’s a recipe that proves you don’t need complicated techniques to create something extraordinary. All you need is a little patience with the butter, a willingness to get your hands a little dusty with flour, and a whole lot of love.
This cake is more than the sum of its parts. It’s a conversation starter, a comfort on a hard day, and a celebration of simple, honest ingredients. When you slice into that caramelized crust and reveal the tender, fragrant crumb inside, you’ll know you’ve created something special.