Spooky, Sweet, and Simply Irresistible: Ghost Rice Krispie Treats!
Hey there, my fellow food lovers! Chef Emily here, back in my happy place—the kitchen—and let me tell you, I am absolutely buzzing with excitement today. Can you smell that? It’s the unmistakable, magical scent of toasty marshmallows and melting butter wafting through the air. That’s the smell of pure, unadulterated joy, and right now, it’s also the smell of Halloween magic!
If you’ve been scrolling through Pinterest or Instagram lately, you’ve probably seen a million adorable Halloween treats that look like they require a culinary degree and the patience of a saint. But here’s my kitchen philosophy: fun food shouldn’t be fussy food. That’s why I am utterly obsessed with these Ghost Rice Krispie Treats. They are the perfect project for a spooky baking night, whether you’re flying solo, wrangling a couple of mini chefs (my favorite kind of kitchen helpers!), or prepping treats for the biggest Halloween bash on the block.
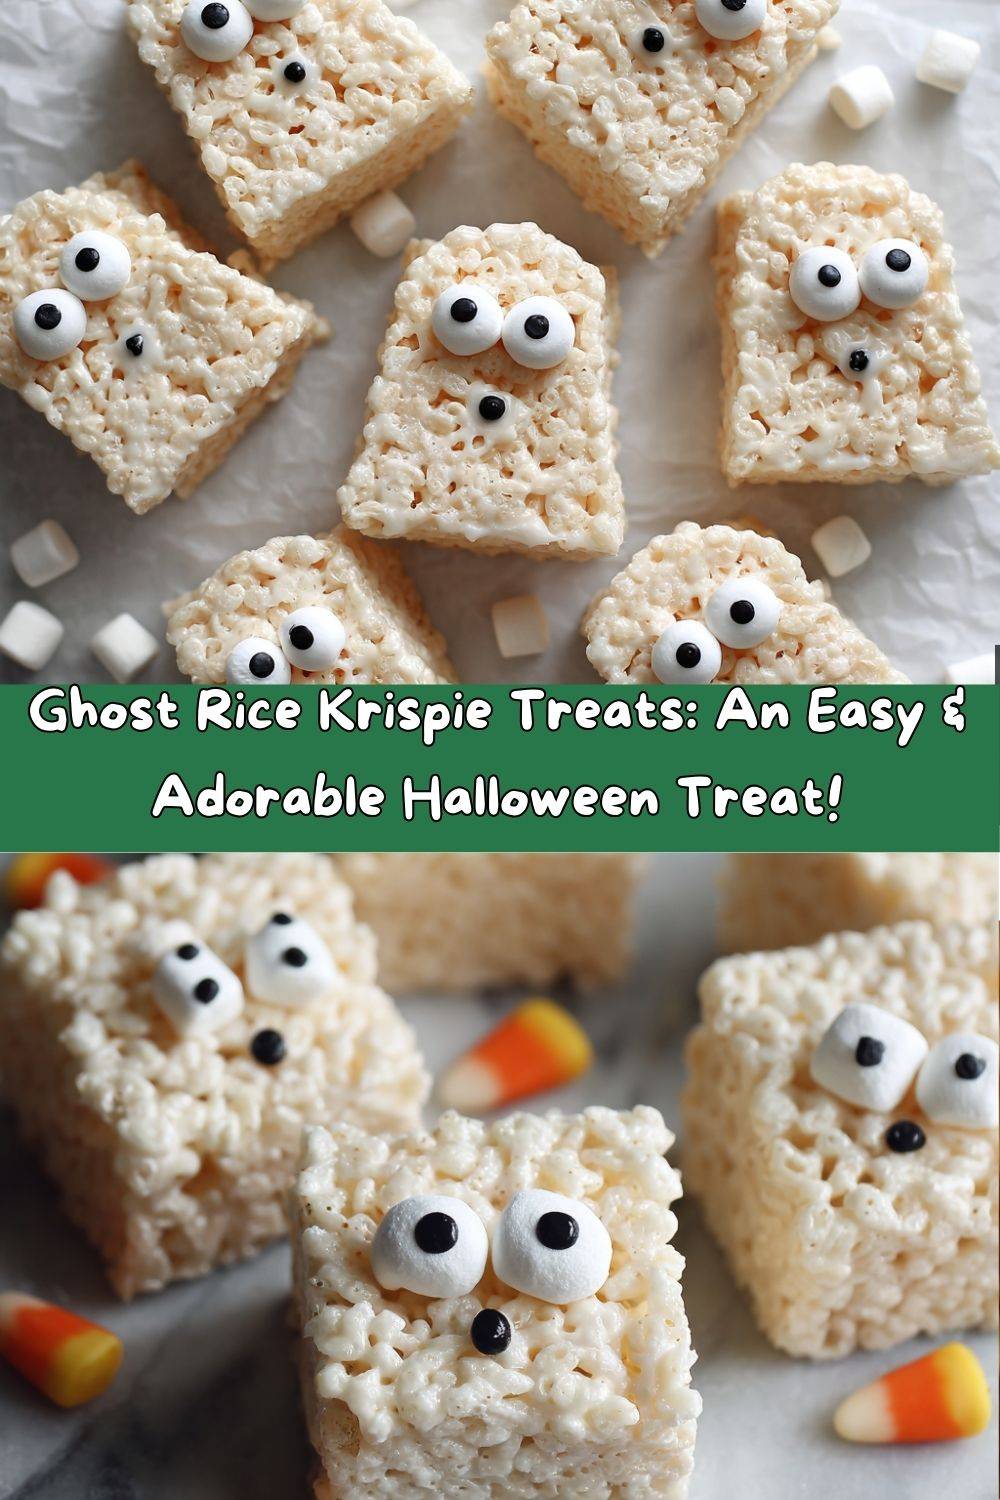
We’re taking that beloved, no-bake classic we all know and adore and giving it a playful, spooky-cute makeover. Imagine: soft, chewy, pillowy marshmallow squares transformed into adorable little ghosts, all dressed up in a coat of sweet white chocolate and brought to life with two little candy eyes. They’re whimsical, they’re delicious, and I promise, they are so easy to make. So, tie on your favorite messy apron (the sign of a chef having a great time!), and let’s make a memory together. These little phantoms are waiting to haunt your dessert table in the best way possible!
A Spooky Tradition is Born
This recipe takes me right back to my very first Halloween in my first apartment. The place was tiny, my kitchen was basically a closet with a stove, but I was determined to host a party. I wanted to make something festive that wouldn’t break my budget or my spirit. I stared into my nearly bare pantry and saw a box of cereal and a bag of marshmallows. A lightbulb went off!
I whipped up a batch of classic Rice Krispie Treats, but I knew they needed a costume. I rummaged through my baking drawer and found some leftover white chocolate chips and a half-used tube of black icing. With a little melted chocolate and a few clumsy dots, my first (frankly, a little derpy-looking) Rice Krispie ghost was born. My friends arrived, took one look at my spooky creation, and their faces lit up. They weren’t just eating a treat; they were part of a silly, sweet moment. That’s the real magic of cooking, isn’t it? It’s not about perfection. It’s about the laughter, the shared experience, and the joy of creating something together. That’s the spirit I want you to capture in your kitchen today.
Gathering Your Ghostly Crew: The Ingredients
One of the best things about this recipe is its beautiful simplicity. You probably have most of this in your kitchen right now! Here’s what you’ll need to summon these friendly spirits:
- 6 cups Rice Krispies cereal: The classic! This is the backbone of our treat, providing that iconic crispy, snap-crackle-pop texture. Chef’s Insight: Make sure your cereal is fresh for the best crunch. A stale box will make for sad, soft ghosts.
- 1 (10 oz) bag mini marshmallows: I highly recommend the minis! They melt down much faster and more evenly than large marshmallows, which means less time over the heat and a lower chance of scorching your ‘mallows.
- 3 tbsp unsalted butter: This adds richness and helps create a smooth, non-sticky texture. Substitution Tip: You can use salted butter if that’s what you have; it will just add a very subtle salty note that actually plays nicely with the sweet white chocolate.
- 12 oz white chocolate or candy melts: This is our ghostly “costume”! Chef’s Choice: High-quality white chocolate bars (chopped) will give you the best flavor, but white candy melts (or almond bark) are fantastic because they set harder and faster, making the ghosts less messy to handle. The choice is yours!
- Candy eyes: The pièce de résistance! These are widely available in the baking aisle during the Halloween season. Pro-Tip: If you can’t find them, you can use small dabs of black icing or even tiny chocolate chips placed point-side down.
Conjuring Your Crispy Phantoms: Step-by-Step
Alright, team! Let’s get our hands a little sticky and make some magic. Follow these steps, and you’ll have a squadron of cute ghosts in no time.
- Prep Your Pan: Grease a 9×13-inch baking pan generously with butter or non-stick spray. Chef’s Hack: For super easy removal later, line the pan with parchment paper first, leaving a little overhang on two sides. Grease the parchment, too. This creates a sling that will let you lift the entire block of treats out in one go for effortless cutting!
- Melt the Butter: In a large pot (I mean it, use a big one—this mixture expands!), melt the 3 tablespoons of butter over low heat. We’re using low heat for a reason: patience is key to preventing burnt butter!
- Marshmallow Magic: Add the entire bag of mini marshmallows to the melted butter. Stir constantly with a silicone spatula or wooden spoon until the marshmallows are completely melted, smooth, and glorious. Chef’s Commentary: This is my favorite part. It’s like stirring a pot of white, clouds. Take it off the heat the second it’s smooth. Don’t walk away! Overheating marshmallows makes them tough and chewy.
- Bring in the Cereal: Immediately dump in the 6 cups of Rice Krispies cereal. Using a gentle folding motion, stir until every single piece of cereal is thoroughly coated in the marshmallow goo. It might feel like a lot of cereal, but keep folding—it will all come together!
- Press and Cool: Quickly transfer the mixture to your prepared pan. Now, here’s a pro tip to avoid a sticky situation: lightly grease your hands with butter or spray them with cooking spray. Use your hands to press the mixture firmly and evenly into the pan. Let this cool completely at room temperature. Rushing this with the fridge can cause the chocolate to sweat later, so let’s be patient!
- Shape Your Ghosts: Once completely cool, use a ghost-shaped cookie cutter to cut out your treats. No cutter? No problem! Use a sharp knife to cut square or rectangular bars, then carefully cut a little “tail” shape at the bottom of each one to turn them into ghosts. Freehanding it makes them even more charmingly unique!
- Melt the Chocolate: Place your white chocolate or candy melts in a microwave-safe bowl. Melt in 30-second intervals on 50% power, stirring well between each burst. Chef’s Hack: Melting on half-power prevents the chocolate from seizing and becoming a chalky mess. We want it smooth and dippable!
- The Grand Finale – Decorating! Now for the fun part! You can either dip the top of each ghost into the chocolate or use a spoon to drizzle it over the top. Lay them on a sheet of parchment paper. Working quickly before the chocolate sets, gently press two candy eyes onto each ghost. Watch them come to life! Let the chocolate set completely before serving.
How to Serve Your Spooky Squad
Presentation is part of the fun! Pile these friendly ghosts high on a dark slate platter or a cake stand for a dramatic effect. You can even create a little Halloween scene by crumbling some chocolate cookies for “dirt” and placing the ghosts on top. They’re the perfect hand-held dessert for a party, a fantastic addition to a Halloween cookie box, or a terrifyingly tasty treat tucked into lunch boxes to surprise your little monsters.
Boo-tiful Variations & Twists
Want to mix it up? Here are a few spooky-spirited ideas:
- Chocolate Phantom: Use Cocoa Krispies cereal instead of the original for a chocolatey ghost base!
- Orange You Cute?: Use orange candy melts instead of white for a pumpkin or jack-o-lantern effect. Use black icing to draw faces!
- Spooky Sprinkle Ghosts: After dipping in white chocolate, immediately add a few black and orange sprinkles for a festive, polka-dotted ghost look.
- Peanut Butter Boos: Stir 1/2 cup of peanut butter into the melted marshmallow mixture before adding the cereal for a rich, nutty flavor that pairs amazingly with the white chocolate.
- Gluten-Free Ghosts: Ensure your cereal is a certified gluten-free brand, and you’re all set for a gluten-friendly haunt!
Chef Emily’s Spooky Notes
Over the years, this recipe has seen many iterations. I once tried to make a giant ghost using a giant round cutter. It looked less like Casper and more like a confused, marshmallowy snowman. We laughed so hard we cried. The lesson? Embrace the imperfections! Every wonky eye and lopsided drizzle has character.
I’ve also learned that the best kitchen tool for this project is a squad of eager kids. Their little hands are perfect for pressing on candy eyes, and their creativity often leads to the best (and funniest) ghost personalities. This recipe is about so much more than the final product; it’s about the messy, joyful, memory-making process. Don’t stress, have fun, and let your inner ghost host shine!
Ghostly FAQs & Troubleshooting
Q: My marshmallow mixture is too hard to press into the pan. What happened?
A: This means the marshmallows likely cooled down too much before you got them into the pan. The key is to work quickly and efficiently after taking the mixture off the heat. If this happens, you can gently reheat the whole mixture in the pot over very low heat for just 15-20 seconds to make it pliable again.
Q: Why did my white chocolate get clumpy and thick when I melted it?
A: This is called “seizing,” and it usually happens if even a single drop of water gets into the melting chocolate or if it overheats. Always make sure your bowl and utensils are completely dry. To fix it, try stirring in a tiny amount of solid vegetable shortening (Crisco) or coconut oil (about 1/2 tsp at a time) to smooth it back out.
Q: Can I make these ahead of time?
A: Absolutely! These are a great make-ahead treat. Store them in a single layer in an airtight container at room temperature for up to 2 days. If you stack them, place a piece of parchment paper between layers to prevent them from sticking together.
Q: My treats are really hard. How can I make them softer and chewier?
A> The key to soft, chewy treats is to melt the marshmallows slowly on low heat and to take them off the heat the moment they are smooth. Overcooking the marshmallows is the number one cause of rock-hard Rice Krispie Treats. Also, pressing them too firmly into the pan can compress them and make them dense.

Ghost Rice Krispie Treats
- Total Time: 40 minutes
- Yield: 12 ghosts 1x
Description
These Ghost Rice Krispie Treats are a spooky-cute twist on the classic marshmallow squares. Soft, chewy, and covered in sweet white chocolate, they’re finished with little candy eyes to bring the ghosts to life. Perfect for Halloween parties, school treats, or a fun family baking project, they’re simple to make and even more fun to eat.
Ingredients
6 cups Rice Krispies cereal
1 (10 oz) bag mini marshmallows
3 tbsp unsalted butter
12 oz white chocolate or candy melts
Candy eyes
Instructions
Grease a 9×13-inch pan and set aside.
In a large pot, melt butter over low heat. Stir in marshmallows until fully melted and smooth.
Remove from heat and stir in Rice Krispies cereal until evenly coated.
Press mixture into the prepared pan and let cool.
Cut into ghost shapes using a cookie cutter or freehand with a knife.
Melt white chocolate or candy melts in the microwave (30-second intervals, stirring until smooth).
Dip or drizzle each treat with melted white chocolate.
While still wet, press on candy eyes.
Let set on parchment paper until chocolate hardens.
- Prep Time: 20 minutes
- Set Time: 20 minutes
Nutrition
- Calories: 190 / Ghost
- Fat: 6g / Ghost
- Carbohydrates: 34g/ Ghost
- Protein: 2g/ Ghost
Nutritional Information (Approximate, per ghost)
This is just an estimate and will vary based on specific ingredients used.
- Calories: 190
- Protein: 2g
- Carbohydrates: 34g
- Fat: 6g
- Fiber: 0g
Final Thoughts
Ghost Rice Krispie Treats are the kind of recipe that prove festive food doesn’t have to be complicated to be magical. With just a handful of pantry staples, a little melted chocolate, and those all-important candy eyes, you can turn a childhood classic into a spooky-cute treat that’s perfect for Halloween.
The best part? They’re endlessly adaptable and practically foolproof. Whether you’re making them with kids, prepping them for a party, or just treating yourself to a little seasonal fun, these sweet little phantoms are guaranteed to bring smiles (and probably a few giggles).
So don’t worry if one ghost looks a little lopsided or another has a googly-eyed stare—that’s where the charm is. Embrace the imperfections, make a little mess, and enjoy the process. Because at the end of the day, it’s not just about the treat—it’s about the memories you’re creating along the way. Here’s to happy haunting and sweet snacking! 👻