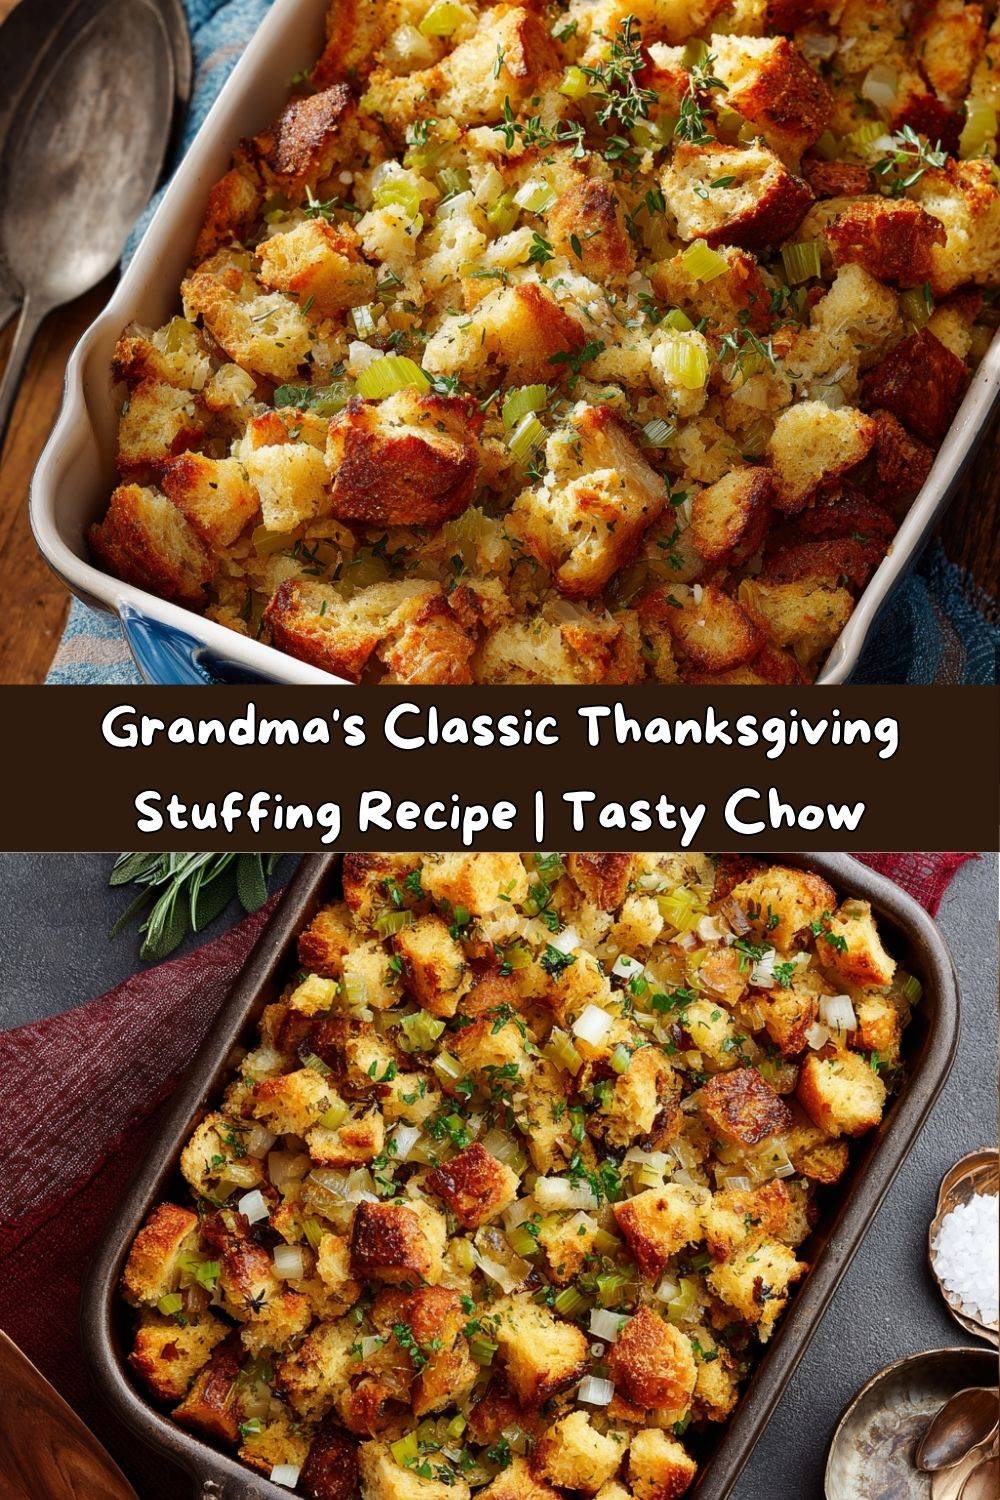
Grandma’s Classic Thanksgiving Stuffing: A Love Letter in Every Bite
Hey there, my fellow food lovers! Chef Emily here, from Tasty Chow. Can you smell that? Close your eyes for a second. I’m talking about that smell. The one that hits you the second you walk through the door on Thanksgiving morning. It’s a symphony of savory herbs, buttery onions, and toasty bread, all harmonizing in the oven. It’s the smell of home, of family, of pure, unadulterated comfort. That, my friends, is the magic of Grandma’s Classic Thanksgiving Stuffing.
If your holiday table feels incomplete without that quintessential side dish—the one that’s gloriously crisp and golden on top yet impossibly tender and moist underneath—then you’ve come to the right kitchen corner. This isn’t just a recipe; it’s a heirloom. It’s the dish that everyone secretly hopes there will be leftovers of, and the one that sparks the great “stuffing vs. dressing” debate (we welcome all names here!). I’ve taken my grandma’s beloved, stained-recipe-card classic and added a few of my own chef-y tips to make it absolutely foolproof. So, tie on your favorite apron (the messy one with the stories!), and let’s make some memories together. This is more than a side dish; it’s the heart of the holiday meal.
The Wooden Spoon & The Sunday Sage
My love affair with this stuffing began not on Thanksgiving, but on a random Sunday when I was about seven years old. I was perched on a wobbly step-stool in my grandma’s kitchen, a place that always smelled like yeast and wisdom. She was making a roast chicken, which, in her world, was simply a vehicle for her legendary “dressing.”
I watched, utterly mesmerized, as her hands—weathered and strong—tore apart loaves of stale bread with a gentle ruthlessness. “The bread has to have backbone, Emmy Lou,” she’d say, her eyes twinkling. “It can’t be a pushover when the broth comes to town.” Then came the herbs. She’d send me out to her little patio garden with a pair of scissors to snip fresh sage. I’d bring it back, and she’d crush a leaf between her fingers, holding it under my nose. “Breathe that in. That’s the smell of Sunday.” In that tiny kitchen, surrounded by clouds of steam and the sizzle of celery and onions in butter, I learned that the most powerful ingredient in any recipe isn’t something you can buy. It’s love, patience, and the willingness to get your hands a little dirty. Every time I make this stuffing, I’m right back on that stool, and she’s right there with me, guiding my wooden spoon.
Gathering Your Cast of Characters
Here’s everything you’ll need to bring this cozy classic to life. Don’t stress about exactitudes—cooking is about feeling, and I’ve got plenty of swaps and tips for you!
- 10 cups cubed bread (sourdough or French, day-old preferred): This is the foundation! Stale, day-old bread is the secret hero because it’s lost some moisture and will soak up that glorious broth without turning to mush. I adore the slight tang of sourdough, but a sturdy French loaf works beautifully. Chef’s Tip: No stale bread? No problem! Cube fresh bread and toast it on a baking sheet at 300°F for 15-20 minutes to dry it out.
- 1 large onion, finely diced: This sweet, aromatic base is non-negotiable. It melts down into the stuffing, providing a subtle sweetness that balances the savory herbs.
- 2 cups celery, finely chopped (about 3–4 stalks): Celery is all about that crunch and its distinct, fresh flavor that cuts through the richness. Don’t skip it!
- 2 tbsp fresh sage, chopped: The queen of Thanksgiving herbs. It’s earthy, slightly peppery, and the defining flavor of this dish. Please, please use fresh if you can! It makes a world of difference.
- 2 tbsp fresh thyme, chopped: Thyme adds a lovely, subtle lemony and floral note that complements the sage perfectly.
- 1 tbsp fresh rosemary, chopped: A little rosemary goes a long way! It adds a piney, robust fragrance. Chop it super fine so no one gets a woody surprise.
- 4 cups low-sodium broth (chicken or vegetable): Using low-sodium broth is my biggest pro-tip! It allows you to control the salt level yourself. The quality of your broth matters—it’s the liquid love that brings everything together.
- ½ cup unsalted butter (1 stick), melted: Butter equals flavor and richness. Using unsalted, again, lets you be the boss of your seasoning.
- Salt & freshly ground black pepper, to taste: Season as you go! Taste, taste, and taste again before it goes in the oven.
Let’s Get Cooking: Building the Perfect Stuffing
Okay, team! Let’s transform these simple ingredients into holiday gold. Follow these steps, and you’ll have a stuffing worthy of a standing ovation.
- Preheat & Prep: Preheat your oven to 350°F (175°C). Grease a 9×13 inch baking dish (or a similar-sized casserole dish) with a little butter or non-stick spray. This is your stuffing’s future home, so make it cozy!
- Toast Those Cubes (Optional but Awesome): If your bread isn’t super stale, spread the cubes in a single layer on a baking sheet. Pop them in the preheating oven for 10-15 minutes. You’re not looking for color, just to dry them out. This extra step guarantees a stuffing with fantastic texture that won’t get mushy. Chef’s Hack: I sometimes do this the night before to save time on Turkey Day!
- Sauté the Aromatics: In a large skillet over medium heat, melt a tablespoon of your butter. Add the diced onion and celery with a pinch of salt. Cook, stirring occasionally, for about 8 minutes until they’ve softened and become translucent and fragrant. That smell? That’s the sound of happiness. Chef’s Tip: Don’t rush this! You’re building layers of flavor. We’re not looking for brown, just soft and sweet.
- The Big Combine: In the largest bowl you own (seriously, go big!), combine the toasted bread cubes, the sautéed onion-celery mixture, and all of those beautiful fresh herbs. Pour the melted butter over everything. Now, get in there with your hands! Toss everything together until every bread cube is lightly glistening with butter and flecked with green herbs. It’s a sensory experience—embrace it!
- The Broth Baptism: Slowly, and I mean SLOWLY, pour in the broth while gently tossing the mixture. Your goal is even moisture. You might not need all 4 cups, or you might need a splash more. Stop when the bread is moistened through but not swimming in liquid. The stuffing should hold together slightly when pressed. Chef’s Hack: Let the mixture sit for 10 minutes before the next step. This allows the bread to fully absorb the broth.
- Season & Taste: This is crucial! Season generously with black pepper and salt. Taste a little bit of the mixture. Does it need more sage? More pepper? Adjust now. Remember, the flavors will meld and concentrate a bit in the oven.
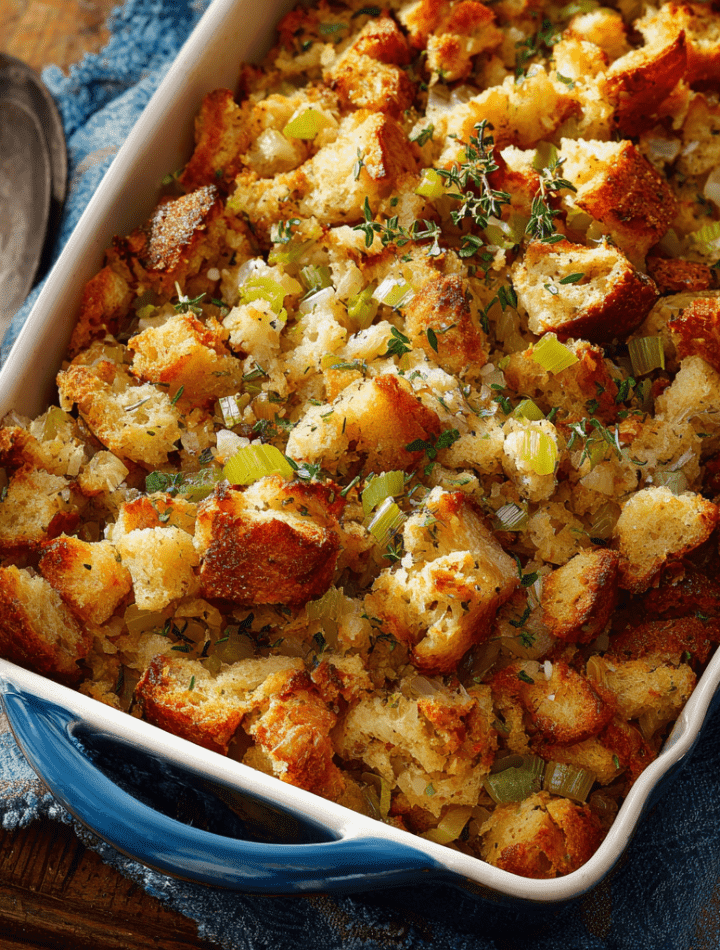
- Bake to Perfection: Transfer the stuffing to your prepared baking dish and press it down gently. Cover it tightly with aluminum foil. Bake covered for 30 minutes. This steams the stuffing, cooking it through and making it tender. Then, REMOVE the foil and bake for another 15-20 minutes, until the top is golden brown, crispy, and irresistible.
Plating Up Your Masterpiece
You’ve done it! You’ve created a holiday icon. Now, how to serve it? With pride, that’s how!
Let the stuffing rest for about 10 minutes after pulling it from the oven. This allows it to set, making it easier to scoop out those perfect squares. Use a large spoon or a square-edged server to get a beautiful portion that showcases the crispy top and the soft interior. Place it right next to that gorgeous slice of turkey and a generous pour of gravy. For a truly stunning presentation, serve it in a beautiful ceramic dish right at the table so everyone can admire its golden glory. Garnish with a few extra fresh thyme sprigs or sage leaves for a touch of green. Don’t forget the gravy boat—this stuffing is a glorious gravy vehicle!
Make It Your Own: Delicious Twists & Tweaks
Once you’ve mastered the classic, feel free to play! Here are a few of my favorite riffs on Grandma’s recipe.
- The “Everything but the Kitchen Sink”: Add 1 cup of cooked, crumbled breakfast sausage and ½ cup of dried cranberries or cherries when you combine the ingredients. The sweet, savory, and salty combo is out of this world.
- Mushroom & Leek Luxury: Swap the onion for two finely chopped leeks (white and light green parts only, washed well!) and add 2 cups of finely chopped cremini mushrooms sautéed with the celery. So earthy and delicious.
- Cozy Cornbread Version: Use 7 cups of dried cornbread cubes and 3 cups of dried white bread cubes. It’s a Southern-inspired twist that’s slightly sweet and wonderfully crumbly.
- Gluten-Free & Vegan Friend: Use your favorite sturdy gluten-free bread and vegan butter. For the broth, use a rich vegetable broth. The flavor will still be incredible!
- Apple & Pecan Delight: Add 1 finely chopped apple (like Granny Smith) and ¾ cup of toasted pecans to the mix. It adds a wonderful crunch and a hint of fall sweetness.
From My Kitchen to Yours
This recipe has evolved over the years, just like my cooking. Grandma used to use exclusively white bread and poultry seasoning. I’ve come to love the complexity of fresh herbs and the sturdiness of artisan bread. One year, I famously (or infamously?) tried to add a fancy twist with oysters. Let’s just say it was… divisive. My uncle still brings it up every Thanksgiving! The beauty of this dish is its flexibility. It’s a canvas for your own family’s memories. Maybe your twist is adding a dash of hot sauce or using your mom’s homemade broth. Whatever it is, make it with love, and it will be perfect.
Stuffing SOS: Your Questions, Answered
Q: Can I make this stuffing ahead of time?
A: Absolutely! Assemble the stuffing completely (through step 6) up to a day in advance. Cover it tightly and keep it in the fridge. When you’re ready, let it sit on the counter for 20-30 minutes to take the chill off, then bake as directed. You may need to add a few extra minutes to the baking time since it’s starting from cold.
Q: My stuffing came out too dry/wet. What happened?
A: Don’t worry, we can fix it! Too dry? The type of bread and how stale it was can affect liquid absorption. Drizzle a little warm broth over the top and gently toss it in before serving. Too wet? You might have added a bit too much broth or not used stale enough bread. Pop it back in the oven uncovered for another 10-15 minutes to evaporate some of the excess moisture.
Q: Can I actually stuff the turkey with this?
A: While this recipe is designed for baking in a dish (making it technically “dressing”), you can stuff it into your turkey. Please be food-safe! Stuff the turkey loosely just before it goes in the oven, and ensure both the stuffing and the turkey cavity are cold. Use a meat thermometer to confirm the stuffing inside the bird reaches 165°F.
Q: Can I freeze leftovers?
A: Yes! This stuffing freezes beautifully. Let it cool completely, then portion it into airtight containers or freezer bags. It will keep for up to 3 months. Thaw in the fridge overnight and reheat in the oven at 350°F until warmed through.
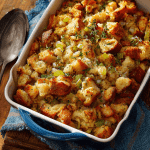
Grandma’s Classic Thanksgiving Stuffing
- Total Time: 1 hour
- Yield: 8 1x
Description
Nothing says “home” like the aroma of Grandma’s stuffing baking in the oven. Crisp on top, tender in the middle, and full of rich, herb-packed flavor—this is the ultimate holiday side. Whether you call it stuffing or dressing, this beloved recipe deserves a front-row seat on your Thanksgiving table.
Ingredients
10 cups cubed bread (sourdough or French, day-old preferred)
1 large onion, finely diced
2 cups celery, finely chopped (about 3–4 stalks)
2 tbsp fresh sage, chopped
2 tbsp fresh thyme, chopped
1 tbsp fresh rosemary, chopped
4 cups low-sodium broth (chicken or vegetable)
½ cup unsalted butter (1 stick), melted
Salt & freshly ground black pepper, to taste
Instructions
Preheat oven to 350°F (175°C). Grease a large baking dish.
Toast bread cubes on a baking sheet for 10–15 mins (optional, for extra texture).
Sauté onions and celery in a little butter until soft and fragrant, about 8 mins.
In a large bowl, combine bread, sautéed veggies, fresh herbs, and melted butter.
Pour in broth slowly, stirring until bread is moist but not soggy. Season with salt and pepper.
Transfer to baking dish and cover with foil.
Bake 30 minutes covered, then uncover and bake 15–20 mins more until golden brown on top.
- Prep Time: 20 minutes
- Cook Time: 40 minutes
Nutrition
- Calories: 250 / Serving
- Fat: 12g / Serving
- Carbohydrates: 30g / Serving
- Protein: 4g / Serving
Nutritional Note (Because We Care!)
While Thanksgiving is a day for indulgence, it’s always good to know what’s on your plate. This nutritional info is per serving (assuming 8 servings) and is an estimate. Using low-sodium broth and controlling the butter and salt you add makes a big difference! This stuffing provides carbohydrates for energy and, thanks to the veggies and herbs, a small boost of vitamins and antioxidants. The best part? It feeds the soul, and that’s calorie-free. Enjoy every single bite guilt-free!
Your New Holiday Tradition Awaits
And there you have it, my friends. More than just a recipe, this is a story in a baking dish. It’s a connection to the past and a delicious gift for the future. I hope this guide gives you the confidence to create a stuffing that will have your family begging for the recipe. Remember, the secret ingredient is always the joy you pour into it. So, from my messy, herb-strewn kitchen to yours, I wish you the happiest, most flavor-filled Thanksgiving imaginable. Now, let’s get cooking!
I’d love to hear how your stuffing turned out! Tag me @TastyChow on social media so I can see your beautiful creations. Chow down!