Healthy Homemade Nutella: Your New Guilt-Free Obsession
Hey there, my fellow flavor-chaser! Let’s have a real kitchen-table chat for a second. Raise your hand if you’ve ever found yourself hovering by the pantry, spoon in hand, with a serious craving for something rich, chocolatey, and downright decadent. ✋ Yeah, me too. For the longest time, that craving had a name, and it came in a familiar glass jar with a white lid. But then I’d flip it over, read the label, and… well, my heart would sink a little. The refined sugar, the palm oil, the mystery additives—it just didn’t feel like the joyful, loving treat I wanted it to be.
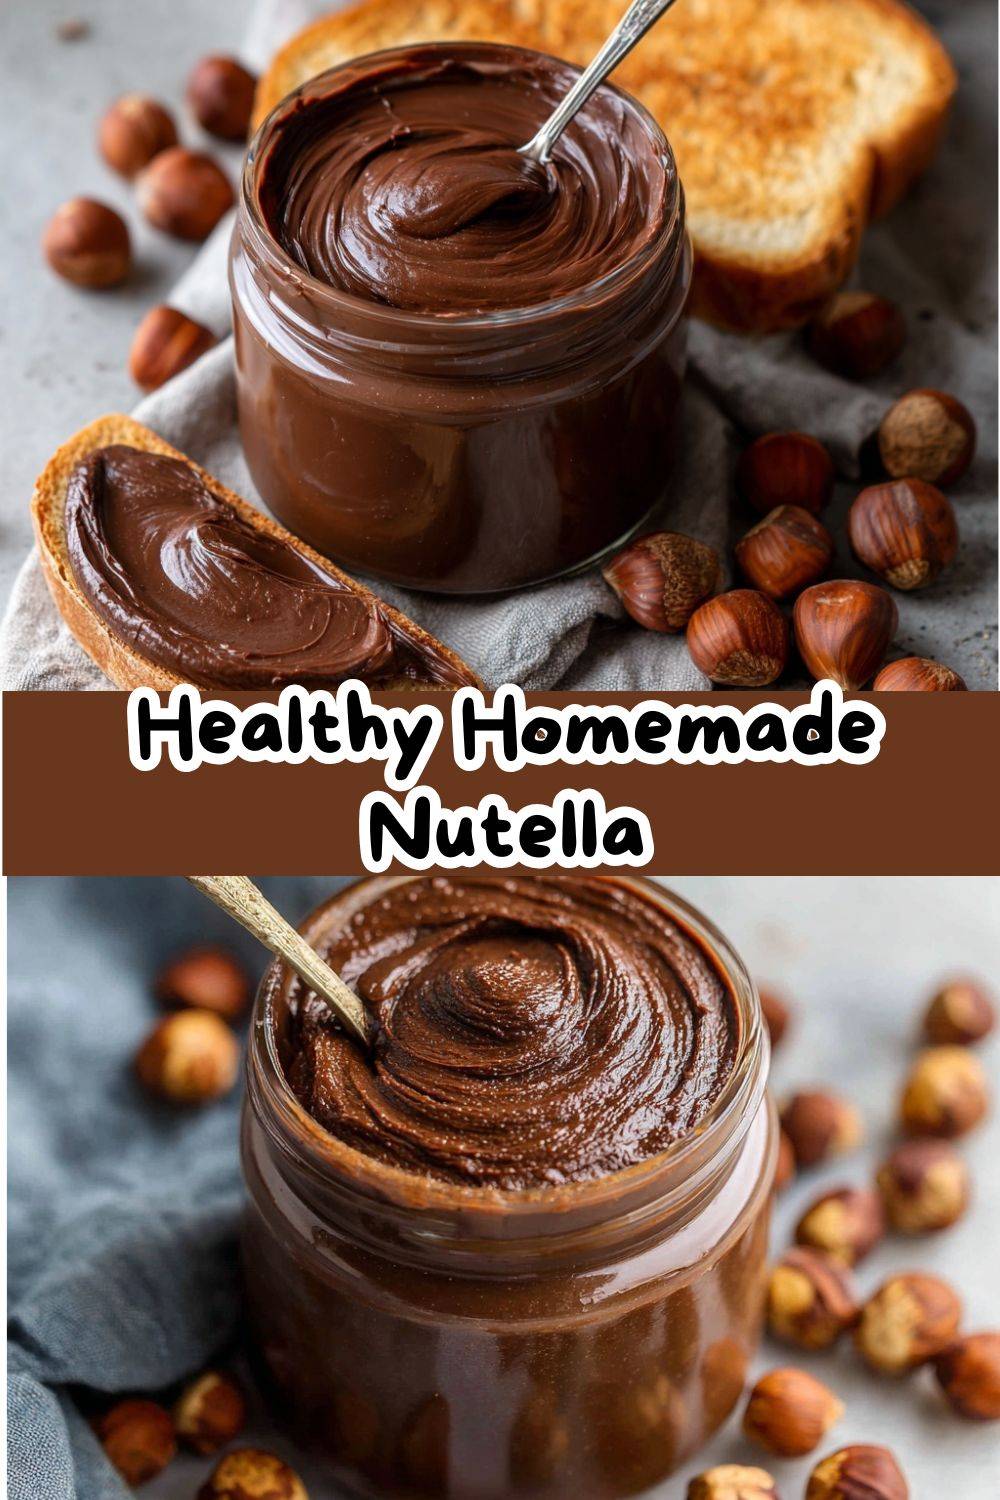
So, I did what I always do when a beloved food lets me down: I put on my apron, turned up the music, and got to work in my happy kitchen corner. My mission? To create a Healthy Homemade Nutella that delivers every bit of that creamy, dreamy, chocolate-hazelnut magic, but made with simple, wholesome ingredients you can actually pronounce. This isn’t a “diet” version. Oh no. This is a celebration version—a spread so good, so pure in its flavor, that it makes you feel good from the inside out.
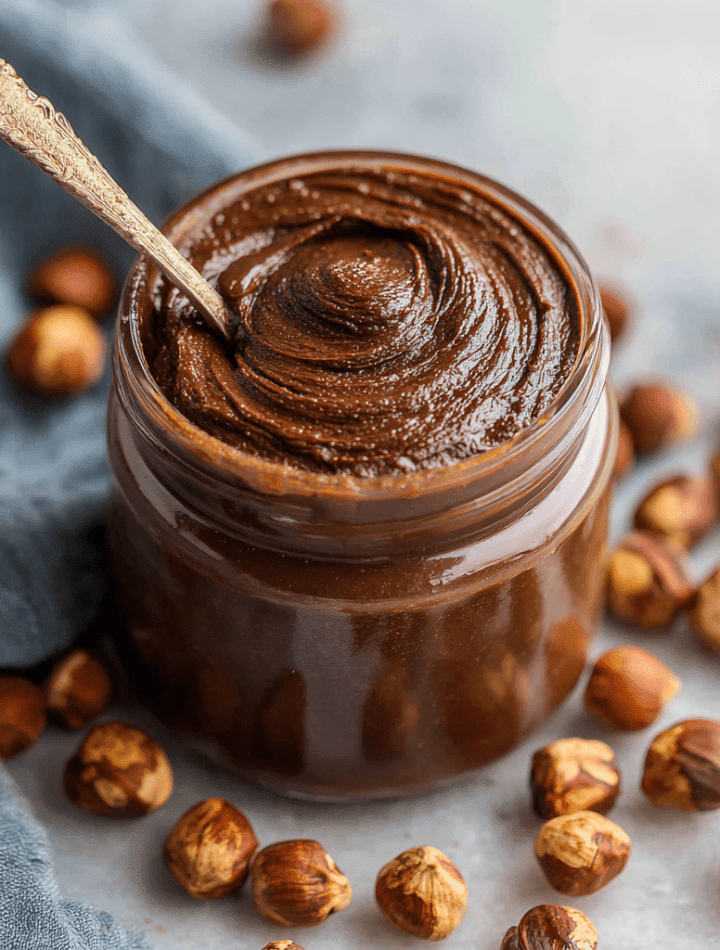
Imagine a spread that’s naturally sweetened, luxuriously smooth, and packed with the real, toasty flavor of hazelnuts. It’s spreadable, dippable, and yes, absolutely spoonable. Whether you’re slathering it on your morning toast, swirling it into oatmeal, or using it as a secret ingredient in your baking, this clean chocolate hazelnut spread is about to become your new kitchen staple. So, grab your food processor, my friend. We’re about to make some magic, and I promise, it’s easier than you think. Let’s chow down on goodness!
The Jar That Started It All: A Sweet, Sneaky Memory
My love affair with chocolate-hazelnut spread goes way back, and it involves a certain grandmother, a very high cupboard, and some expert-level ninja skills. My Grandma Ida, bless her, had a sweet tooth that rivaled mine. She always kept a jar of the “good stuff” on the top shelf of her pantry, a treasure she’d bring down for special occasions. But to my 8-year-old self, every afternoon at her house felt like a special occasion waiting to happen.
I can still remember the sound of her wooden chair scraping the linoleum as she’d get up to put the kettle on for tea. That was my cue. I’d wait a beat, then silently push a kitchen chair over to that sacred pantry, climb up, and ever-so-carefully unscrew the lid. The goal was a single, perfect spoonful, savored in secret before scrambling back down. I was convinced I was a culinary spy of the highest order. Of course, she knew. She always knew. I’d turn around, and she’d be leaning in the doorway, trying to hide a smile. “Enjoying your mission, Agent Emily?” she’d ask, before joining me with her own spoon.
This recipe is my grown-up, chef-ified hug to those memories. I wanted to create a version that Grandma Ida would be proud to keep on her shelf—one made with real ingredients, shared openly, and enjoyed without a single shred of guilt. Every batch I make smells like her kitchen and tastes like pure, sneaky joy.
Gathering Your Goodies: Simple Ingredients, Big Flavor
Here’s the beautiful part: this wholesome spread comes together with just a handful of simple ingredients. Each one plays a starring role, and I’ve got some fun swaps and chef insights for you.
- 2 cups raw hazelnuts: The undisputed rockstar of the show! Raw hazelnuts give you a clean canvas to build that gorgeous, toasty flavor. Chef’s Insight: You can sometimes find pre-roasted hazelnuts to save a step, but roasting them yourself fills your kitchen with the most incredible aroma and guarantees freshness.
- 3 tablespoons unsweetened cocoa powder: This is where the deep, rich chocolate flavor comes from. I prefer a natural cocoa powder for its robust, slightly fruity notes. Substitution Tip: For an even deeper flavor, try using a high-quality Dutch-processed cocoa powder. It’s a bit milder and less acidic.
- 2–3 tablespoons maple syrup or honey: Our natural sweeteners! Maple syrup adds a lovely, subtle caramel note, while honey brings its own floral sweetness. Chef’s Insight: Start with 2 tablespoons, blend, taste, then add more if you like it sweeter. You’re in control here!
- 2 tablespoons coconut oil or avocado oil: This is our magic maker for a silky-smooth, spreadable texture. Coconut oil will firm up when chilled, giving a lovely thick consistency, while avocado oil remains more neutral in flavor and liquid. Substitution Tip: Any mild, liquid oil like light olive oil or melted cacao butter works wonderfully too.
- ½ teaspoon vanilla extract: The flavor enhancer! A splash of vanilla rounds out the chocolate and nutty notes, making everything taste more… well, more like everything. Don’t skip it!
- Pinch of salt: My number one kitchen rule: salt makes sweet things taste sweeter and rich things taste richer. This tiny pinch is essential for balancing all the flavors.
- 2–4 tablespoons warm plant milk (almond, oat, or hazelnut): This is our consistency wizard. The warm milk helps everything blend into a creamy dream. Chef’s Insight: Using hazelnut milk doubles down on the nutty flavor—it’s a next-level pro move!
Let’s Make It! Your Step-by-Step Guide to Creamy Bliss
Ready to transform those simple ingredients into jarred gold? Follow these steps, and lean in for my favorite kitchen hacks along the way. Put on some good music—this is the fun part!
- Roast Those Nuts! Preheat your oven to 350°F (175°C). Spread your raw hazelnuts in a single layer on a baking sheet. Pop them in the oven for 12-15 minutes. You’ll know they’re ready when your kitchen smells like a European pastry shop and the nuts are fragrant with golden-brown skins that are starting to crack. Chef’s Hack: Give the tray a shake halfway through for even roasting. No one likes a burnt hazelnut!
- The Great Skin Rub. Here’s the slightly messy, totally satisfying part. Dump the warm hazelnuts onto a clean kitchen towel. Wrap them up, let them steam for a minute, then vigorously rub them together inside the towel. Most of the bitter skins will flake right off! Chef’s Hack: Don’t stress about getting every single bit of skin. Leaving a few bits adds character and fiber. We’re making homemade Nutella, not performing surgery.
- Blend to Butter. Toss your de-skinned (mostly!) hazelnuts into a high-speed blender or a sturdy food processor. Now, trust the process. Blend on high, stopping to scrape down the sides often. It will go from crumbs, to a dry paste, to a thick ball, and finally—magically—to a smooth, drippy hazelnut butter. This can take 5-10 minutes. Chef’s Pep Talk: When it’s a dry ball, you might think it’s broken. It’s not! Keep blending. Your machine is working hard, and so are you. The reward is coming.
- Add the Flavor Party. Once you have smooth hazelnut butter, add in the cocoa powder, your chosen sweetener, coconut oil, vanilla, and that all-important pinch of salt. Secure the lid and blend again until it’s completely uniform and creamy.
- Find Your Perfect Consistency. With the motor running on low, slowly stream in your warm plant milk, one tablespoon at a time. Stop and check after 2 tablespoons. Do you want it super thick for spreading? Maybe that’s enough. Do you want it pourable for drizzling over ice cream? Add a bit more. Chef’s Hack: The spread will thicken slightly as it chills, especially if you used coconut oil.
- Taste and Tweak. This is the best step. Grab a spoon (you’ve earned it!) and taste. Want more chocolate? Add another teaspoon of cocoa. More sweet? A drizzle more maple syrup. Make it yours!
- Jar It Up! Scrape every last delicious drop into a clean glass jar. Let it cool to room temperature before putting the lid on. Your healthy homemade Nutella is ready to rock your world!
How to Serve This Liquid Happiness
Okay, the jar is sealed (or maybe not, if you’re like me and you’ve already taste-tested three times). Now, let’s talk about the glorious ways to enjoy your creation!
The Classic: Slather it generously on warm, toasted sourdough, whole-grain bread, or fluffy pancakes. It’s a breakfast game-changer.
The Fruit Friend: Use it as a dip for apple slices, banana coins, or strawberry halves. It’s a snack that feels like dessert.
The Swirl & Stir: Swirl a big spoonful into your morning oatmeal, Greek yogurt, or even a warm cup of coffee for a mocha moment.
The Secret Baker: This stuff is incredible in baking! Use it as a filling for thumbprint cookies, a ripple in brownie batter, or a frosting for cupcakes.
The Straight-Up Spoonful: Let’s be real. Sometimes, eaten directly from the jar while standing in front of the fridge is the only proper serving method. No judgment here.
Get Creative! Fun Twists on the Formula
Once you’ve mastered the basic bliss, try playing with these delicious variations. It’s your kitchen—have fun with it!
- Superfood Boost: Add 1 tablespoon of maca powder for a malty, energy-boosting twist, or a scoop of collagen peptides for a protein punch.
- Spiced & Nice: Blend in ¼ teaspoon of cinnamon, a tiny pinch of cayenne pepper (trust me!), or even a sprinkle of orange zest for a sophisticated flavor profile.
- Nut-Free Dream: Can’t do hazelnuts? Swap them for an equal amount of roasted sunflower seeds or pumpkin seeds (pepitas). You’ll get a stunningly green, nutrient-packed “chocolate seed butter” that’s equally delicious.
- Keto-Friendly & Sugar-Free: For a ultra-low-carb version, use a monk fruit sweetener or powdered erythritol that measures like sugar, and make sure your cocoa powder is unsweetened. It’s just as rich and satisfying.
- Extra Decadent: Feeling fancy? Stir in 2-3 tablespoons of finely chopped dark chocolate or cacao nibs at the end for a delightful crunchy texture.
Emily’s Kitchen Notes & Stories
This recipe has evolved more times than I can count. The first batch I ever made was… grainy. Let’s call it “artisanal textured.” I learned that patience during the blending stage is non-negotiable. Another time, I got overzealous with the maple syrup and created a spread so sweet it made my teeth sing. Balance is key!
My favorite thing about this recipe, though, is how it brings people into the kitchen. My niece loves helping me rub the hazelnut skins off (it’s a great job for little hands). My foodie friends and I have “flavor lab” nights where we make a big batch and try all the wild variations. This jar isn’t just spread; it’s a conversation starter, a memory maker, and a testament to how good real food can taste. Don’t be afraid to make it your own!
Your Questions, Answered
Q: My spread is too thick/grainy. What did I do wrong?
A: The most common culprit is not blending the hazelnuts long enough before adding the other ingredients. They need to be completely smooth and liquidy first. If it’s already mixed and grainy, try blending it longer with an extra tablespoon or two of warm milk. Also, ensure your nuts were roasted enough—under-roasted nuts won’t release their oils as easily.
Q: How long does this homemade Nutella last?
A> Stored in an airtight jar in the refrigerator, it will keep beautifully for up to 2 weeks. The oils may separate a bit—that’s natural! Just give it a good stir before using. You can also freeze it for up to 3 months.
Q: Can I use a regular blender instead of a food processor?
A> A high-speed blender (like a Vitamix or Blendtec) works best for getting that ultra-smooth texture. A standard food processor will work, but it may take longer and might not get it quite as silky. Be patient and keep scraping!
Q: Is it really necessary to remove the skins?
A> Technically, no. The skins contain fiber and nutrients. But they also have a slightly bitter taste. Removing most of them gives you a smoother, sweeter, more traditional flavor. It’s worth the 2-minute towel rub, I promise!
A Quick Nutritional Glance
Remember, I’m a chef, not a dietitian, but I love knowing what’s in my food! This info is approximate per 1-tablespoon serving. The beauty of this recipe is that you’re getting healthy fats from the nuts and coconut oil, a touch of natural sweetness, and antioxidants from the real cocoa. It’s free from refined sugars, hydrogenated oils, and artificial preservatives. Compared to store-bought versions, you’re in control of the quality and the sugar content, which is a huge win in my book. Enjoy it as part of a balanced diet—it’s a treat that loves you back.
- Calories: 95
- Fat: 8g
- Saturated Fat: 1g
- Carbohydrates: 4g
- Sugar: 2g
- Fiber: 1g
- Protein: 2g
- Sodium: 10mg
Final Thoughts from My Kitchen to Yours
And there you have it, friend—your passport to a world of guilt-free, chocolate-hazelnut joy. This Healthy Homemade Nutella is more than just a recipe; it’s a little act of kitchen rebellion. It’s choosing real ingredients over complicated labels. It’s about the satisfying whir of the blender and the proud feeling of putting a jar of something you made with your own hands into the fridge.
I hope this recipe brings a little extra warmth to your toast, a bigger smile to your snack time, and maybe even inspires your own kitchen experiments. Remember, cooking is about love, flavor, and fun—never about perfection. If your first batch isn’t 100% smooth, who cares? It’s 100% yours.
Thank you for letting me share my kitchen stories with you. Now, go forth and spread the love (literally!). Don’t forget to tag me on social @TastyChow if you make it—I love seeing your creations!