Indulge Guilt-Free: Your Guide to Making Healthy Protein-Packed Desserts
Hey there, dessert enthusiast! If you’re anything like me, you believe that dessert doesn’t have to come with a side of guilt. What if I told you that you could whip up delicious, healthy protein-packed desserts that satisfy your sweet tooth and keep your nutrition goals on track? Sounds dreamy, right? Today, we’re diving into the world of healthy indulgence with a fantastic recipe that’s bound to become your go-to!
A Sweet Journey: My Love for Desserts
Let me take you back to my childhood for a moment. Picture this: tiny, sunlit kitchen filled with the sweet aroma of vanilla and cocoa. My grandma, with her flour-dusted apron, would bring out the mixing bowl while I stood on my tiptoes at the counter. One of my favorite memories is making her signature brownies. They were rich, fudgy, and oh-so-chocolatey. However, my adult self was searching for a balance—something that brought back those memories but was also healthier.
Fast forward a few decades, and I’ve transformed my love for those luscious brownies into a healthier version that still delivers on flavor. I wanted to keep the nostalgia alive while adding a twist that made it more wholesome by swapping typical ingredients for ones that pack a protein punch. It’s time to grab your apron and join me in making a delightful healthy protein-packed dessert that will not only satisfy your sweet tooth but give your body what it needs too!
Ingredients
Here’s what you’ll need to get started on this delicious journey:
-
Black Beans
These little legumes are a powerhouse of protein! Not only do they provide an excellent plant-based protein source, but they also offer fiber that keeps you feeling full. If you don’t have black beans at hand, you could substitute them with canned chickpeas or even lentils! -
Oats
Oats add some serious nutritional benefits, providing a source of complex carbohydrates and fiber. They help keep your blood sugar levels stable. You can use quick oats or rolled oats as a substitute if you’re in a hurry, though stick with whole grain if possible for the best health benefits. -
Cocoa Powder
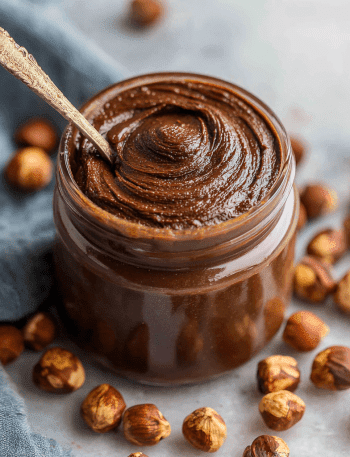
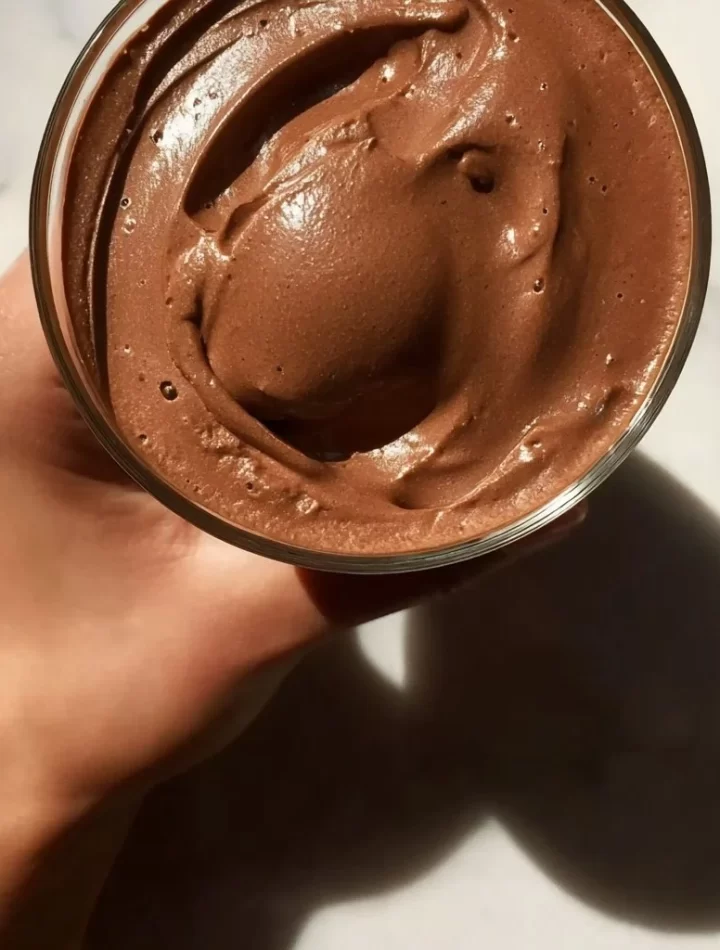
Unsweetened cocoa powder turns up the chocolatey goodness while being low in calories! The antioxidants it packs are an added bonus. If you’re looking for a little extra sweetness, try using cacao powder, which is made from raw chocolate and has a deeper flavor. -
Nut Butter (Almond, Peanut, or Cashew)
Nut butter is not only creamy and delicious but also loaded with healthy fats and proteins. Choose a natural variety without added sugars or oils. If you have a nut allergy, you can opt for sunflower seed butter or tahini. -
Honey or Maple Syrup
Give your dessert a touch of sweetness with honey or maple syrup; both are natural sweeteners that pair perfectly with chocolate. For a sugar-free option, you can use stevia or monk fruit sweetener. -
Vanilla Extract
This little bottle of magic enhances the flavor further. Make sure to use real vanilla extract for the best taste. In a pinch, almond extract works too! -
Baking Powder
Essential for giving your dessert that delightful rise. Baking soda can work in a pinch, but baking powder is preferred for the best texture. -
Dark Chocolate Chips (optional)
If you’re feeling a bit indulgent, stir in some dark chocolate chips at the end. Choose a version that’s at least 60% cocoa for an antioxidant kick!
Step-by-Step Instructions
Now that we’ve gathered all our ingredients, let’s dive into the cooking process! Get ready to mix, blend, and bake your way to a delightful protein-packed dessert.
-
Preheat Your Oven: Preheat your oven to 350°F (175°C). Always start with this step to ensure your dessert cooks evenly. You can set the timer to give yourself a little time to prepare the batter!
-
Rinse the Beans: If you’re using canned black beans (which I highly recommend for convenience), drain and rinse them thoroughly. This helps get rid of the canning liquid, which may alter the taste slightly. Rinsing also aids in digestion, so it’s a win-win!
-
Blend the Ingredients: Add the rinsed black beans, oats, cocoa powder, nut butter, sweetener, vanilla extract, and baking powder to a food processor.
Chef Hack: If you don’t have a food processor, a powerful blender can work too. The goal here is to have a smooth, fluffy mixture!
-
Blend Until Smooth: Pulse the ingredients together until everything is well-combined and creamy. You might need to scrape down the sides a couple of times to ensure everything gets blended evenly. It should resemble a thick brownie batter.
-
Fold in the Chocolate Chips (if using): If you like a little more sweetness in every bite, now’s the time to fold in those dark chocolate chips. Make sure to mix gently to keep those chips intact.
-
Prepare the Baking Dish: Lightly grease an 8×8 inch baking dish with cooking spray or line it with parchment paper for easy removal after baking.
-
Pour and Spread: Pour the batter into your prepared dish and spread it evenly using a spatula. This ensures that your dessert bakes evenly and helps avoid any burnt edges.
-
Bake: Pop your dish into the preheated oven and bake for about 20-25 minutes. Keep an eye out as ovens can vary. You know they’re ready when a toothpick inserted in the center comes out with a few moist crumbs but not wet batter.
-
Cool and Slice: Once out of the oven, let your dessert cool in the pan for at least 10 minutes before slicing. This step is crucial! It allows the flavors to settle and the texture to firm up a bit.
Serving Suggestions
Time to plate up these scrumptious protein-packed brownies! Here are a few serving suggestions:
- Garnish: Dust the top with cocoa powder or a sprinkle of powdered sugar for a touch of elegance.
- With Yogurt or Ice Cream: For a wonderful contrast in flavors, serve your brownies warm with a dollop of Greek yogurt or your favorite healthy ice cream. Trust me; there’s nothing like warm, fudgy brownies with a cold topping!
- Fresh Berries: Pairing with fresh strawberries or raspberries adds a burst of freshness and color.
- Chopped Nuts: A sprinkle of chopped nuts on top gives a crunchy texture while adding some extra healthy fats.
Recipe Variations
Feel free to get creative with these delicious brownies! Here are a few variations worth trying:
-
Mint Chocolate: Add a few drops of peppermint extract to your batter to create a minty twist that complements the chocolate beautifully.
-
Peanut Butter Swirl: Before baking, swirl some peanut butter on top of the brownie batter for those irresistible swirly bites.
-
Coconut: Incorporate shredded unsweetened coconut into the batter or as a topping for a tropical flair.
-
Spicy Kick: Add a pinch of cayenne pepper or chili powder for a spicy chocolate experience. This will definitely surprise your taste buds!
-
Fruit-Filled: Try adding a layer of mashed bananas or applesauce into the batter for a fruity flavor that also keeps the brownies moist.
Chef’s Notes
Throughout my cooking journey, I’ve learned that recipes can evolve and adapt to what’s in your pantry. I started off with the traditional brownie recipe but discovered how delicious and satisfying I could make it without sacrificing flavor. Here’s a funny little tidbit—one time I accidentally doubled the nut butter, thinking I could make them extra fudgey. While I ended up with something akin to a peanut butter cup, my friends loved them, and they disappeared faster than I could say “protein-packed!”
FAQs and Troubleshooting
-
Why are my brownies too dry?
This could be due to overbaking. Remember, they should look slightly undercooked when you take them out. They’ll continue to cook as they cool! Start checking them a couple of minutes before the time is up. -
Can I substitute oats with flour?
Yes, you can use whole wheat flour in place of oats, though your texture will differ. Oats add chewiness, and the flour will make them more cake-like. -
What should I do if my batter is too thick?
If you find the mixture is too thick to blend easily, add a couple of tablespoons of almond milk or coffee to loosen it up. -
Can I freeze these brownies?
Absolutely! After slicing, wrap the brownies individually in plastic and store them in an airtight container. They’ll keep for a couple of months—if they last that long!
Nutritional Info
Here’s a little breakdown of the nutritional benefits of these scrumptious brownies (per serving based on a 16-serving batch):
- Calories: Approximately 100
- Protein: About 5g (depending on nut butter and chocolate used)
- Carbohydrates: 15g
- Fiber: 4g
- Fat: 4g (mostly from the nut butter)
Eating well doesn’t mean you can’t indulge; it simply means you can create healthier versions of the treats you love!
Final Thoughts
Transforming beloved childhood treats into healthier, protein-packed versions can quicken heart rates and save time—just like the memories they evoke! I hope this healthy protein-packed dessert finds a special place in your kitchen and your heart, just like my grandma’s brownies did for me. Cooking is a journey of exploration and love, and I’m thrilled to have shared this one with you.
So, the next time you crave something sweet, remember you’ve got the power to indulge without the guilt! Let’s keep spreading the joy of cooking together—because every meal made with love brings warmth to the heart and happiness to the soul. Now grab those plates and dig in!
Happy baking! 🍫❤️
— Chef Emily

Healthy Protein-Packed Brownies
- Total Time: 35 minutes
- Yield: 16 servings 1x
- Diet: Vegan
Description
Delicious and healthy protein-packed brownies that satisfy your sweet tooth without the guilt.
Ingredients
- 1 can Black Beans, rinsed and drained
- 1 cup Oats
- 1/2 cup Cocoa Powder
- 1/2 cup Nut Butter (Almond, Peanut, or Cashew)
- 1/3 cup Honey or Maple Syrup
- 1 tsp Vanilla Extract
- 1 tsp Baking Powder
- 1/2 cup Dark Chocolate Chips (optional)
Instructions
- Preheat your oven to 350°F (175°C).
- Rinse the beans thoroughly.
- Blend the beans, oats, cocoa powder, nut butter, sweetener, vanilla, and baking powder in a food processor.
- Blend until smooth.
- Fold in the chocolate chips, if using.
- Prepare an 8×8 inch baking dish with cooking spray or parchment paper.
- Pour the batter into the dish and spread it evenly.
- Bake for 20-25 minutes until a toothpick comes out with a few moist crumbs.
- Cool in the pan for at least 10 minutes before slicing.
Notes
For variations, try mint chocolate or peanut butter swirl options.
- Prep Time: 10 minutes
- Cook Time: 25 minutes
- Category: Dessert
- Method: Baking
- Cuisine: American
Nutrition
- Serving Size: 1 square
- Calories: 100
- Sugar: 8g
- Sodium: 250mg
- Fat: 4g
- Saturated Fat: 1g
- Unsaturated Fat: 3g
- Trans Fat: 0g
- Carbohydrates: 15g
- Fiber: 4g
- Protein: 5g
- Cholesterol: 0mg
Keywords: healthy brownies, protein-packed dessert, guilt-free dessert, vegan brownies, chocolate dessert