Fall in Love with Baking: The Ultimate Heart Jam Cookies
Hey there, my fellow food lover! 👋 Grab a cup of coffee and pull up a stool, because we’re about to make your kitchen smell like a warm, buttery hug. Today, we’re whipping up a batch of what I like to call “Hug-in-a-Cookie” – our famously soft, buttery, and utterly adorable Heart Jam Cookies.
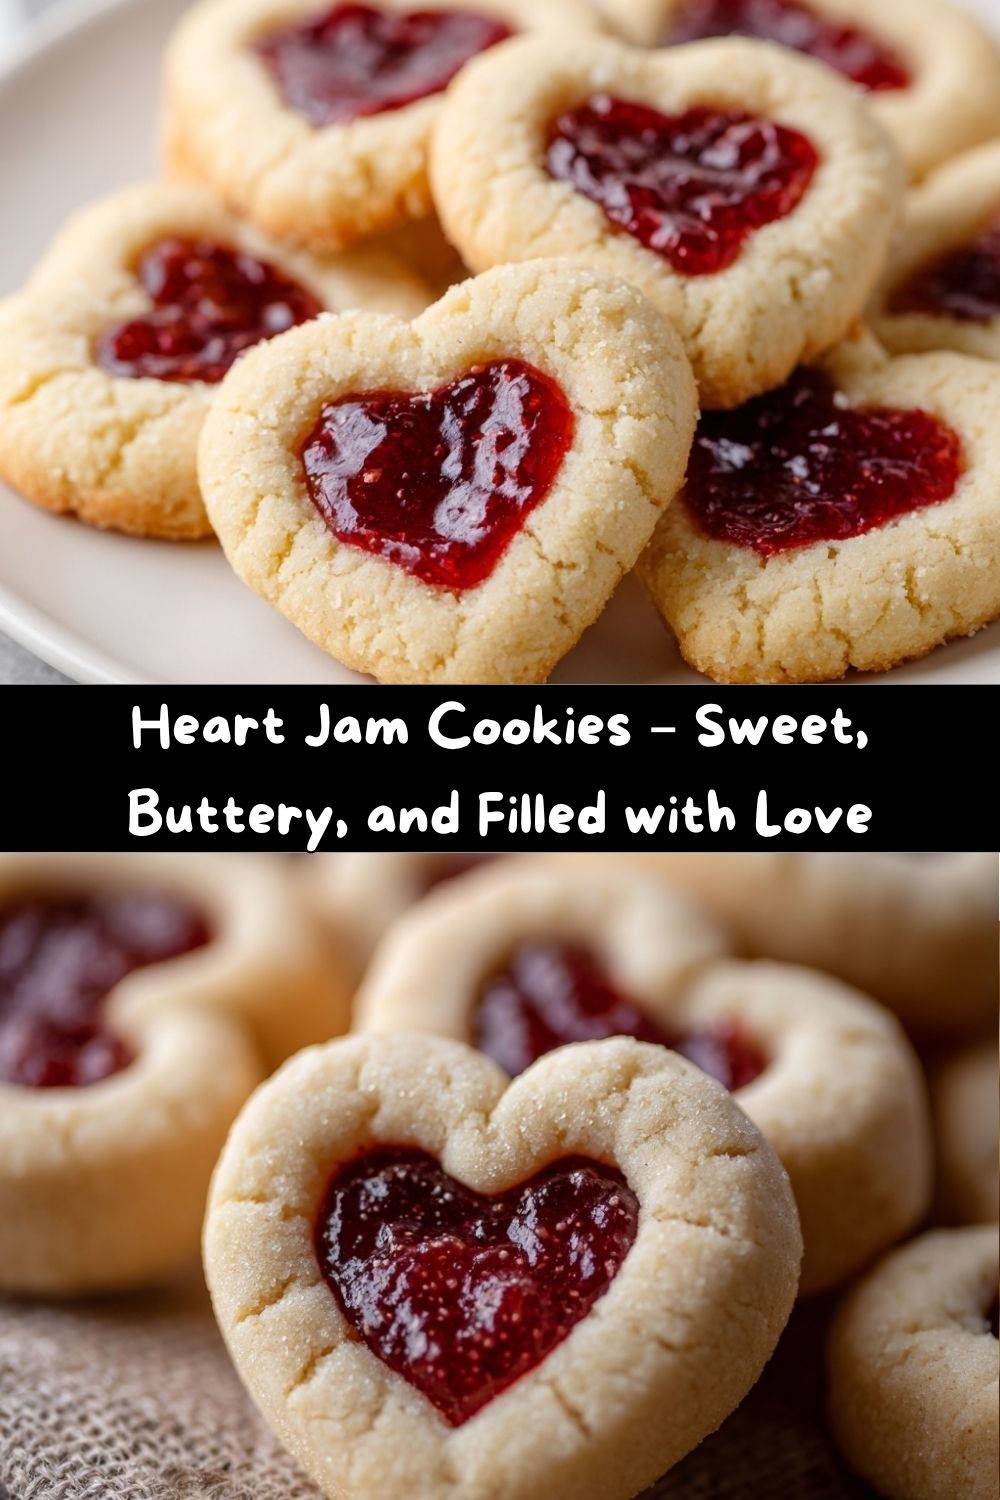
You’ve probably seen these little beauties all over Pinterest and Instagram, and let me tell you, they are 100% worth the hype. Imagine this: a melt-in-your-mouth, tender sugar cookie that holds a sweet, jewel-toned heart of fruity jam. They’re like a little secret smile baked into a treat. Perfect for Valentine’s Day? Absolutely. But I’m a firm believer that we should be spreading edible love all year round. A plate of these cookies can turn a regular Tuesday into a tiny celebration, don’t you think?
The best part? You don’t need to be a pastry chef to master these. This recipe is all about joy, not stress. We’re using simple ingredients you likely already have in your pantry, and I’ll be with you every step of the way, sharing my favorite kitchen hacks to ensure your cookies are nothing short of perfect. So, tie on that apron (the messy one is always the most loved!), and let’s create something delicious that’s guaranteed to steal hearts.
A Spoonful of Nostalgia: My First Heart Cookie
This recipe always takes me right back to my grandma’s linoleum-floored kitchen. I couldn’t have been more than seven years old, perched on a wobbly step-stool, covered in a dusting of flour that probably reached the ceiling. Grandma was teaching me how to make her famous thumbprint cookies. Back then, we just used our, well, thumbs! We’d press a little well into each dough ball and fill it with her homemade wild blackberry jam.
One day, I got a little creative (or, as Grandma called it, “fancy”) and used the tip of a teaspoon to carve a wobbly, lopsided heart shape instead of a circle. I remember her pausing, looking at my messy attempt, and her whole face lighting up with a smile. “Well, would you look at that, Emmy,” she said. “You’ve just put the love right inside the cookie.” That moment stuck with me. It wasn’t just about the ingredients; it was about the intention, the little extra touch that turns food into a gift. Now, every time I press that heart-shaped cutter into the dough, I think of her and that powerful lesson: cooking with love is the best secret ingredient of all.
Gathering Your Cookie Crew: The Ingredients
Let’s gather our team! These simple ingredients work together in beautiful harmony. Here’s exactly what you’ll need and why each one matters.
- 200g (about 1 cup) Unsalted Butter, softened: This is the soul of our cookie, providing that rich, melt-in-your-mouth texture. Chef’s Insight: “Softened” is key! It should be cool to the touch but leave a slight indent when you press it. Too melted, and your cookies will spread; too cold, and they won’t cream properly. If you forgot to take it out, you can quickly soften it by cutting it into cubes and letting it sit for 15 minutes.
- 200g (about 1 cup) Caster Sugar: Caster sugar is finer than granulated, which means it dissolves more easily, giving you a smoother, more delicate cookie. Substitution Tip: No caster sugar? No problem! Just blitz regular granulated sugar in a food processor or blender for 30 seconds until it’s fine.
- 1 Large Egg, at room temperature: Our binding agent! The egg brings the dough together and adds structure. A room-temperature egg incorporates much more smoothly into the creamed butter and sugar.
- 1 tbsp Pure Vanilla Extract: This is our flavor booster. Don’t be shy with it! A good quality vanilla adds a beautiful warmth and depth that makes these cookies taste truly special.
- 320g (about 2 ½ cups) All-Purpose Flour: The backbone of our cookie. It gives structure so our cookies hold their cute heart shape.
- ½ tbsp Baking Powder: Our little leavening hero! This is what gives the cookies their soft, slightly puffy texture instead of being dense and hard.
- ½ tbsp Salt: Wait, salt in cookies? Absolutely! Salt is a flavor enhancer. It makes the buttery, sweet flavors pop and prevents the cookies from tasting flat. Trust me on this.
- Jam of Your Choice (about ½ cup total): The shining star! Chef’s Insight: I adore using seedless raspberry or strawberry jam for that classic look. For a tangier twist, apricot or blackberry is divine. Pro-tip: Give your jam a quick stir to loosen it up, making it easier to spoon into the hearts.
Let’s Get Baking: The Step-by-Step Fun
Okay, team! Let’s turn these ingredients into cookie magic. Follow these steps, and you’ll be a heart cookie pro in no time.
- Cream the Butter and Sugar: In a large bowl, add your softened butter and caster sugar. Now, using a hand mixer or a stand mixer with the paddle attachment, beat them together on medium-high speed for a good 2-3 minutes. Chef’s Hack: We’re not just mixing here; we’re “creaming.” This process incorporates tiny air bubbles into the dough, which is the secret to a light, tender cookie that doesn’t spread too much. You’ll know it’s ready when the mixture turns pale yellow and becomes beautifully light and fluffy.
- Incorporate the Egg and Vanilla: Crack in the egg and add that glorious tablespoon of vanilla. Mix on medium speed until everything is perfectly combined and smooth. Scrape down the sides of the bowl with a spatula to make sure no rogue butter is left behind.
- Combine the Dry Ingredients: In a separate bowl, let’s whisk together our flour, baking powder, and salt. Chef’s Insight: Whisking the dry ingredients first ensures the baking powder and salt are evenly distributed, so every bite is consistent. No one wants a bite with all the salt!
- Bring the Dough Together: With your mixer on low speed, gradually add the dry ingredients to the wet mixture. Mix until *just* combined and a soft dough forms. Chef’s Warning: Don’t overmix! As soon as you no longer see streaks of flour, stop. Overmixing develops the gluten in the flour and can lead to tough cookies, and we want soft, tender cookies!
- Chill Out (The Dough, Not You!): This is a non-negotiable, friends-who-love-perfect-cookies step! Gently shape the dough into a disk, wrap it in plastic wrap, and pop it in the refrigerator for at least 30 minutes. Why? Chilling firms up the butter, which prevents your cookies from spreading into puddles in the oven. It also makes the dough much easier to roll out.
- Preheat and Prep: While the dough chills, preheat your oven to 360°F (180°C). This ensures your oven is at the perfect, stable temperature when the cookies go in. Line two baking sheets with parchment paper. No parchment? A silicone baking mat works wonders, too!
- Roll and Cut: Lightly flour your work surface and rolling pin. Roll the chilled dough out to about a ¼-inch thickness. Using a 2.5 to 3-inch round cookie cutter, cut out as many circles as you can. Place them on your prepared baking sheets, about an inch apart.
- Create the Heart: Now for the signature move! Take a small heart-shaped cutter (about 1-inch wide) and press it firmly into the center of each cookie circle, but do not cut all the way through. You just want to make a clear impression. If you don’t have a tiny heart cutter, you can use the tip of a teaspoon or a small knife to carefully carve a heart shape. Gently press down the center of the heart impression with your fingertip to create a slightly deeper well for the jam.
- Fill with Jam: Using a small spoon, fill each heart impression with about ½ teaspoon of your chosen jam. Pro-tip: Don’t overfill! The jam will bubble and spread a little in the oven, and we want it to stay in its beautiful heart shape.
- Bake to Golden Perfection: Bake for 10-12 minutes, or until the edges are just barely starting to turn a light golden brown. The centers should still look soft and pale. Chef’s Secret: They might look underdone, but they will continue to set as they cool on the baking sheet. This is the key to a soft cookie!
- Cool and Enjoy! Let the cookies cool on the baking sheet for 5 minutes before transferring them to a wire rack to cool completely. This allows them to firm up enough to move without breaking. Try to resist eating one straight from the oven – the jam is like molten lava!
Sharing the Love: How to Serve These Beauties
Now for the best part – sharing your creations! Presentation is part of the fun with these cookies. For a simple, charming look, arrange them on a rustic wooden board or a vintage cake stand. They look absolutely stunning all stacked up.
Feeling extra? You can dust them with a light snowfall of powdered sugar right before serving for a truly magical, winter-wonderland effect. If you’re gifting them (lucky friends!), stack a few in a clear cellophane bag tied with a pretty ribbon, or place them in a gift box lined with parchment paper. They’re the perfect edible Valentine, a sweet “thinking of you” gift, or a lovely addition to a holiday cookie swap. Pair them with a hot cup of tea, a glass of cold milk, or even a scoop of vanilla ice cream for the ultimate indulgence.
Mix It Up! Delicious Recipe Variations
Once you’ve mastered the classic, the flavor playground is open! Here are a few of my favorite twists to keep things exciting:
- The Citrus Zing: Add the zest of one lemon or orange to the dough along with the vanilla. The bright, citrusy flavor cuts through the richness beautifully. Pair it with a raspberry jam for a match made in heaven.
- Nutty Professor: Before baking, gently press a few finely chopped pecans, almonds, or walnuts around the outer edge of the cookie. It adds a wonderful crunch and toasty flavor.
- Chocolate Dream: Replace two tablespoons of flour with unsweetened cocoa powder for a chocolate sugar cookie base. Fill the heart with orange marmalade or a rich chocolate hazelnut spread for a decadent treat.
- Gluten-Free & Still Great: You can easily make these with a 1:1 gluten-free all-purpose flour blend. I’ve had fantastic results with several brands – just make sure your blend includes xanthan gum.
- Linzer Twist: Turn these into true Linzer-style cookies! After cutting your circles, use a smaller cutter to create a “window” in the center of half the cookies. Bake all pieces, then dust the “window” tops with powdered sugar. Spread jam on the solid bottom cookies and gently sandwich them together with the powdered sugar tops.
From My Kitchen to Yours: Chef’s Notes
This recipe has been a living, evolving thing in my kitchen. The first time I tested it, I was so impatient I skipped the chilling step. Let’s just say I ended up with one giant, delicious, but very flat, “cookie puddle.” It was a hilarious disaster that taught me a valuable lesson: patience is a baker’s best friend.
Over time, I’ve found that using a good European-style butter (with a higher fat content) makes the flavor incredibly rich. I’ve also learned that the type of jam matters. A thicker, quality jam holds its shape better than a runny, sugary one. Most of all, I’ve learned that these cookies are a blank canvas for your own creativity. So, don’t be afraid to make them your own!
Your Questions, Answered! FAQs & Troubleshooting
I’ve answered thousands of baking questions over the years, so here are the most common ones for this recipe.
- Q: My jam bubbled over and lost its heart shape! What happened?
A: This usually means the jam was either too runny or the well wasn’t deep enough. Make sure you’re pressing that heart impression down firmly. You can also try stirring a teaspoon of cornstarch into your jam before filling to thicken it up. - Q: My cookies spread too much and merged into one another.
A: Ah, the classic culprit! This is almost always due to the butter being too warm or the dough not being chilled sufficiently. Make sure your dough is firm before baking, and always use cool, lined baking sheets (don’t put dough on a warm sheet). - Q: Can I make the dough ahead of time?
A: Absolutely! You can wrap the dough disk tightly and keep it in the fridge for up to 2 days. You can also freeze it for up to 3 months. Just let it thaw in the fridge overnight before rolling. - Q: The dough is too crumbly and hard to roll. Help!
A: No worries! This can happen if you measured the flour by scooping directly from the bag (which packs it in). The best way to measure flour is to spoon it into your measuring cup and level it off. If it’s still crumbly, just knead in a tablespoon of cold water or milk until it comes together.
Nutritional Information (For Your Info!)
Hey, I believe all foods fit in a happy, balanced life! It’s always helpful to know what you’re enjoying. Here’s a rough breakdown per cookie (assuming a yield of 20 cookies). Remember, these are estimates and can vary based on the specific brands of ingredients you use, especially the jam.
- Calories: ~160 kcal
- Sugar: 10g
- Fat: 7g
- Carbohydrates: 22g
- Protein: 2g
These are a treat, through and through! The main sources of sugar and fat are the butter, sugar, and jam. To make them a bit lighter, you could try using a sugar substitute designed for baking and a low-sugar jam. But my personal philosophy? Enjoy one or two of the real-deal, perfectly buttery cookies mindfully, with a smile on your face. Life’s too short for cookies that don’t taste amazing!
Your Next Baking Adventure Awaits
Remember, baking is an act of love — not just for the people you’re sharing with, but for yourself too. There’s something deeply grounding about creaming butter and sugar, rolling dough, and watching cookies rise and turn golden in the oven. It’s a small ritual that fills your kitchen with warmth and your heart with peace.
These Heart Jam Cookies aren’t just sweet treats; they’re edible reminders that joy lives in the little things — a sprinkle of flour on your cheek, the scent of vanilla in the air, the soft hum of the oven, and that first bite that melts on your tongue. Each cookie is a tiny love letter, baked with care and meant to be shared.
So next time you need a pick-me-up, skip the store-bought sweets. Instead, preheat your oven, tie on that apron, and bake something that feels like a hug. Because as my grandma used to say, “The world could always use a few more hearts… especially the kind made with jam.” ❤️🍪